Wednesday, January 22, 2014

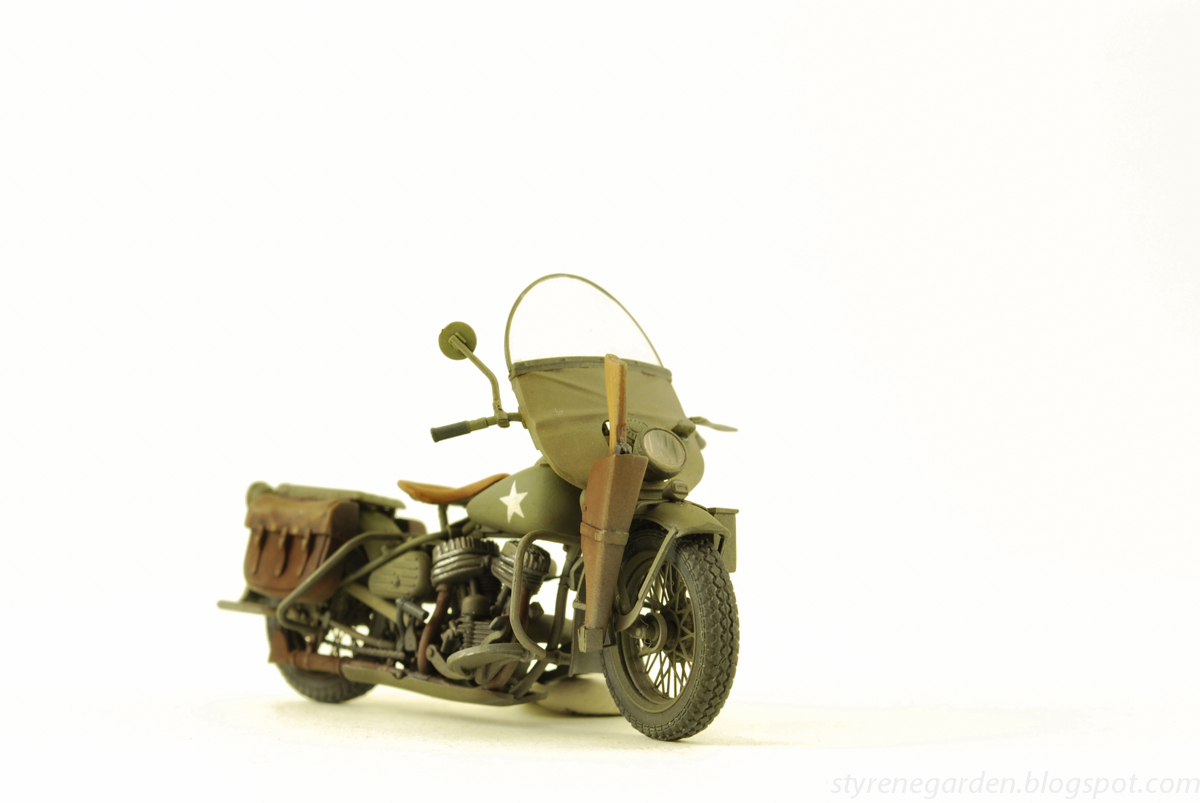
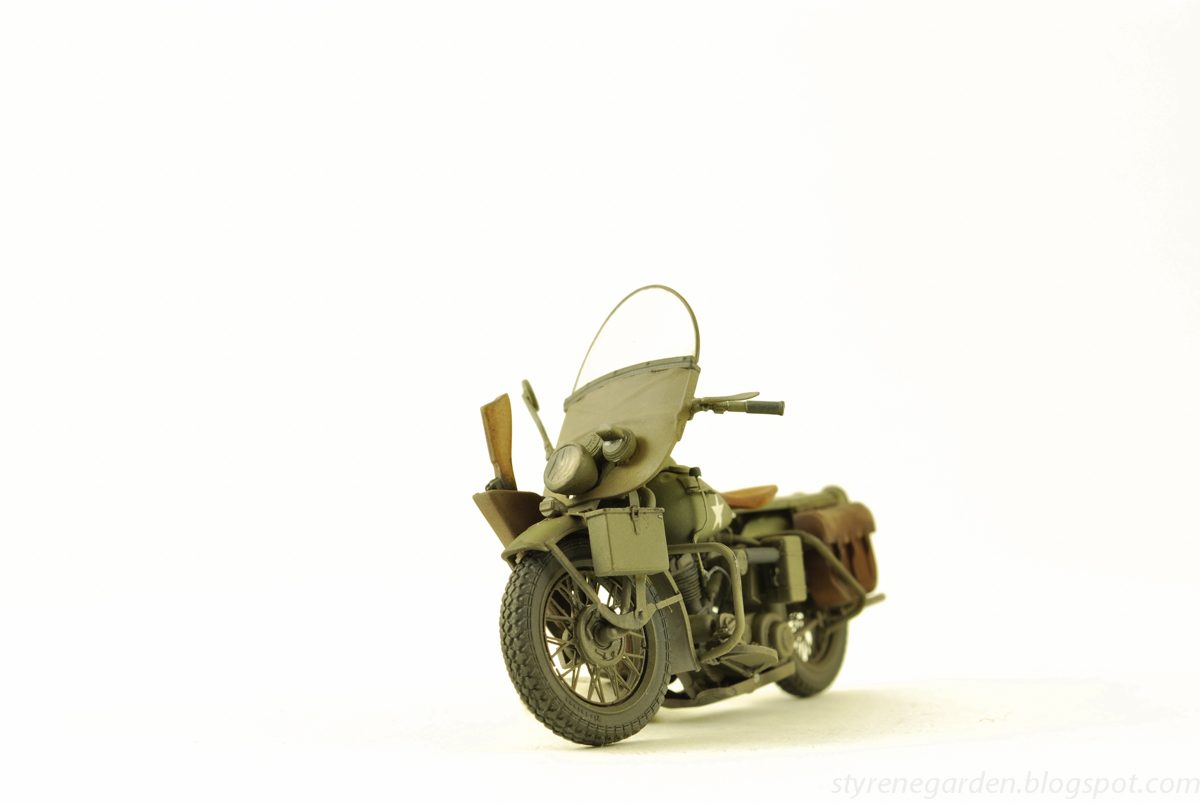
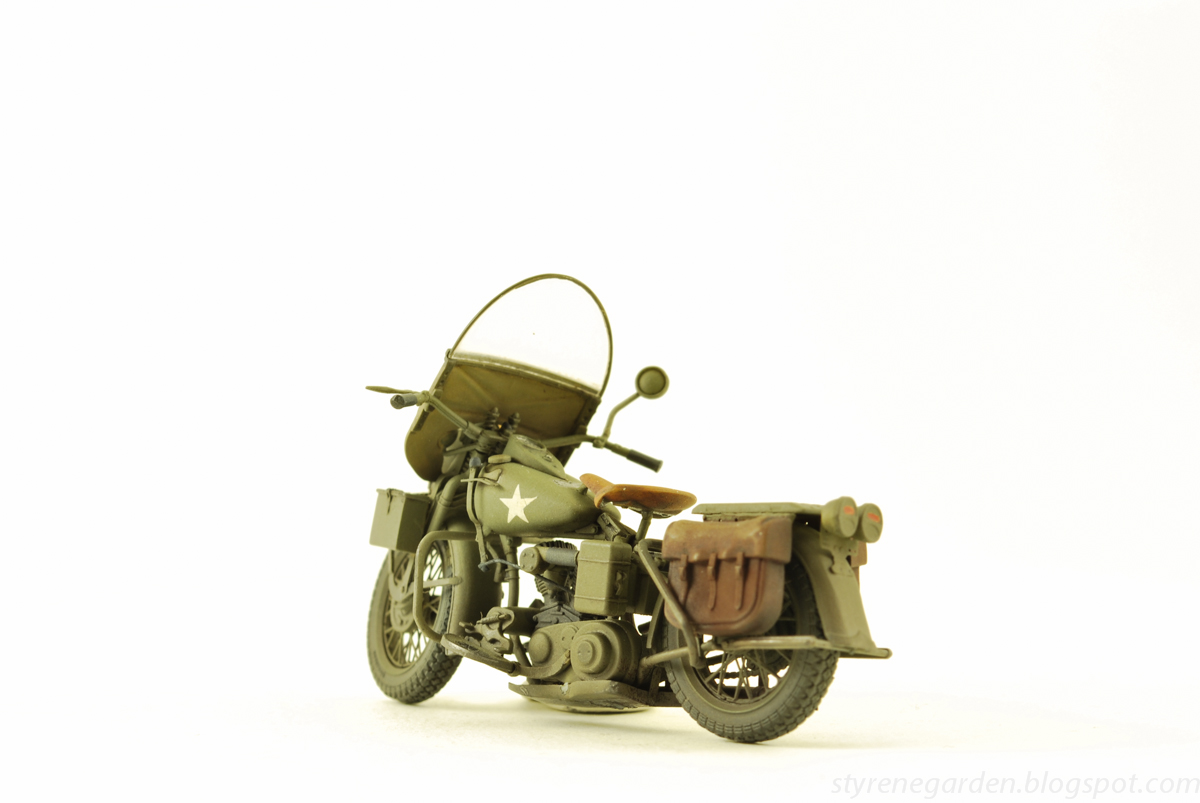
Miniart 1/35 - U.S. WWII Motorcycle WLA


I've been putting off finishing this little gem for some time now. For some reason this model has been fighting me at every step. Mostly due to my large fingers and the floor. After about a year of sitting in the stash I have finally finished my WLA. I might add a few things on the back, I'm just not sure yet. I do plan of fitting it on the back of a CCKW tied to the rails.

I started off with a base cote of Tamiya Olive drab. With highlights in Vallejo green colored paints. As this being airbrushed nearly a year ago, I have forgotten what paints I exactly used.


The larger saddlebags were painted a tan color for the forcible oil wash of raw umber and burnt sienna. The seat what painted in a similar tan color, lightened with white. For the engine I used Model Masters Metalizer Exhaust mixed with Magnesium. A pin wash of various AK Interactive brown and dark colored washes were used. I had decided to use some dry transfers for the stars on the fuel tank. A layer of Testors Dull-cote seal everything nicely. 

The final dist layer was created with airbrushed AK dust wash and stumped with spirits and a medium pointed brush. Seal with dull-cote again and finished. For now....


Tuesday, January 21, 2014

Wood Planks

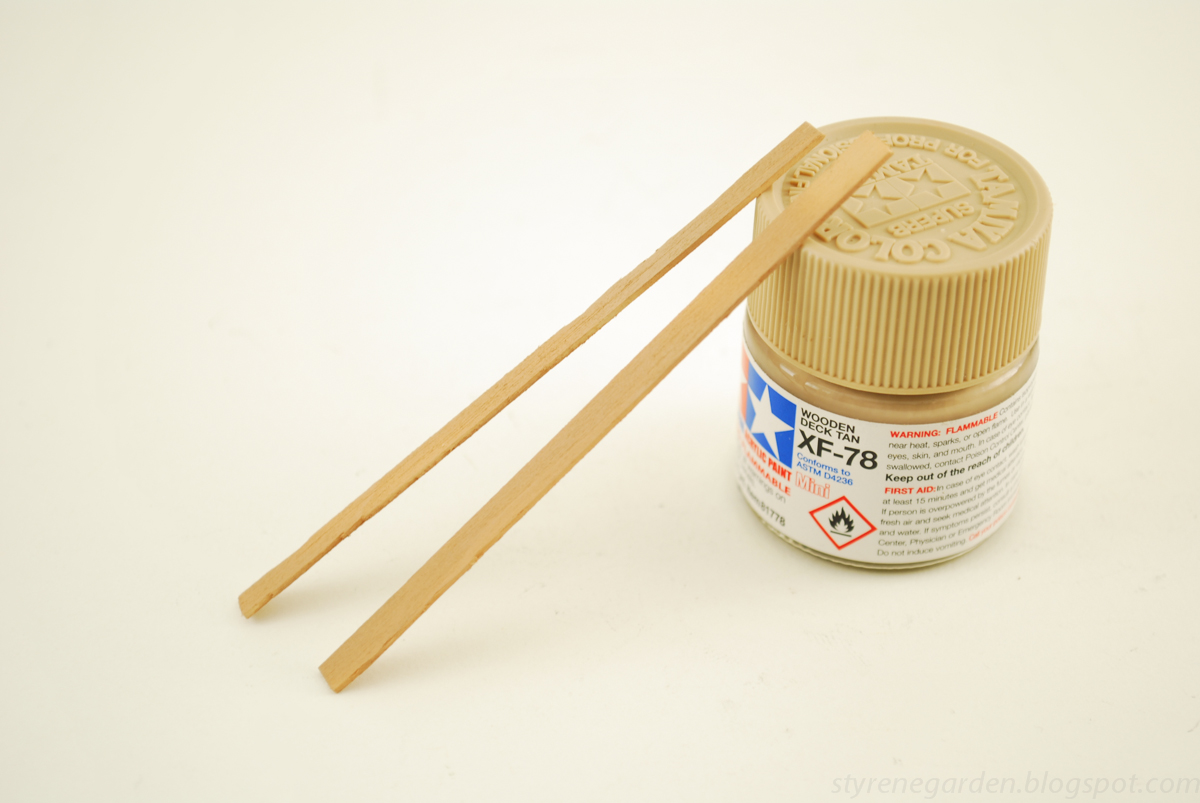
I've been experimenting with a side project that I never finished. I needed two wood planks to use on the back of a CCKW. There to be used for a wood plank ram to load a mothercycle on the back of the truck bed. 

I stared by cutting two basswood strips from my stock and texturing them with a hobby knife at a horizontal angel and then gauging the edges for some damage. The wood is a bit bright so a base cote of Tamiya Wooden Deck Tan - XF-78 was airbrushed with lacquer thinner. I continued with a wash of Raw Umber and Ivory Black oil paint. After drying I dry brushed them with the same oil paints minus the wash.


I continued with a wash of Raw Umber and Ivory Black oil paint. After drying I dry brushed them with the same oil paints minus the wash. 

Friday, January 10, 2014

Absolute is Absolutly finished...


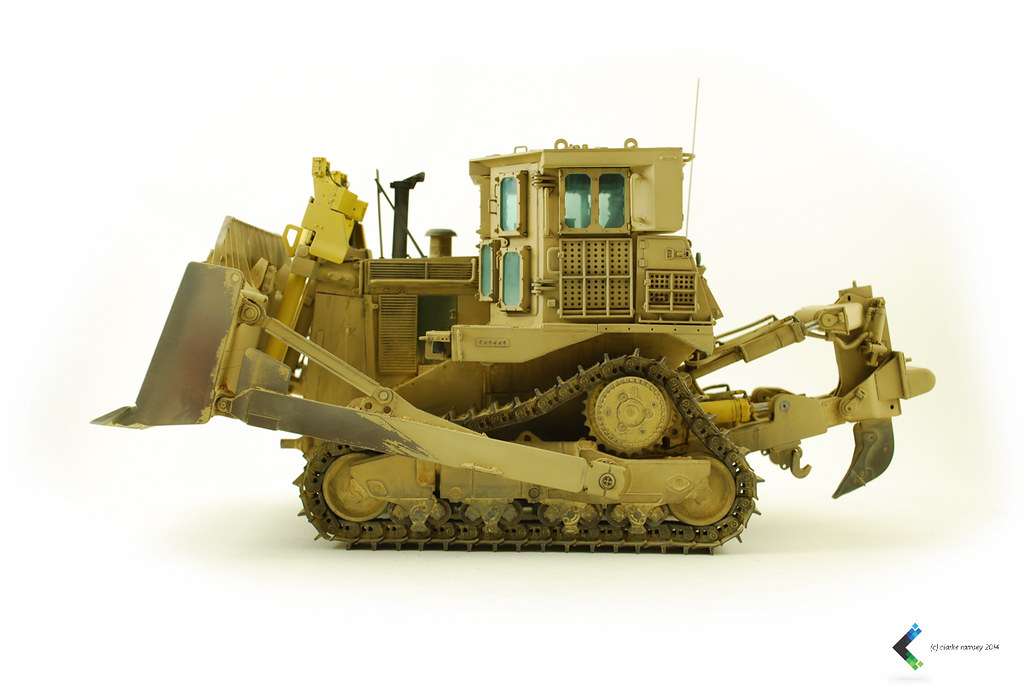
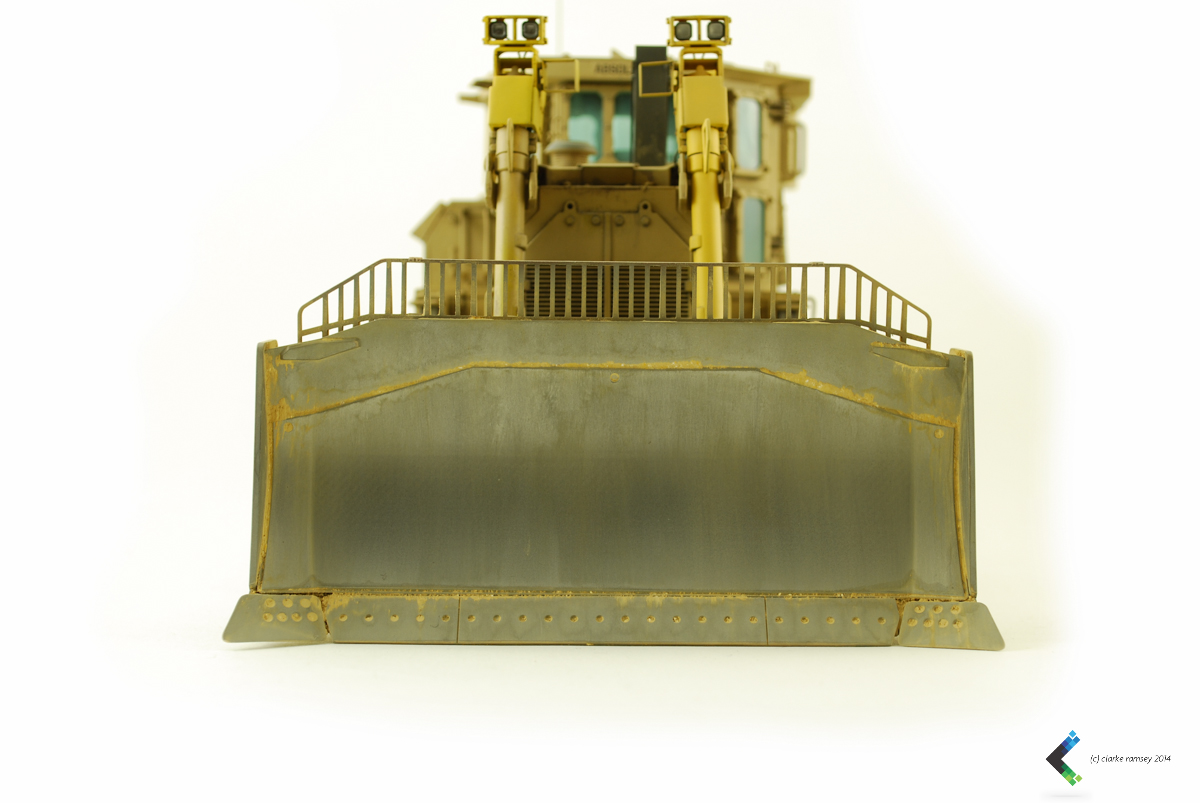
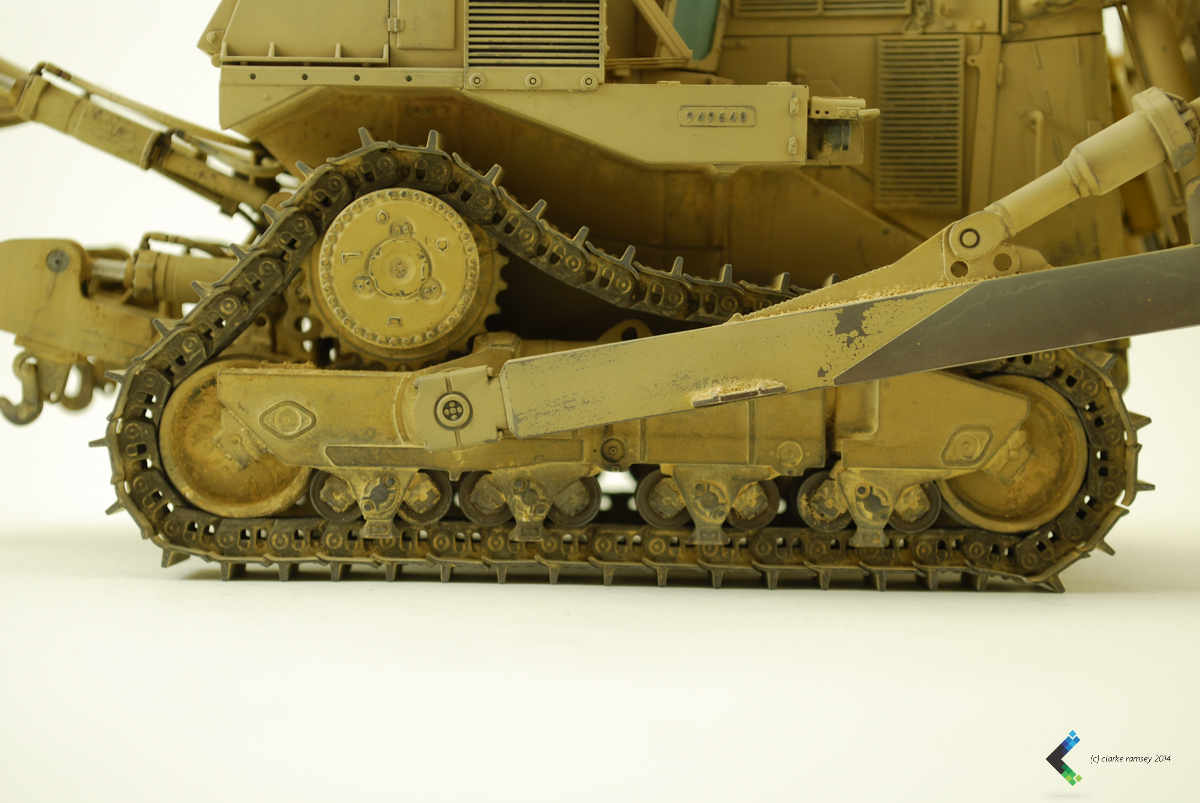
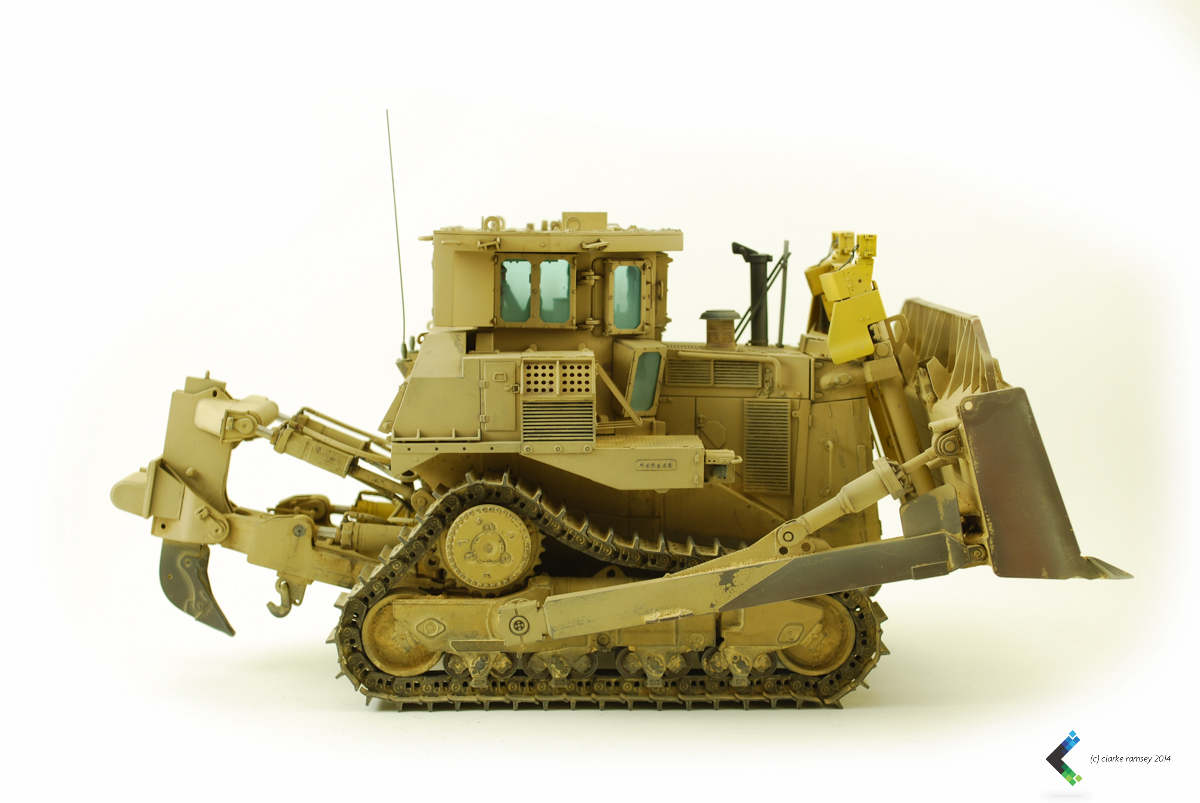
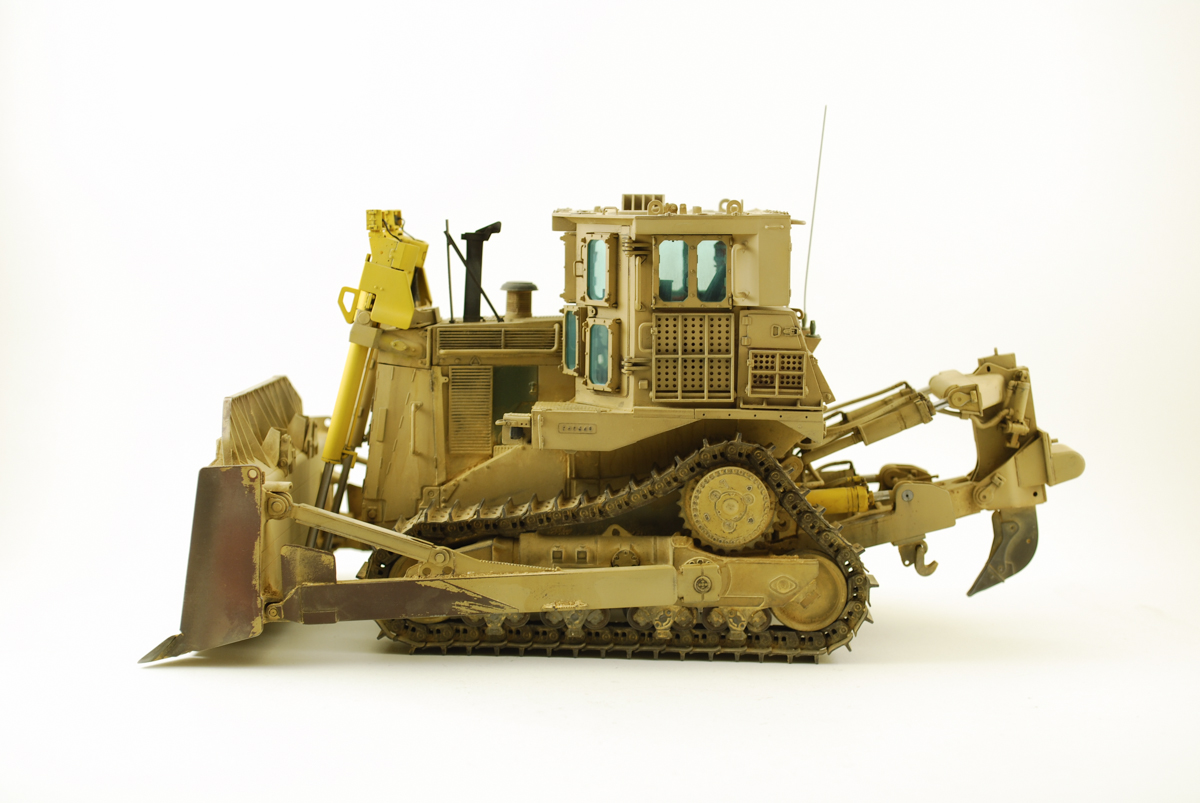
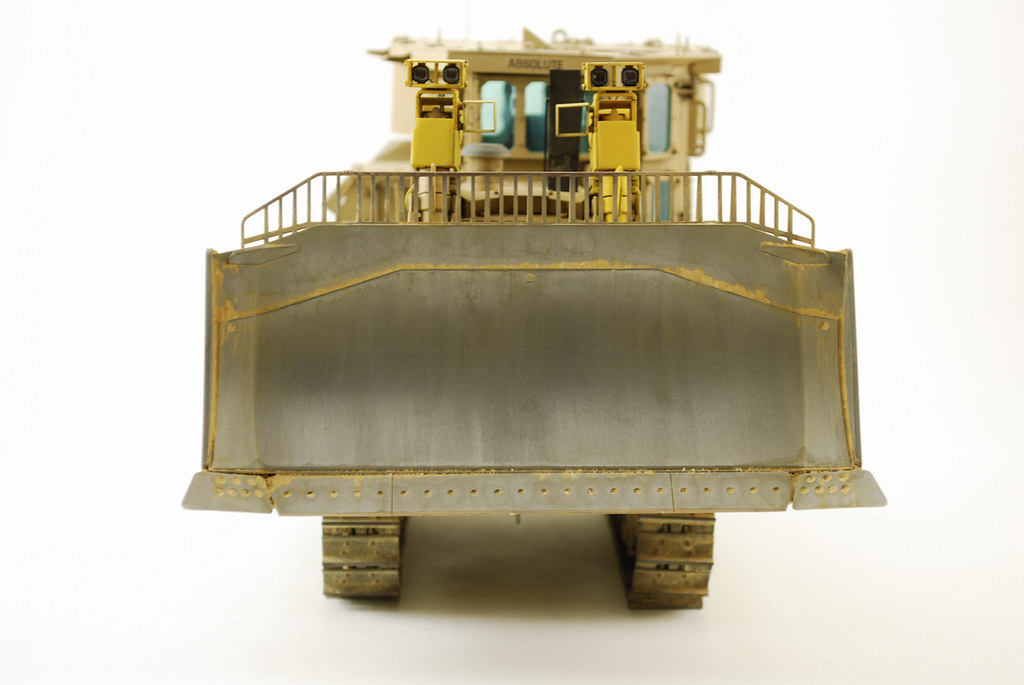
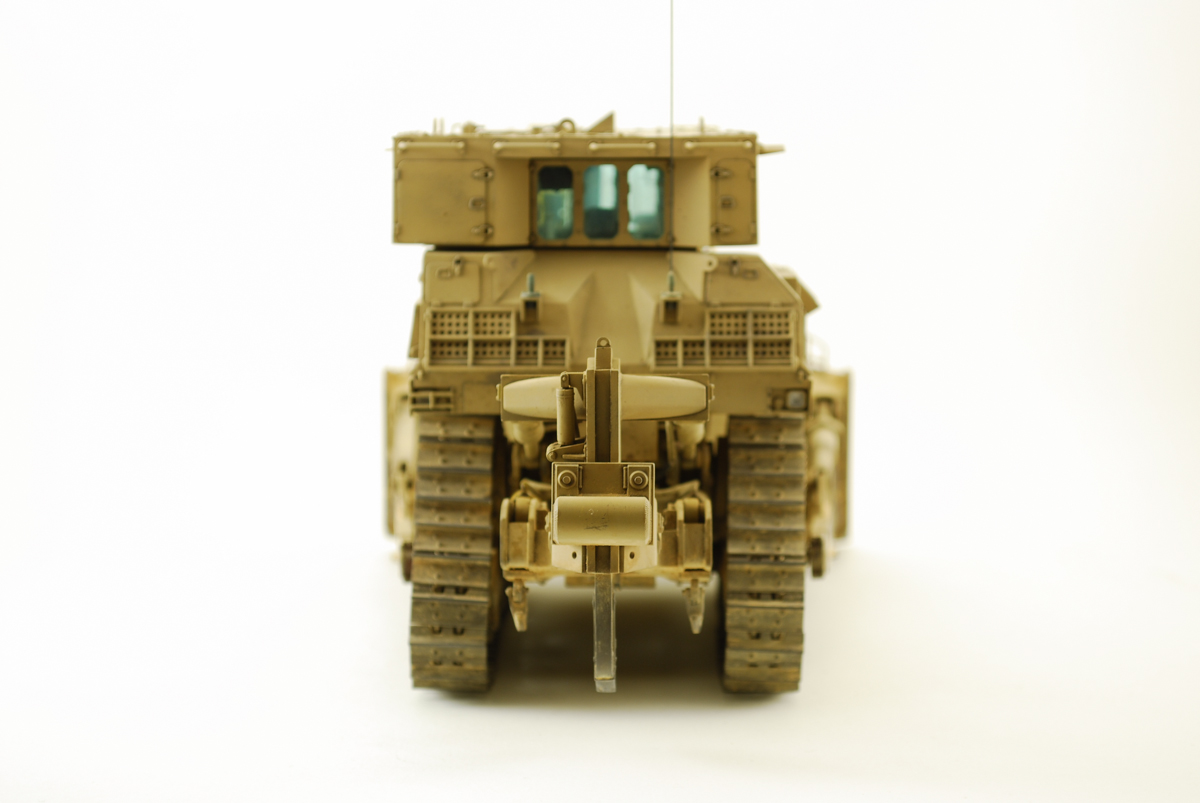
After a few months of work my Meng D9R Armored Bulldozer nicknamed Absolute is finally finished and ready to be mounted to my HET. This was and is a great project that I enjoyed every second of.


Check out my D9 gallery on Flickr.

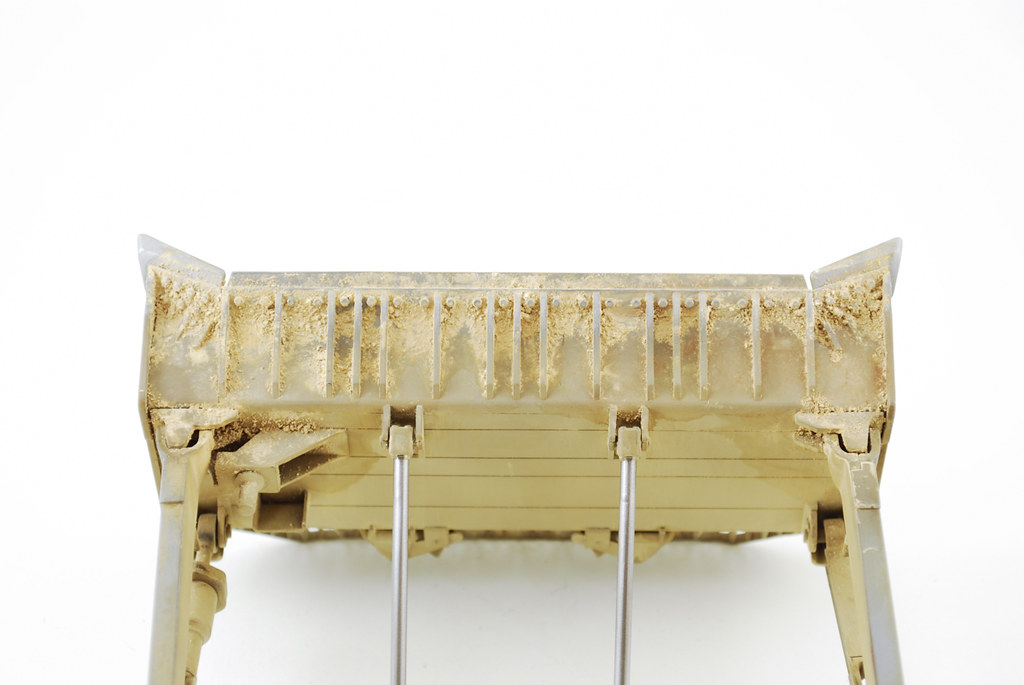
Just a bit of quick dust...


Just a little wood.

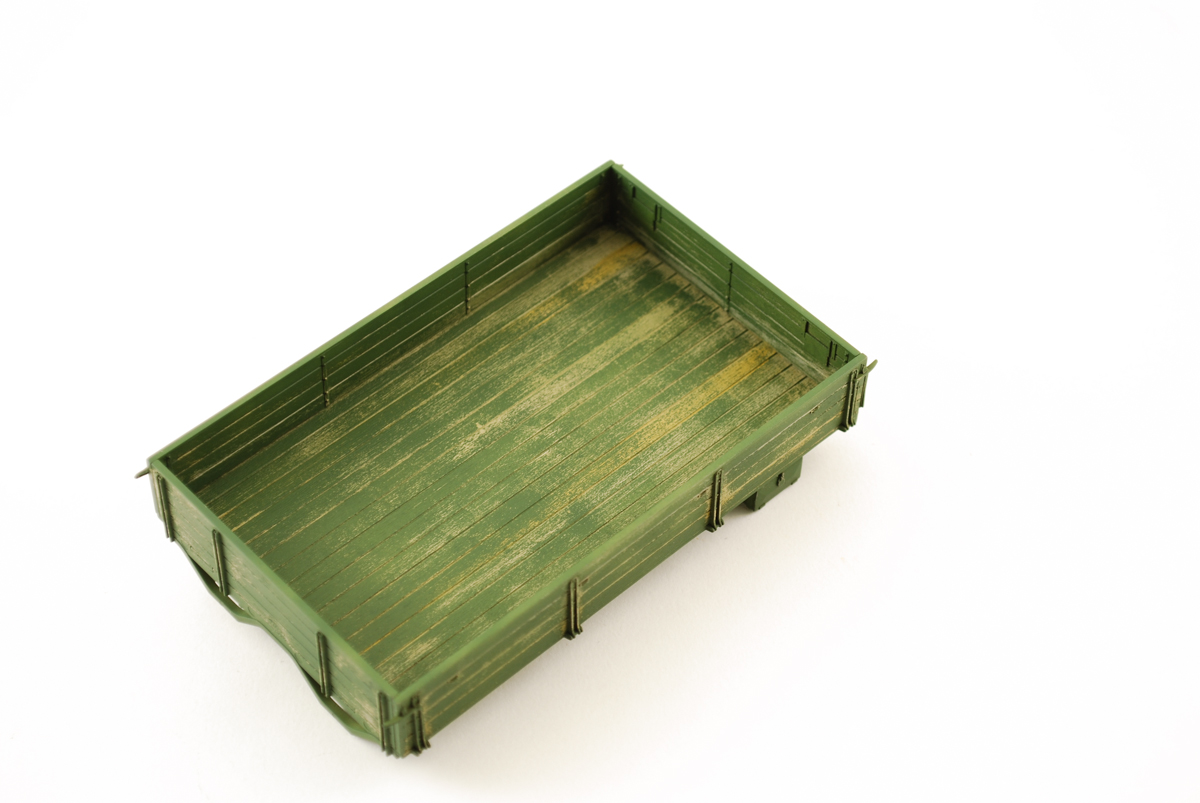
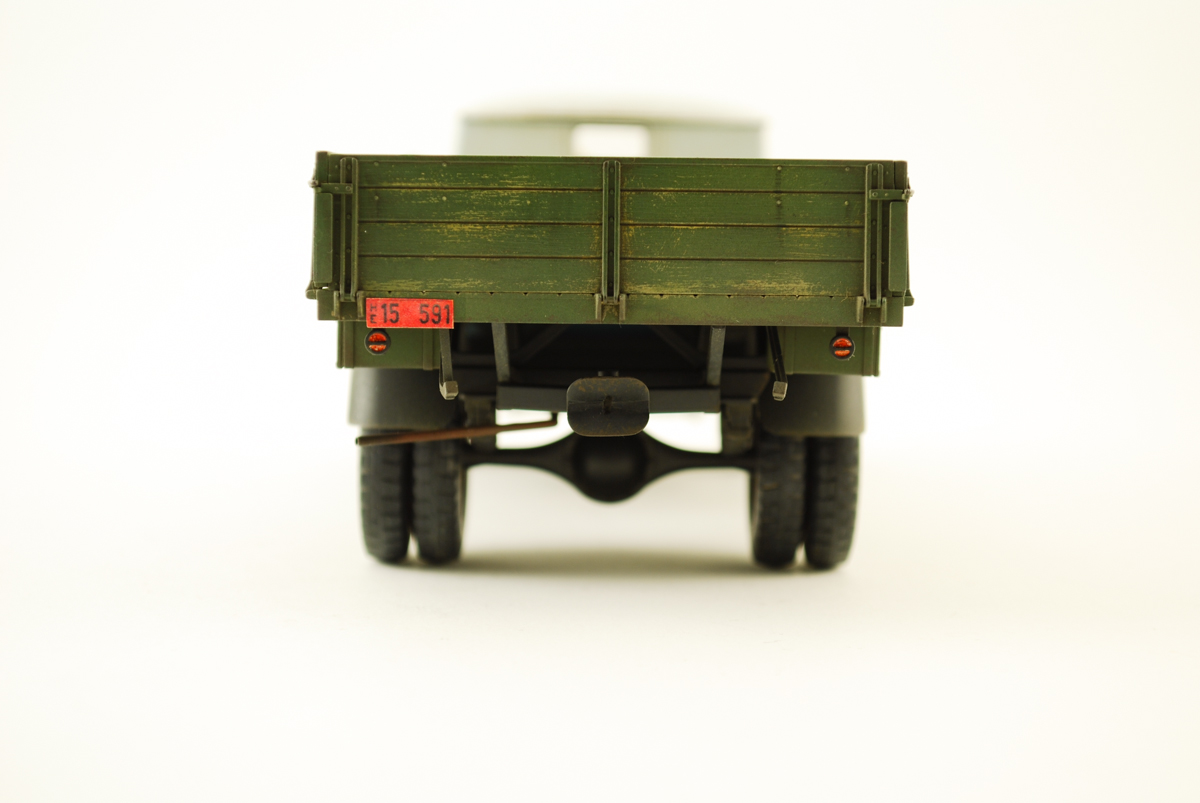
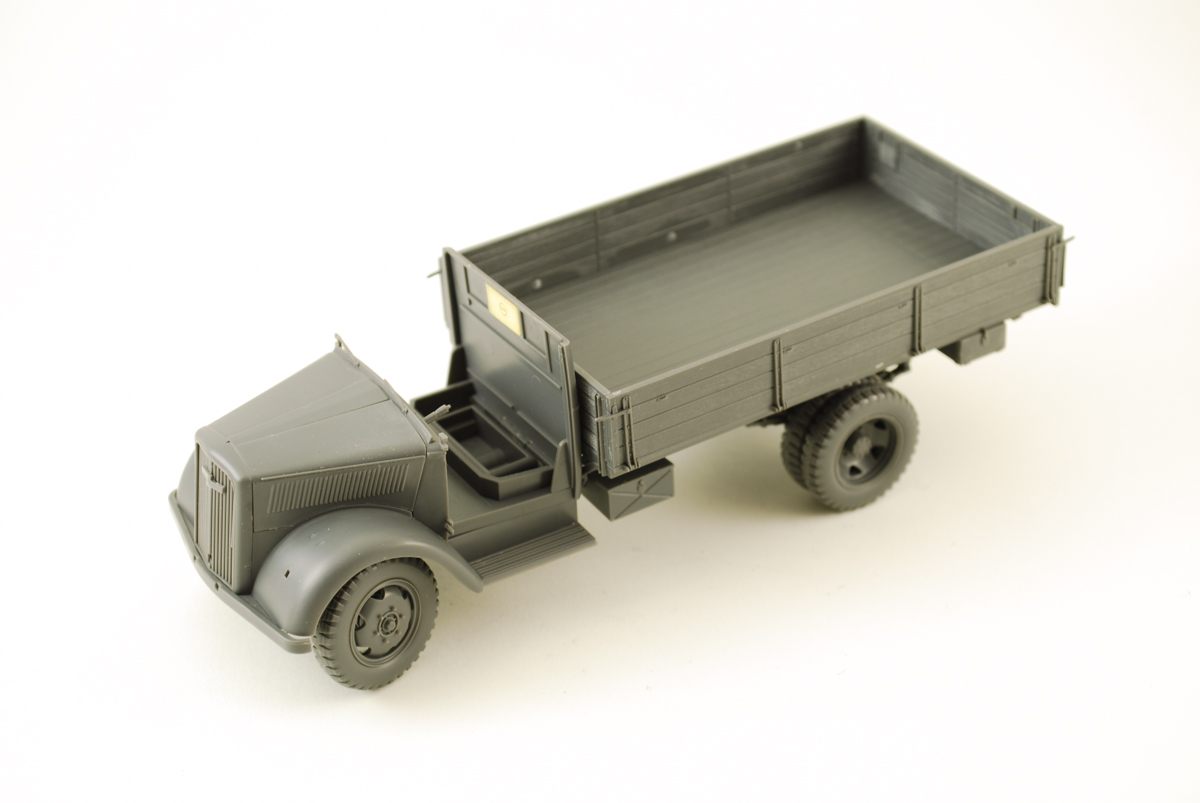
Progress continues on the Opel. The load box is coming together nicely. I started with my standard primer of Mr Surfacer 1200 with a base coat of Gunze H321 Light Brown with a light over spray of a dirty light/medium gray mix of Tamiya gray. This gave me the look of medium aged wood with some fresh wood peeking through. I then highlighted out some planks with various brown /yellow oil paints. After all of this dried for 24 hours I sealed it all with Alclad acrylic clear gloss.
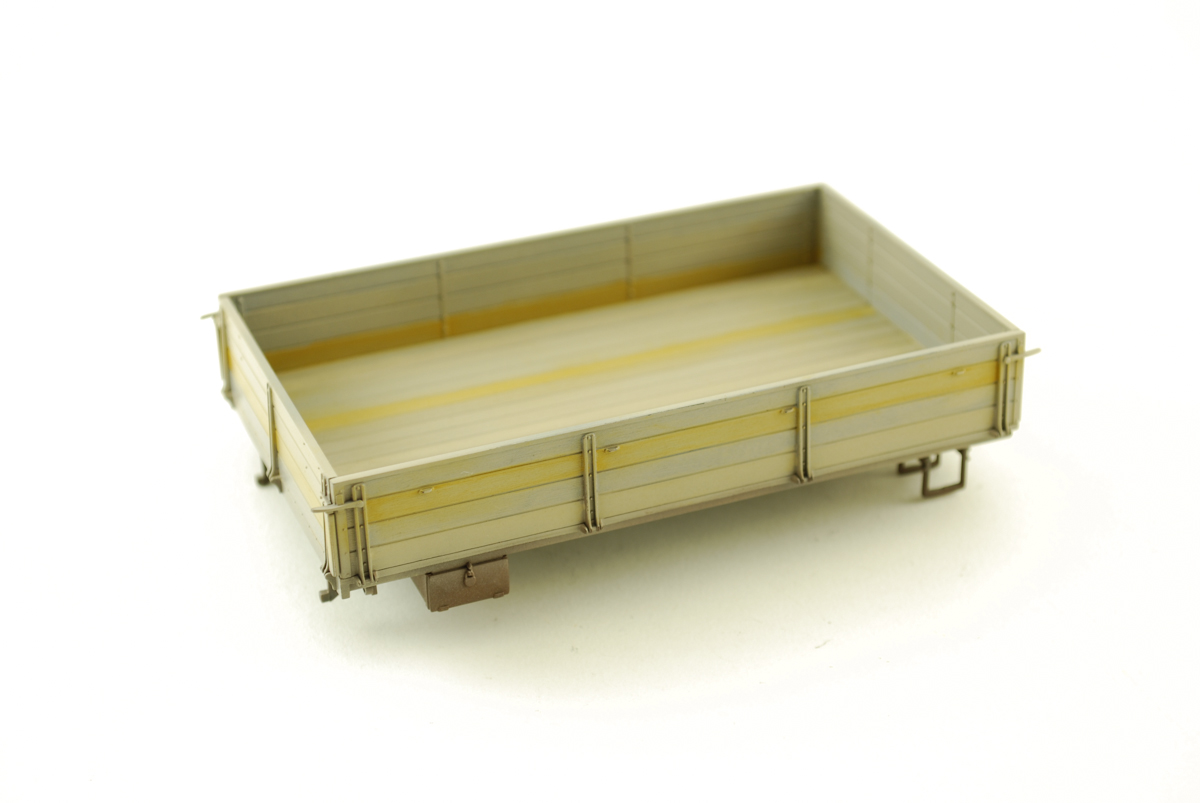
 
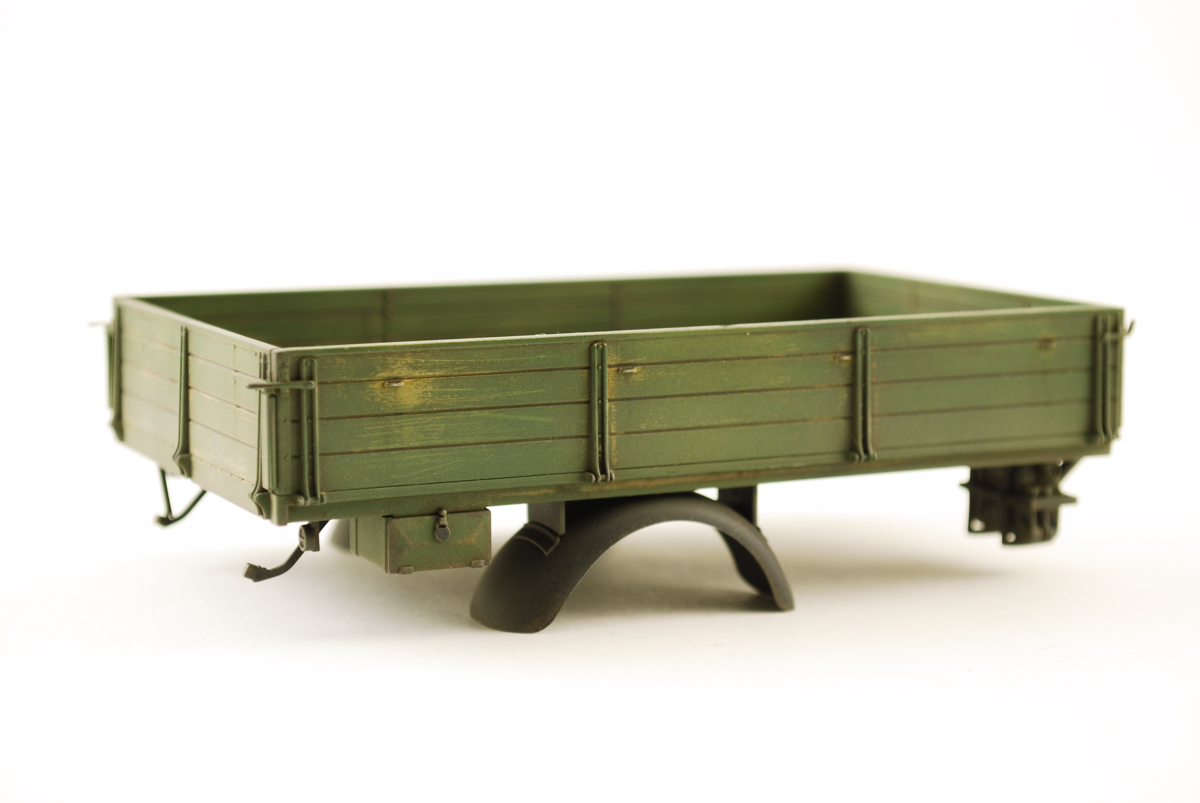
Being this truck would be a refurbished post war truck I needed to paint the bed some type of color. First a very light spray of hairspray for the chipping layer. After with my Iwata HP-BCS airbrush I thinned down some Tamiya Flat Green with lacquer thinner (1:2) from my big box home improvement store. More economical than buying the Tamiya equivalent. Lacquer thinner gives the paint a much better surface finish. I spay the first of three coats of green on very lightly. This will ensure that chipping with be very light and easy.


Chipping was done with some room temp water with a few stiff brushes and a toothpick. After I got the look that I wanted a light coat of Testors dull-cote to seal the chips. 

A wash mix of AK Interactive browns was applied and then sealed with Testors clear flat.

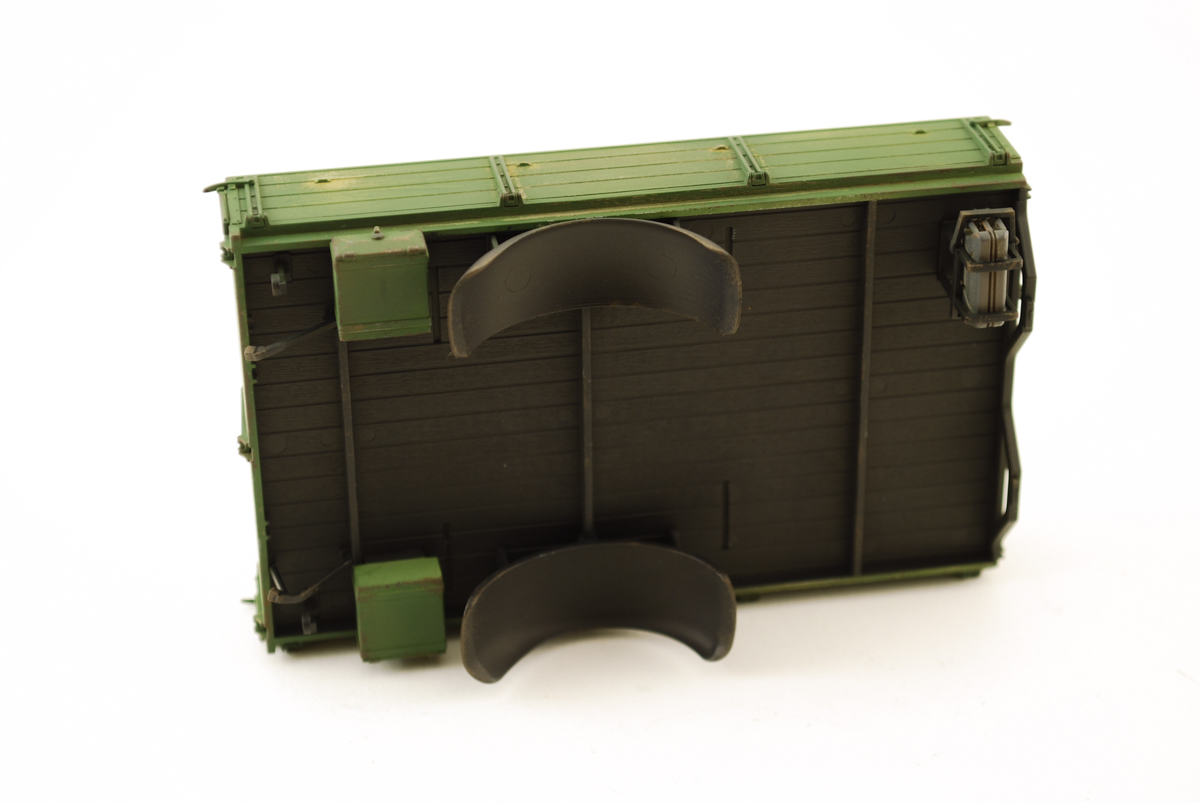
Attention was then given to the underside of the bed. The rear fenders were left off till painted. A Vallejo Black and German grey mix was airbrushed underside. Chipping was done with Vallejo as the rest of the model.


With the details painted and attached to the bed I airbrushed the first layer of underside dust. Humbrol 72 and lacquer thinner. After a few ours of drying I had attached the load box to the rear chassis.

The cab need a bit more detail. Some chrome was applied to the hood and doors. A good 12/0 brush and some Testors chrome did the trick.


I had realized I damaged the top of the doors somehow while initially building. So this just would not look quite right. There is a bit of a gap at the top of each. Let just say they got damaged while cleaning up after the war. The drivers window was cut and removed to simulate it in it's lowered state. Some windshield wiper mask applied for the last dust layer to be applied, were created and saved from my last Opel build.

As this being a civilian truck it need some license plates. After a quick internet search I found a few via Google Images. Printed and standard white paper and sealed with future. I'm not sure if they are period correct, but they look good to me.


A bit more to do with this project . Dust, pigments and a bit of mud to be applied. Still not sure that the load will be. Suggestions always welcome.

Monday, January 06, 2014

Almost finished...

With the new year comes more time, and with more time comes some progress on the D9R. With all of the major components assembled, painted and attached I finally started the weathering. These bulldozers are used currently in Iraq and Afghanistan with the USA and the USMC so a dusty appearance is needed. 

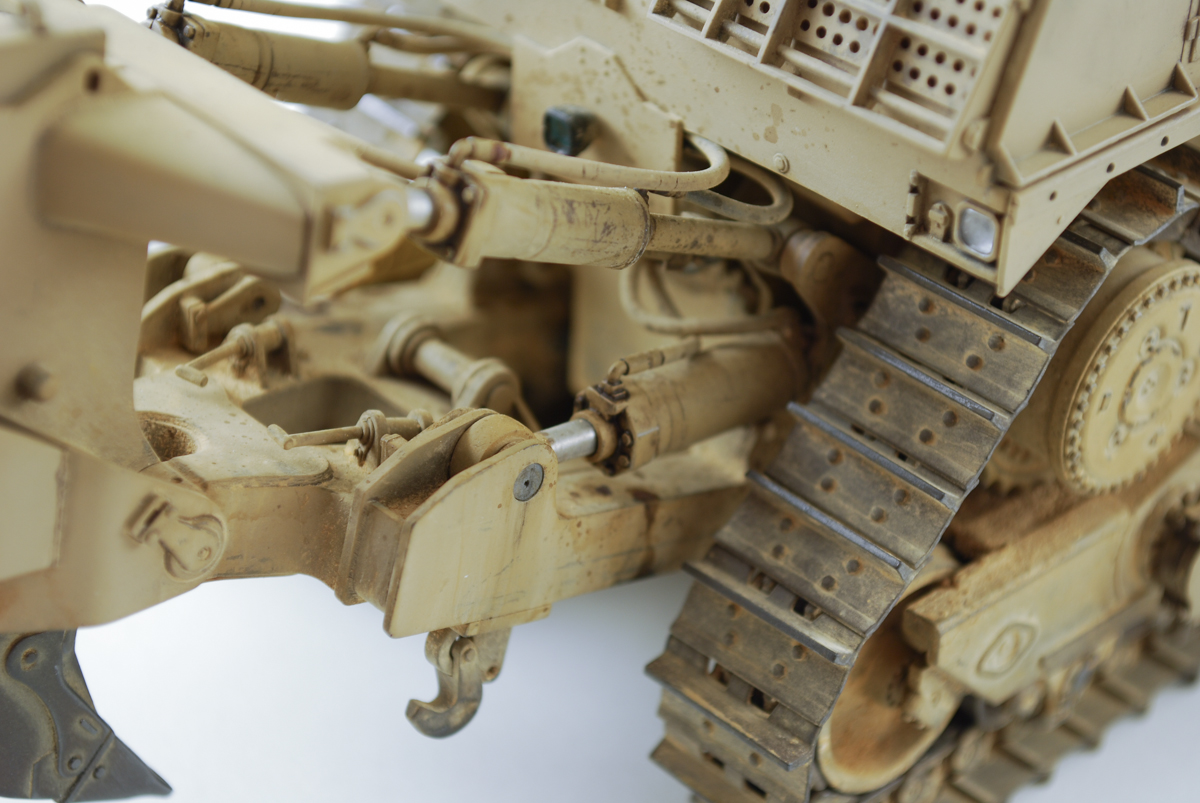
Details are with Vallejo paints and AK Interactive washes applied on the model. MIG pigments Iraqi Sand and Light Dust were mixed up and applied with white spirits and fixer. As with pigments I always take my time. It's very easy to go too far.
Tracks were airbrushed a rusty brown mix with Tamiya paints. A brown was applied and pigments applied. Then a rub with a graphite bar. With all of the craziness of building a model I have misplaced one of the hydraulic rams that controls the lateral angel of the blade. With one or two more things to finish up I think I'll be finished up by the weekend.


Full set of images.
http://flic.kr/s/aHsjJ7ZTHG

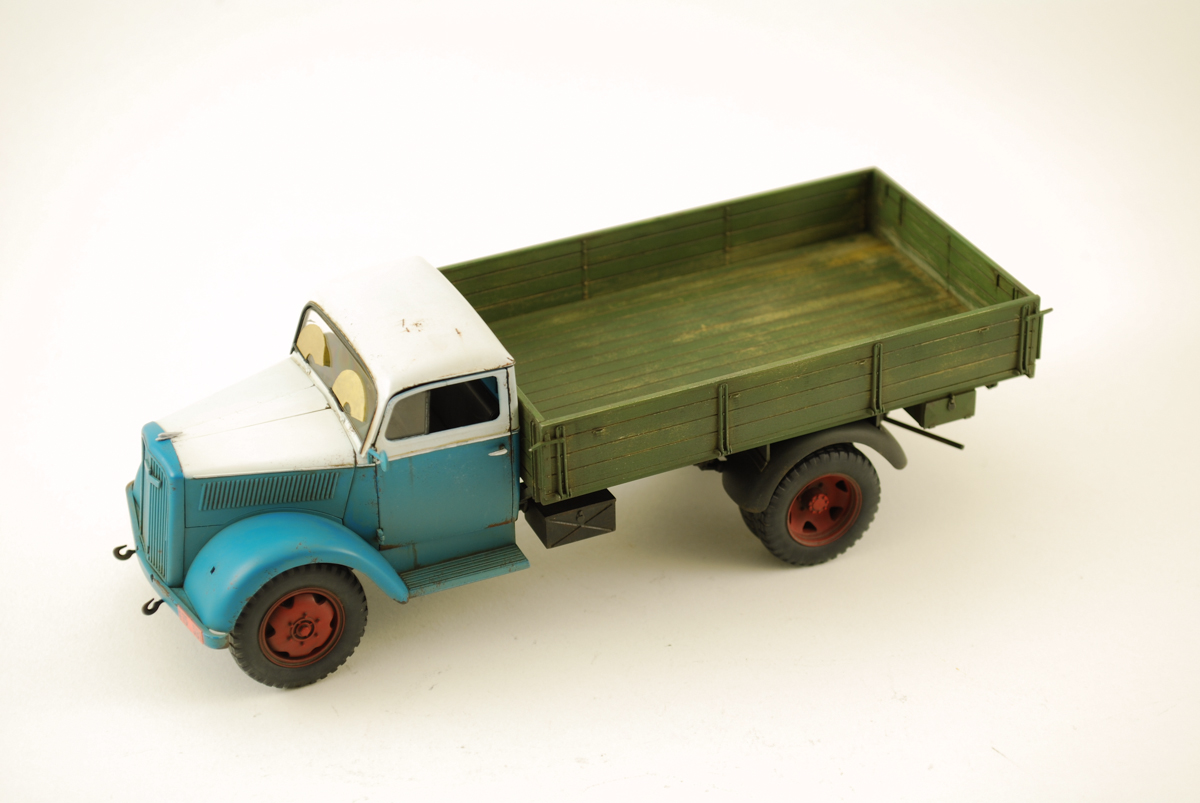
Civilian Opel Blitz

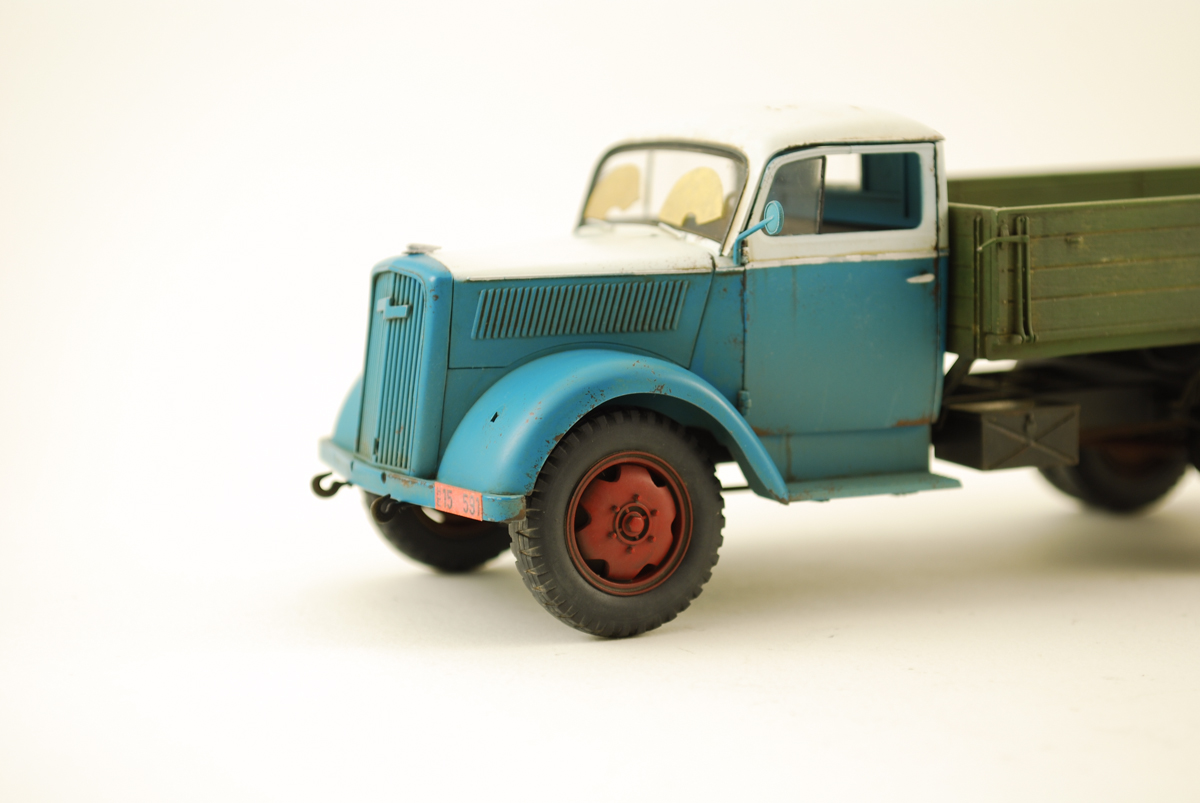
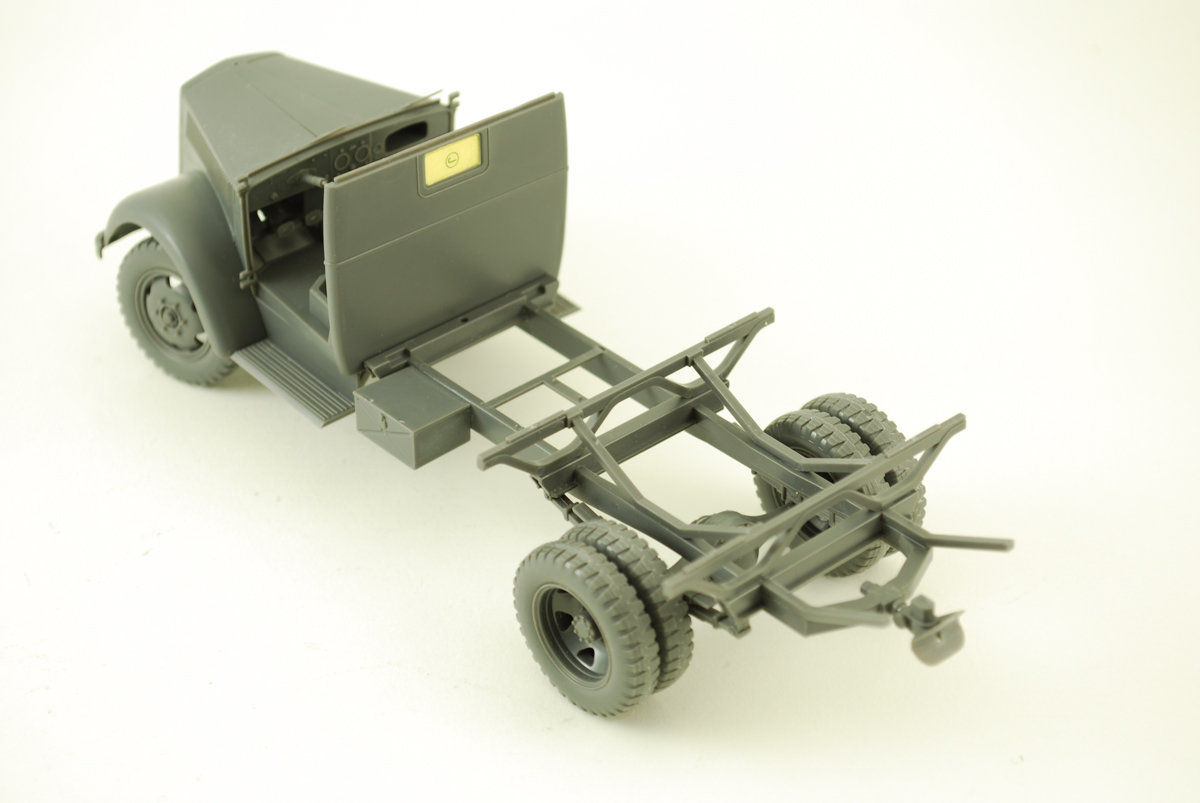
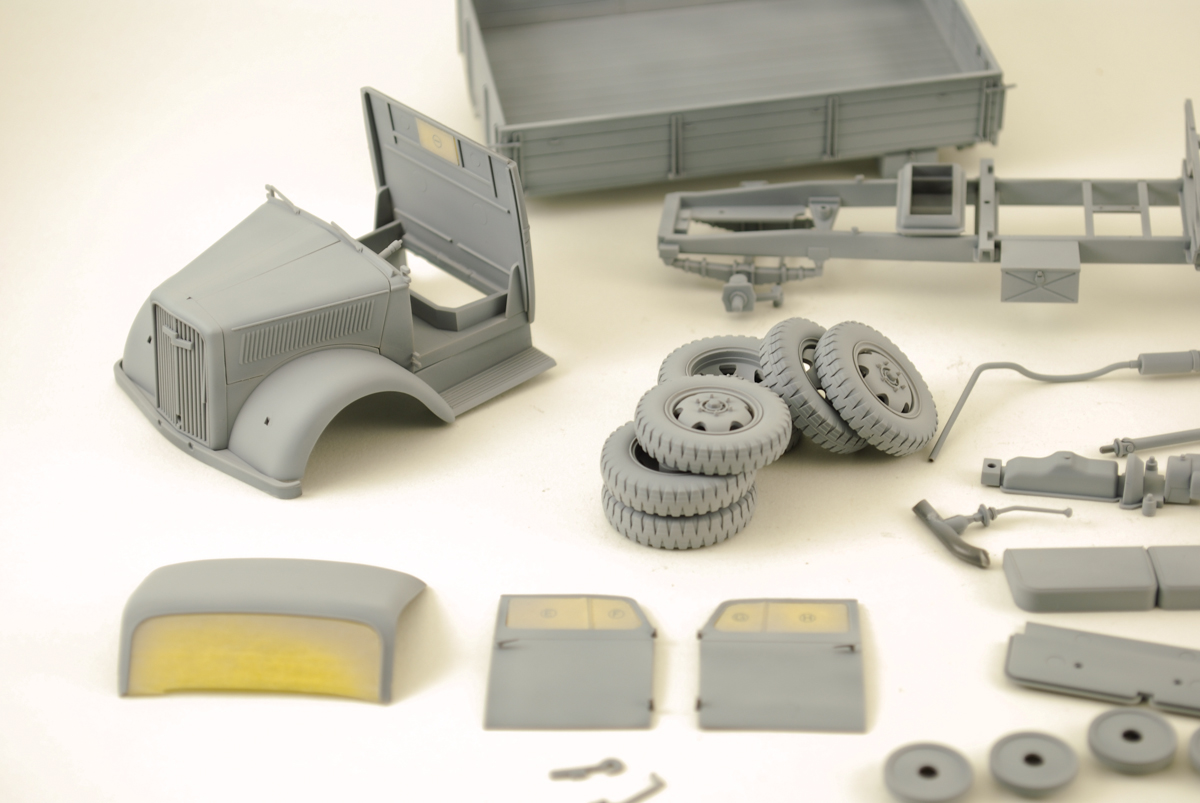
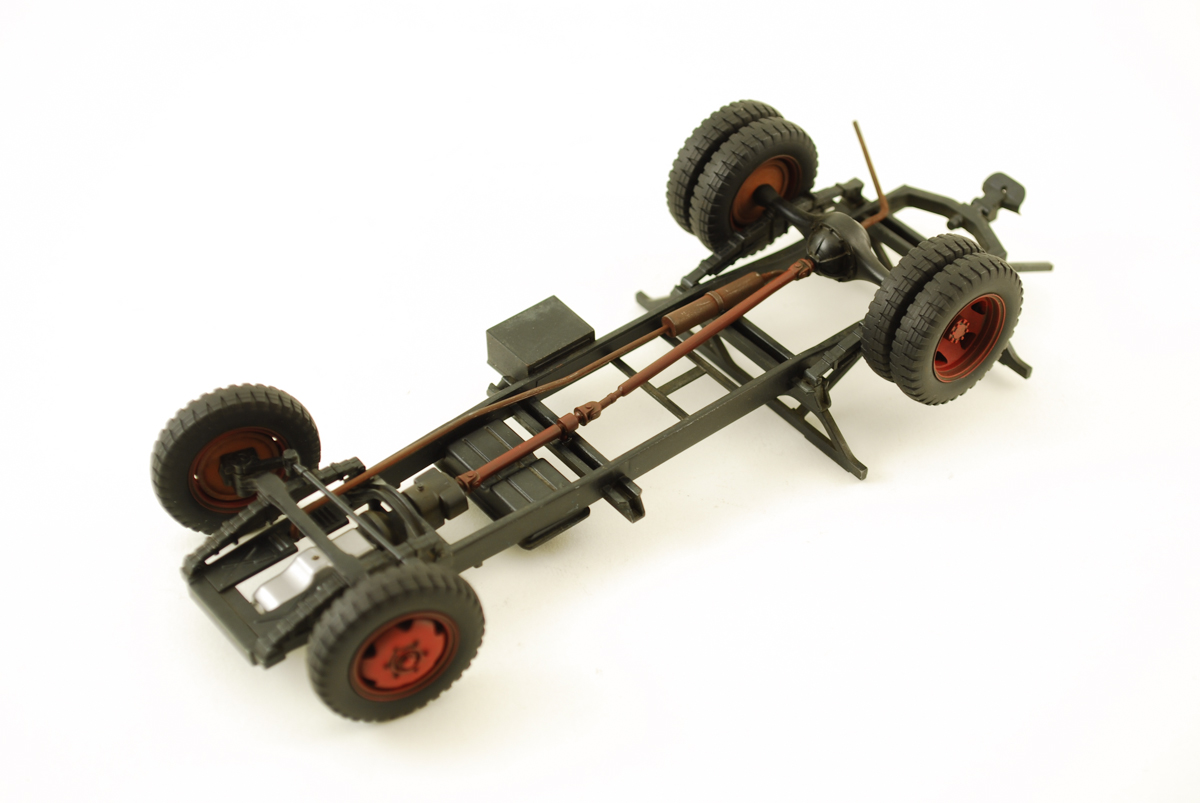
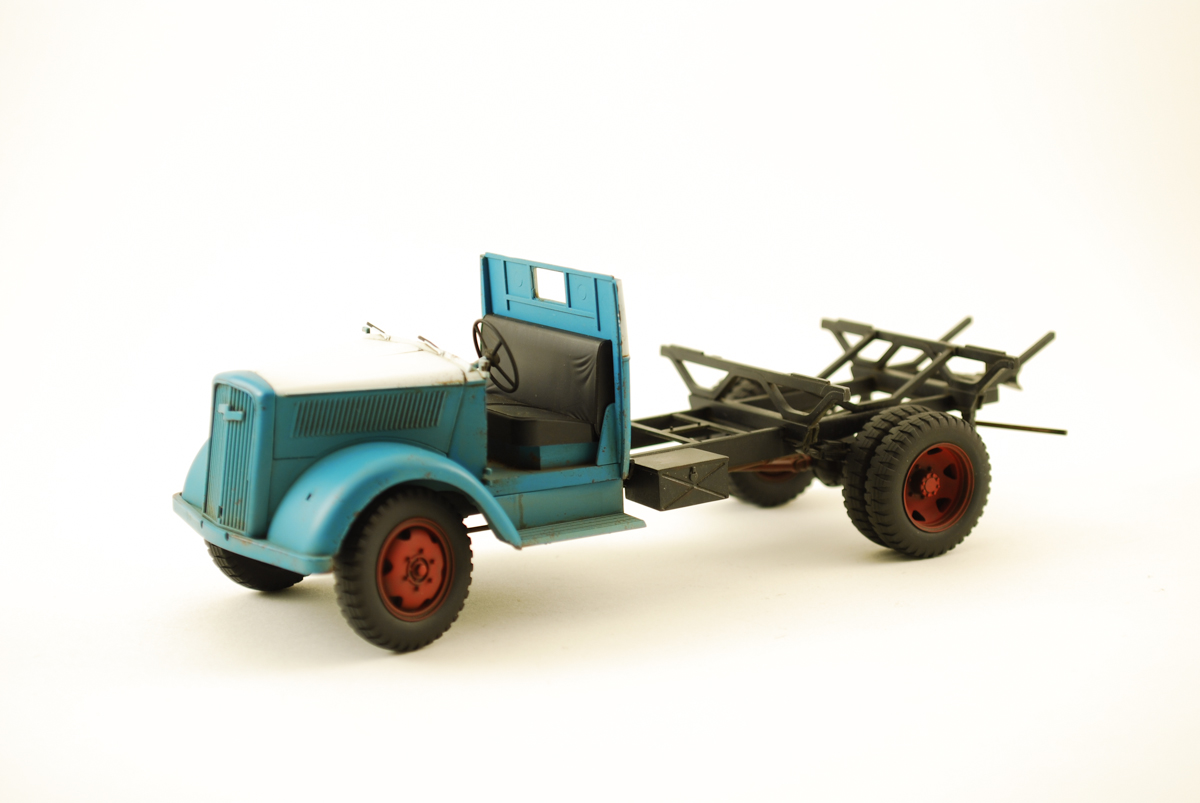
While cleaning out my office a few months ago I came across a Tamiya Opel Blitz truck. I decided to take it from the "stash area" to the "bench area". With the holidays these past weeks I've made some progress. This is my first time building the Tamiya kit and it goes together with one major issue.

When I reopened the box there was a little note I had left myself. " Headlights Missing, used on other kit. Find replacements..." So with that, this will be a Civilian Opel Blitz - without headlights.

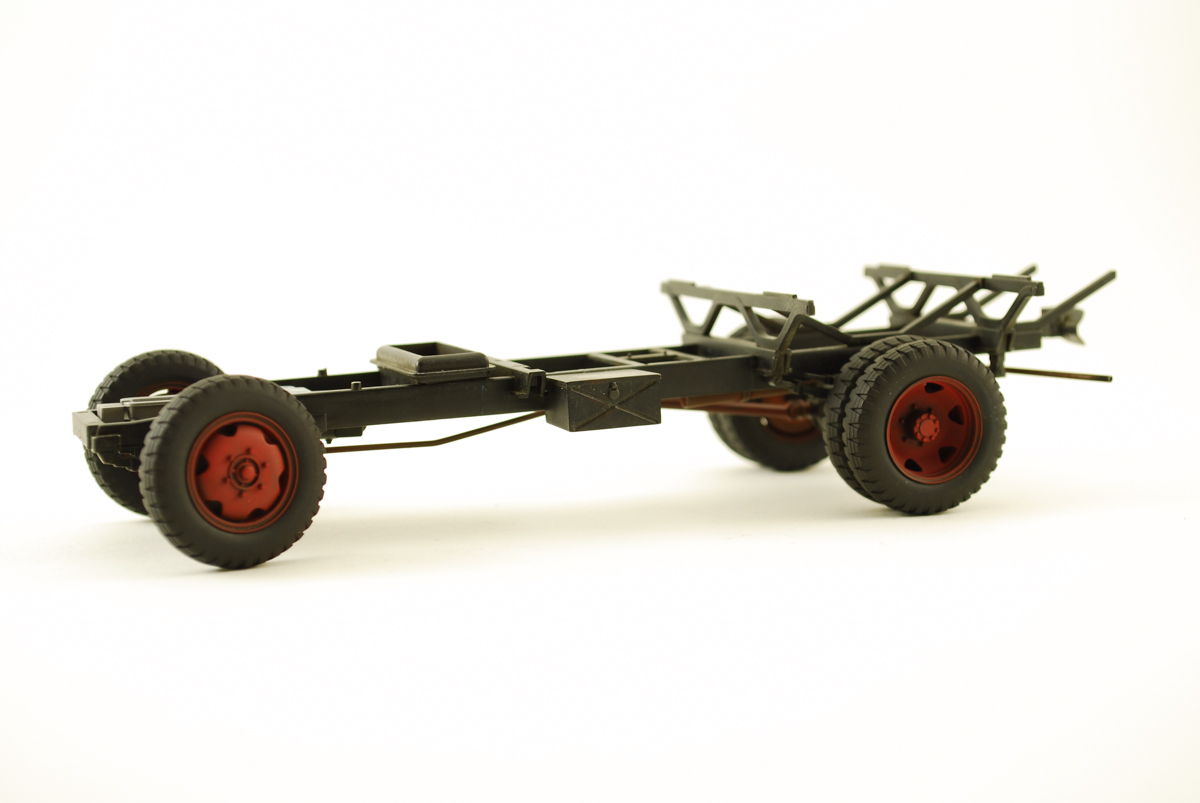
When I decided to go civilian, I had to decide on colors. A odd teal color mix with a white roof with Vallejo colors was applied to the cab. Red wheel hubs (Gunze), and a black chassis also using Vallejo once again. Some light chipping and rust effects were applied on the cab with Vallejo 70822/70862 & a 12/0 brush.

AK Interactive washes applied to details with a very light coat of Humbrol 72  airbrushed for the first layer of dust.


Full set of images...
http://flic.kr/s/aHsjQdL4RA