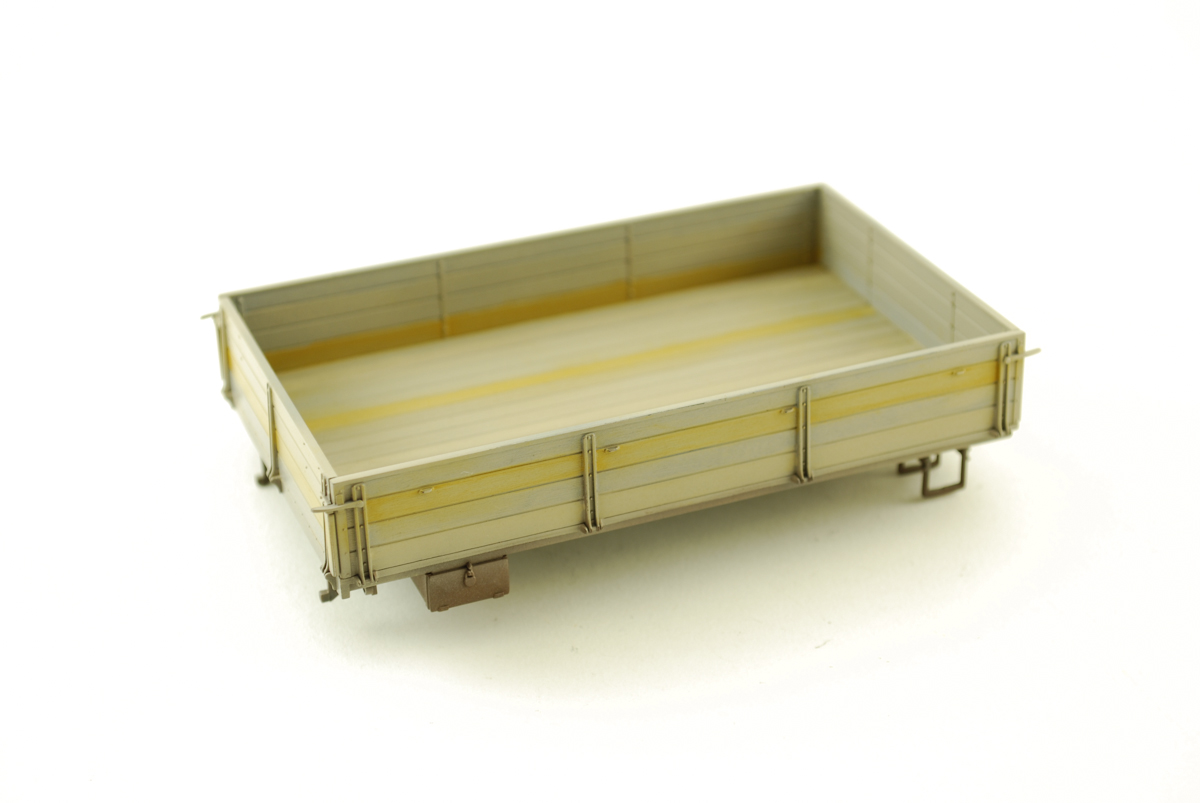
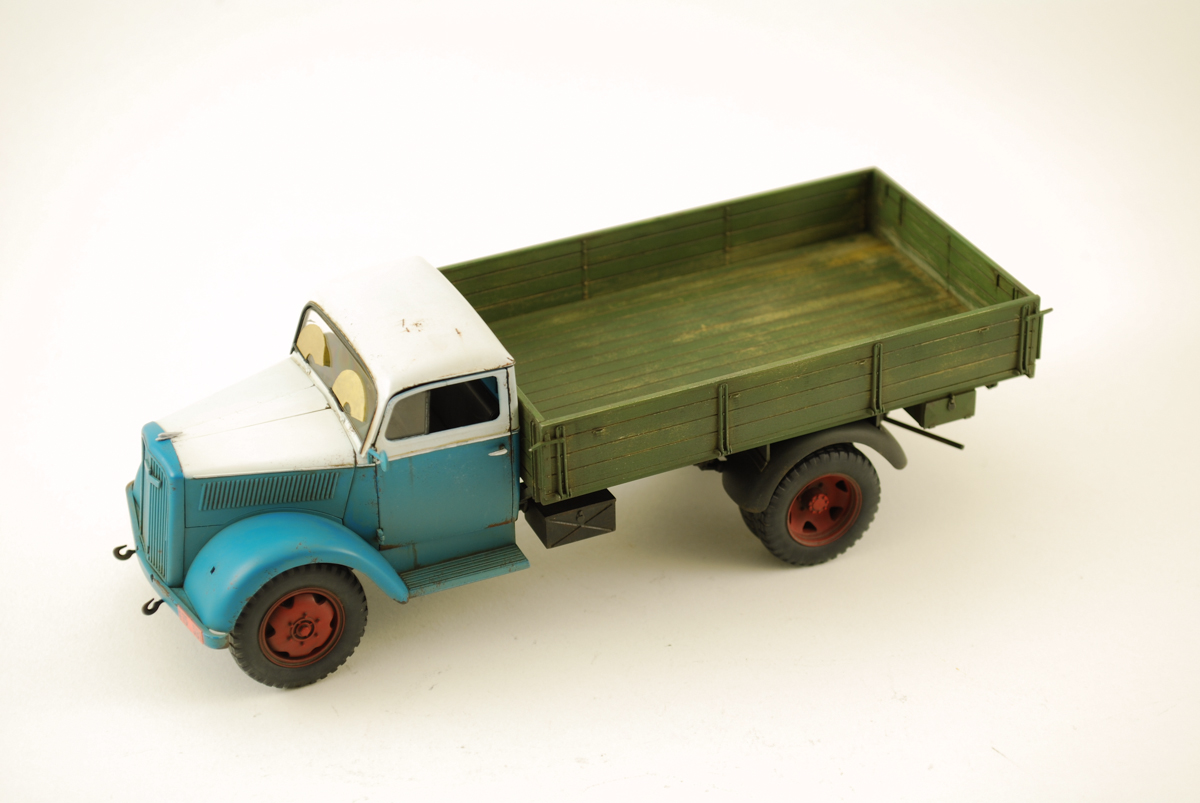
Progress continues on the Opel. The load box is coming together nicely. I started with my standard primer of Mr Surfacer 1200 with a base coat of Gunze H321 Light Brown with a light over spray of a dirty light/medium gray mix of Tamiya gray. This gave me the look of medium aged wood with some fresh wood peeking through. I then highlighted out some planks with various brown /yellow oil paints. After all of this dried for 24 hours I sealed it all with Alclad acrylic clear gloss.
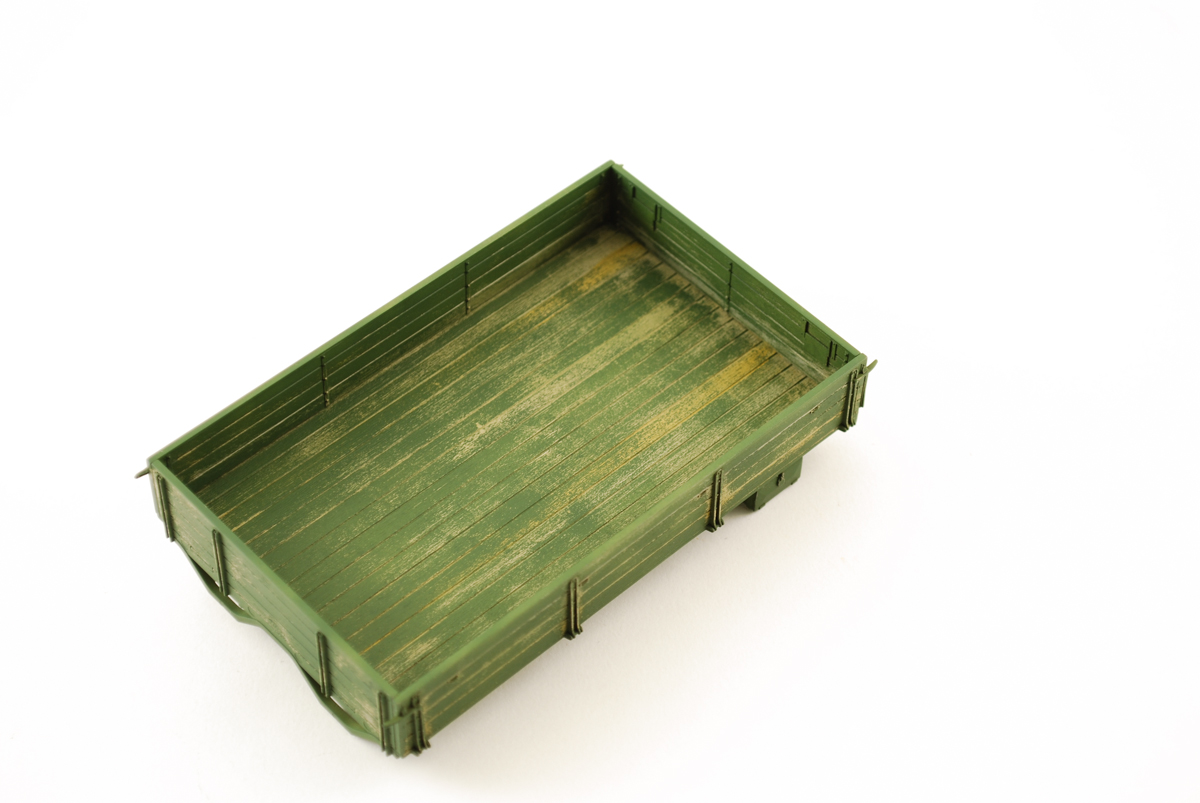
Being this truck would be a refurbished post war truck I needed to paint the bed some type of color. First a very light spray of hairspray for the chipping layer. After with my Iwata HP-BCS airbrush I thinned down some Tamiya Flat Green with lacquer thinner (1:2) from my big box home improvement store. More economical than buying the Tamiya equivalent. Lacquer thinner gives the paint a much better surface finish. I spay the first of three coats of green on very lightly. This will ensure that chipping with be very light and easy.
Chipping was done with some room temp water with a few stiff brushes and a toothpick. After I got the look that I wanted a light coat of Testors dull-cote to seal the chips.
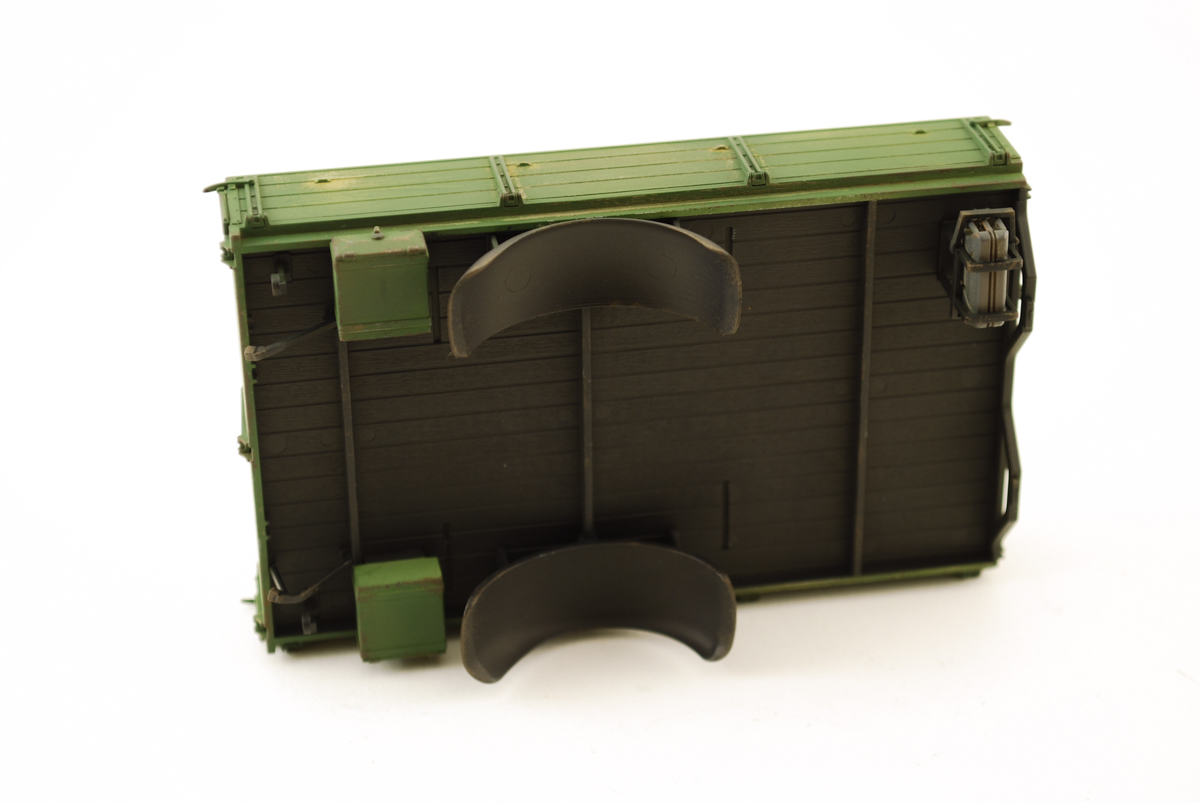
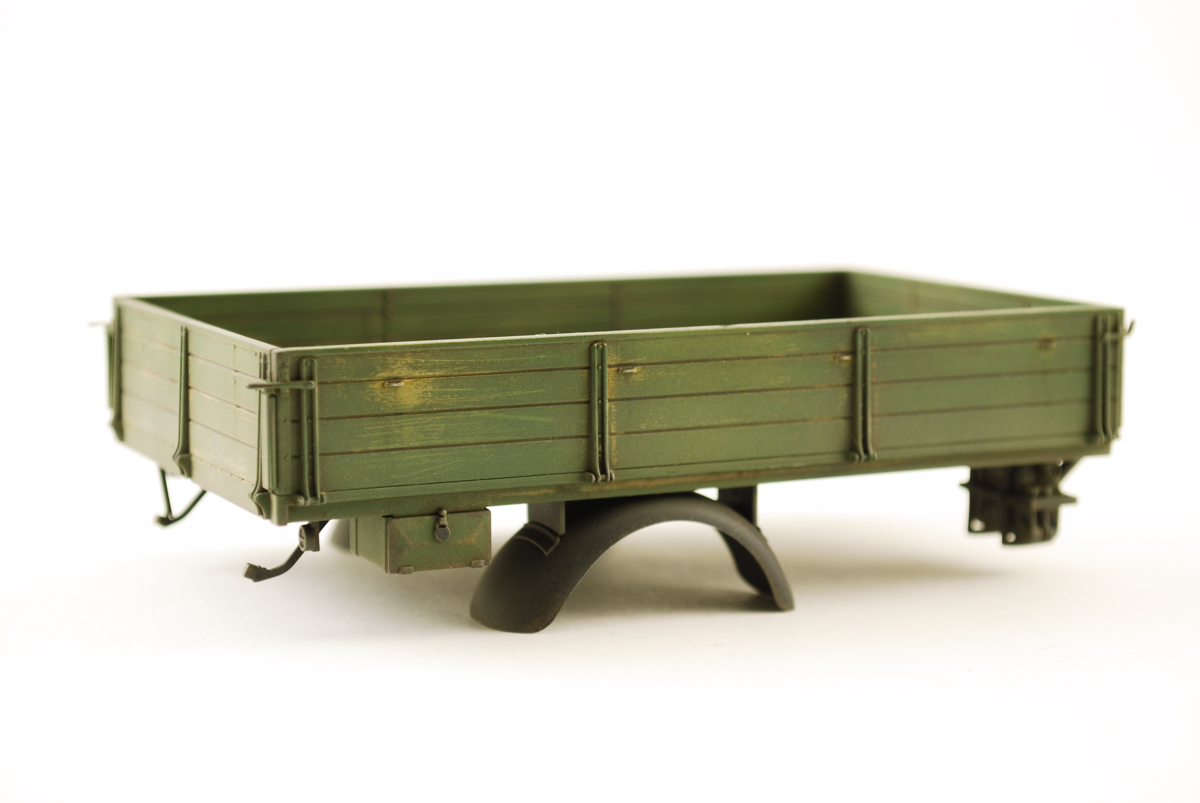
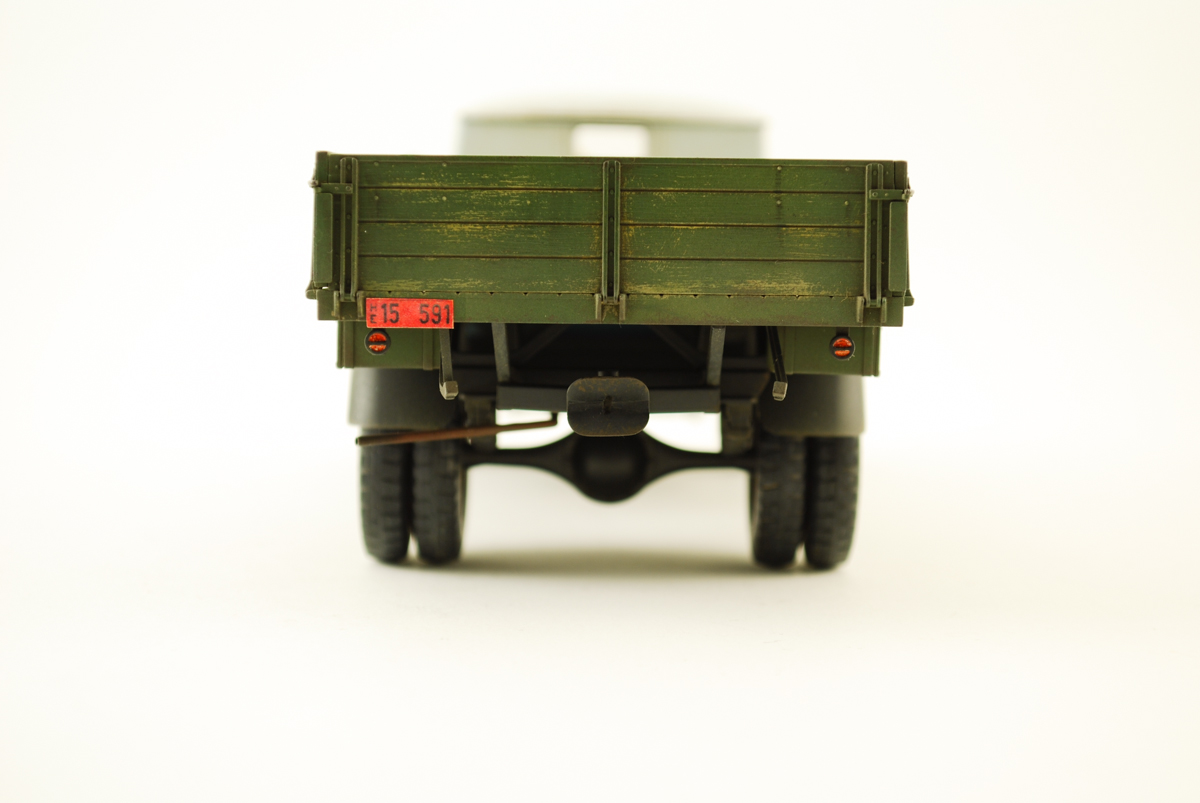
Attention was then given to the underside of the bed. The rear fenders were left off till painted. A Vallejo Black and German grey mix was airbrushed underside. Chipping was done with Vallejo as the rest of the model.
With the details painted and attached to the bed I airbrushed the first layer of underside dust. Humbrol 72 and lacquer thinner. After a few ours of drying I had attached the load box to the rear chassis.
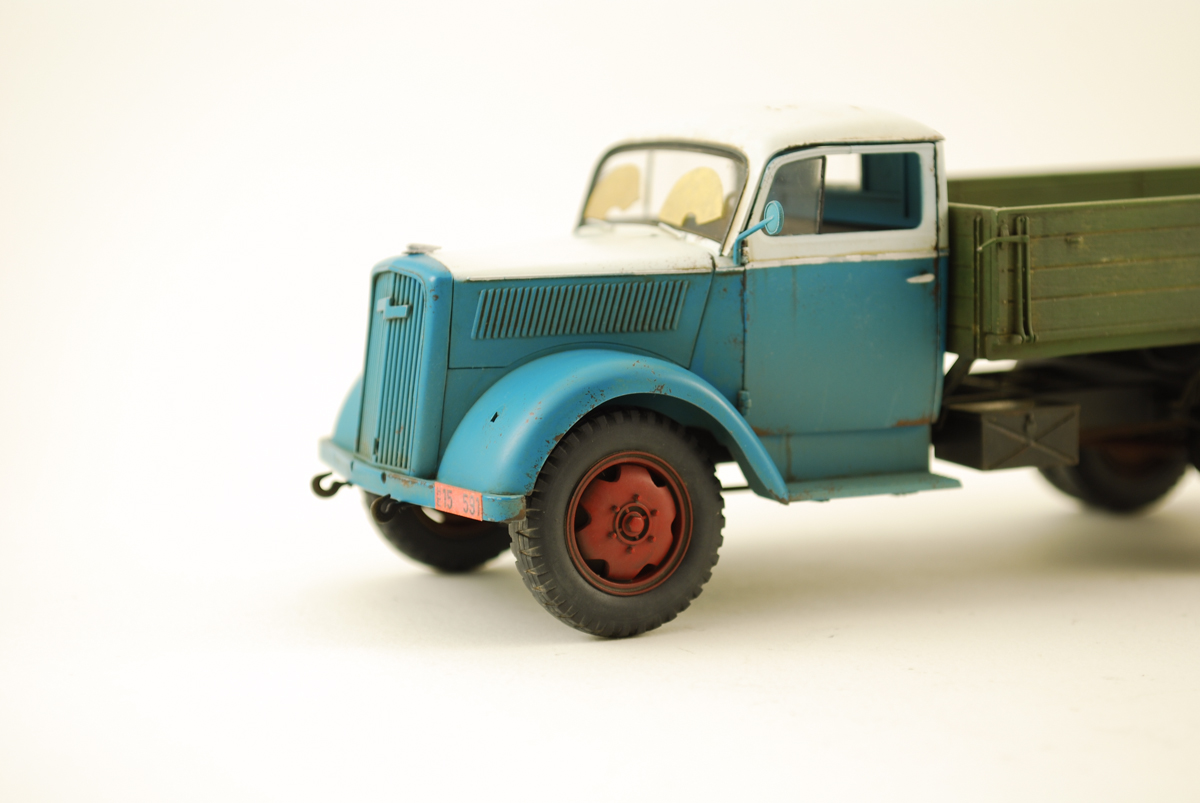
The cab need a bit more detail. Some chrome was applied to the hood and doors. A good 12/0 brush and some Testors chrome did the trick.
I had realized I damaged the top of the doors somehow while initially building. So this just would not look quite right. There is a bit of a gap at the top of each. Let just say they got damaged while cleaning up after the war. The drivers window was cut and removed to simulate it in it's lowered state. Some windshield wiper mask applied for the last dust layer to be applied, were created and saved from my last Opel build.
As this being a civilian truck it need some license plates. After a quick internet search I found a few via Google Images. Printed and standard white paper and sealed with future. I'm not sure if they are period correct, but they look good to me.
A bit more to do with this project . Dust, pigments and a bit of mud to be applied. Still not sure that the load will be. Suggestions always welcome.
