Sunday, October 27, 2013

Tan 686 or Tan 686?

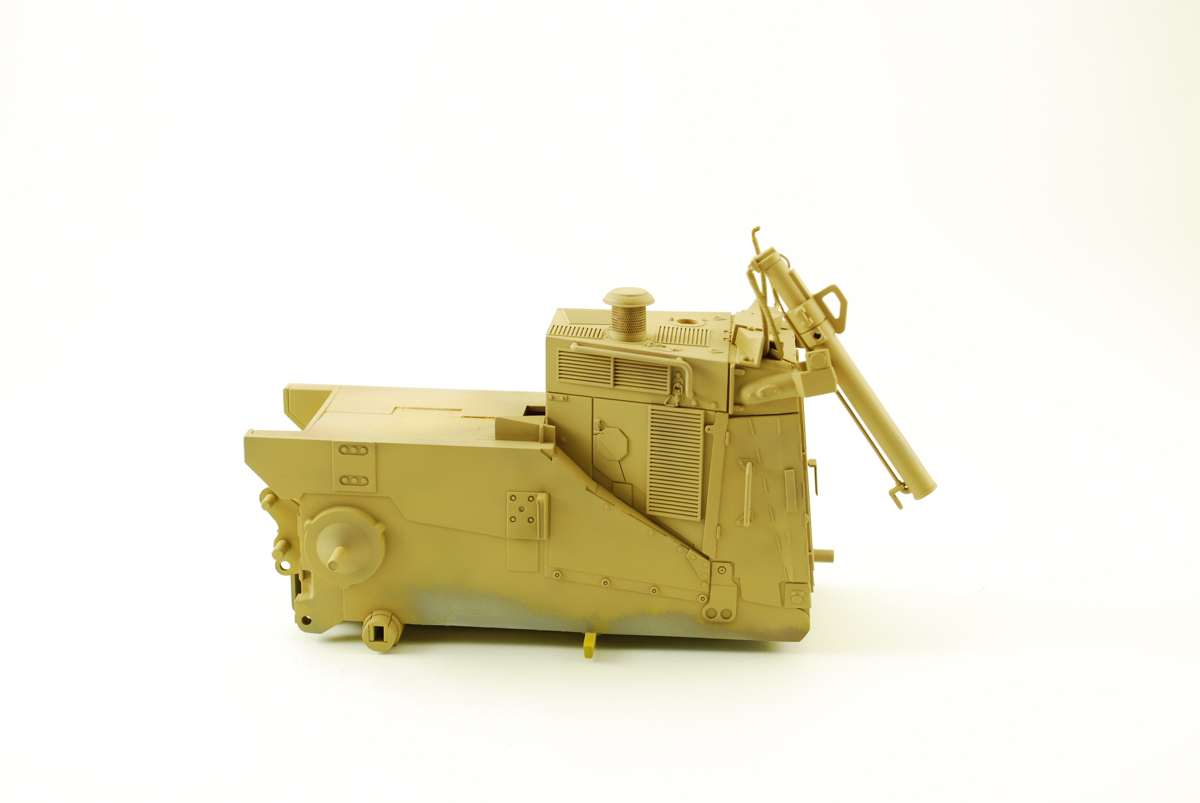
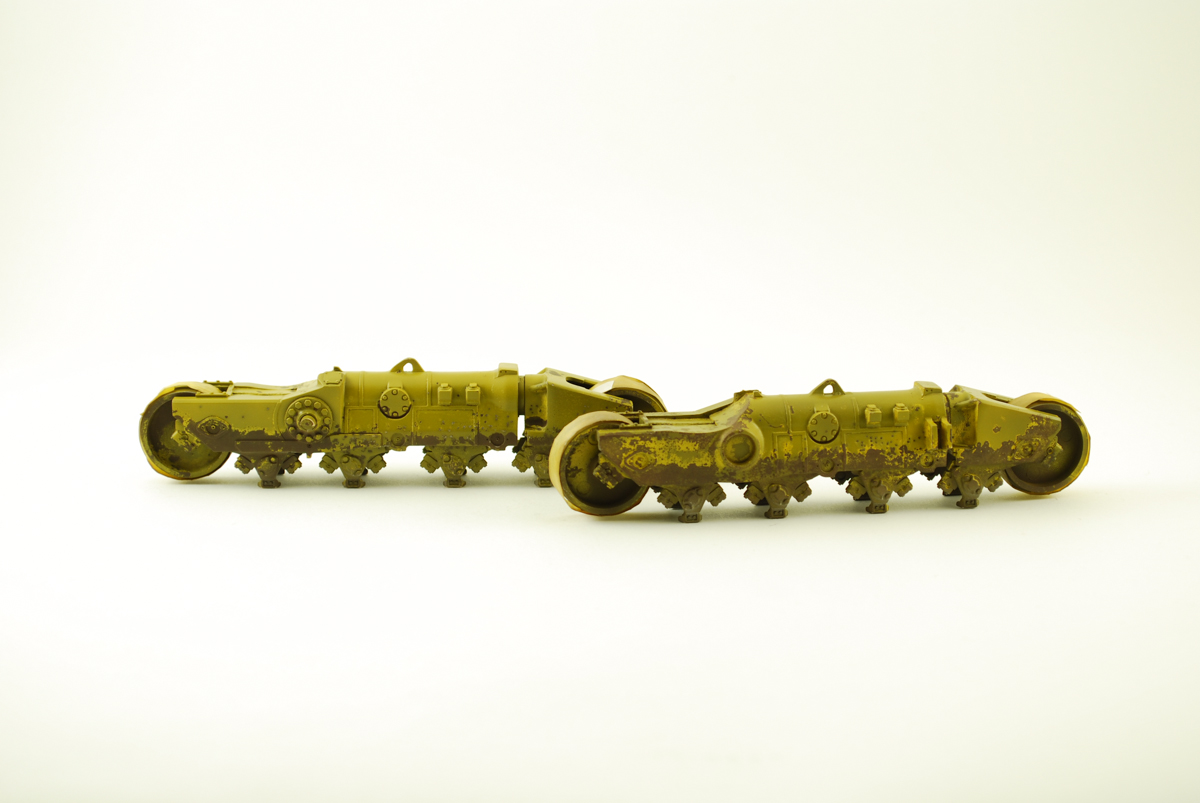
Allot has happened since the last update. For some reason I tool me about 5 tries to get the right color for a mix of sand. The US Army calls it CARC Desert Tan 686, and the US Marine Corps calls it Tan 686. I call it painted.

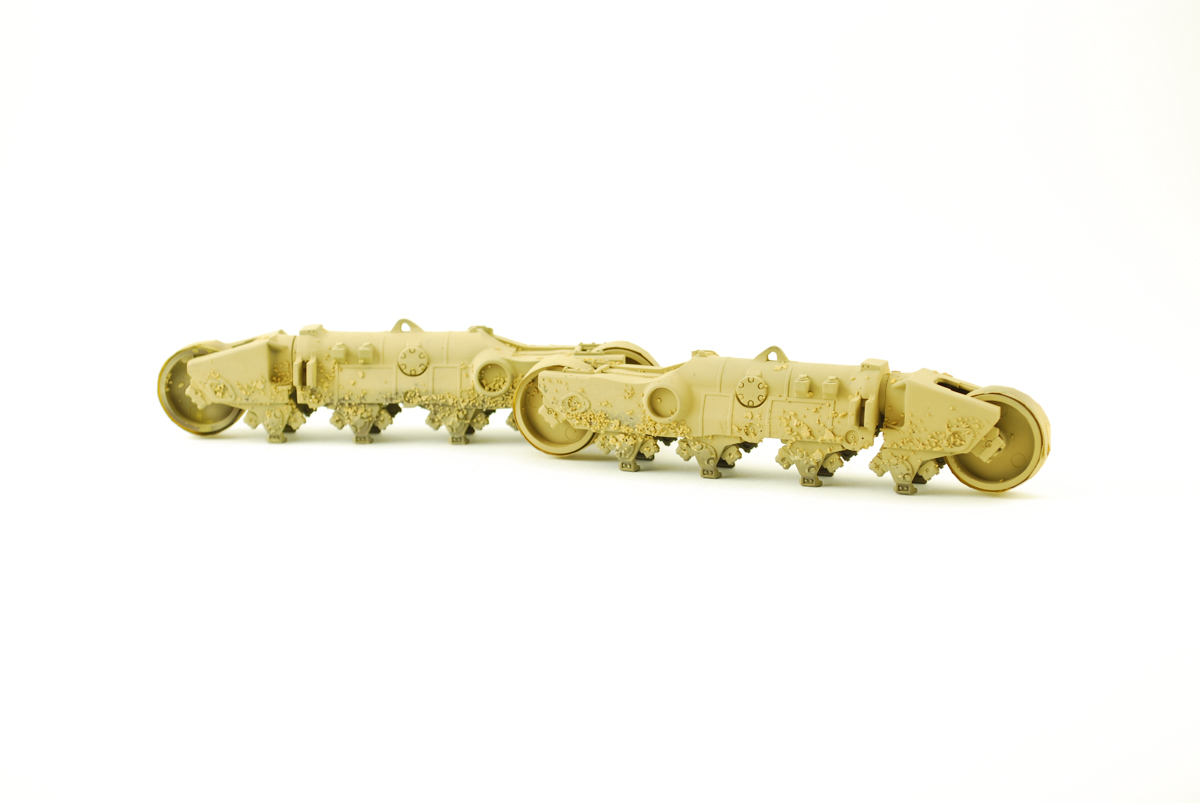
My first mix was way too dark, then way too light then a myriad of shades in between. I forgot to account for the filters and washes that would be applied after. The last is a good rendering of Desert Tan in my opinion.


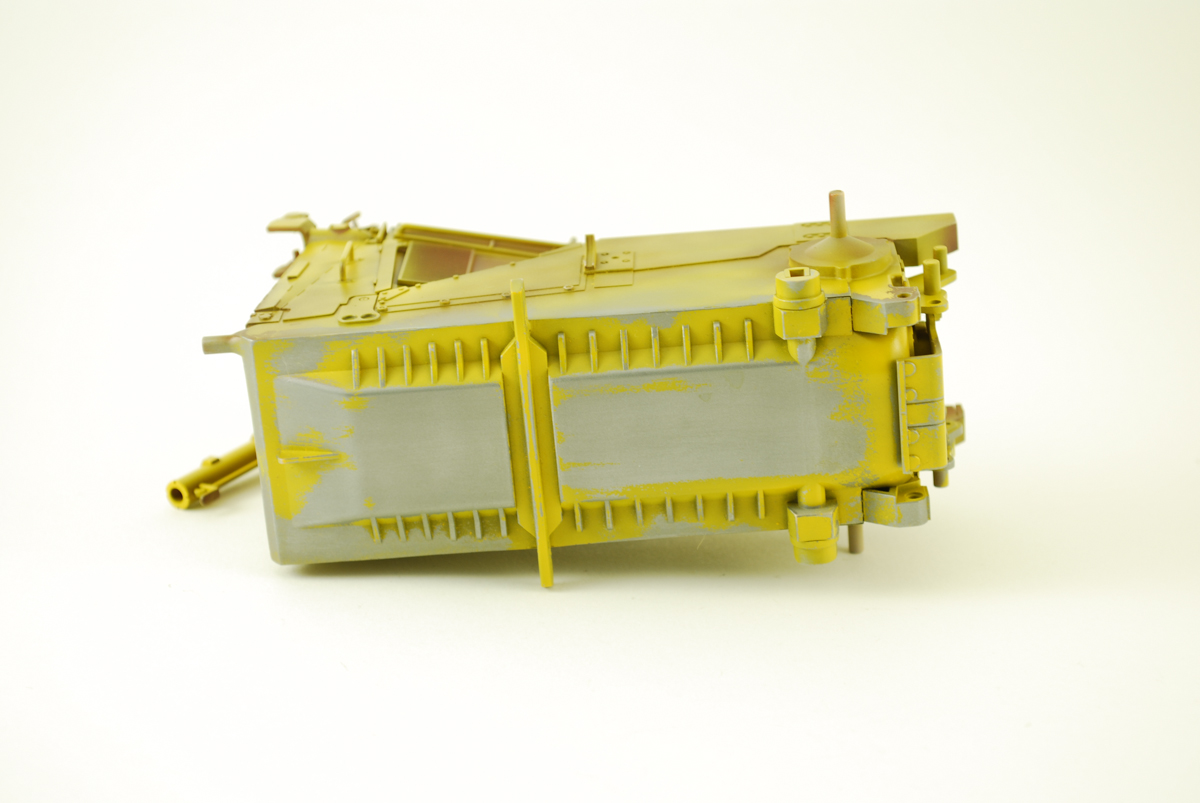
After a day of drying of the base rust layer. I sprayed a good coat of Testors Dull-cote decanted with my airbrush. Then another day cure then a light layer of hairspray for the subsequent chipping.
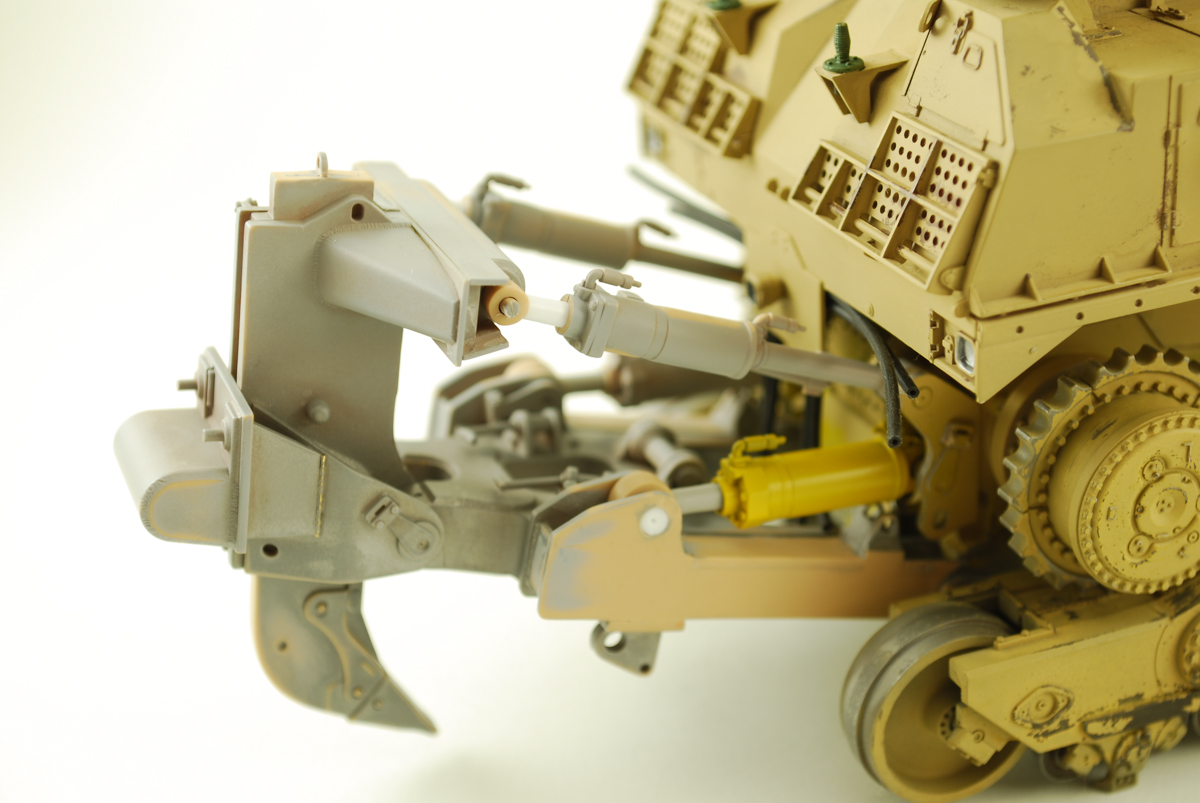
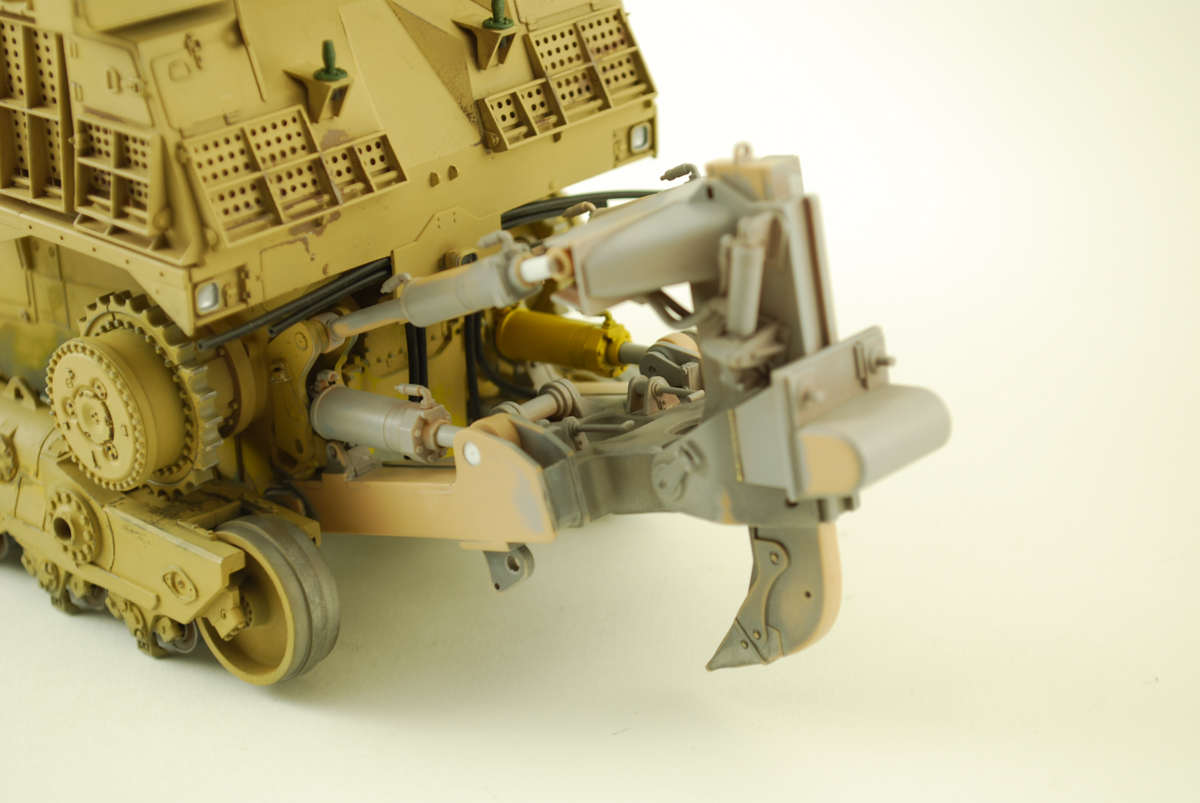
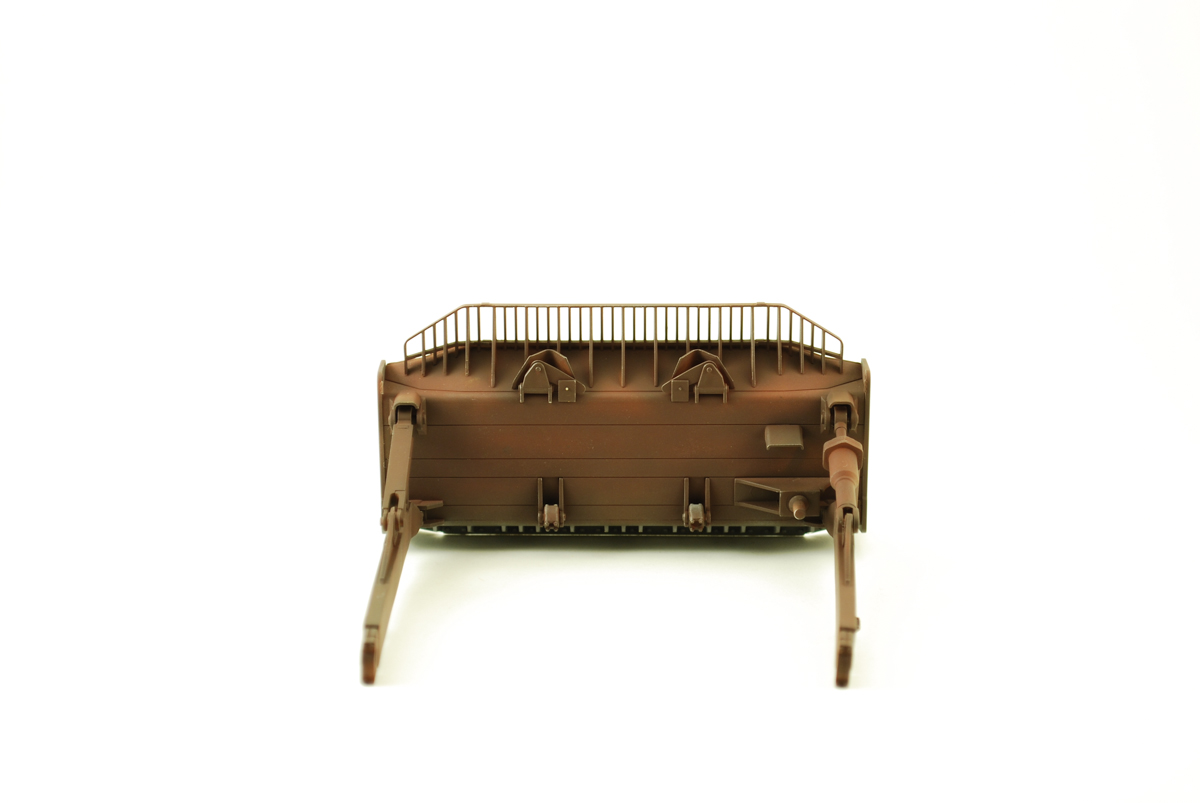
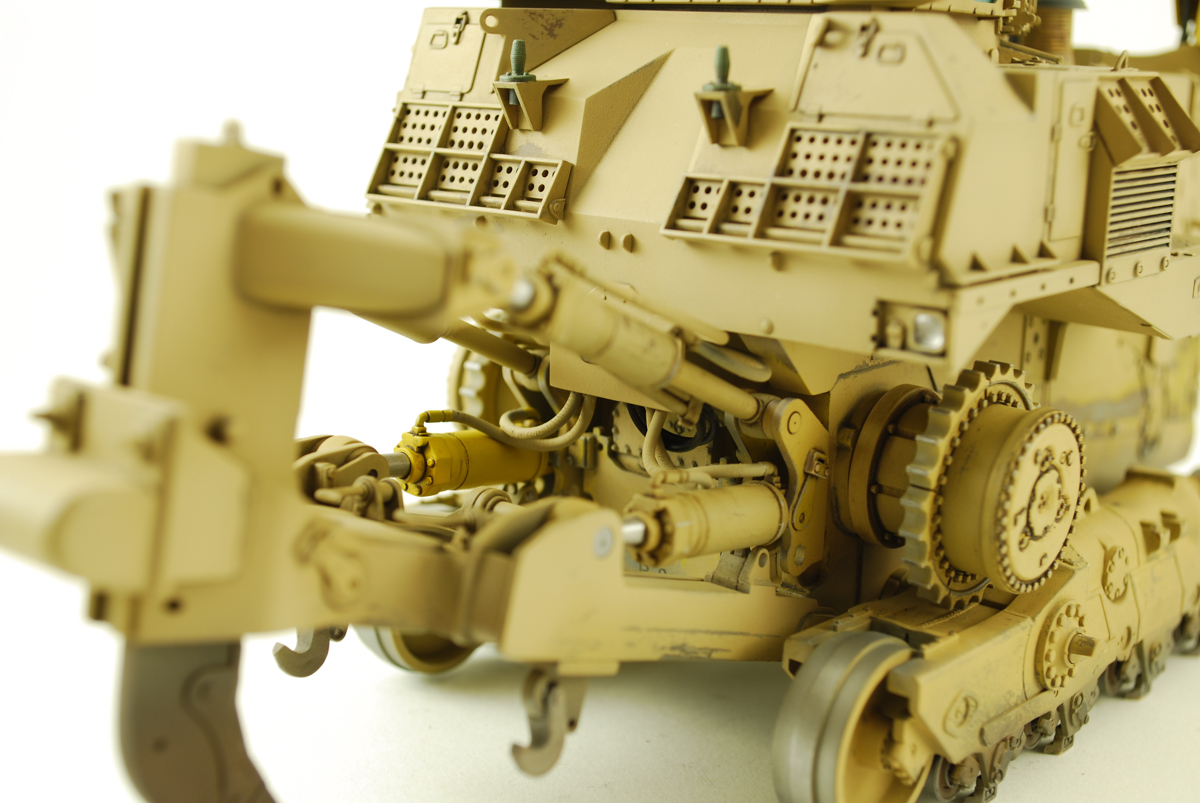
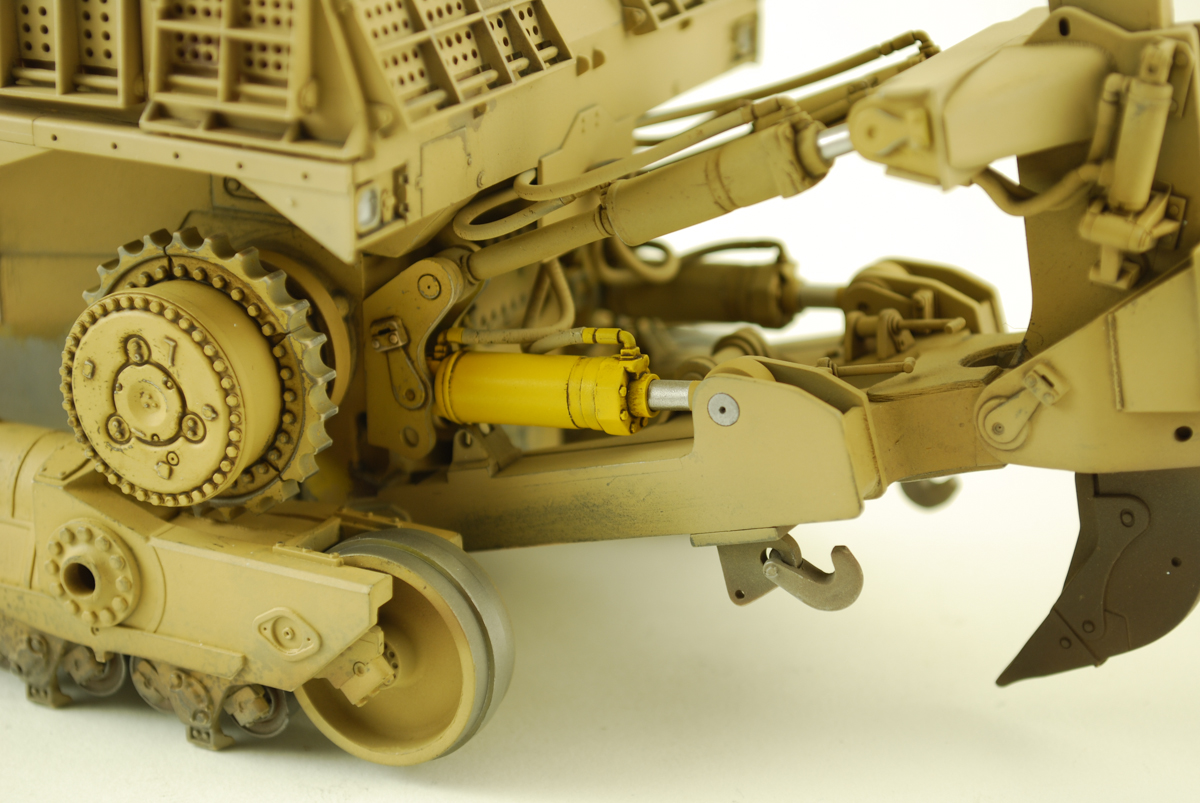
One thing that was bothering me was the rear ripper assembly. I wanted it to be able to have full travel in the up or down position. I remade the hydraulic cylinders to be a bit longer and removable for ease of painting. Painting chrome with Alclad II Chrome has to be the hardest thing a modeler can do. Allot of polishing and a dust free environment is so critical. My attention then turned to the interior of the cab again.


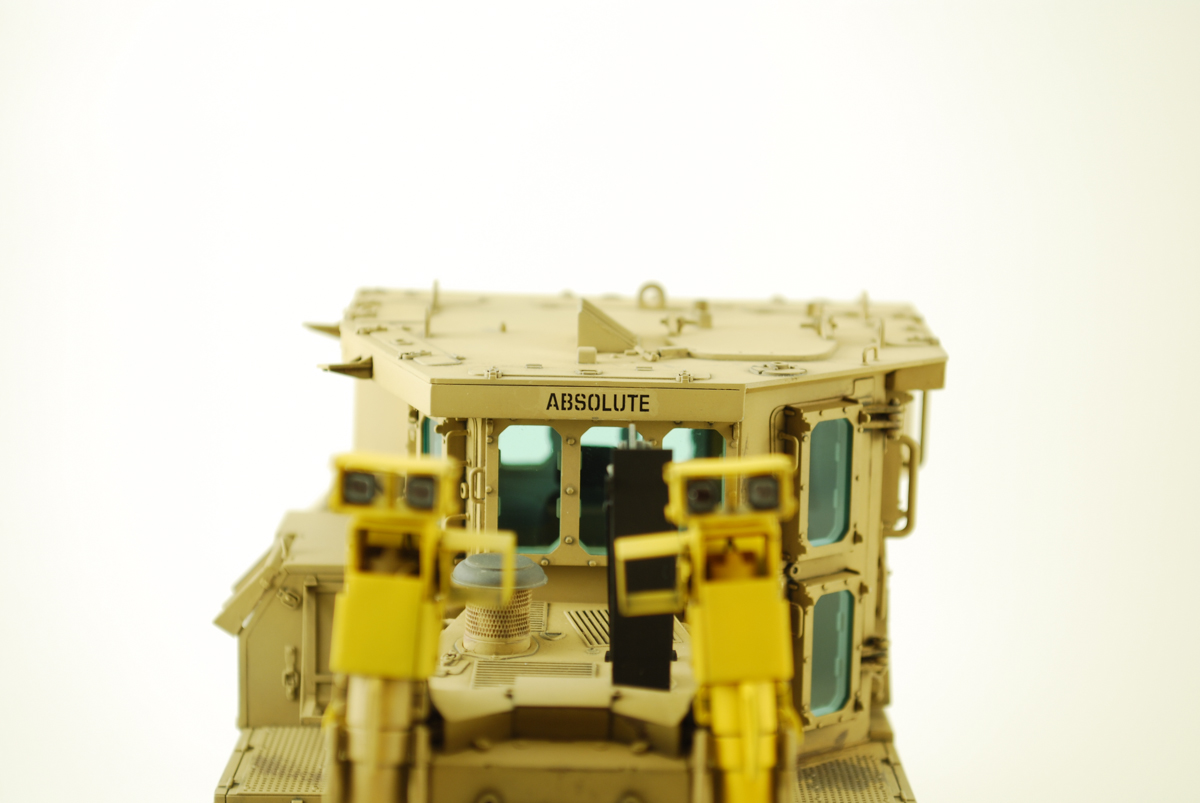
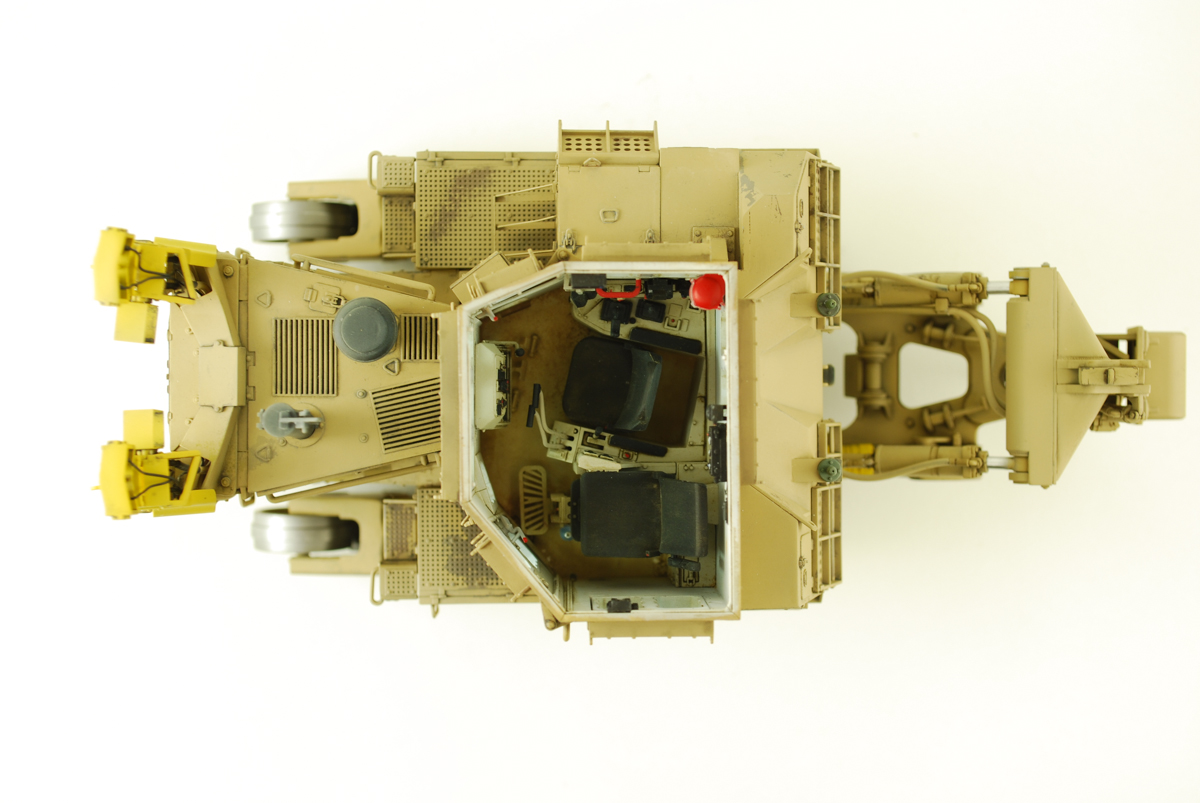
After finding about 10 images if the interior I decided to dirty it up a bit. These interior do not get allot of chipping and wear. Most of the time they are filled with dirt/sand from boots. A little bit of MIG Pigments Iraqi Sand was applied around the cab and fixed with a bit a fixer and white spirits. I decided to create a new set of controls that I broke off while applying pigments to the interior. Some scape brass tubing and plastic rod did the trick.


The running gear must have been repainted at least six times. They are to receive the most wear but not that much to make look awkwardly out of place. I've been seeing allot of modelers using the "Salt Chipping" technique for some time. I've always wanted to try if and thought why not. I could always strip it and start over. That's one of the good points with using acrylic paints. I started withe a base rust layer and a layer of Testors Dull-cote decanted and airbrushed. Some crushed table table salt along with some kosher salt made up the mix. After hand brushing on some tap water and a few drops of Windex ( releases surface tension ). I applied the salt were I wanted the rest to show through. After drying with a hair dryer, I airbrushed a mix of CAT Yellow (Tamiya Yellow/Orange). Rubbed the salt off with a old toothbrush and water. Sealed with a satin clear-cote and the process repeats itself for the sand color layer. It's a very good technique to bring visual depth to scratches and rusting.


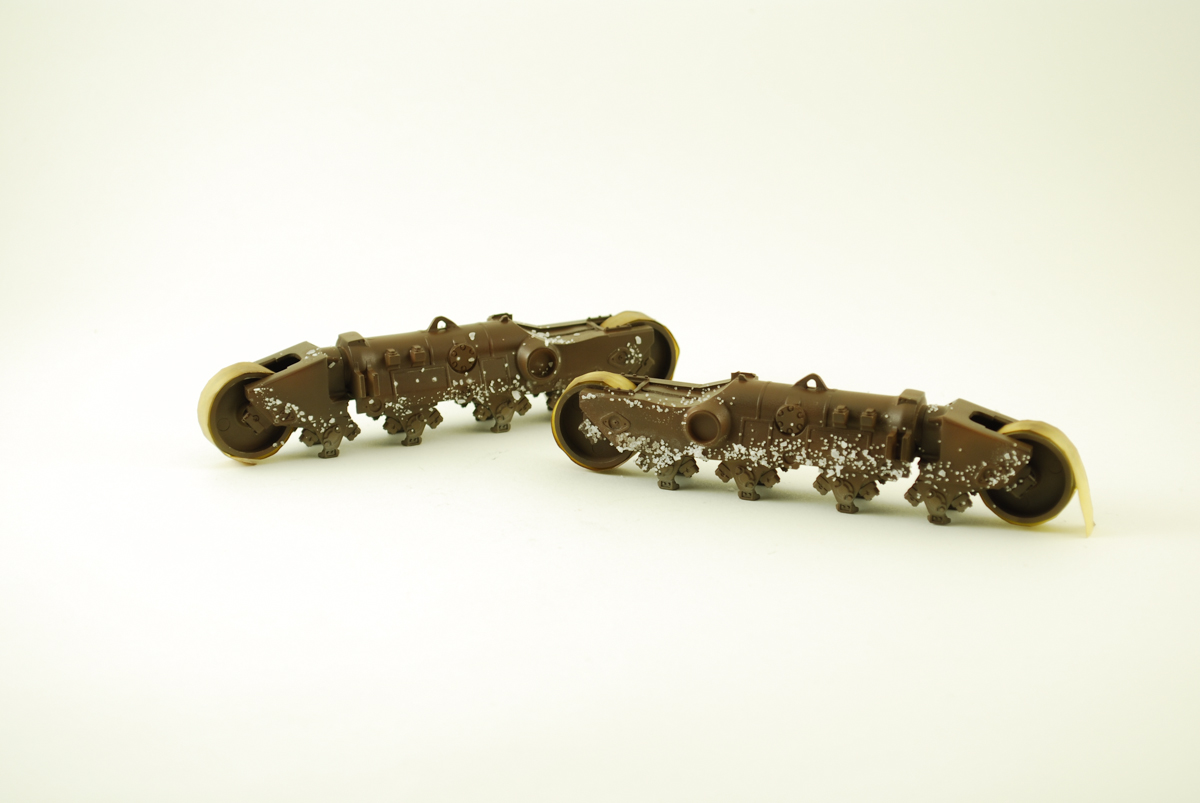
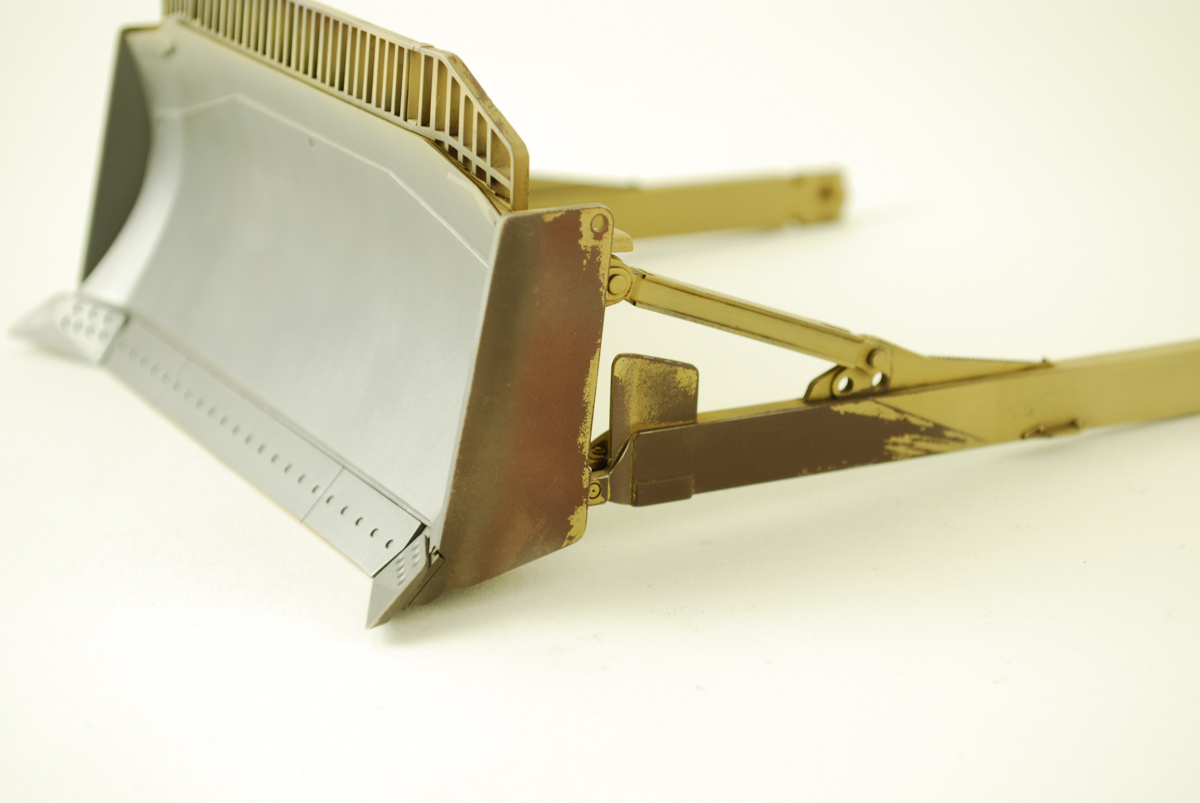
The bade received the hairspray chipping effect. The front revived a good coat of Testors Metalizer - Magnesium. After curing for a day I polished with a 2400/4000/12000 grit sanding stick, then a light buffing with a micro-fiber towel.


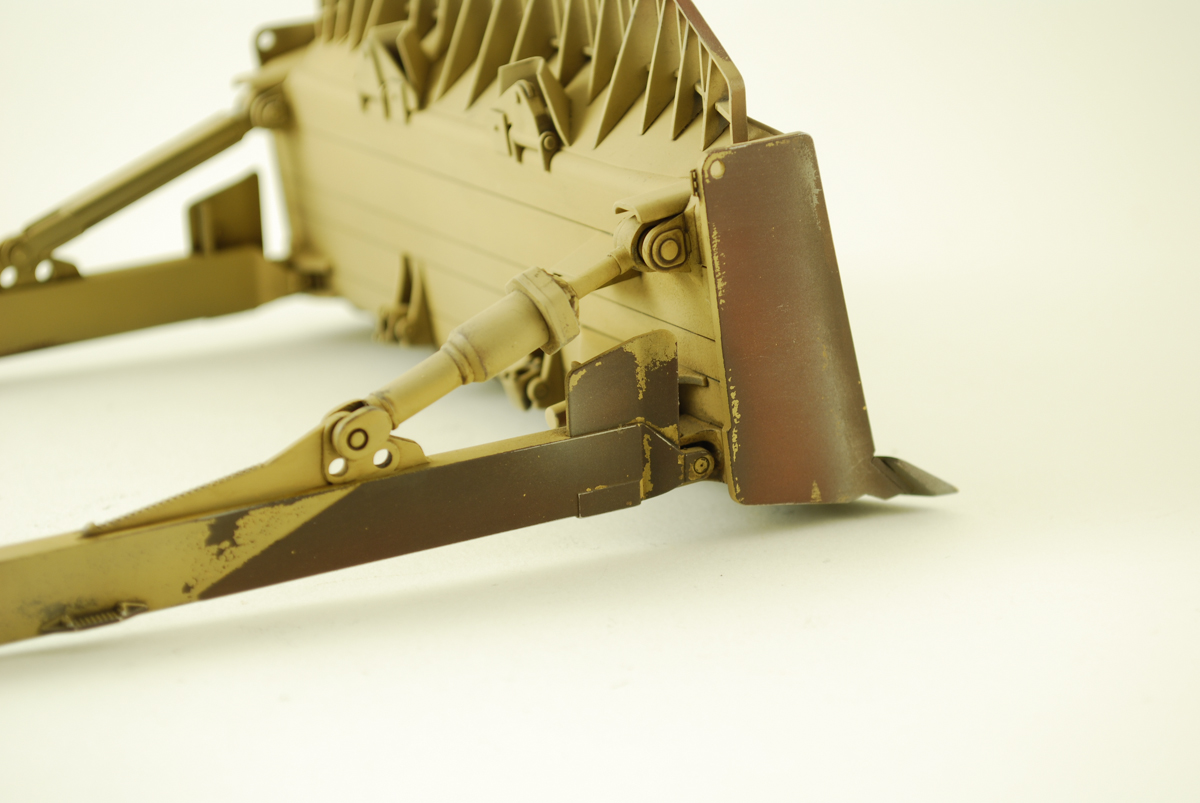
A mix of AK Interactive washes were applied were appropriate to the sub-assemblies. Heavier more dirty streaking will be applied to the hydraulic arms later.


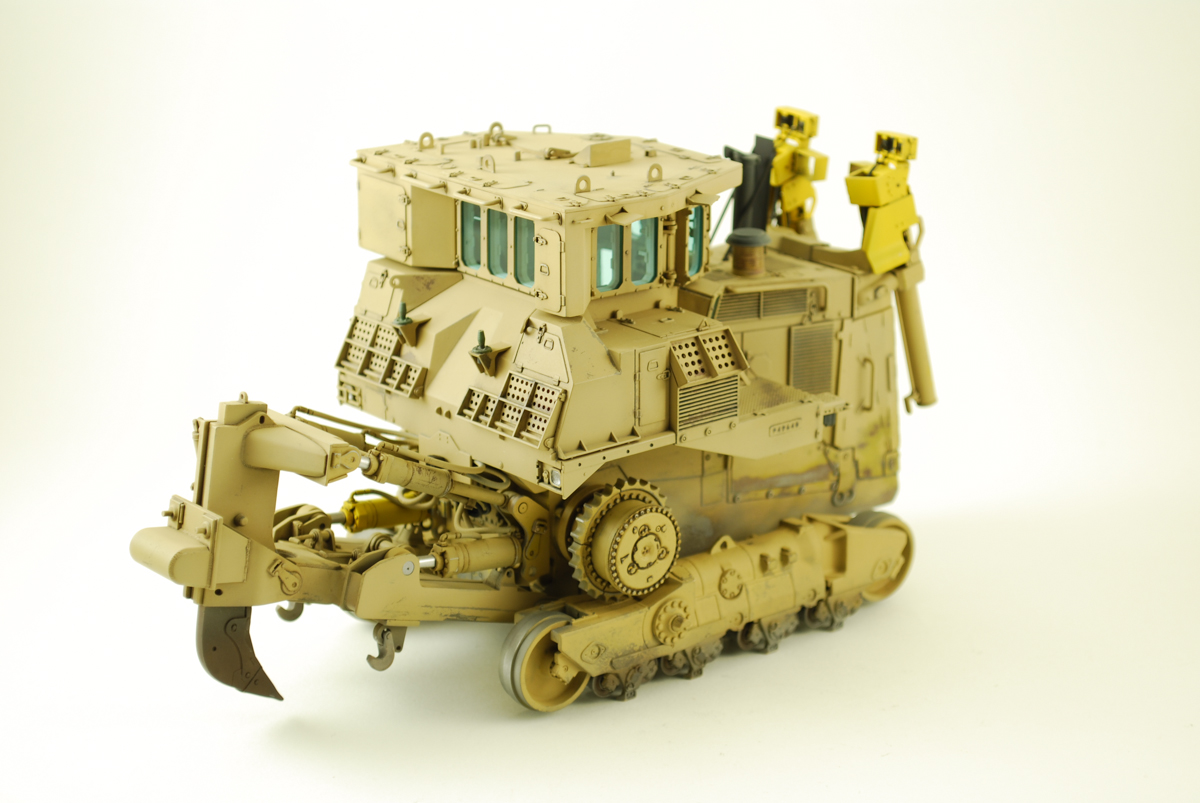
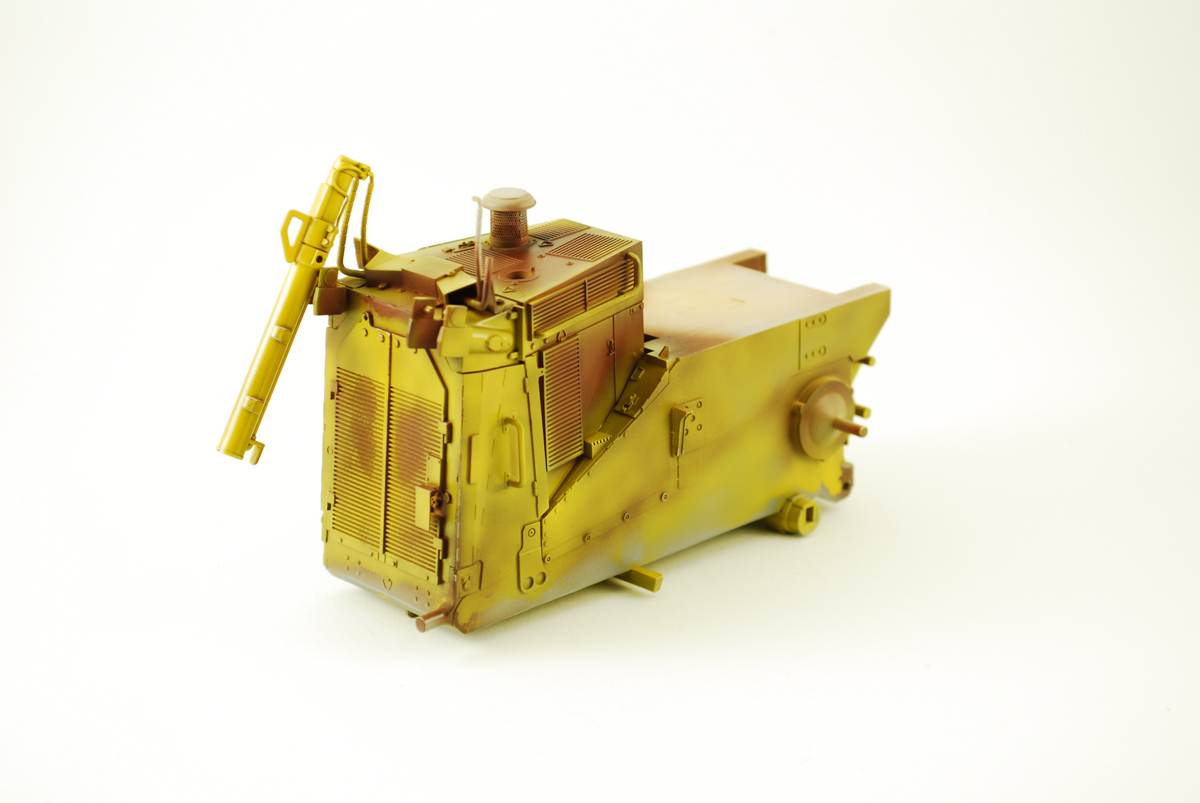
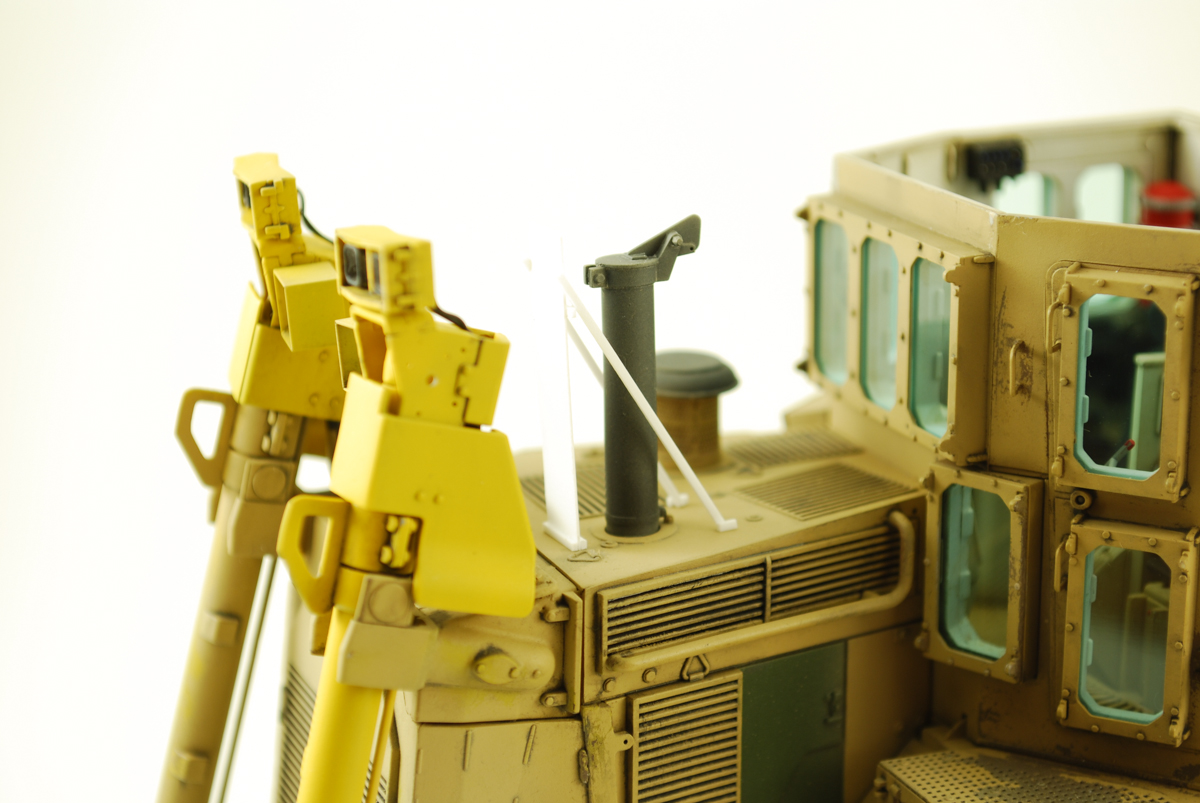
With most of the sub assembles now painted, weathered and combined with the main hull. My attention moved to the exhaust stack. I had seen some field armor creation that protected the exhaust stack from the front. With a few pieces of sheet plastic and some trail-in-error. I had scratch built a shield for the exhaust.


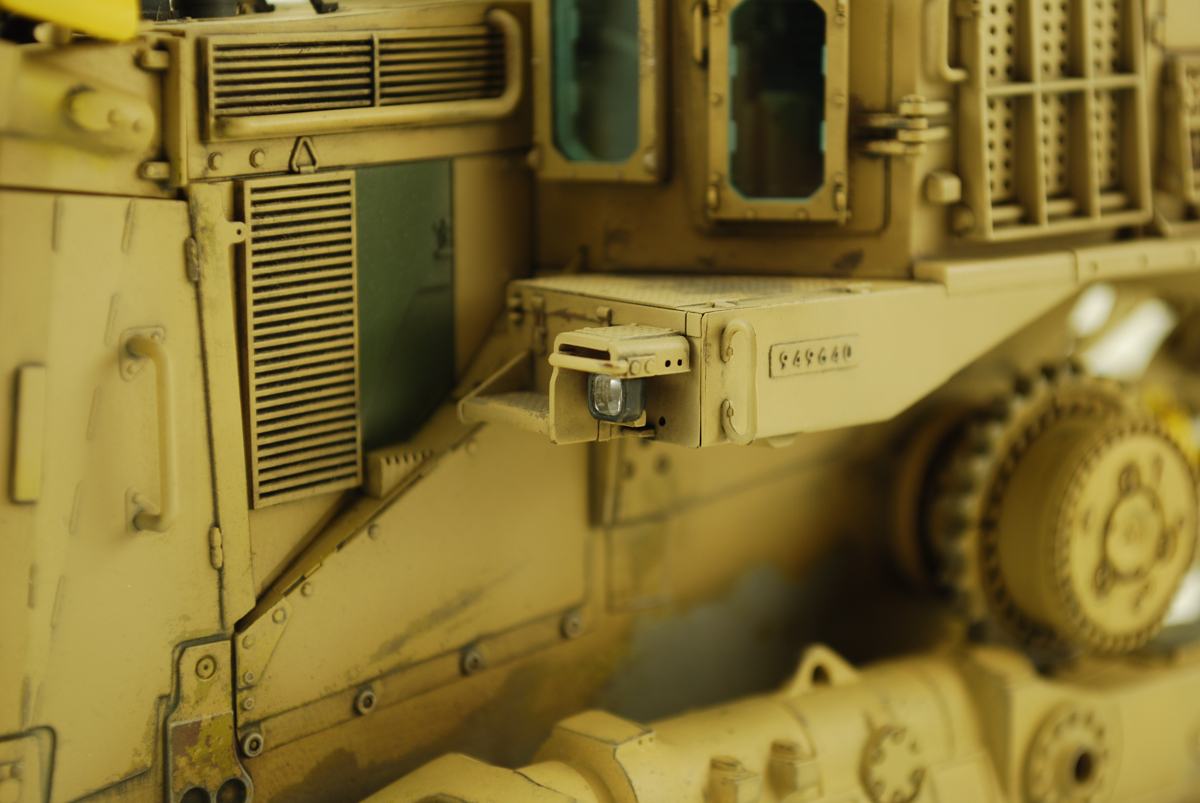
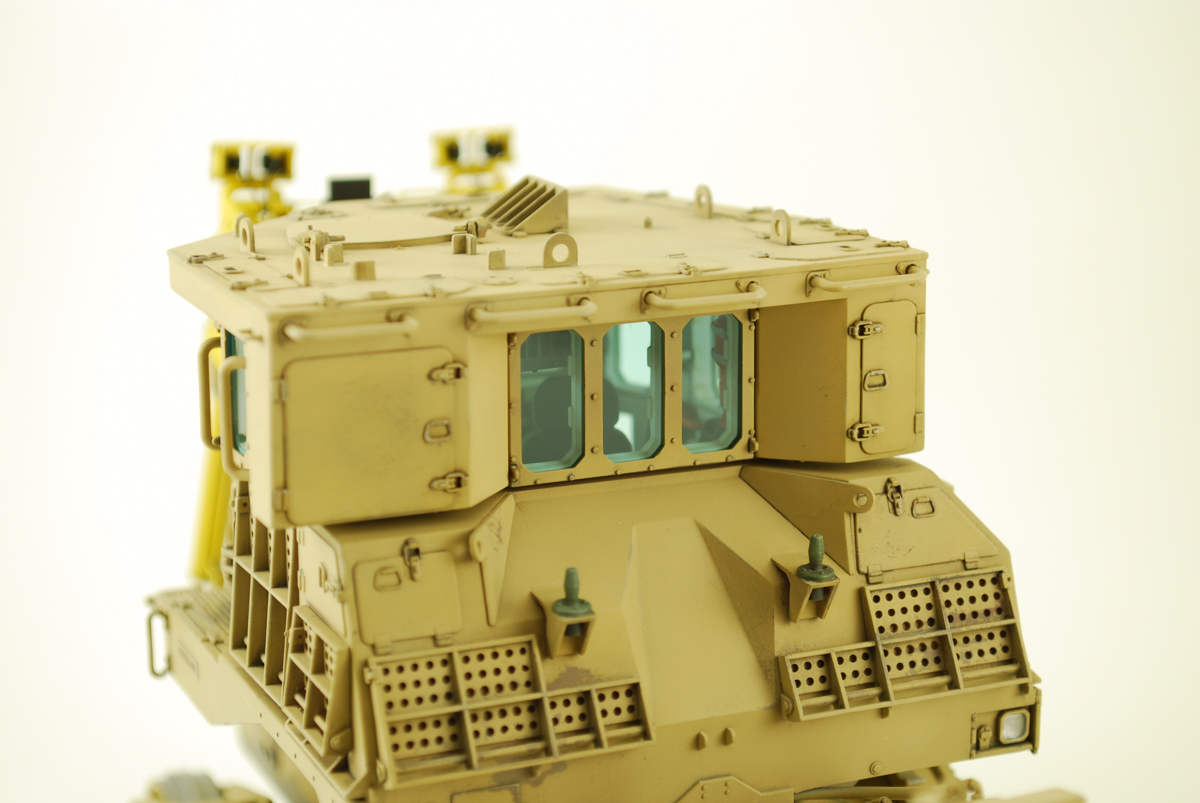
Now back to the cab and lights. I had used the clear glass panels with came with the kit for spray masks. The blue/green ballistic option was fitted and glued in place with Gator's Grip Acrylic glue. This stuff works great for clear plastic. Drys crystal clear and can be tinted.


Now my Dobi needed a name. I absolutely could not think of one....


Thursday, October 03, 2013

A Rusty, Silvery Hull...

Painting has begun on the hull/running gear of the D9R. Having everything modular and not all glued up helps with the painting. After searching the web for some dirty shots of a D9 I came across these two D9s' getting transported somewhere in Iraq. Somehow my aim is to try to replicate this.


In order for me to replicate this a technique call hairspray chipping will be used. Eventually you use the hairspray as a standoff layer to reveal the underlying layer of paint. First off I started with a very light layer of Mr. Surfacer 1200 primer, followed by a brew of Tamiya paints in rust tones.Then to replicate the worn/polished layer from the sand on the hull I used Model Master Metalizer Aluminum. All pints were thinned with lacquer thinner to a consistency of 2% milk.


More to build, more to follow...


Proggress on D9R Cab Interior

Here is the cab all painted up with Tamiya paints with details picked out with Vallejo paints. I added two small bottles from the stash for a little human element. There is not a whole lot of pictures on the internet on the interior of a US Army/Marine D9R. I used AK Interactive enamel washes for the representation of dirt. Most of the detail will not bee seen unless your eye is up against the armored glass.


More to build and follow...

Tuesday, October 01, 2013

D9R Doobi Armored Bulldozer

I needed something to keep me from going crazy building the Hobby boss HET. Great kit, just way too many parts. 1500+ ! When I heard about the HET a year or two ago, I said to myself that if I was ever to build that kit; it would need something other than a typical Abrams to load on the back. Nothing wrong with the Abrams, just not weird enough for me. 

The Caterpillar D9R by MENG fits my search for something LARGE & unusual. 


This is one of those kits that everyone in the modeling community was and still is talking about. My first introduction to MENG's products was there Toyota Hilux truck in 1/35. Great kit, simple and very little, if not any flash on the plastic. I decided to make the most of how Meng decided to layout the model. The upper portion of the hull/bad can be assembled without having to have the lower hull/superstructure attached. That will aid in painting greatly.


Unlike the Hilux this kit suffers from one serious problem. Injection mold release points. They are EVERYWHERE on this kit. Most are located in the cab ad the lower superstructure and running gear is minimal. If you had wanted to make the platforms along the side of the cab lowered, you would have to deal with those marks to fill. I'm not sure if it's a production run issue or something, but the interior of the cab needs a lot of attention to fill those marks. Having said that I decided not to fill and push forward with the cab. 


The blade is just huge. Very nicely modeled and did i mention HUGE! There is no option to angel the blade other than the main pivot point on the running gear. Not a big deal being that this will sit on the back of the HET. The back of D9R has its huge ground penetrating arm with movable actuators.


More to build and follow...