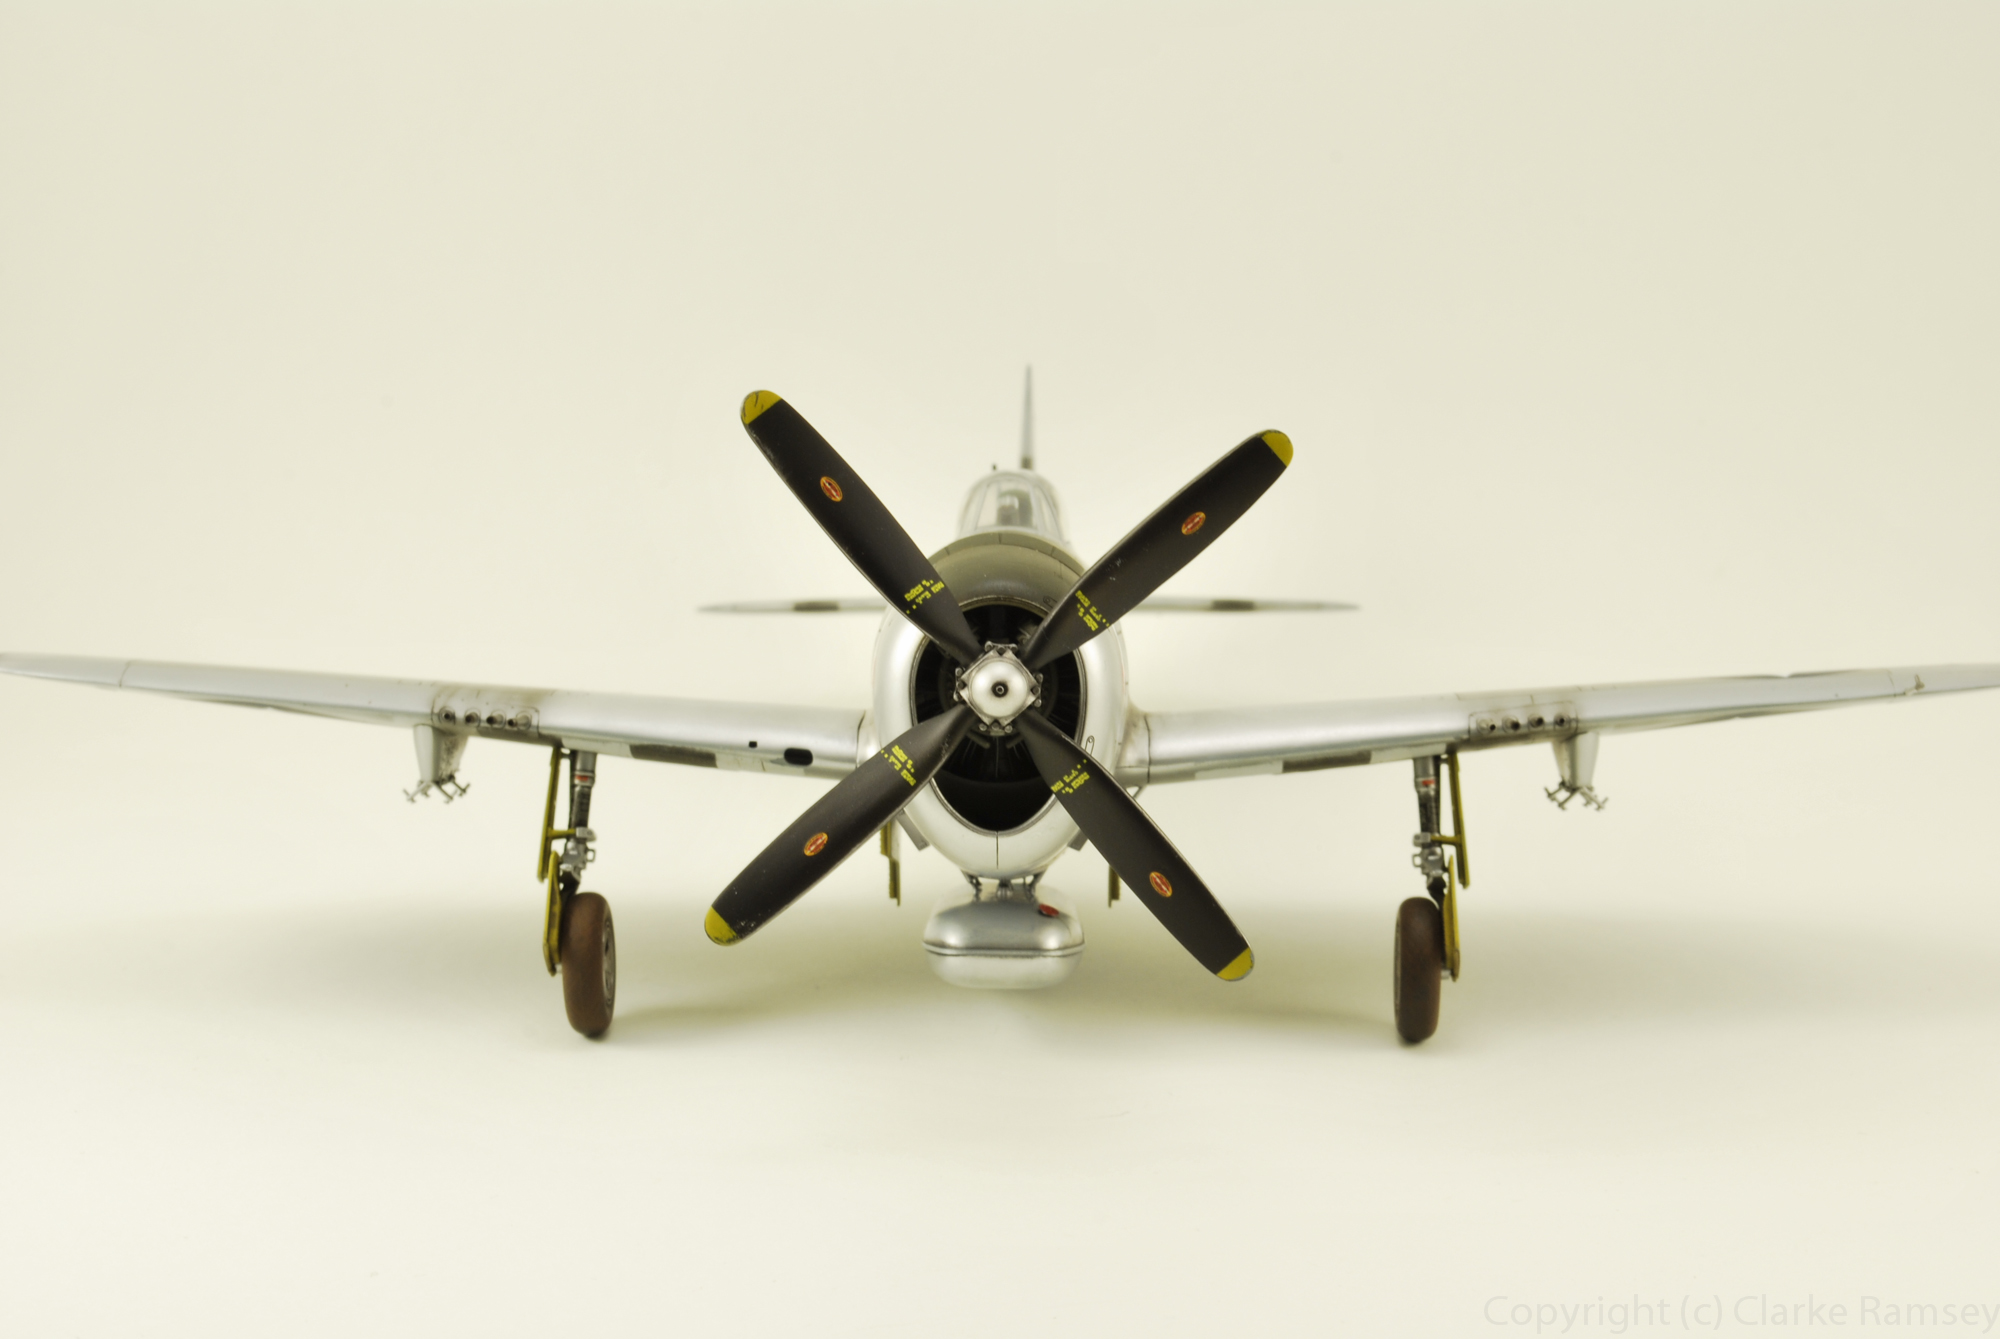
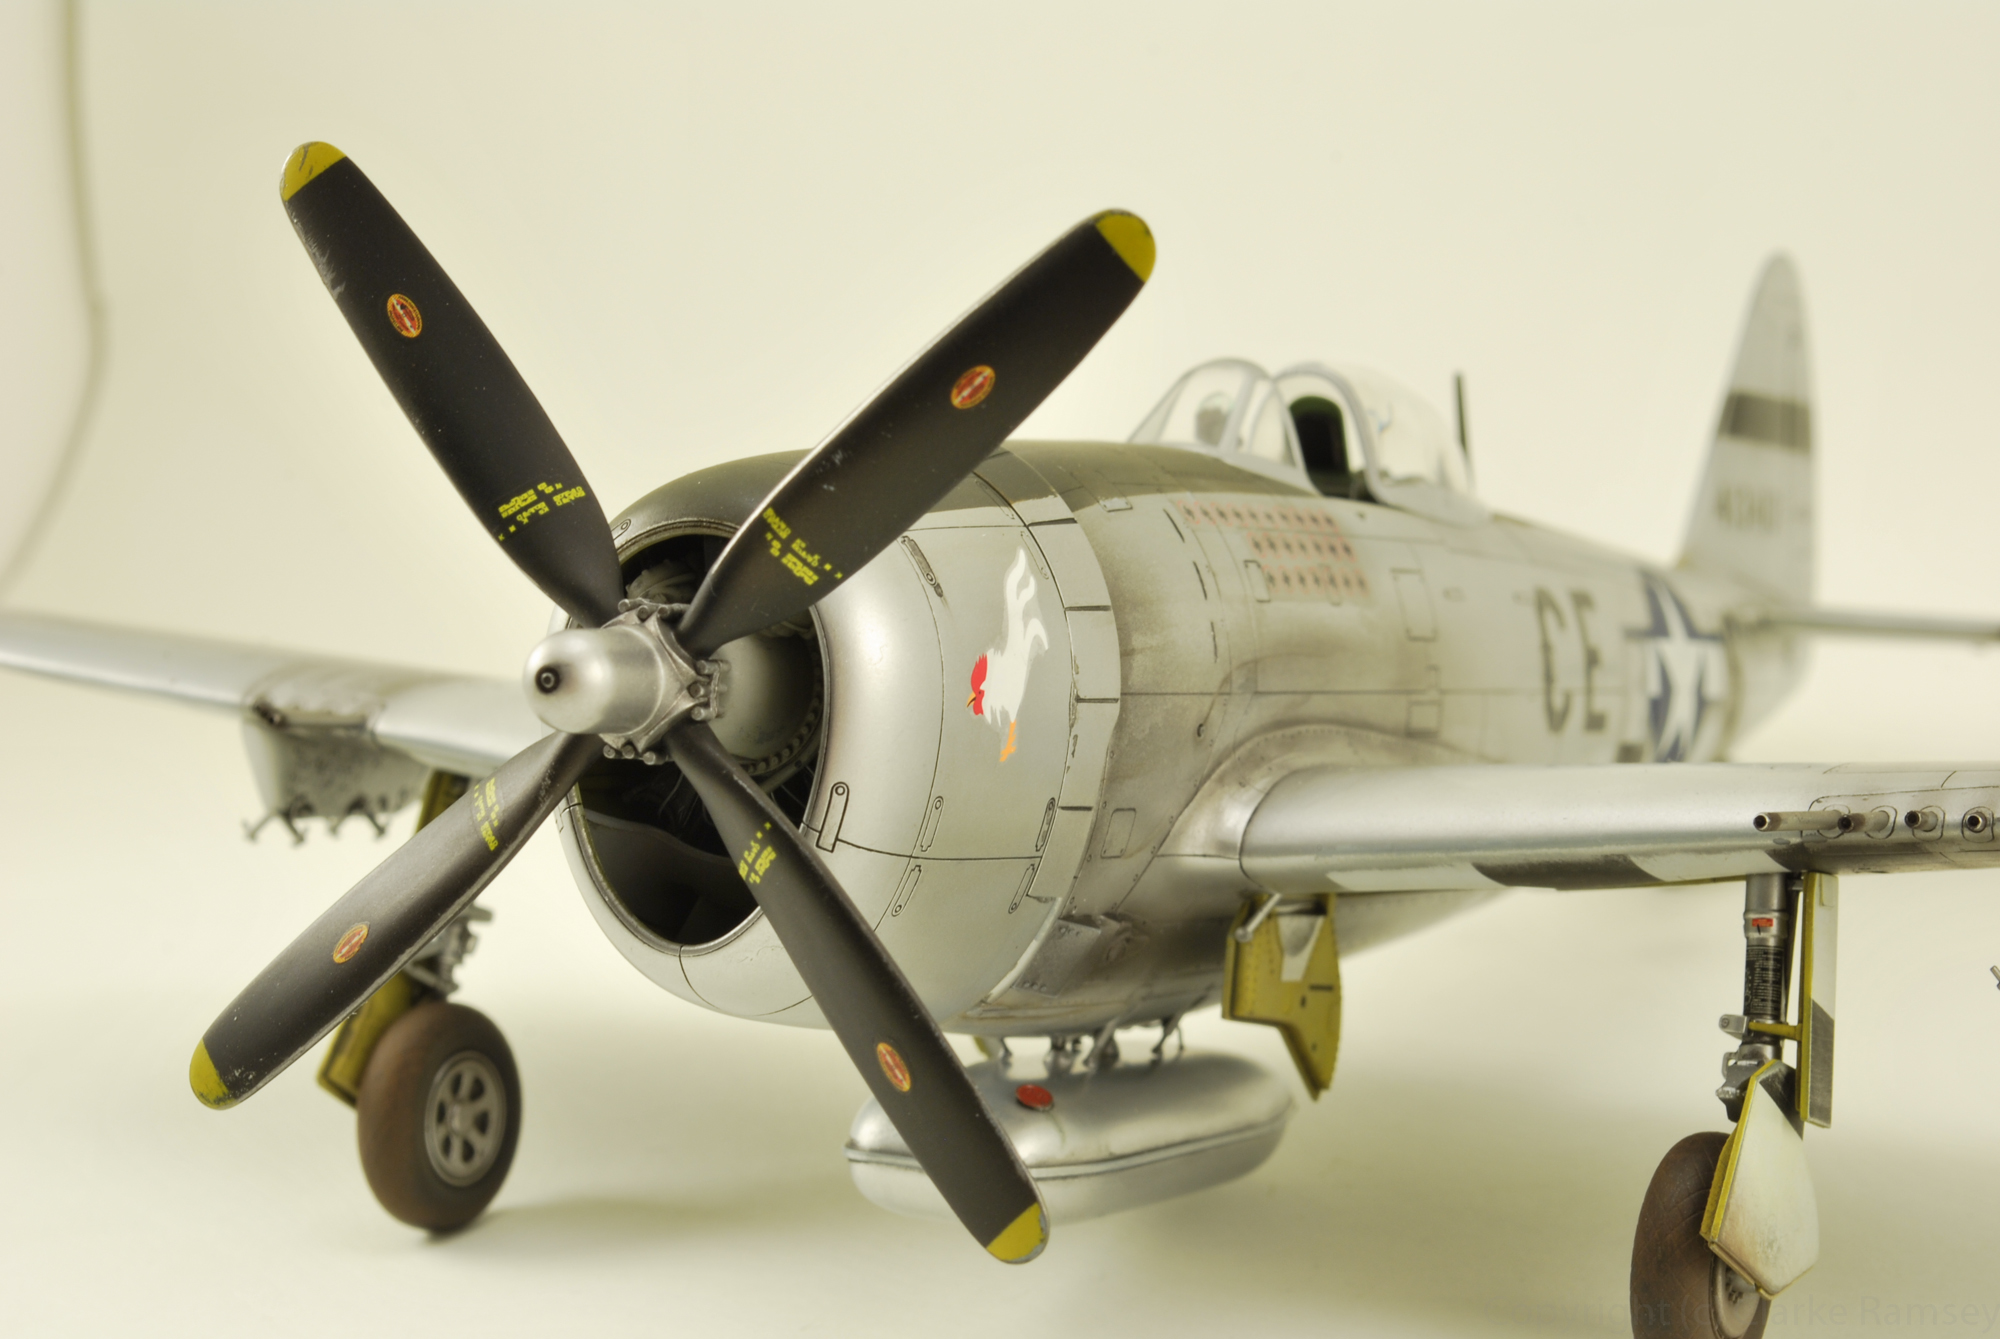
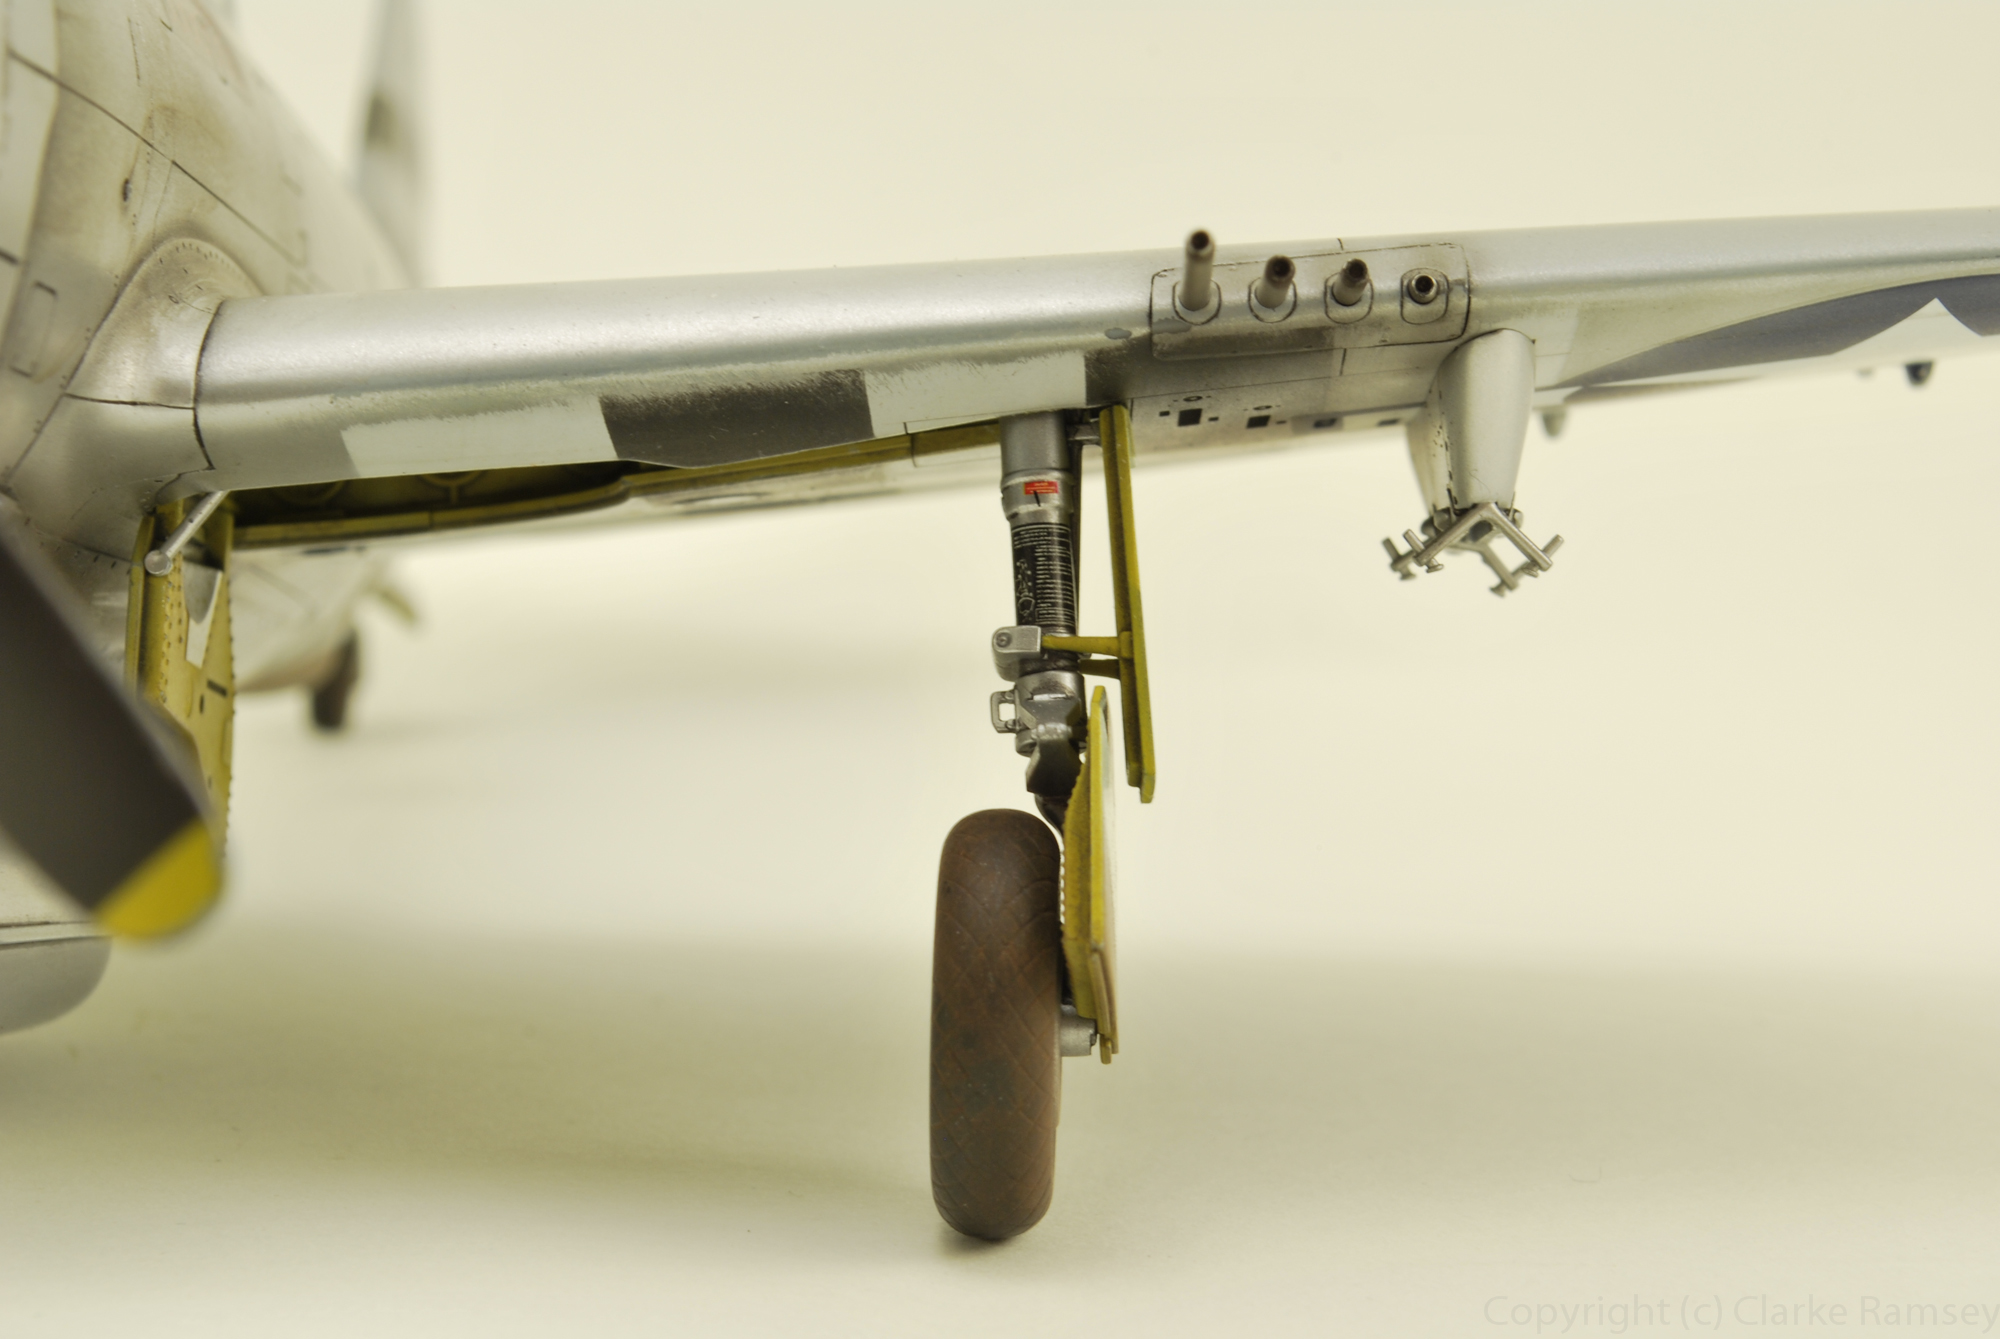
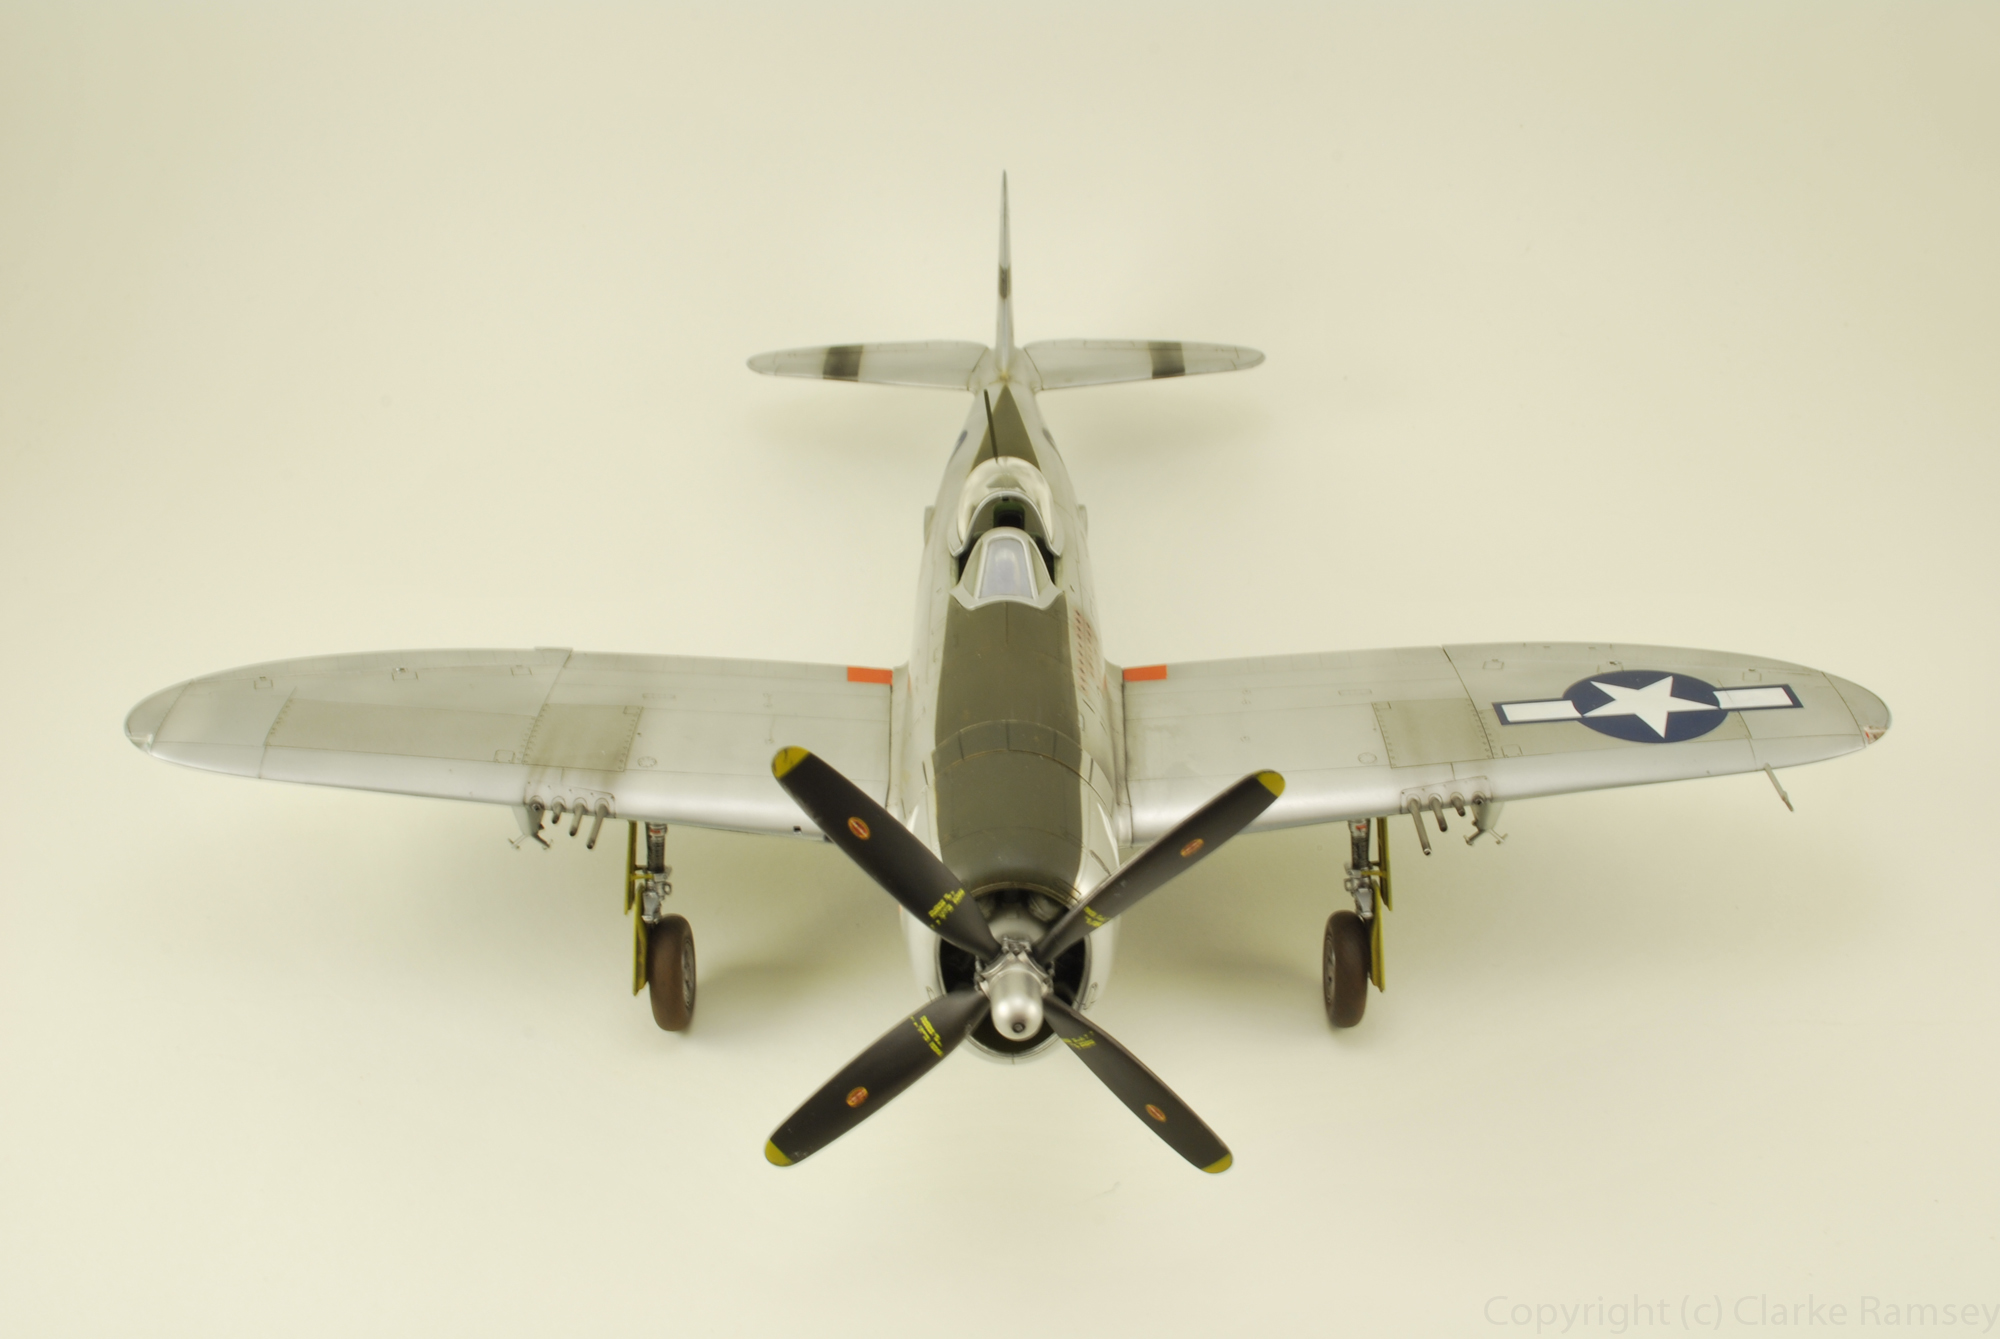
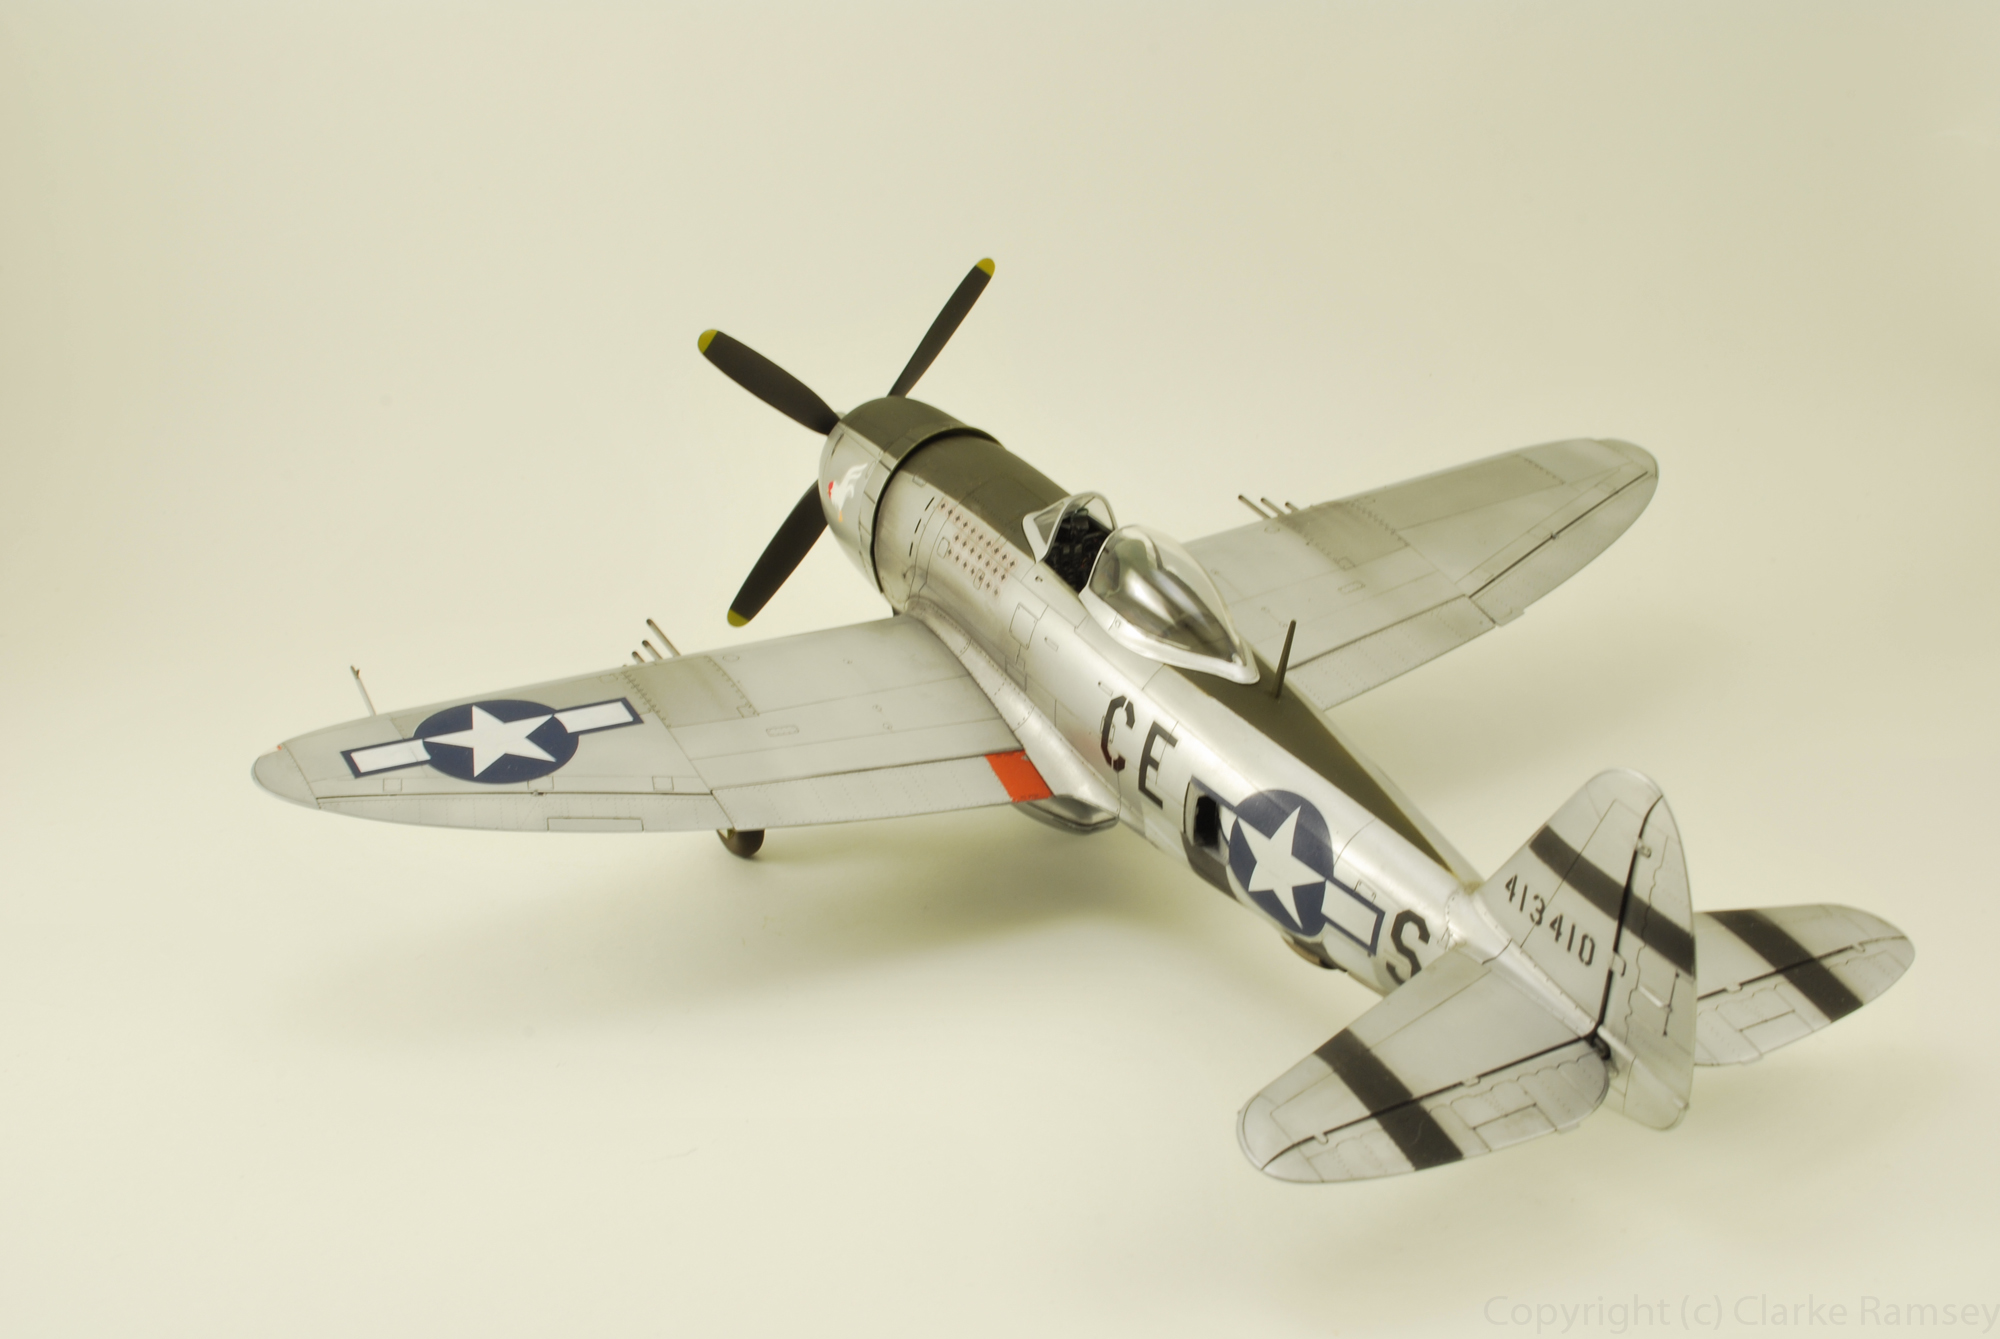
After months and months of sitting in a clear box, I've finally finished my Jug. This project presented me with many challenges to overcome. One being a natural metal finish. I've never really attempted one and this is a first that come out OK.
Full image set: https://www.flickr.com/photos/cramsey/sets/72157643931471623/
Showing posts with label U.S.. Show all posts
Showing posts with label U.S.. Show all posts
Tuesday, November 04, 2014
Friday, July 04, 2014
P-51D Mustang Part II
Happy Independence Day!
Two weeks and allot of bits and pieces finally painted up. I've made some serious progress of the Mustang build so far. To start off all of the parts were given a coat of Mr Surfacer 1200 thinned with lacquer thinner and leveling thinner. Next would come the interior green mix. I had planned to use Gunze Interior green premixed. Turned out just a drop or two was in the bottle. Tamiya to the rescue, or should I say..."*&(@#&$#)@#()@&#@#_*@# @#*@&#!!!!"
I spent a good two days trying to mix up the correct shade of interior green for the interior parts. The instructions call for XF-3 (2parts) & XF-5 (1part). That looked too bright of a green for me. Long story made short, its a mix of colors from Tamiya. First I airbrushed the front engine mount with Alclad II Aluminum, masked with tape then sprayed the interior yellow. The details were painted with Vallejo colors and the kit cooling pipes sprayed with various mixed shades of Alclad.
I decided to replicate the plywood floor of the cockpit without the black anti skid textured paint. Some did not have the paint and had some paint just were the pilots boots would meet the floor. A little artistic license is used with the floor make the cockpit look interesting. I started with Tamiya Wooden Deck Tan and then "paint" some oils onto the surface. I usually let the oils dry a hour or two and then use a brush moistened with spirits to remove the excess and make the grain visible. Sealed with Testors Flat cote, then masking of the appropriate areas for the the black and green sections.
The cockpit with painted with my mix of Tamiya Interior Green with details painted in Vallejo and then given a satin cote followed by the interior place-card water slide decals. I've never worked with decals of this size. Extremely thin and virtually no flash or edge visible. I was to use Walters setting solution but that seem too take forever & too much product to work. Micro Set/Sol Setting Solution work much better with these. I usually use a enamel dry-brushing technique, this time I used a acrylic Vallejo dark gray for dry-brushing. In this scale it looks like worn edges but not reflective.
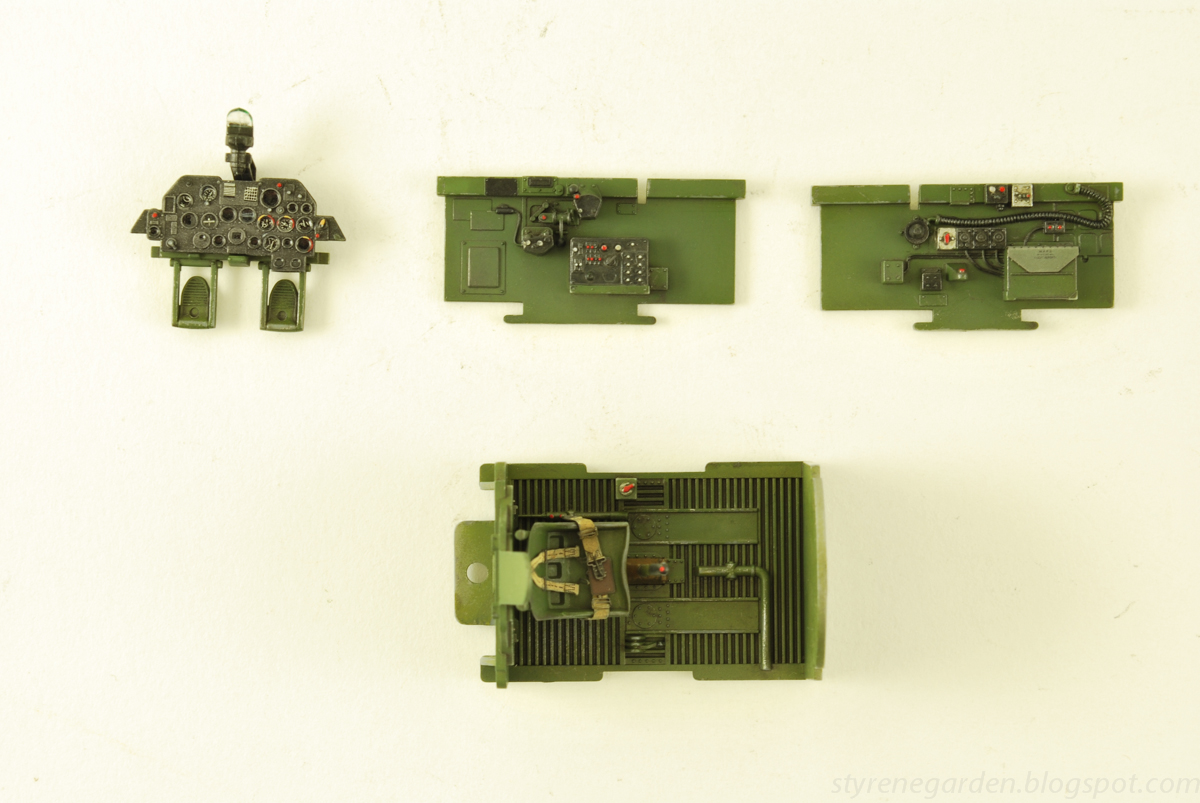
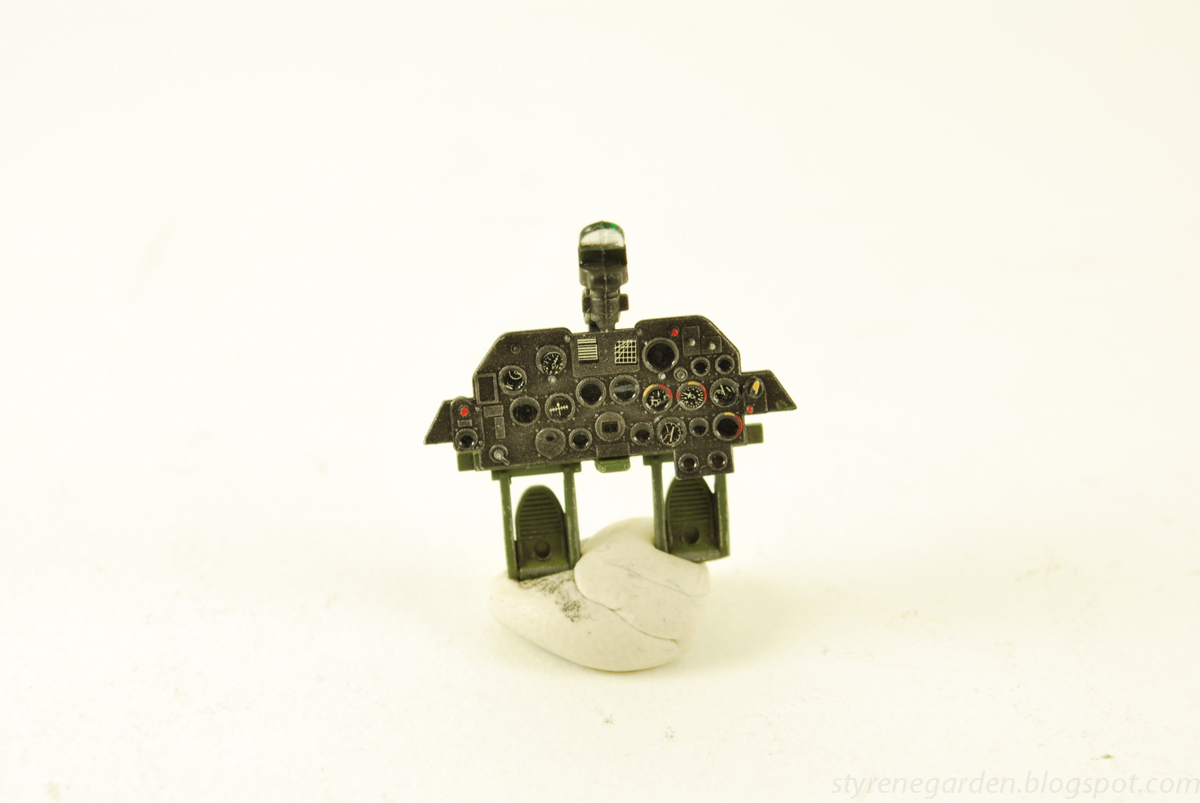
Next was the instrument panel. I used Tamiya Semi Gloss black with did not spray good, just way too thick. To be honest I don't know what went wrong. Stripped and repainted with a mix that "laid down" smoother. I should have removed some of the raised bit on the lower bit of the panel for the decals to go around "not to self for next build." Before I airbrushed the interior green onto the forward read section I used Testors aluminum plate, sprayed green and scratch it a bit with water, brush and a blunt plastic tool for the scratching on the rudder pedals. An mix of AK Interactive enamel washes of dirty brown/grey.
All of the bits n' pieces minus my custom wire O2 hose ( "MIA" ) were painted on toothpicks and weathered lightly just with a Vallejo dry brushing. The pipes and wire are a mix of different size lead fly tying fishing wire and hard wire.
I wasn't happy with the ignition rails I made for the V12. Wire kept popping off and the paint was too thick in places. Remade and I'm still not happy. Just a bit too thick. Most will not even been seen once the exhaust is fitted. I think I'm gonna invest in some more stock styrene and metal for scratch building.
The engine it's self was repainted no less then 5 times. First I tried using straight Tamiya Semi-Gloss black. That looked to glossy. Then a goggle of mixes later, I ended up with a mix of semigloss black and flat black. A very light dry brush of gray and a wash with AK grey/brown mix. I'll add some specific heavy oil stains once the engine is mounted.
My favorite part of this build so far is the forward oil tank and firewall. The return line was made from thick solder wire bent to shape with a pipe connector made from tape strips, over coated with superglue to keep it down. The overfill line is lead wire with connectors made from tape and bent to a "U" shape. Primed in Mr Surfacer 1200, then a cote of Alclad Aluminum. I masked the metal supports and then sprayed Tamiyas' Yellow Green. A was of a mix of AK washes of grey/brown color. I'll add heaver oil drips and spatters once most of the engine bay is filled up with the goodies.
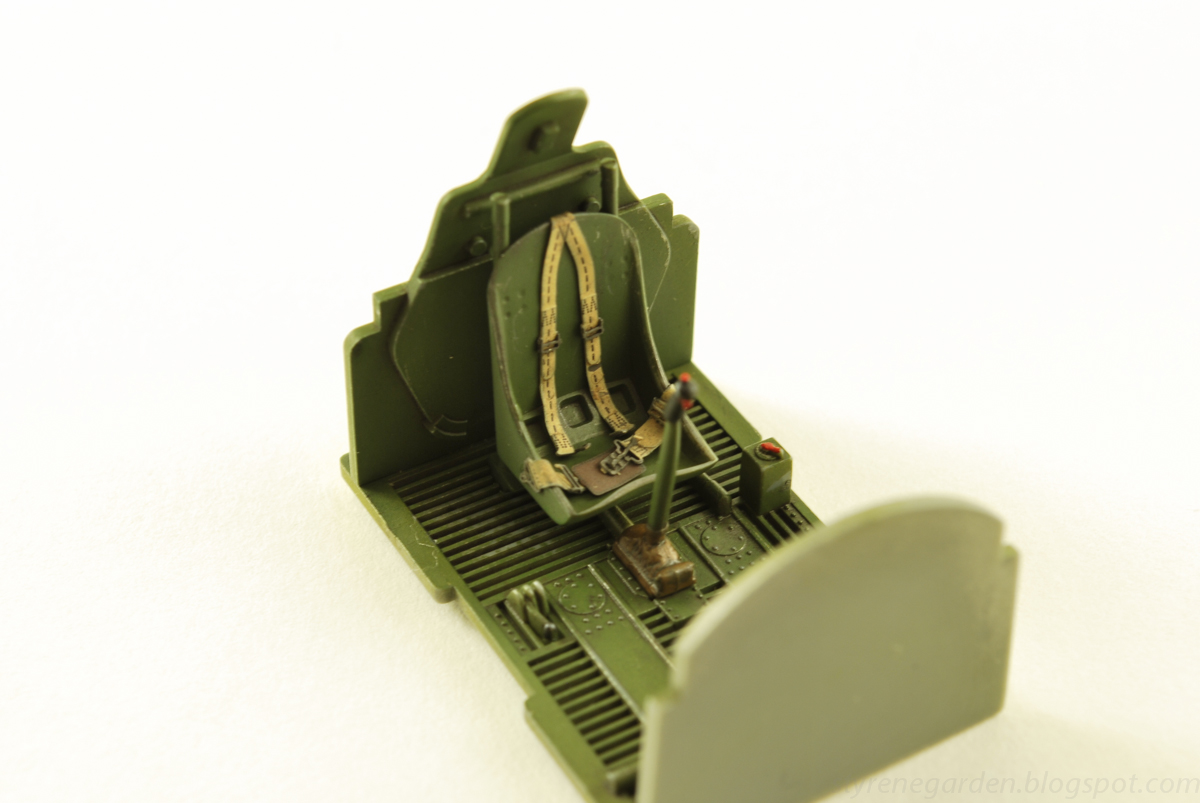
For the pilots seat I sprayed a cote of Metalizer Aluminum Plate followed by my mix of Interior green. Scratched up the usual method and then a very light pin wash of AK enamels.
The seat belts took me some time to figure out how they are constructed. There are no directions, just a final picture on how they are to look. No real issues just take your time. I used a tiny bit of CA glue to secure the ends. These belts are much better than the PE Eduard offering, or rather the kits offering as well. Bending them around the frame allows for a more natural look. The two lap belts were glued into their final positions, while the shoulder belts were left unfixed to position them later when everything done or my make up my mind. I did dirty up the white belts with a bit of sand colored pigment, for a used look.
Next will be to test fit all of the interior and engine parts to check for any issues, I don't anticipate any. For now on to the exhaust and upper cowling and rear radiator.

For more images see the Flickr photo set: https://www.flickr.com/photos/cramsey/sets/72157644762009450/
Saturday, June 14, 2014
P-51D Mustang
Not too long ago I had picked up the Tamiya 1/32 P-51D kit. Anyone who builds models know this kit is just about the best kit that there is for modeling wartime and or post time aircraft in any scale. While doing a bit of research I came across a image of a brand new P-51D off the assembly line. No markings other than national insignia and tail serial number. Besides, decals and I just don't get along together.
Instructions first call for starting with the engine, and what a engine it is. It's own little model in its own rights. Holes in various sizes are drilled in parts all over the engine in preparation for the wiring and plumbing. On the rights side of the engine I added lead wire to simulate the coolant and oil return lines. I'm not entirely sure if they go were there supposed to go, but they look nice. I had and still have a hell of a time getting superglue to stick to lead wires. I might need to change brands or look to alternative glues for attaching fine wire. I left the top of the air covers off for ease of painting and drilled holes for the priming and ignition system. I also scratched a few ignition and exhaust harness for added detail as well. A good portion of the engine will be hidden by engine mount and cowlings. I plan on displaying with the cowls off and on.
The firewall and engine oil tank was improved by adding a few bits n' pieces. A oil dipstick and cap was added alongside the return pipe (to be added later) and some miscellaneous piping.
My attention then turned to the cockpit. I decided to purchase the BarracudaCals Mustang Cockpit Upgrade set along with the Mustang Cockpit Stencils and Placards decal set. Both very good quality and price. I found that the SCR-522-A radio box wire harness provided is a bit too thick and modified it for use behind the armored seat back-plate, and added a new lead wire lines to the forward of the box. Holes were drilled on the rear battery for some wire to be added later as well. Both a welcome addition to my Mustangs' cockpit.
With that resin cockpit upgrade set from BarracudaCals, an accurate K-14 Gun sight with its special mounting bracket was added to the glare shield. I'll cut a sheet of clear plastic for the glass. I had wanted to use the throttle that came with the set but unfortunately my thick fingers and a no. 11 knife did not agree. So I used the kit throttle witch is good and added mixture and RPM levers from stock PE and rod styrene.
For the seat, Tamiya gives two options. I chose the late version with side rails. I'll be adding a set of HGW fabric seat belts later on. I'm going to add a seat liferaft, as my refrences to are limited.
Not much was added to the sidewalls, however I did decide to add a bit of wiring to the right for the boxes in such to made them look busy. Not 100% correct but nice to look at. I decided to not have a figure inside so I needed a flexible oxygen hose. Lead wire wrapped with lead wire and a few bits of styrene rod. All will be attached separately for ease of handling.
Next will be to add some primer to these parts and start painting the engine, accessories and wood floor.
Sunday, April 13, 2014
Tamiya 1/48 P-47D Thunderbolt
In
May 1941, as the war raged in Europe, a single-engine fighter of more
than 4t made its first flight. This fighter was the XP-47B, prototype of
the Republic P-47 Thunderbolt of which a total of 15683 units will be
built. Thanks to war experience, this aircraft was equipped with a
2000hp radial R-2800 engine, a supercharger and eight 12,7mm
machine-guns. The XP-47B was to reach 633km/h and in January 1942, just
after the USA went to war, the production of P-47B began. It was
followed by the P-47C that incorporated various improvements and, from
April 1943, by the P-47D, the most built version. The P-47D was equipped
with an R-2800-59 engine, which can develop up to 2300hp with combat
emergency water injection system engaged. The ducts that were passing on
the sides and below the cockpit to connect the supercharger placed
behind the pilot's seat gave to this plane its massive aspect. Many
sub-types of the P-47D, designated D-1 to D-40, were produced but the
first versions were called "Razorback" because of their sharp edge
dorsal fin. The D-25 sub-type, which was introduced around June 1944,
was fitted with an electrically actuated bubble canopy in order to
improve pilot visibility and increased capacity fuel tanks. This
decision resulted in a completely remodeled plane shape. All subsequent
sub-types were also fitted with the bubble canopy and became a
characteristic feature of late production Thunderbolts. The P-47
"Bubbletop" proved to be an excellent, well-balanced fighter-bomber.
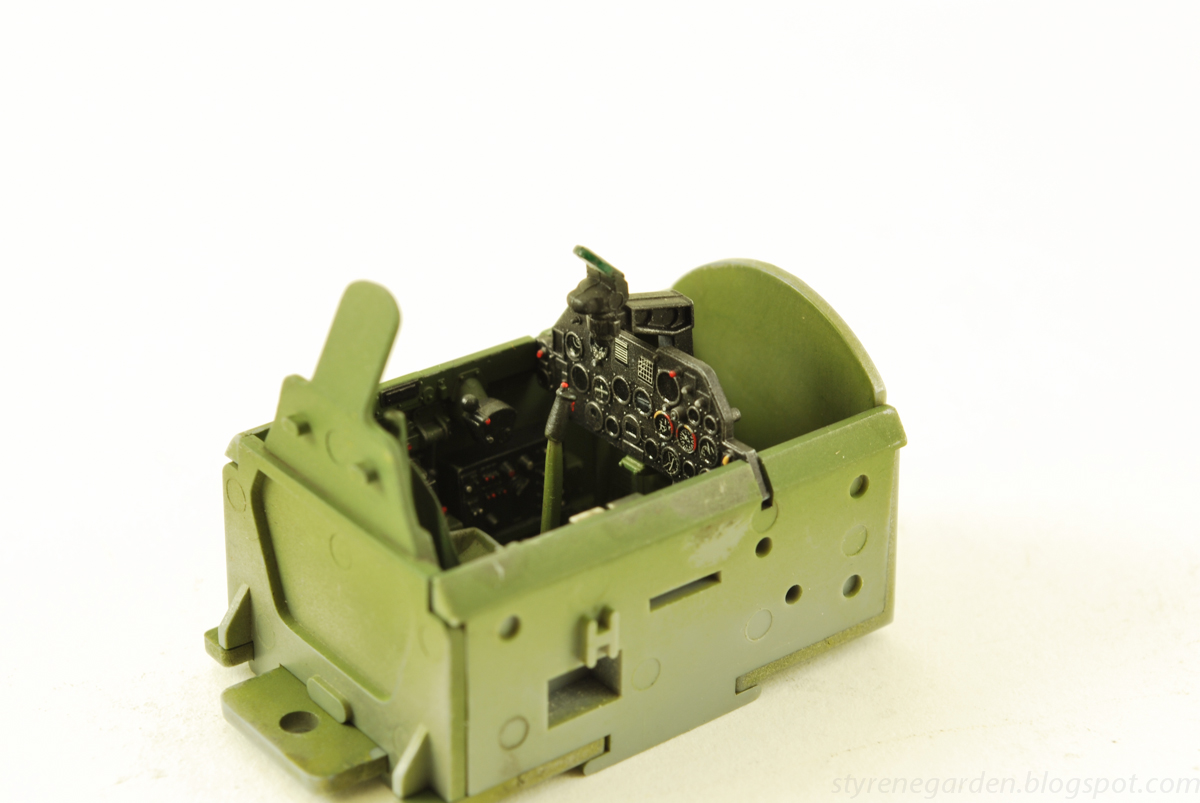
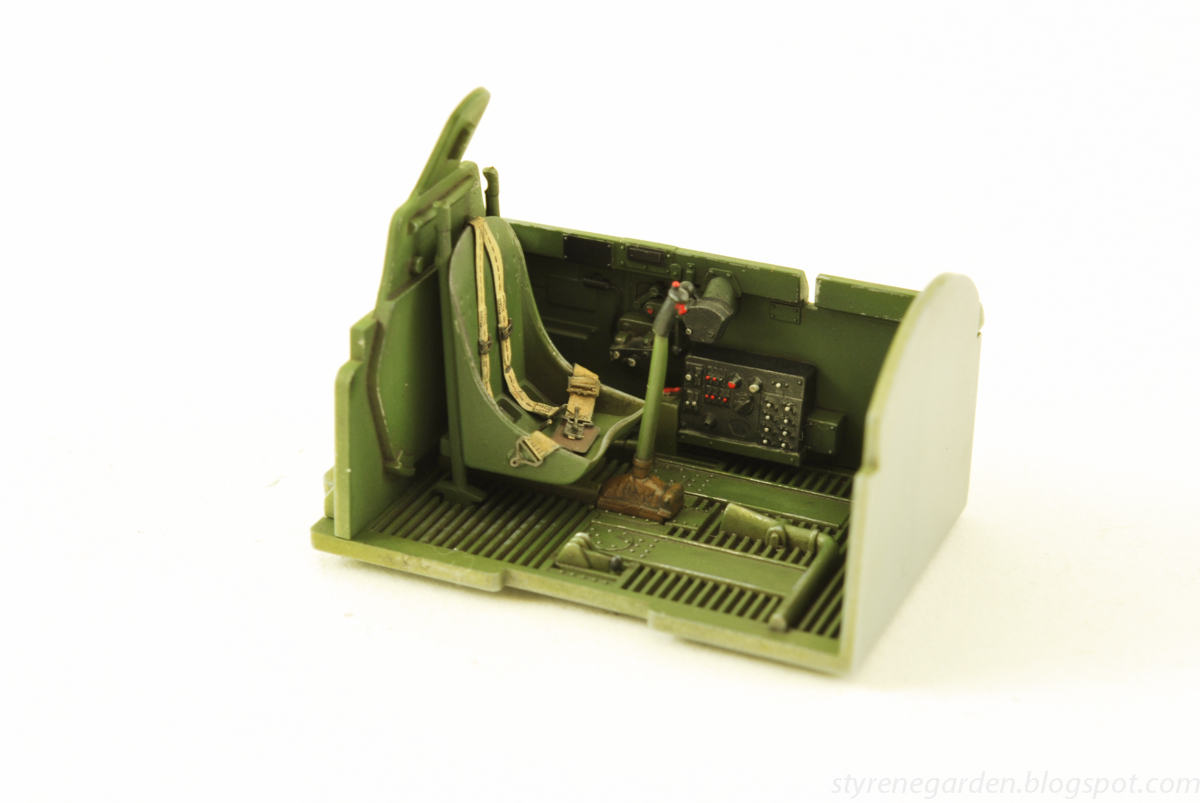
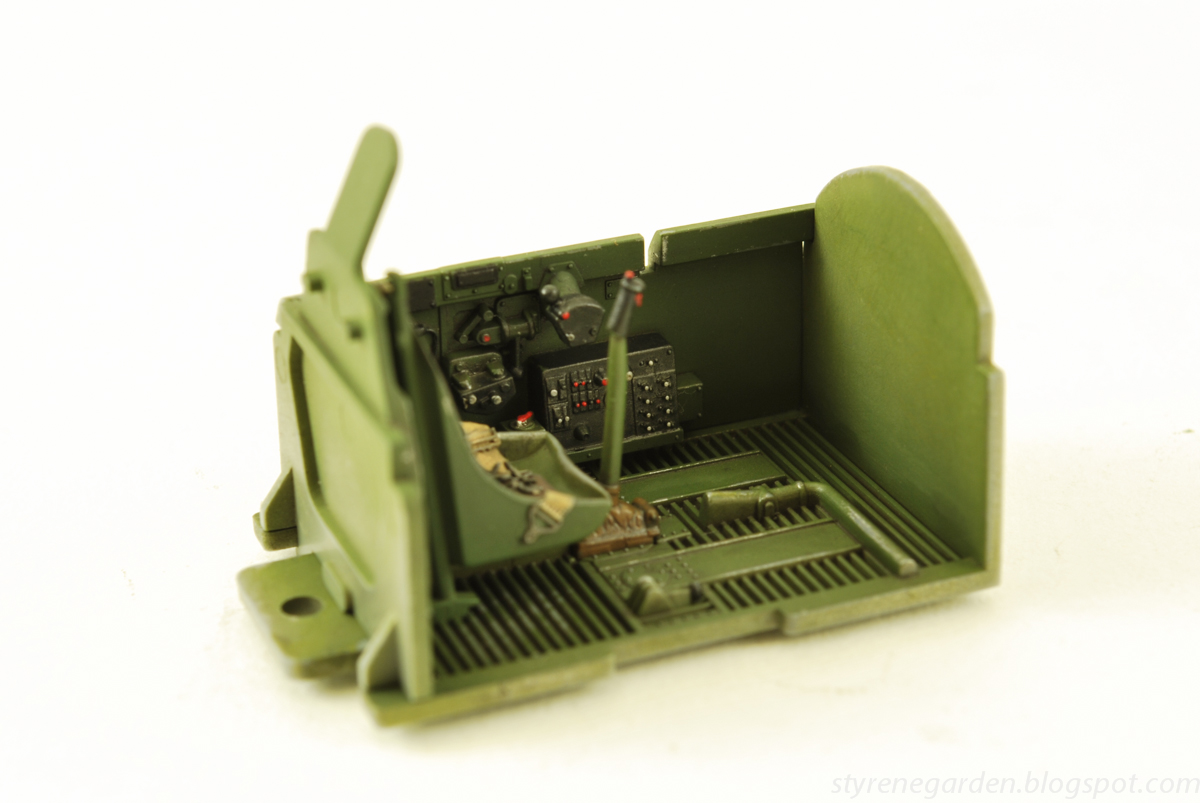
I decided to clean out my model room and I found this kit half started undernight some of my more recent projects. I first started with a cote of Modelmasters metalizer alluminum for the overcoat of intreior bronze green. I couldn't find the right color so I opted for Gunze H340 Field Green (semi-gloss). I wish more manufactures (cough...Tamiya) would produce semi-glass paint strait out of the bottle. So much easier to work with.
The only photoetch are the seatbelts stolen from annother jug project gone wrong and the side map-case cover.
Chipped with a toothpick and stiff bush the details were picked out with Vallejo paint and given a wash of various grey/brown enamel washes.
The instrument panel dial decals were punched out and a drop of future clear floor wax used to replicate the glass.
Wednesday, January 22, 2014
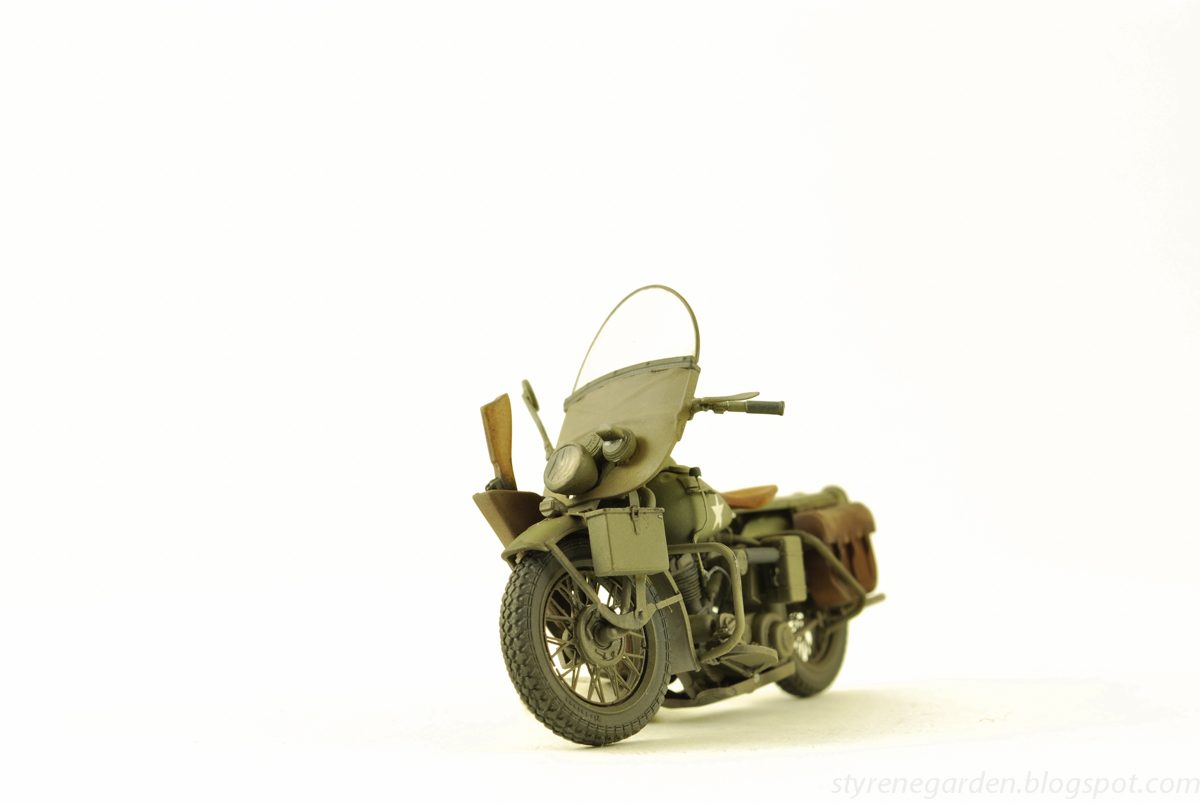
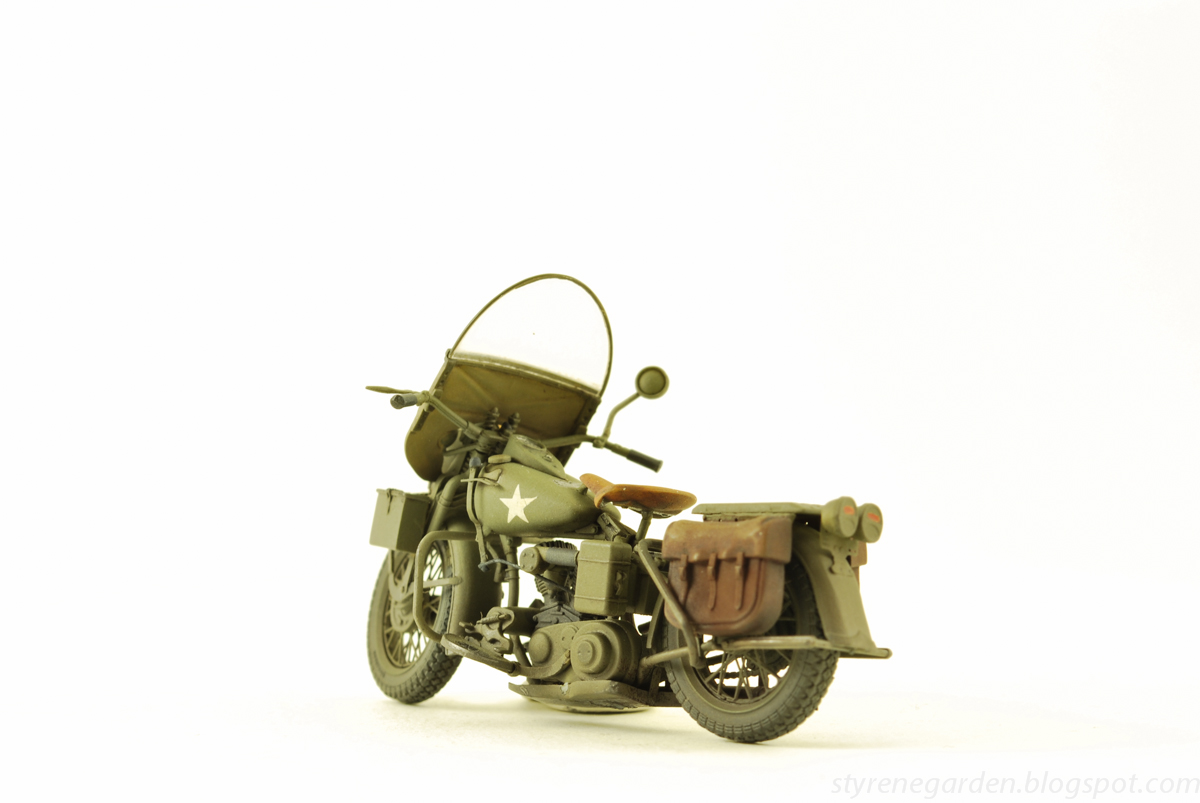
Miniart 1/35 - U.S. WWII Motorcycle WLA
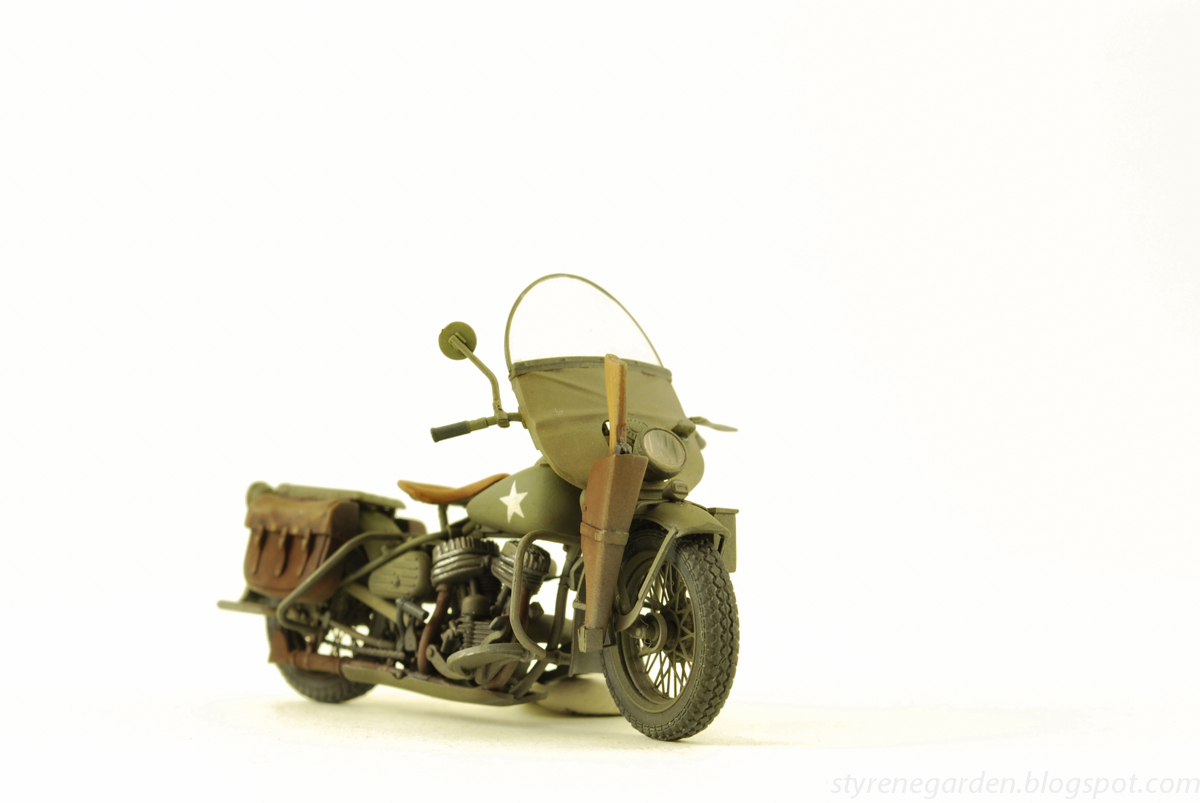
I've been putting off finishing this little gem for some time now. For some reason this model has been fighting me at every step. Mostly due to my large fingers and the floor. After about a year of sitting in the stash I have finally finished my WLA. I might add a few things on the back, I'm just not sure yet. I do plan of fitting it on the back of a CCKW tied to the rails.
I started off with a base cote of Tamiya Olive drab. With highlights in Vallejo green colored paints. As this being airbrushed nearly a year ago, I have forgotten what paints I exactly used.
The larger saddlebags were painted a tan color for the forcible oil wash of raw umber and burnt sienna. The seat what painted in a similar tan color, lightened with white. For the engine I used Model Masters Metalizer Exhaust mixed with Magnesium. A pin wash of various AK Interactive brown and dark colored washes were used. I had decided to use some dry transfers for the stars on the fuel tank. A layer of Testors Dull-cote seal everything nicely.
The final dist layer was created with airbrushed AK dust wash and stumped with spirits and a medium pointed brush. Seal with dull-cote again and finished. For now....
Subscribe to:
Posts (Atom)
