In
May 1941, as the war raged in Europe, a single-engine fighter of more
than 4t made its first flight. This fighter was the XP-47B, prototype of
the Republic P-47 Thunderbolt of which a total of 15683 units will be
built. Thanks to war experience, this aircraft was equipped with a
2000hp radial R-2800 engine, a supercharger and eight 12,7mm
machine-guns. The XP-47B was to reach 633km/h and in January 1942, just
after the USA went to war, the production of P-47B began. It was
followed by the P-47C that incorporated various improvements and, from
April 1943, by the P-47D, the most built version. The P-47D was equipped
with an R-2800-59 engine, which can develop up to 2300hp with combat
emergency water injection system engaged. The ducts that were passing on
the sides and below the cockpit to connect the supercharger placed
behind the pilot's seat gave to this plane its massive aspect. Many
sub-types of the P-47D, designated D-1 to D-40, were produced but the
first versions were called "Razorback" because of their sharp edge
dorsal fin. The D-25 sub-type, which was introduced around June 1944,
was fitted with an electrically actuated bubble canopy in order to
improve pilot visibility and increased capacity fuel tanks. This
decision resulted in a completely remodeled plane shape. All subsequent
sub-types were also fitted with the bubble canopy and became a
characteristic feature of late production Thunderbolts. The P-47
"Bubbletop" proved to be an excellent, well-balanced fighter-bomber.
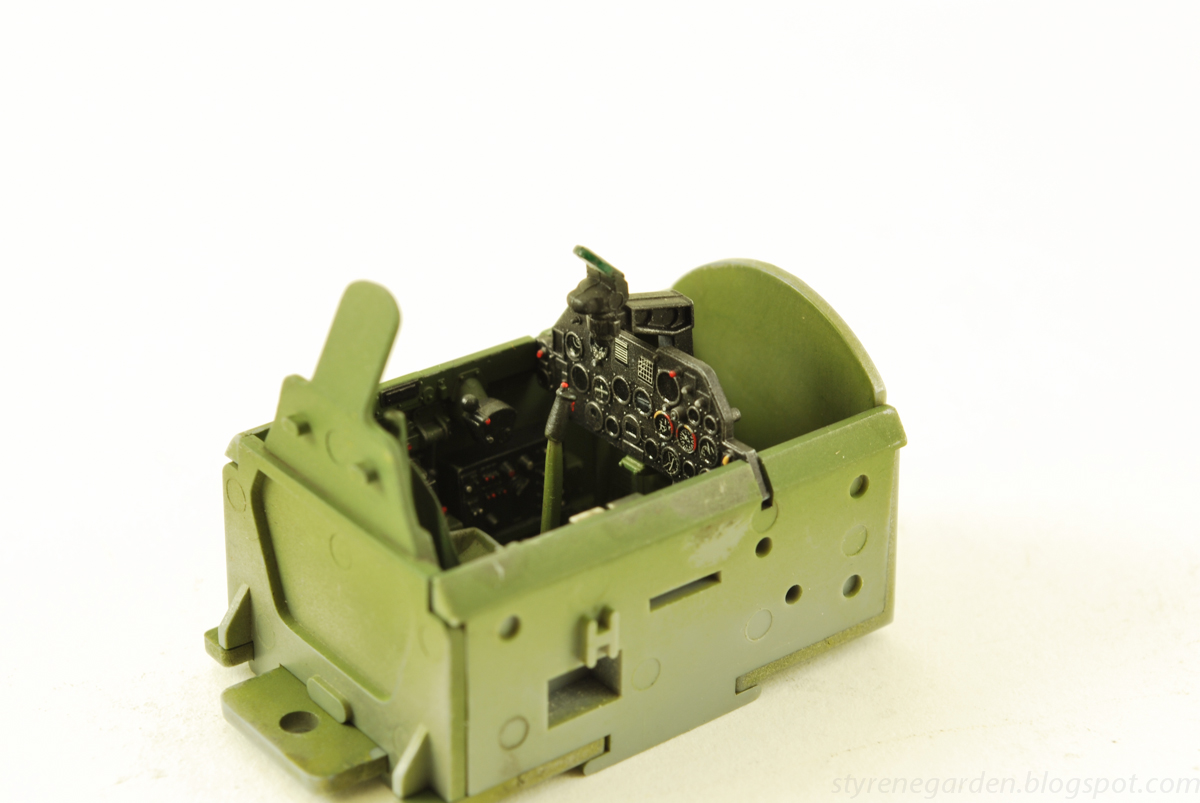
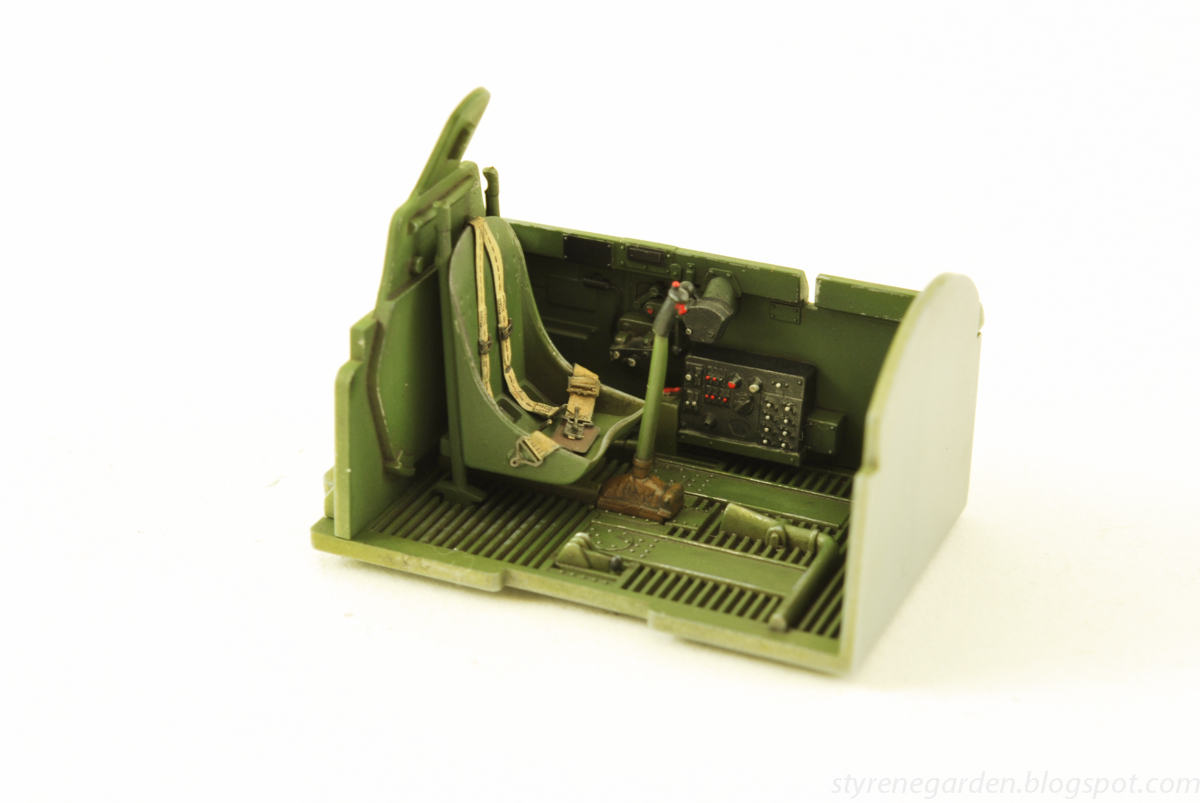
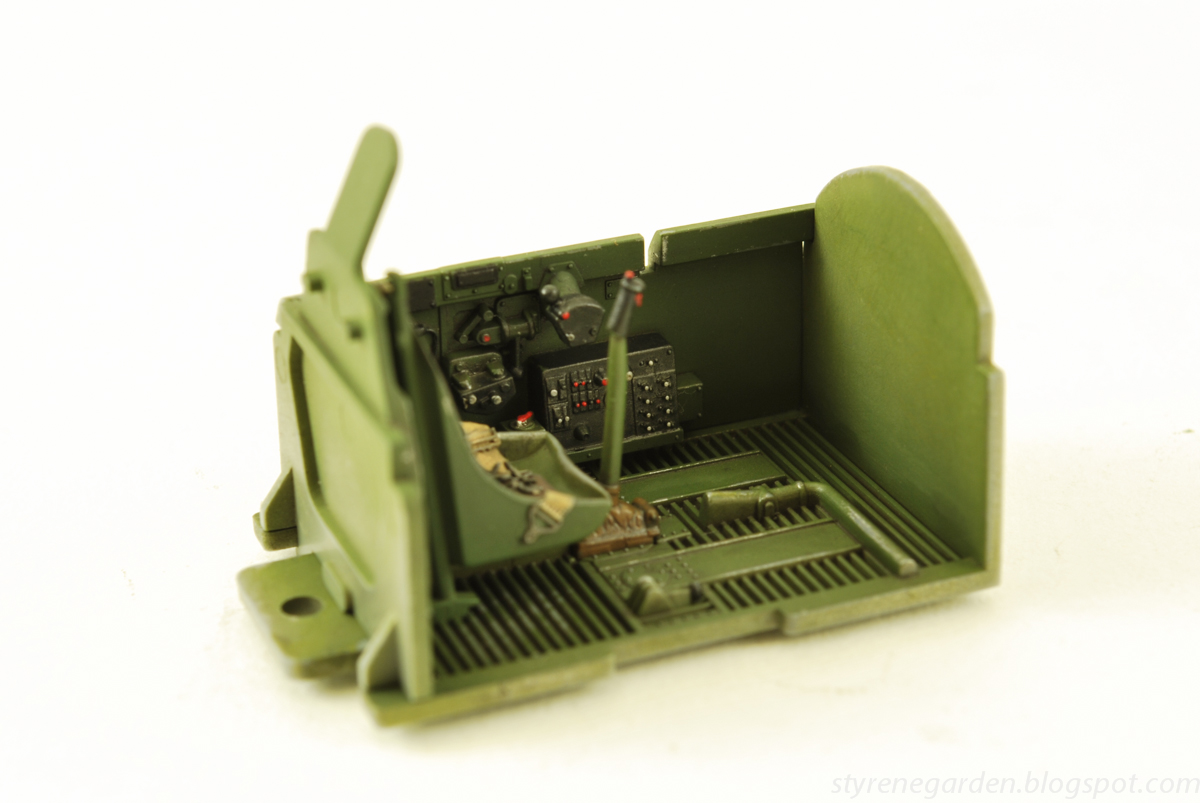
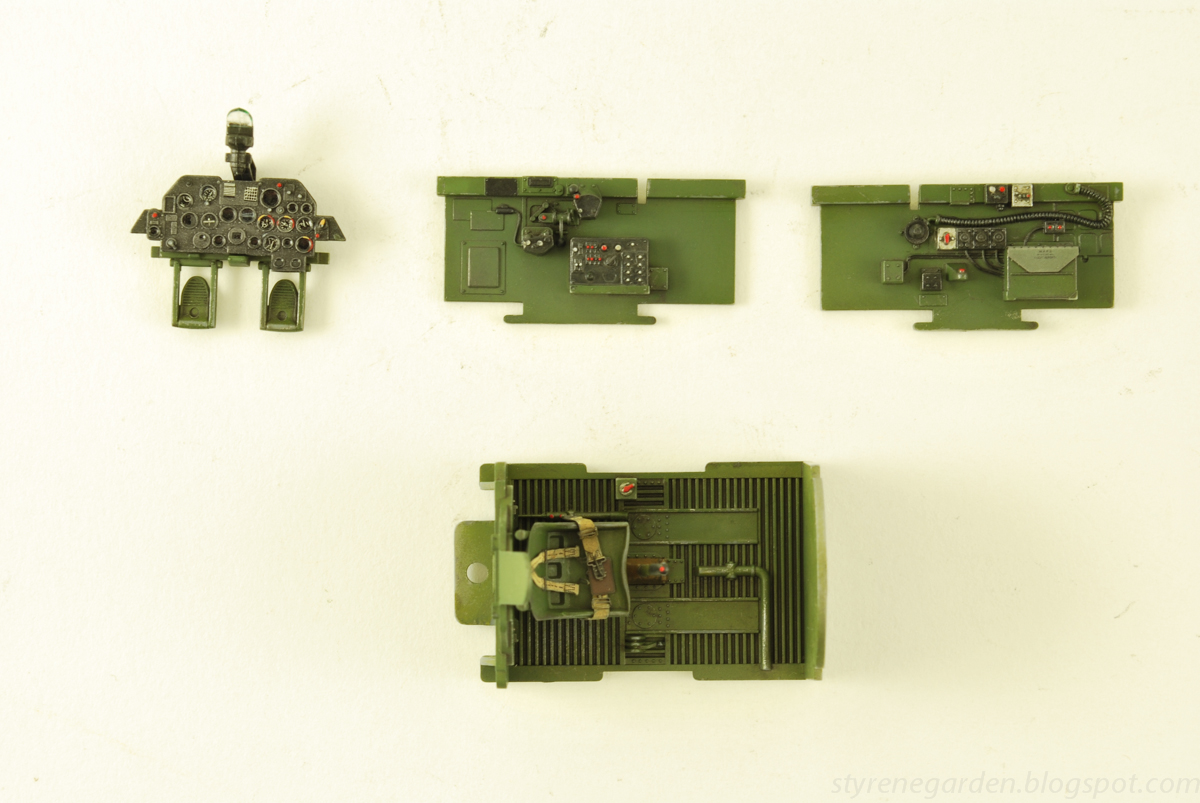
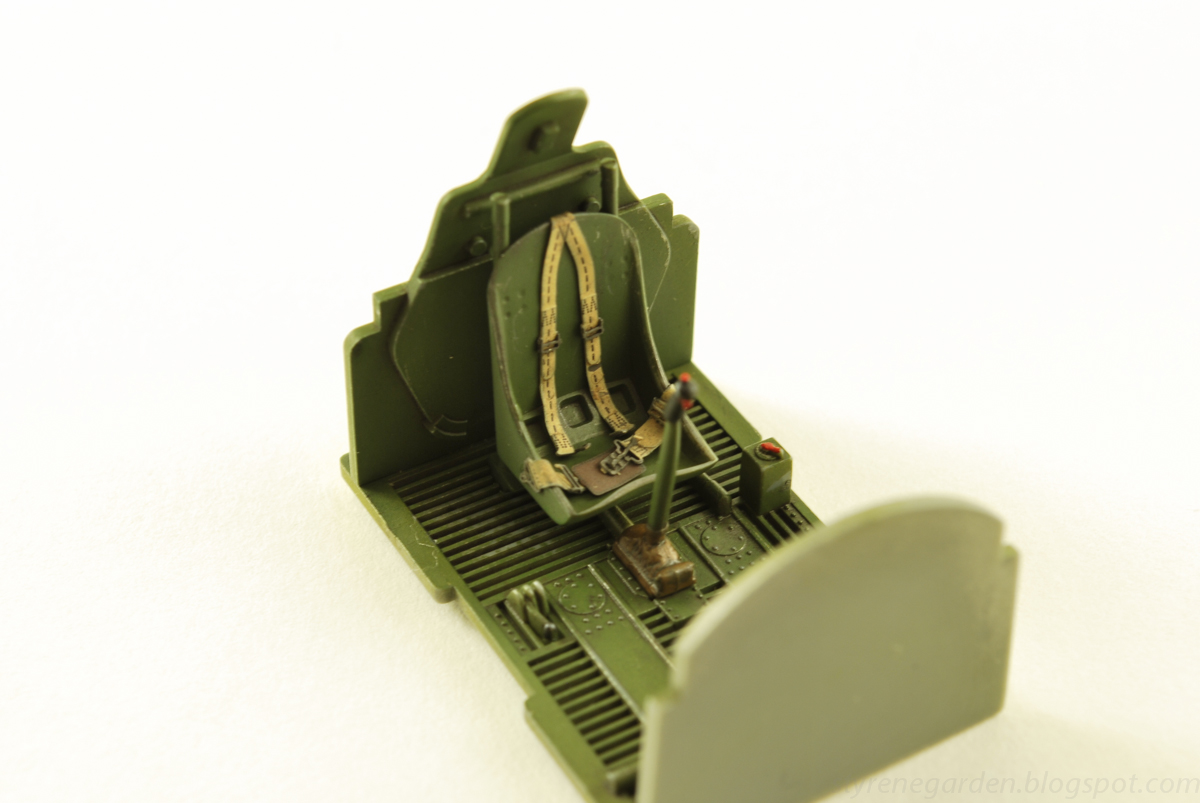
I decided to clean out my model room and I found this kit half started undernight some of my more recent projects. I first started with a cote of Modelmasters metalizer alluminum for the overcoat of intreior bronze green. I couldn't find the right color so I opted for Gunze H340 Field Green (semi-gloss). I wish more manufactures (cough...Tamiya) would produce semi-glass paint strait out of the bottle. So much easier to work with.
The only photoetch are the seatbelts stolen from annother jug project gone wrong and the side map-case cover.
Chipped with a toothpick and stiff bush the details were picked out with Vallejo paint and given a wash of various grey/brown enamel washes.
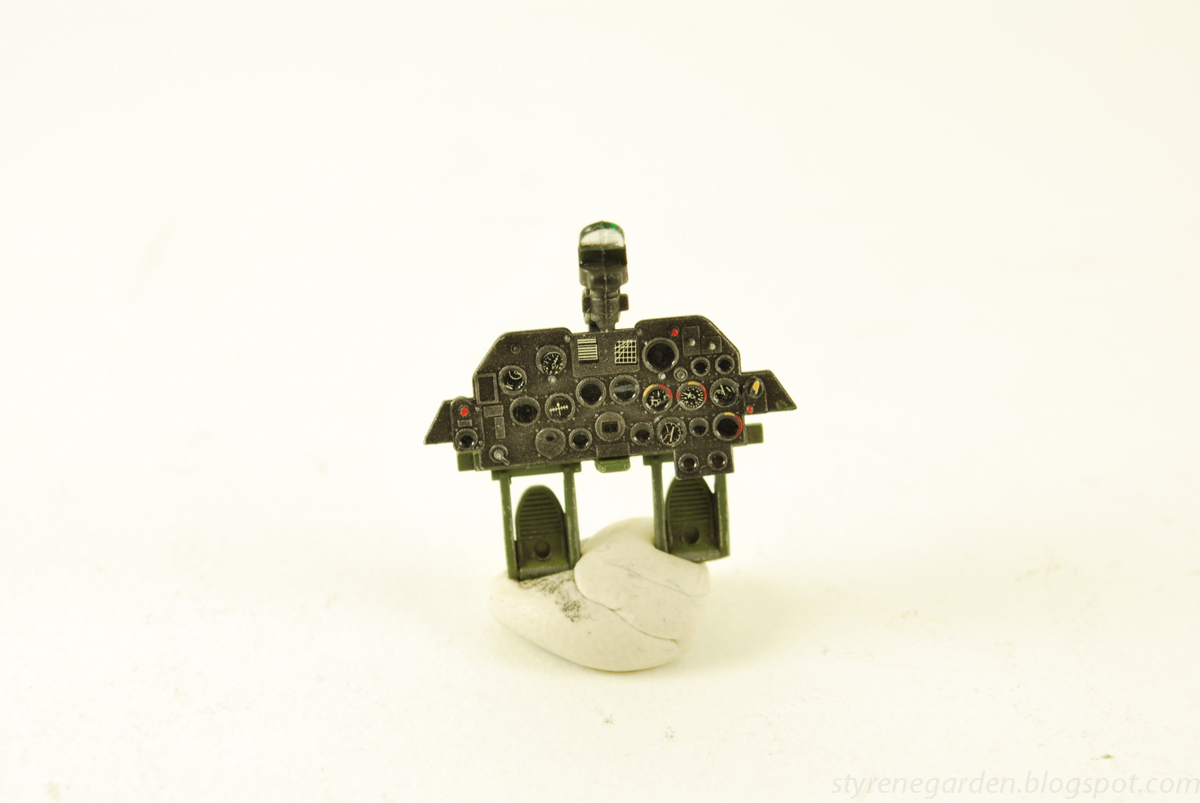
The instrument panel dial decals were punched out and a drop of future clear floor wax used to replicate the glass.
