The Fairey Swordfish was a torpedo bomber biplane designed by the Fairey Aviation Company and used by the Fleet Air Arm of the Royal Navy during the Second World War. Originating in the 1930s, the Swordfish, nicknamed "Stringbag", was an outdated design by the start of the war in 1939, but remained in front-line service until VE Day, outliving several types intended to replace it. It was initially operated primarily as a fleet attack aircraft; during its later years it was used as an anti-submarine and training craft.
The Swordfish achieved some spectacular successes, notably the sinking of one and damaging two battleships of the Regia Marina (the Italian Navy) in the Battle of Taranto and the famous crippling of the Bismarck.
The Swordfish achieved some spectacular successes, notably the sinking of one and damaging two battleships of the Regia Marina (the Italian Navy) in the Battle of Taranto and the famous crippling of the Bismarck.
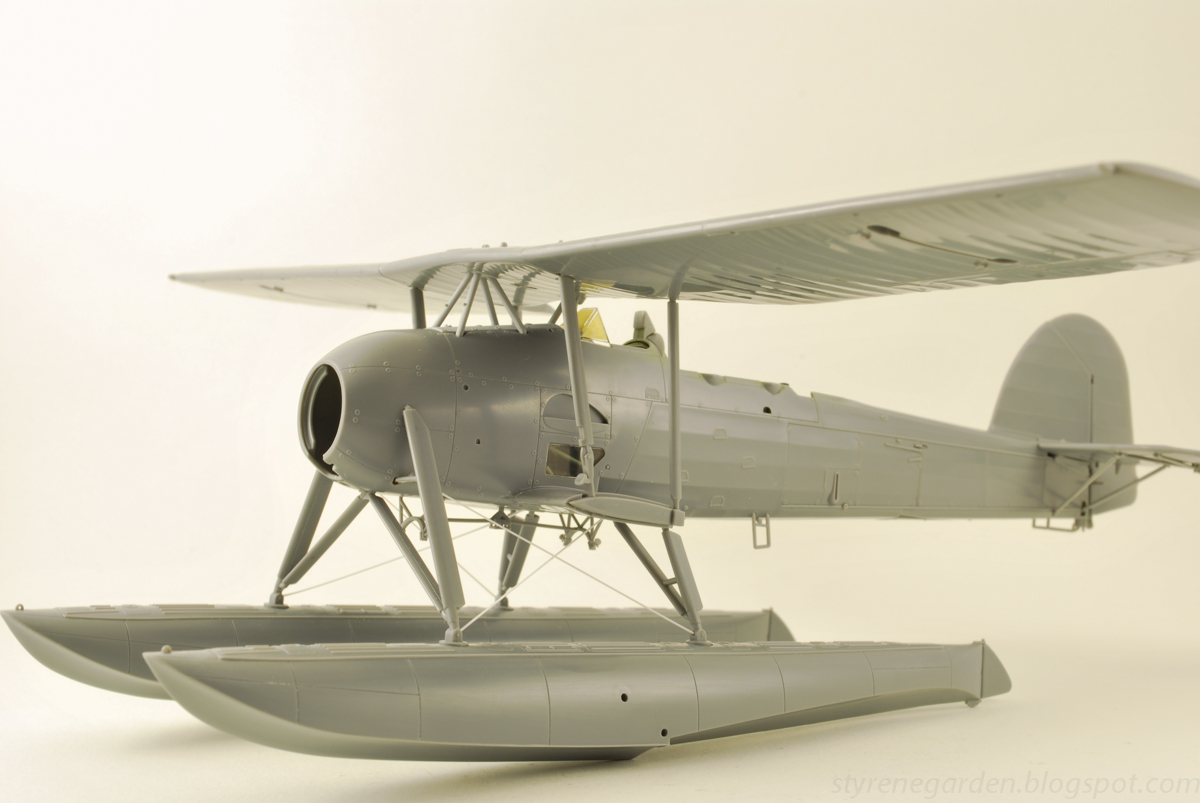
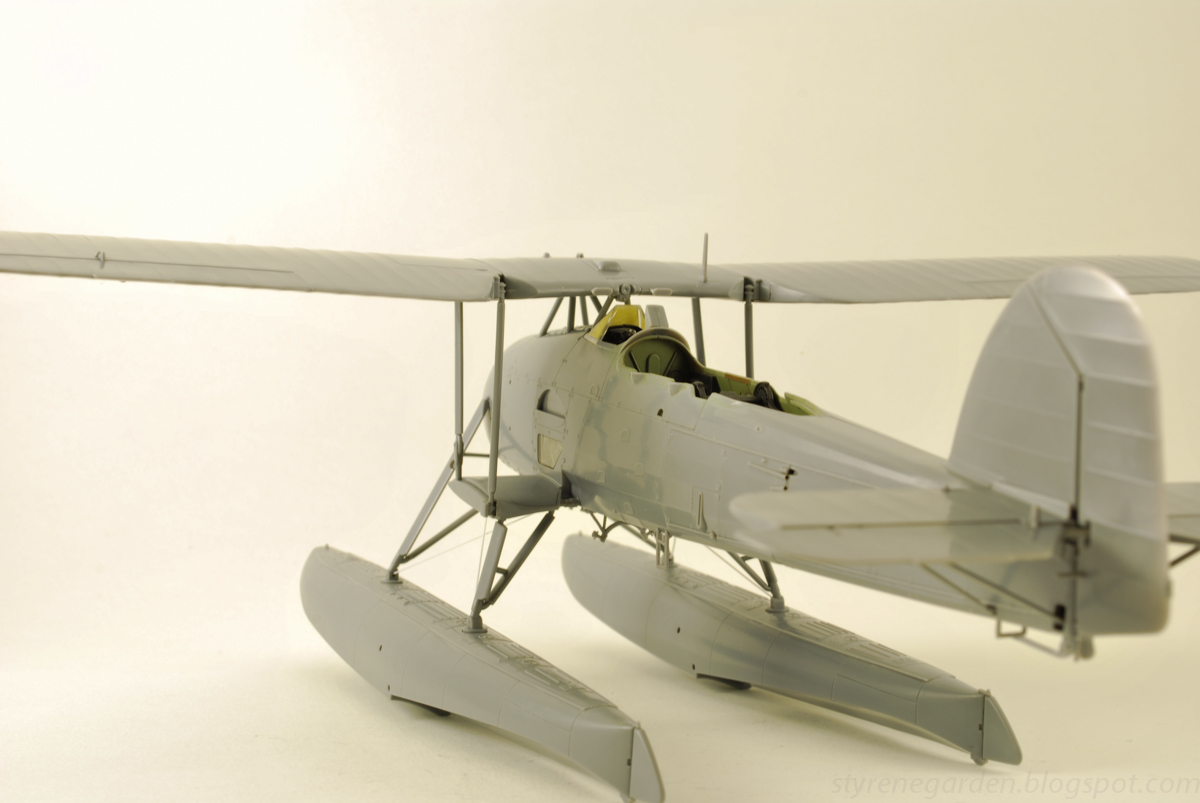
The Tamiya rendering is nearly 14 years old today. I was never really into 1/48 scale aircraft, more of a 1/32 scale man myself. There are no real issues so far with this kit. Do do have to make a decision on either you want it show in wings folded or extended. I opted for the later. This is a large aircraft in real life as well as on the bench.
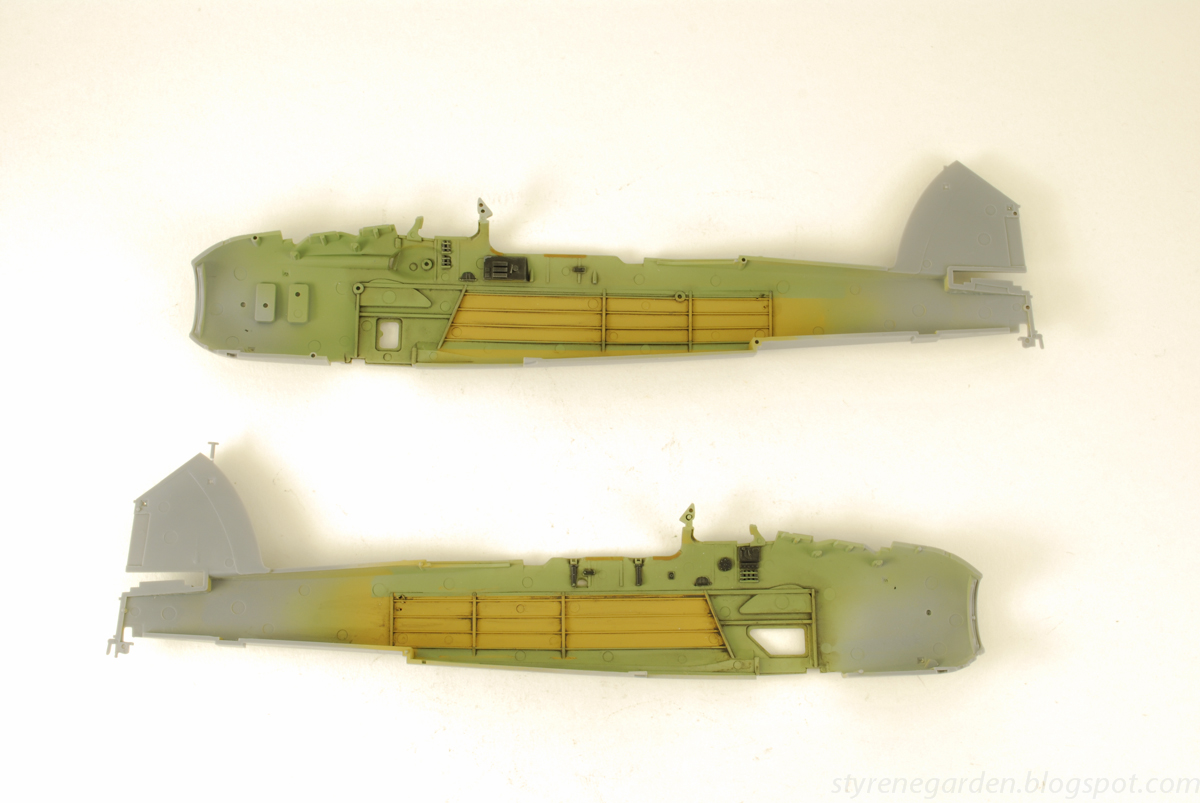
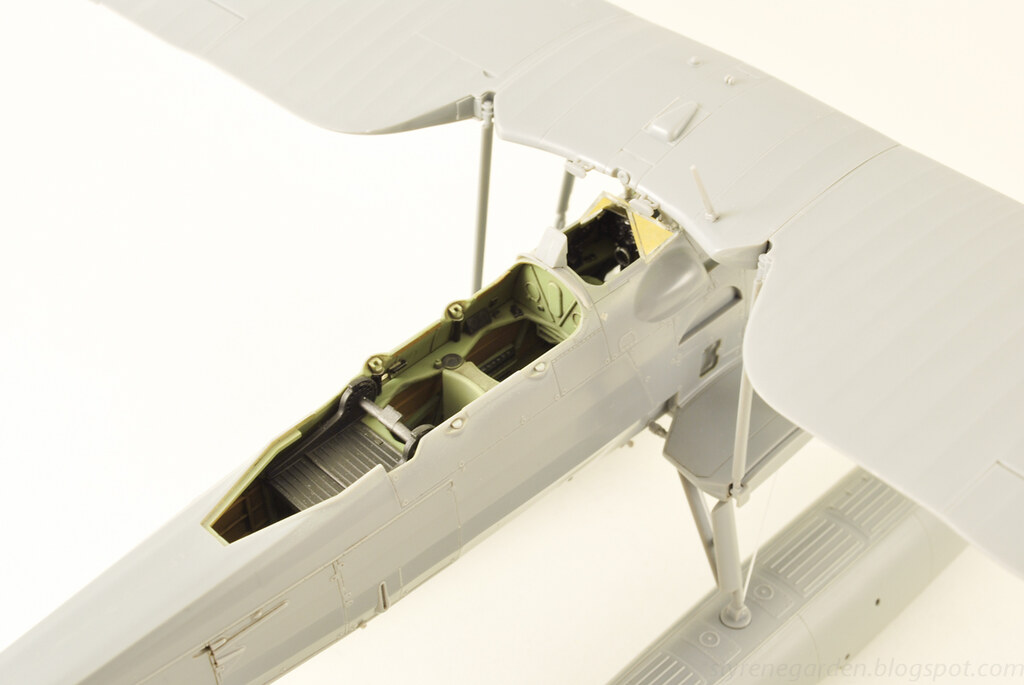
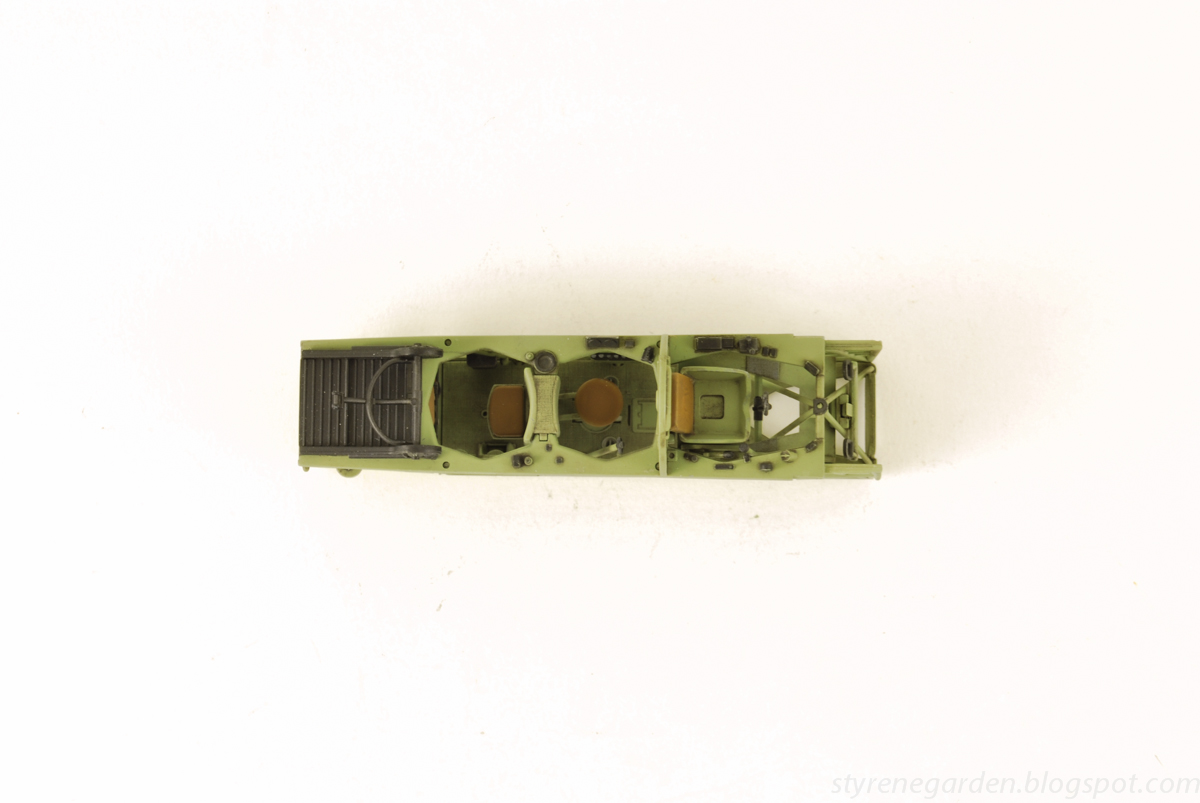
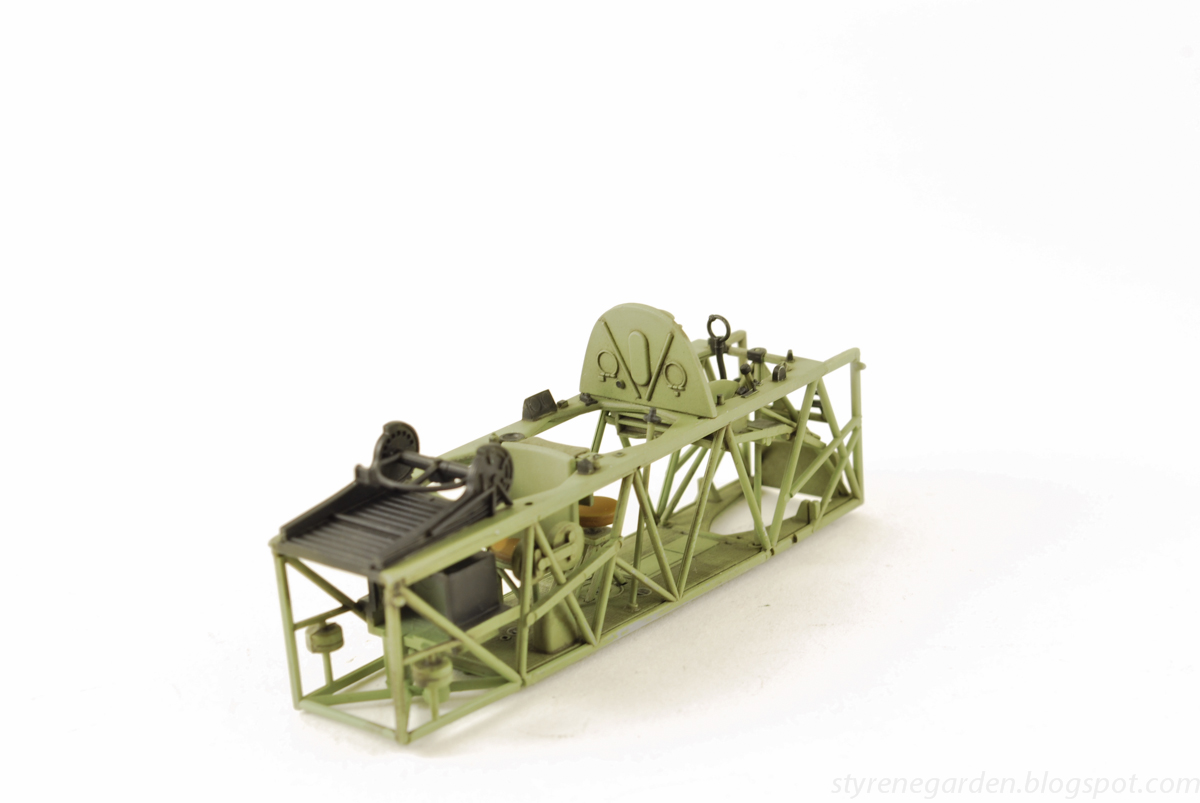
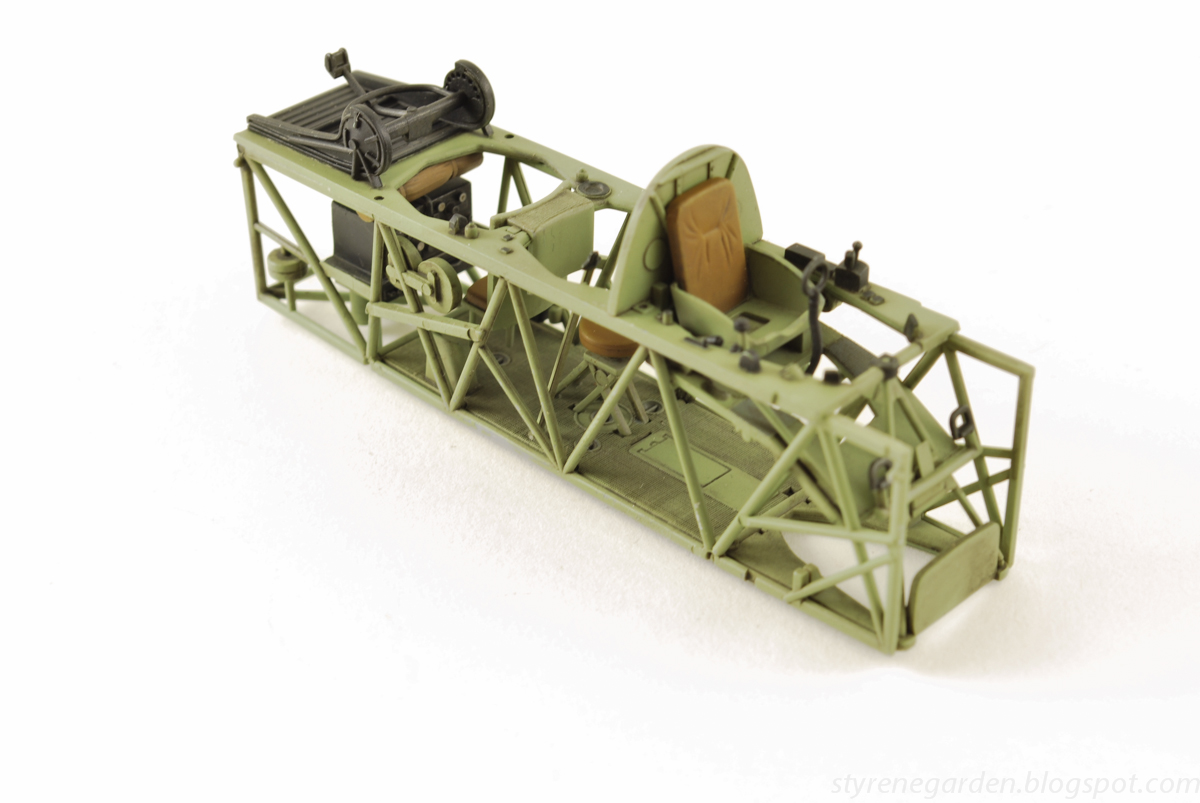
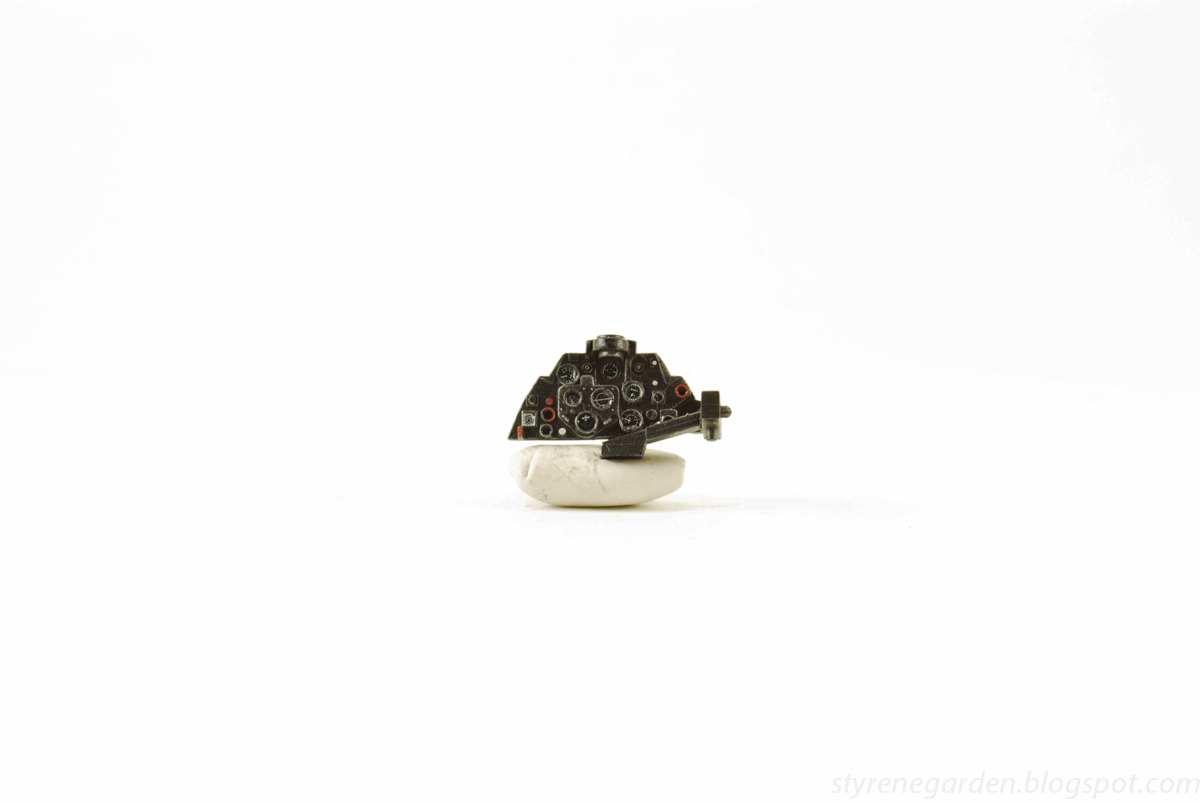
One thing That I wanted to do is build this kit straight out of the box. Then I remembered Tamiya sold the rigging of the wings separately. Most of it was flat wire. I choose to not buy and use flat styrene strip, a good replacement. For the fixed forward-firing .303 in (7.7 mm) Vickers machine gun in engine cowling I cut it from the mount and drilled a pin and hole for easier painting. The interior was painted per the instructions with details picked out with Vallejo paints and AK interactive washes.
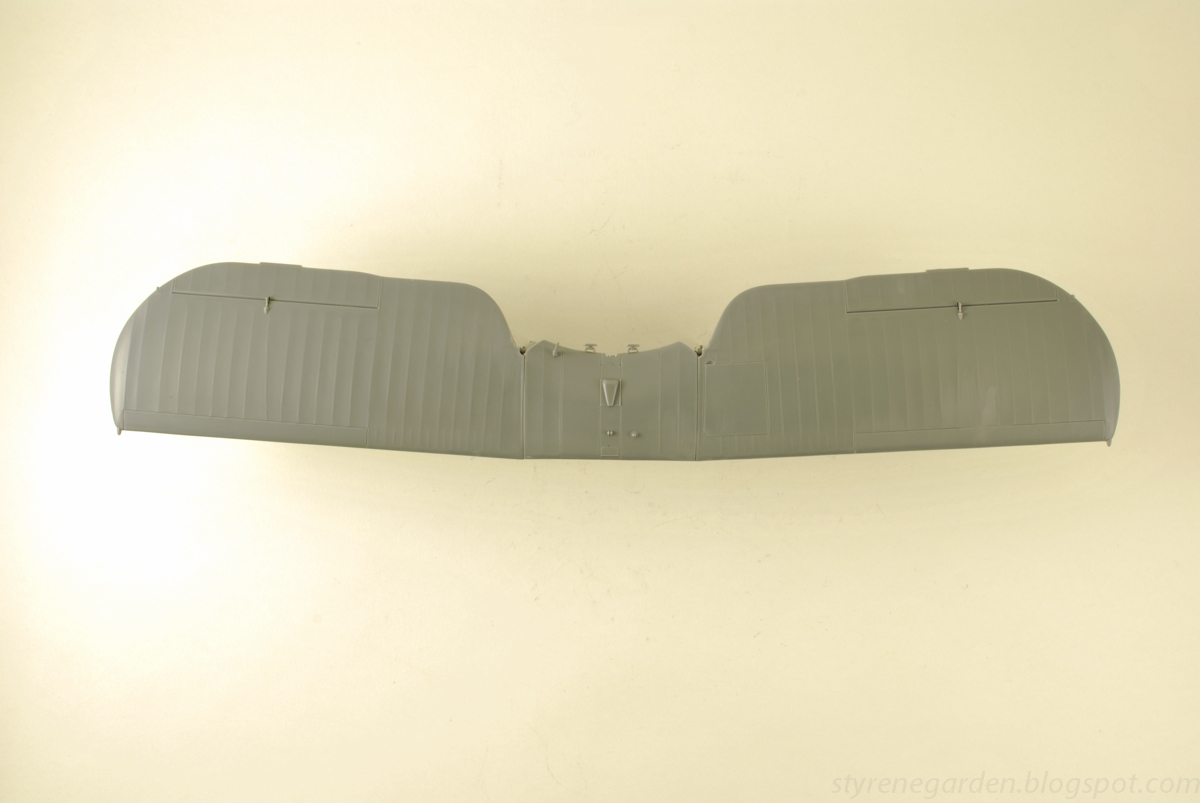
The upper wings are made up of three sections with support braces attached. I oped to glue all three together for ease of painting. Still not sure if I will due a painted aluminum finish or a green/grey scheme.
The floats were assembled per the instructions plus a few bits of scrap styrene covering the holes on the side. In preparation for a water base I drilled a few holes in the bottom to attach to the base later.
Next primer and some paint.