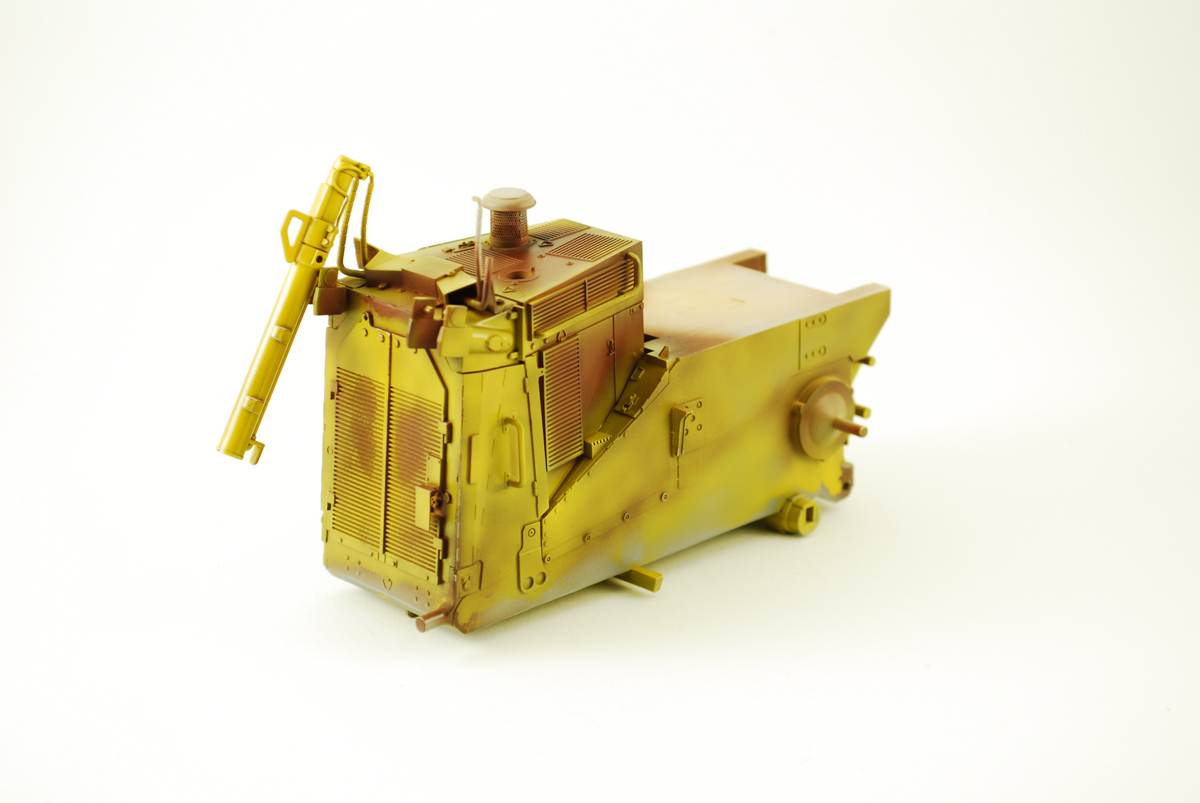
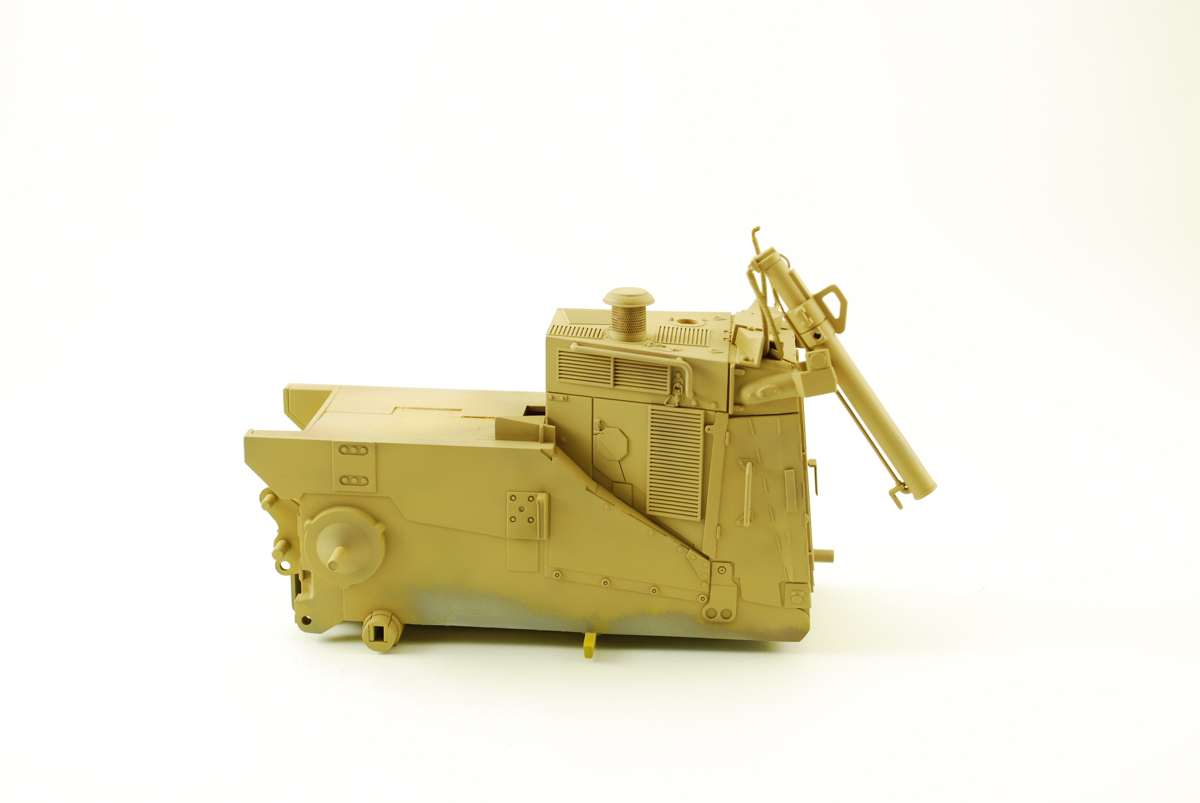
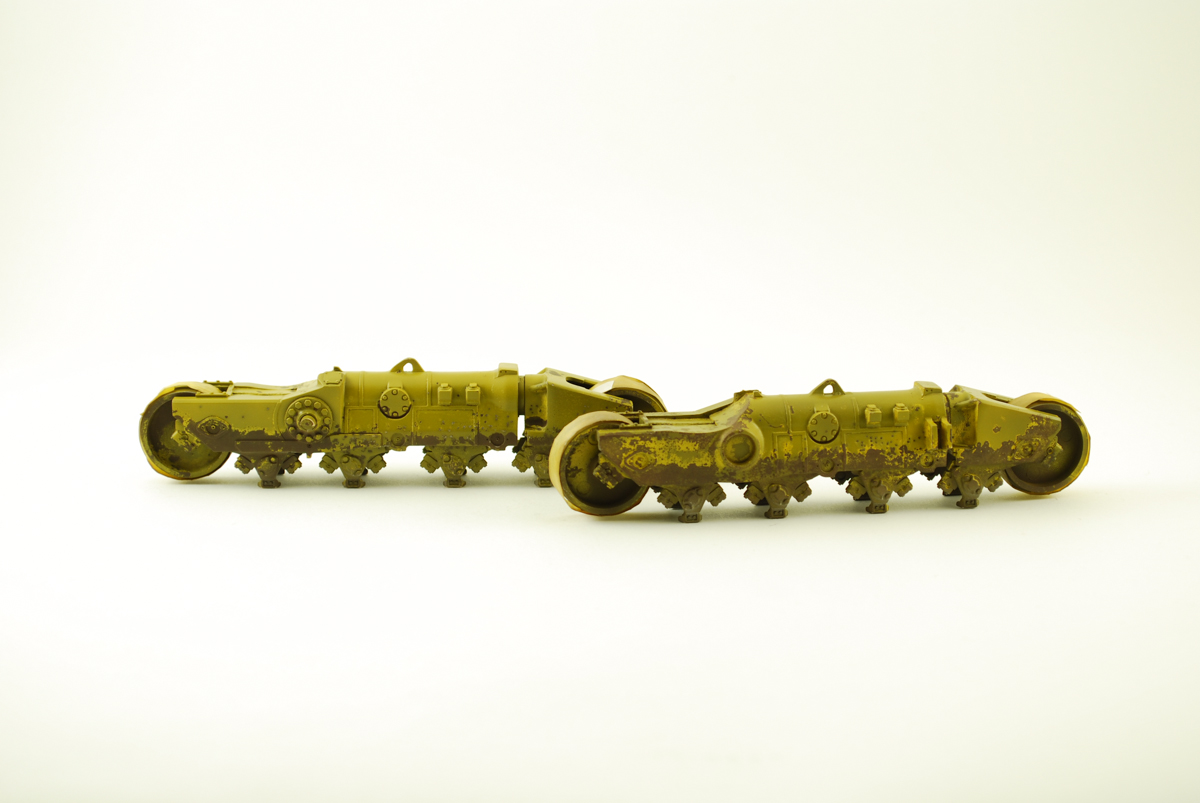
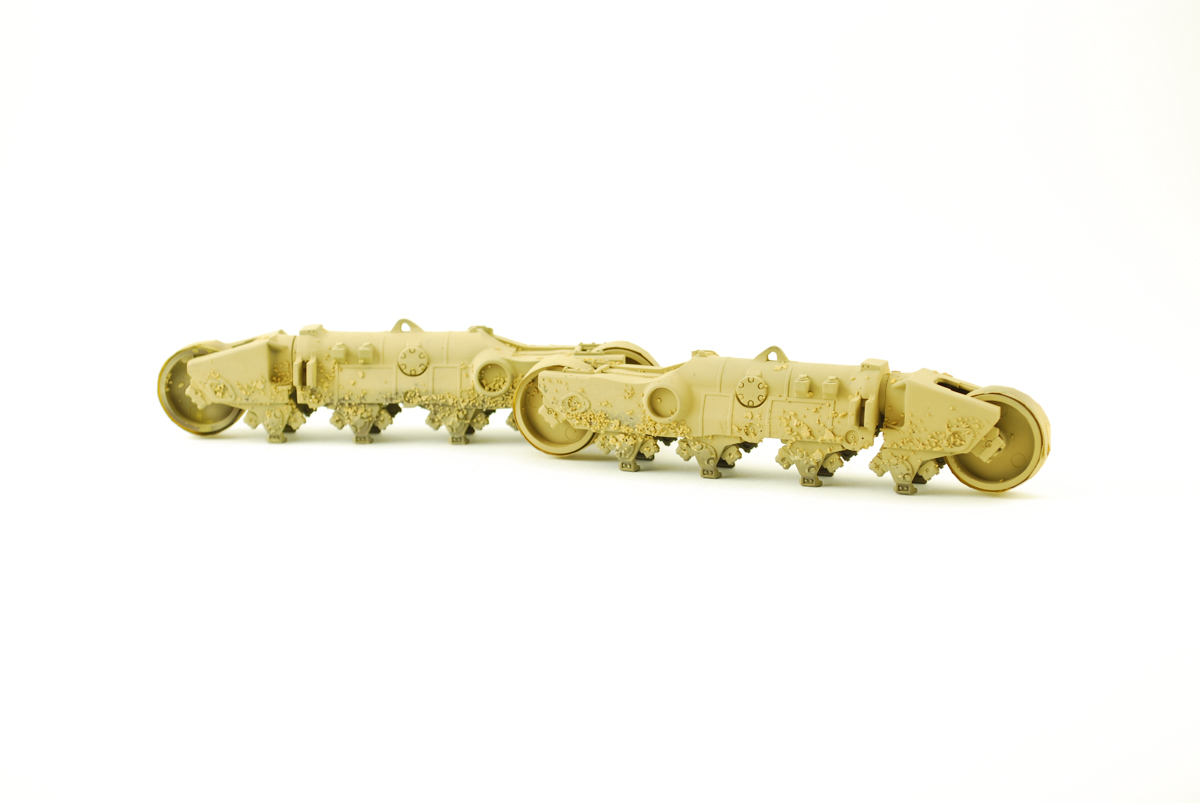
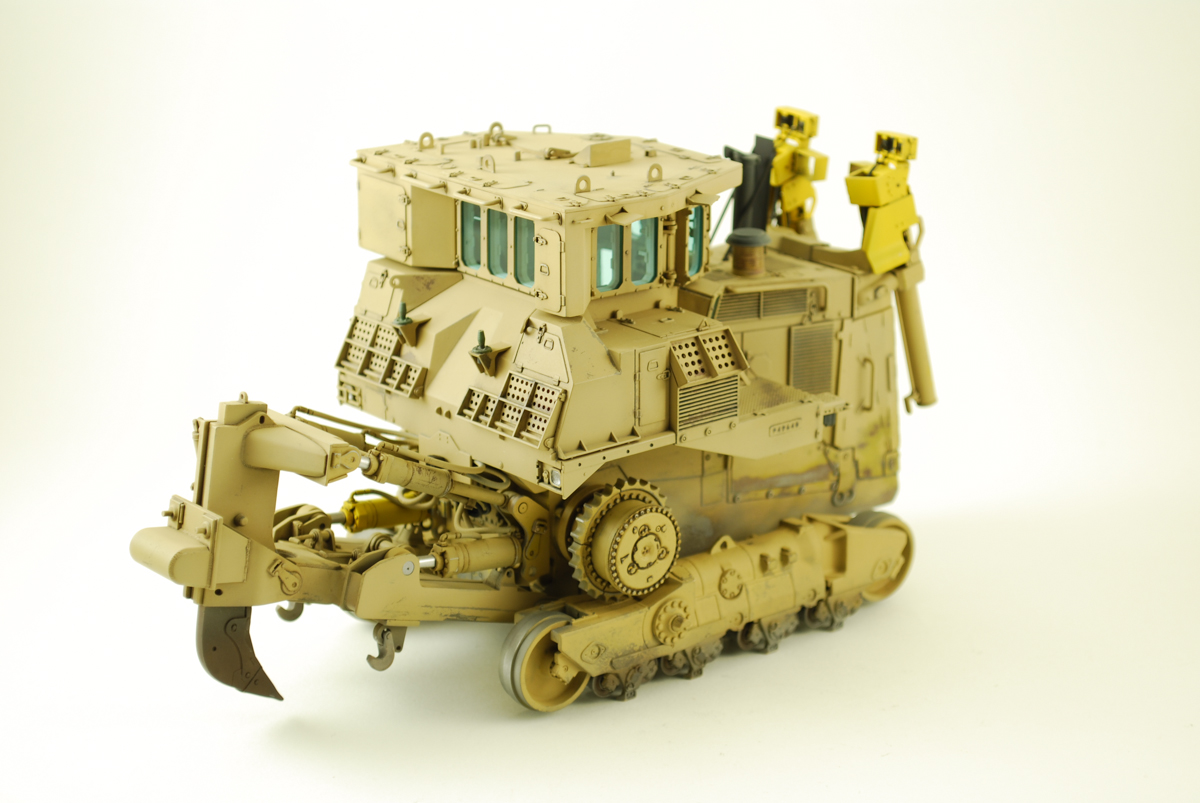
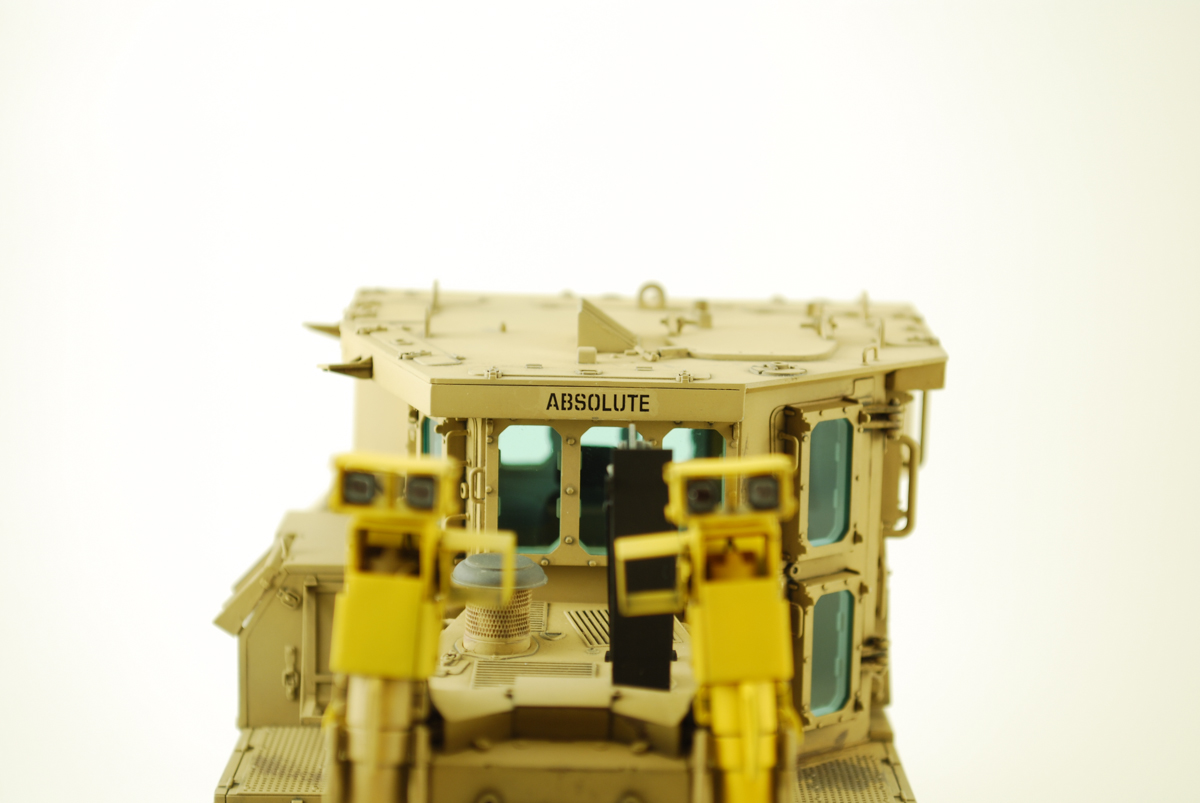
Allot has happened since the last update. For some reason I tool me about 5 tries to get the right color for a mix of sand. The US Army calls it CARC Desert Tan 686, and the US Marine Corps calls it Tan 686. I call it painted.
My first mix was way too dark, then way too light then a myriad of shades in between. I forgot to account for the filters and washes that would be applied after. The last is a good rendering of Desert Tan in my opinion.
My first mix was way too dark, then way too light then a myriad of shades in between. I forgot to account for the filters and washes that would be applied after. The last is a good rendering of Desert Tan in my opinion.
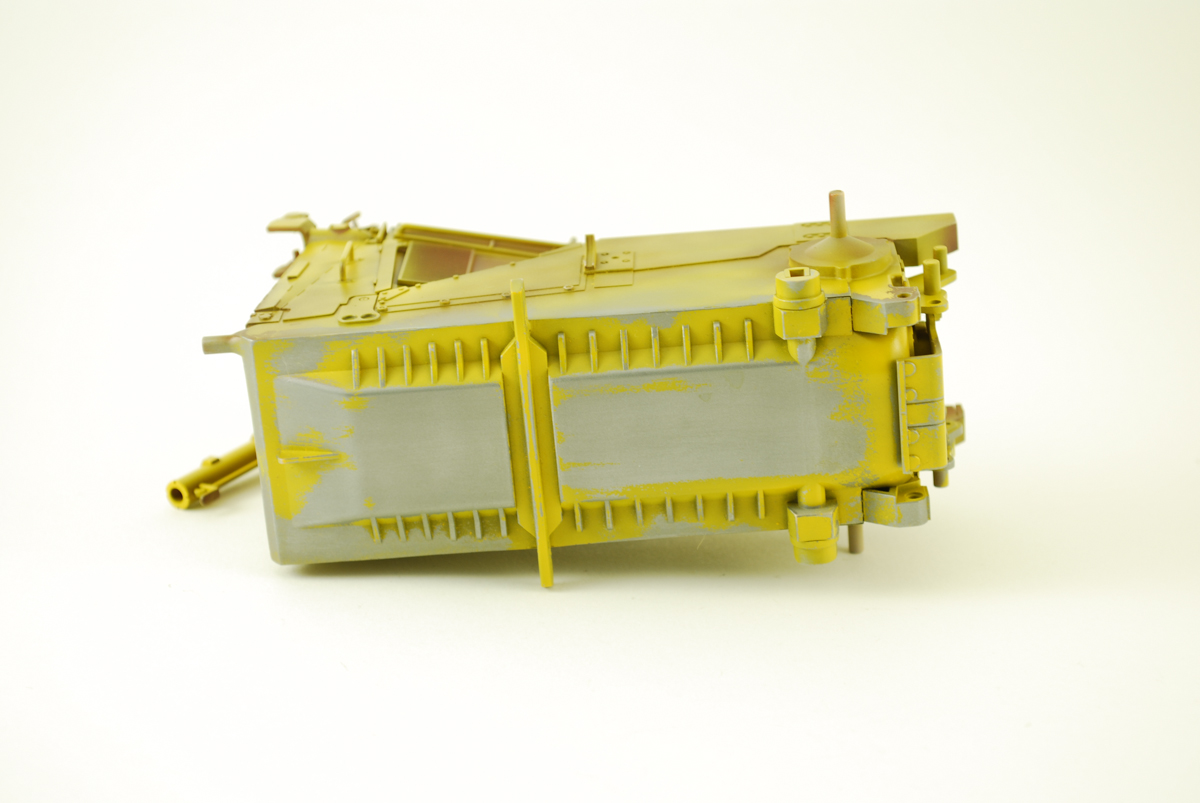
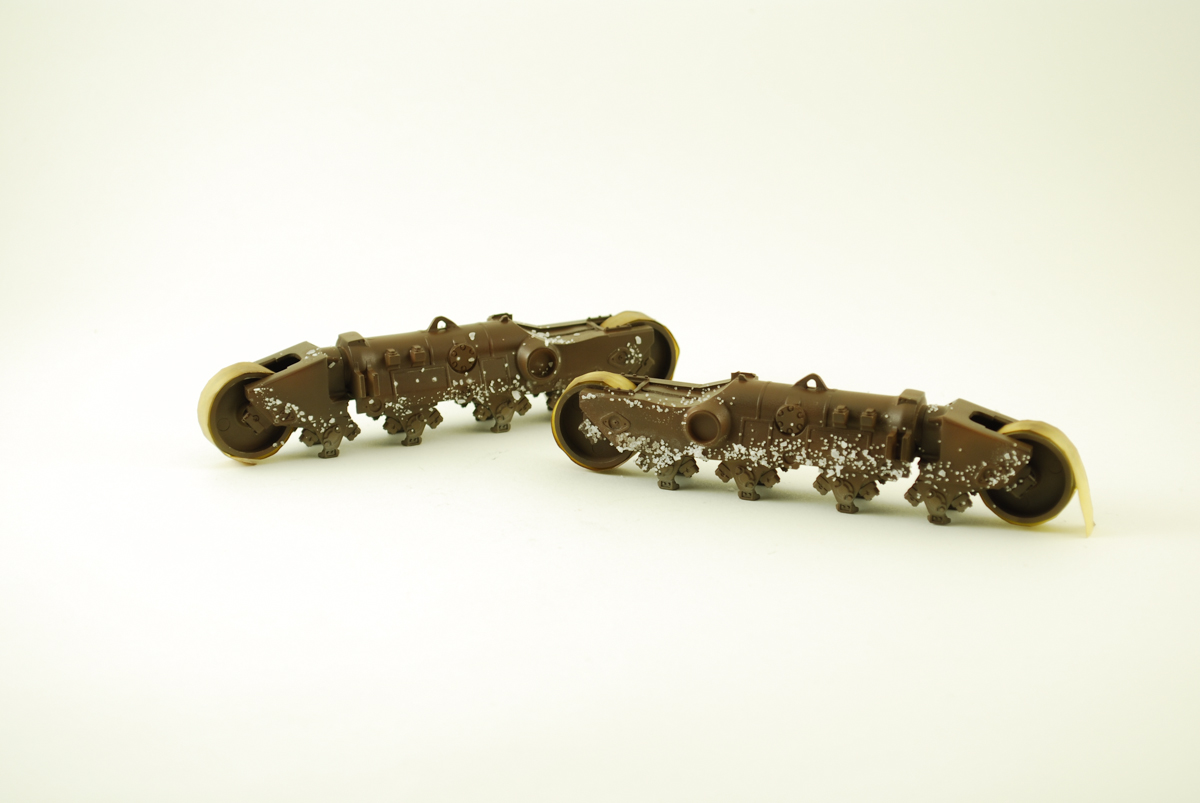
After a day of drying of the base rust layer. I sprayed a good coat of Testors Dull-cote decanted with my airbrush. Then another day cure then a light layer of hairspray for the subsequent chipping.
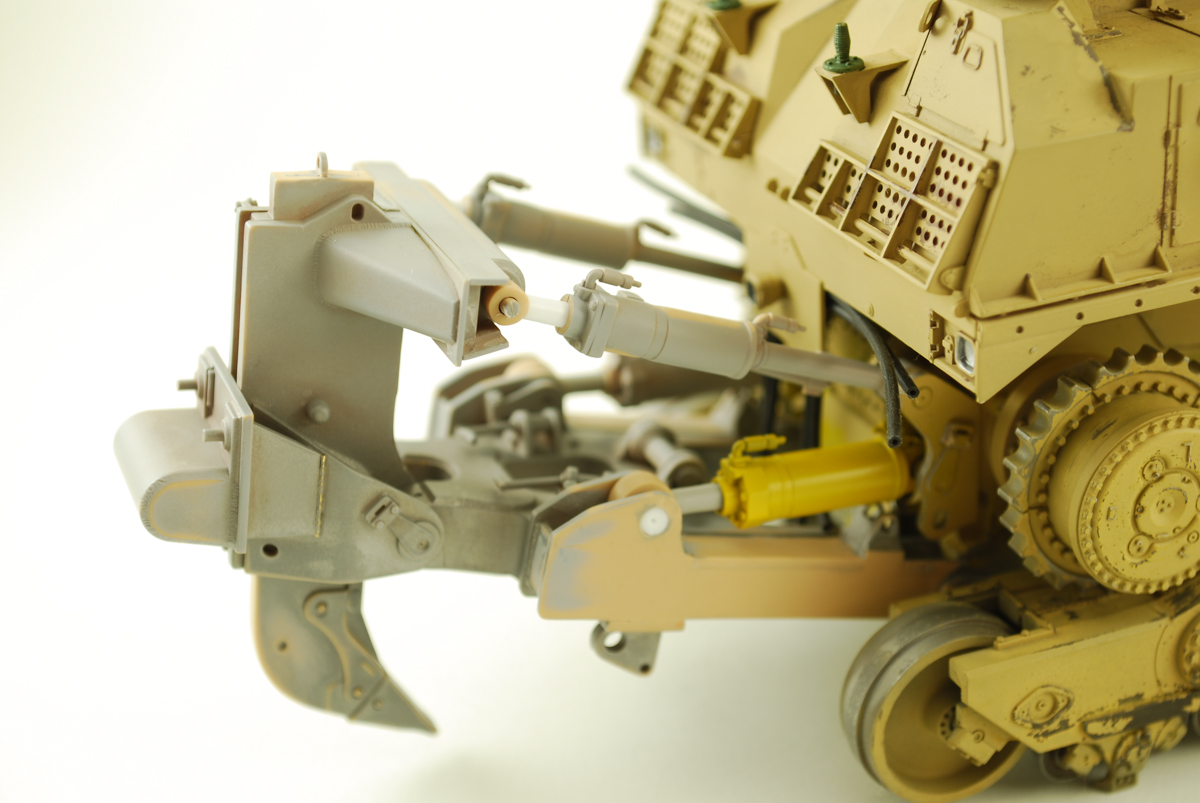
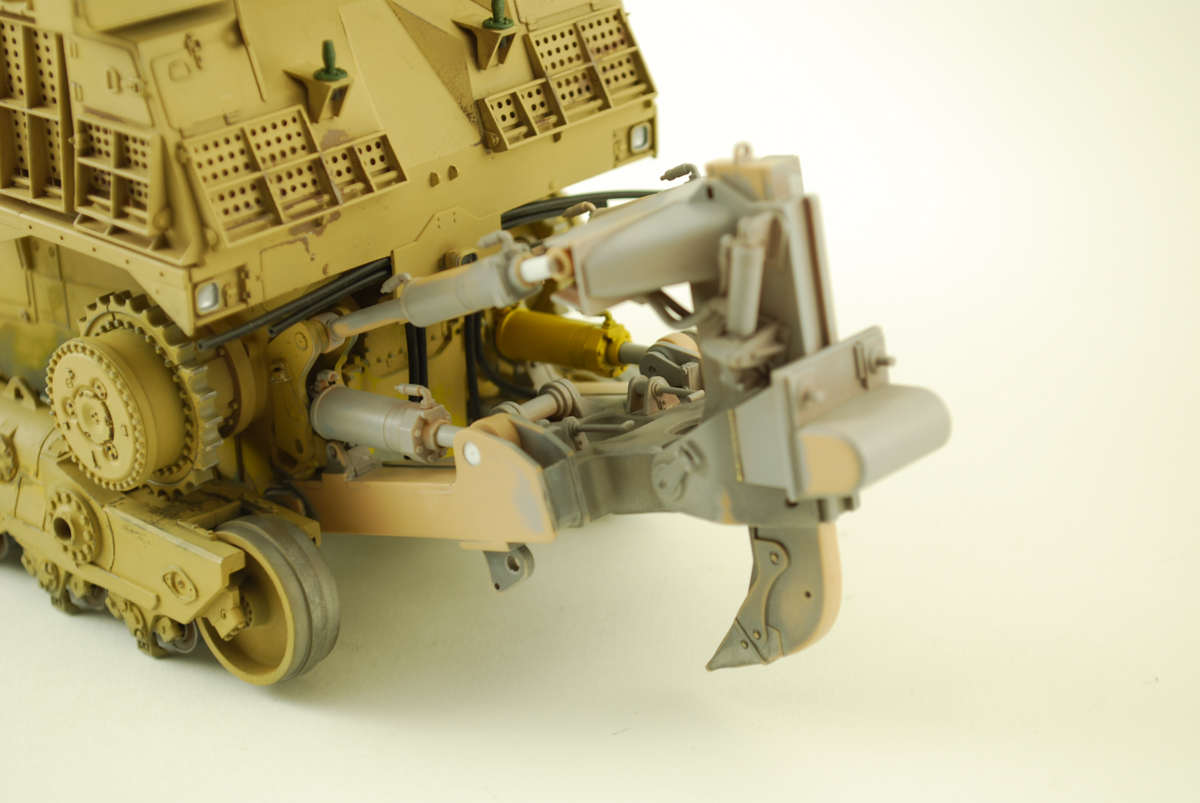
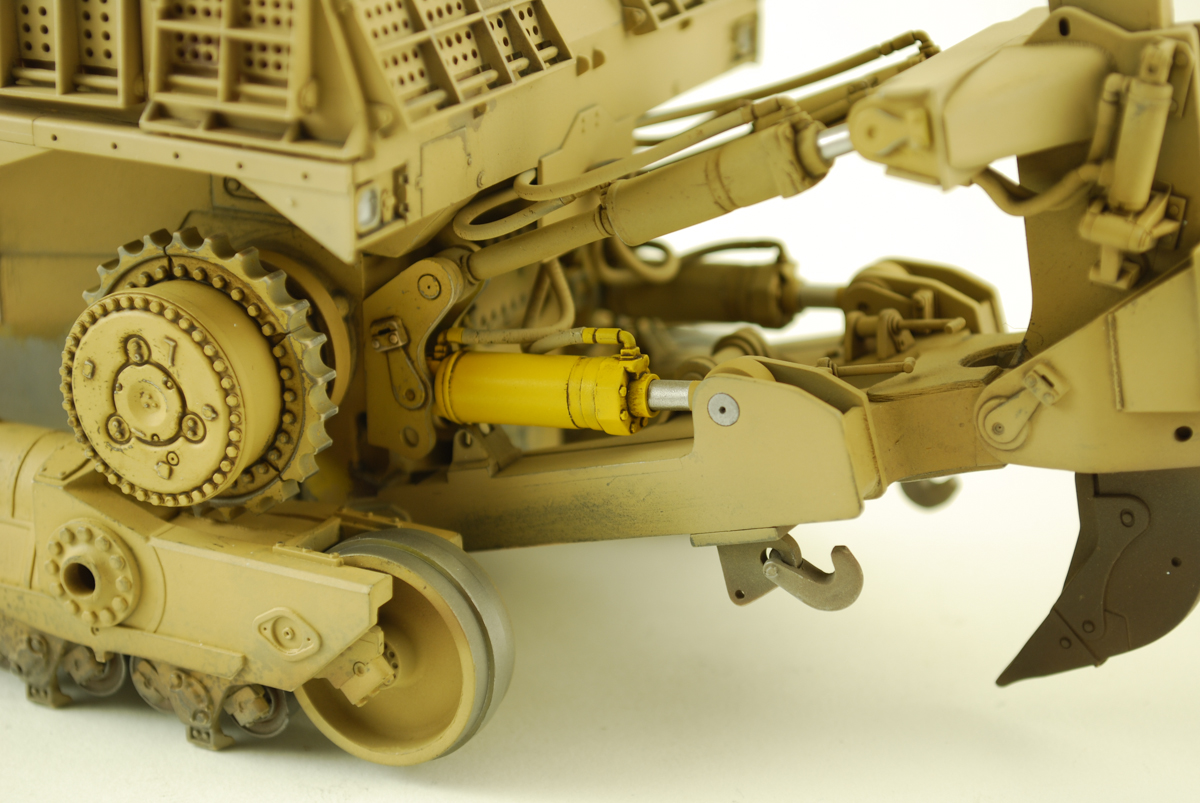
One thing that was bothering me was the rear ripper assembly. I wanted it to be able to have full travel in the up or down position. I remade the hydraulic cylinders to be a bit longer and removable for ease of painting. Painting chrome with Alclad II Chrome has to be the hardest thing a modeler can do. Allot of polishing and a dust free environment is so critical. My attention then turned to the interior of the cab again.
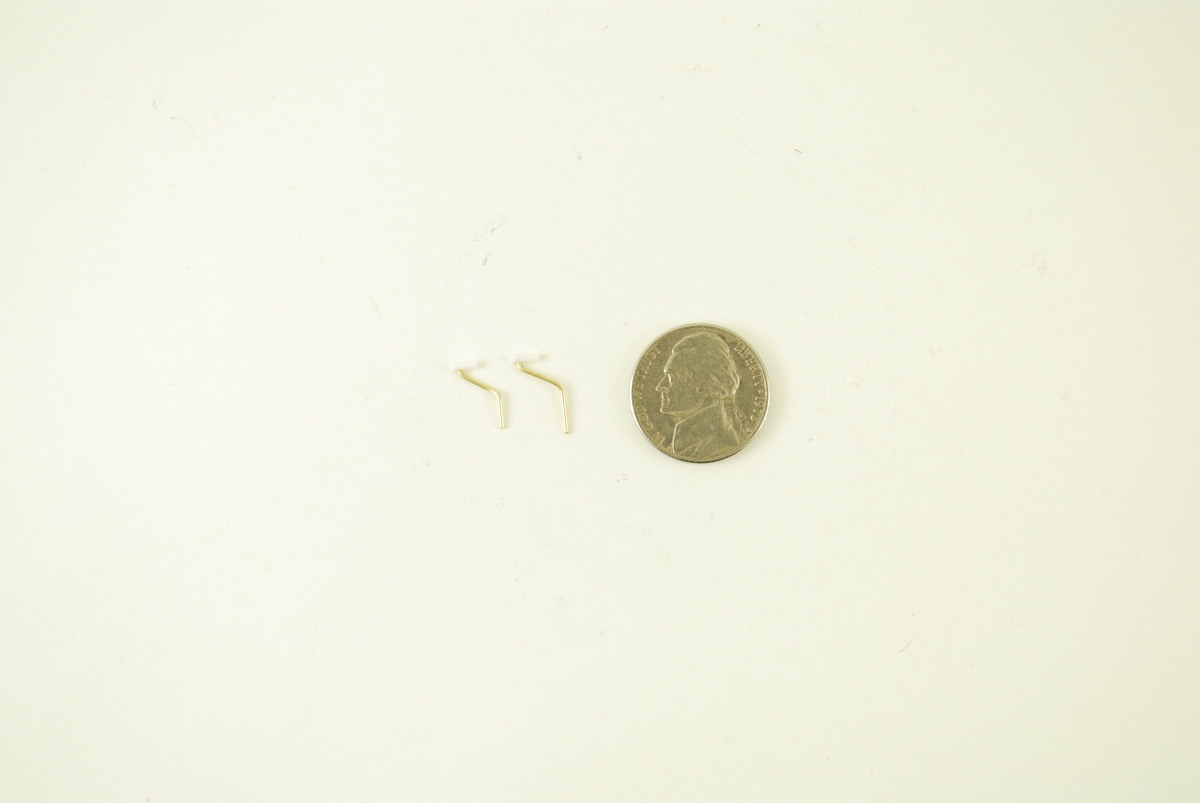
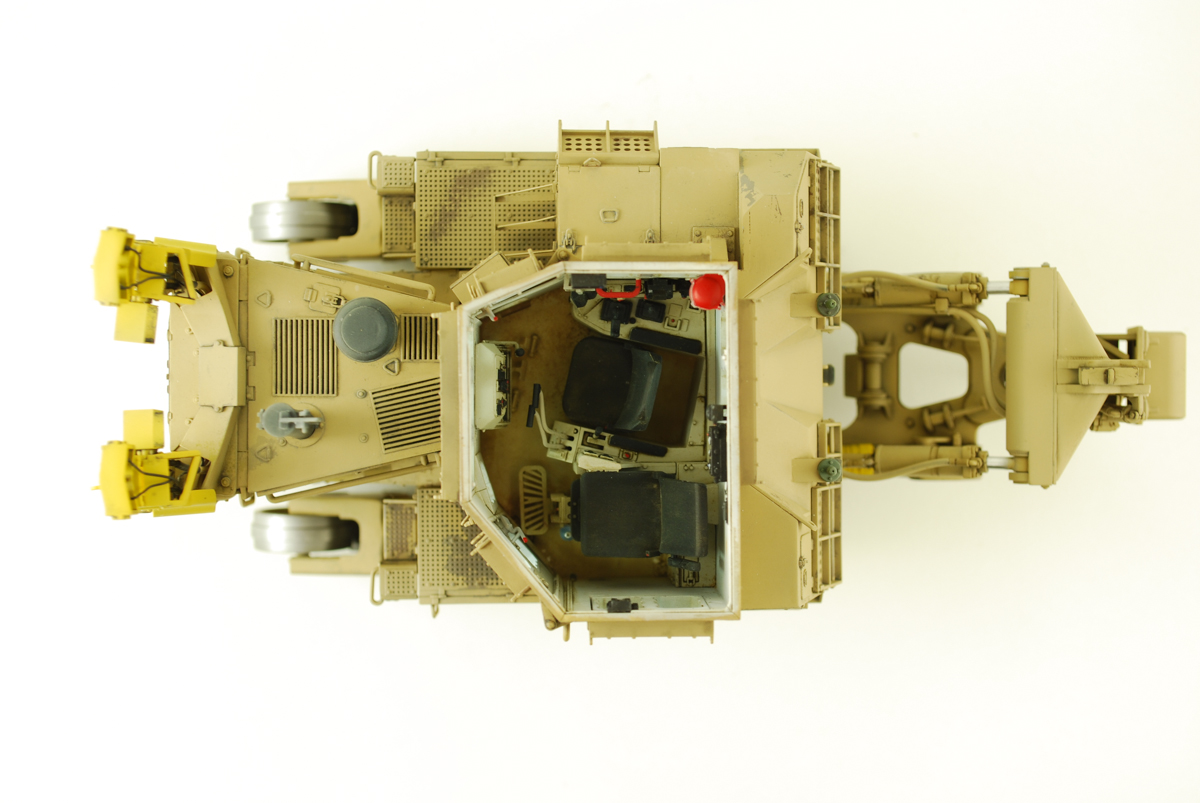
After finding about 10 images if the interior I decided to dirty it up a bit. These interior do not get allot of chipping and wear. Most of the time they are filled with dirt/sand from boots. A little bit of MIG Pigments Iraqi Sand was applied around the cab and fixed with a bit a fixer and white spirits. I decided to create a new set of controls that I broke off while applying pigments to the interior. Some scape brass tubing and plastic rod did the trick.
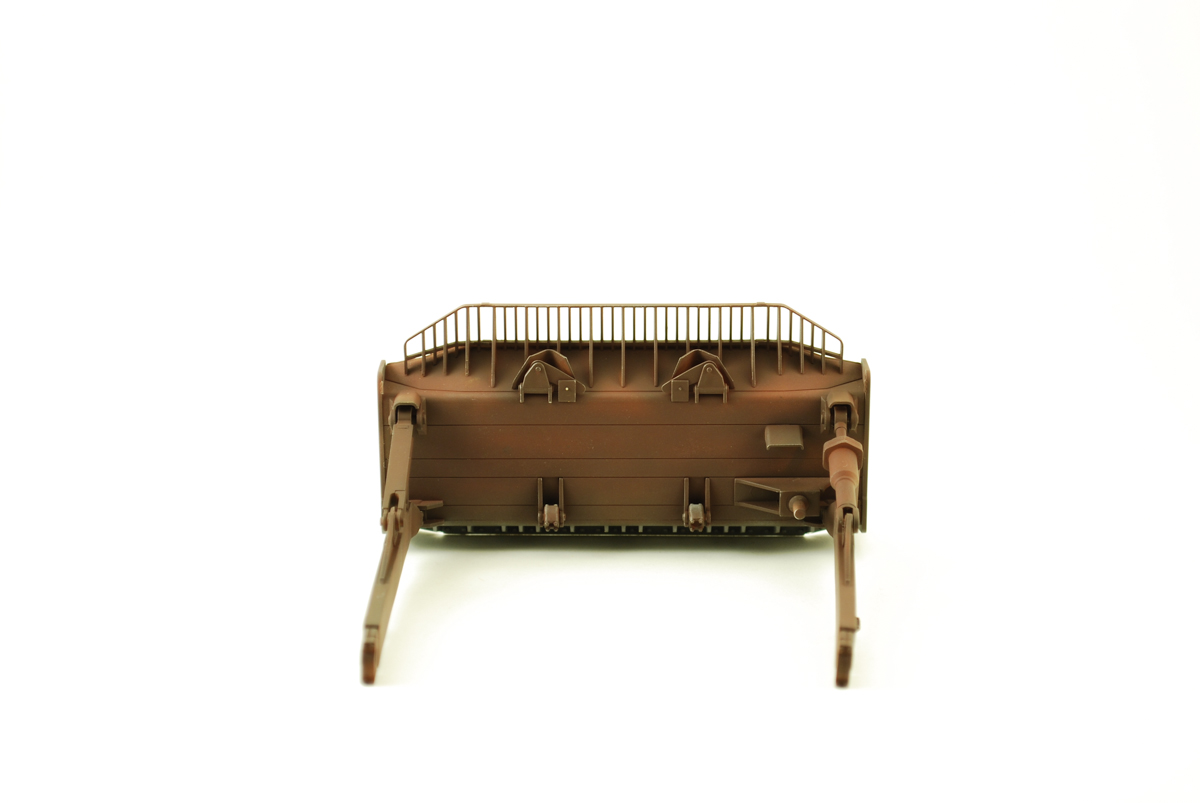
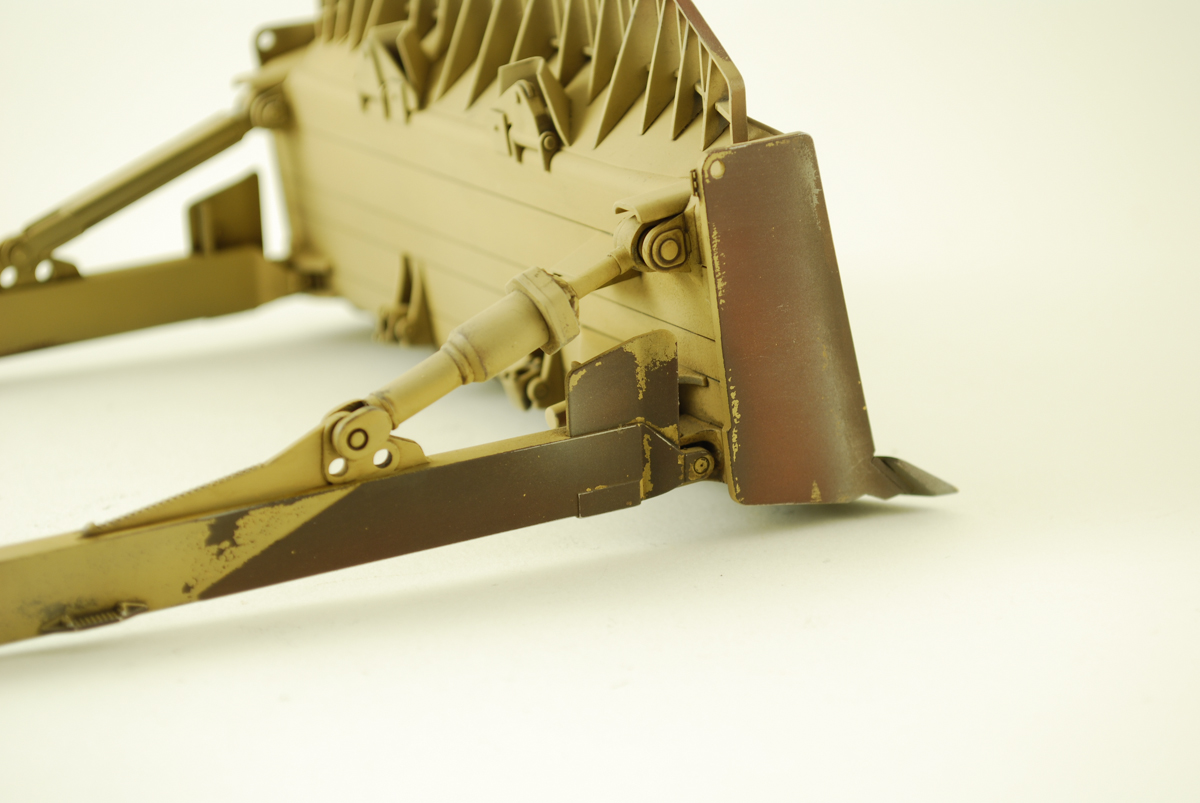
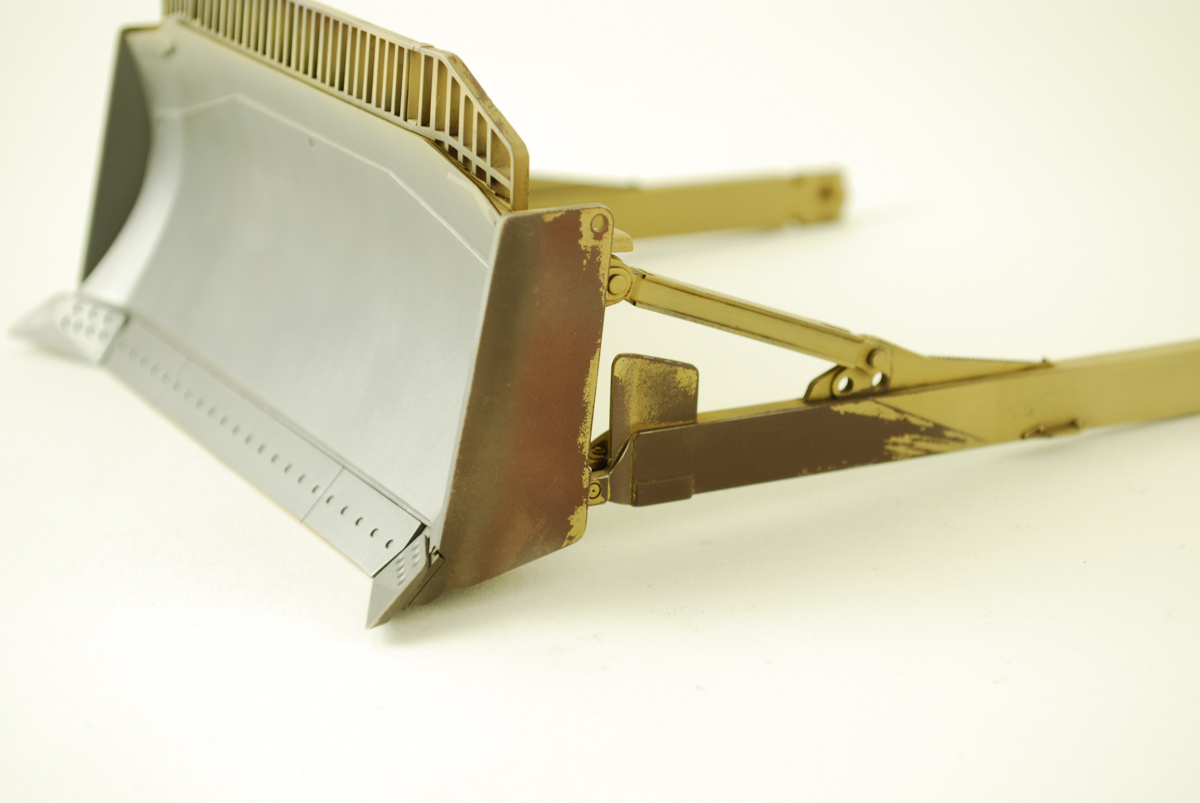
The bade received the hairspray chipping effect. The front revived a good coat of Testors Metalizer - Magnesium. After curing for a day I polished with a 2400/4000/12000 grit sanding stick, then a light buffing with a micro-fiber towel.
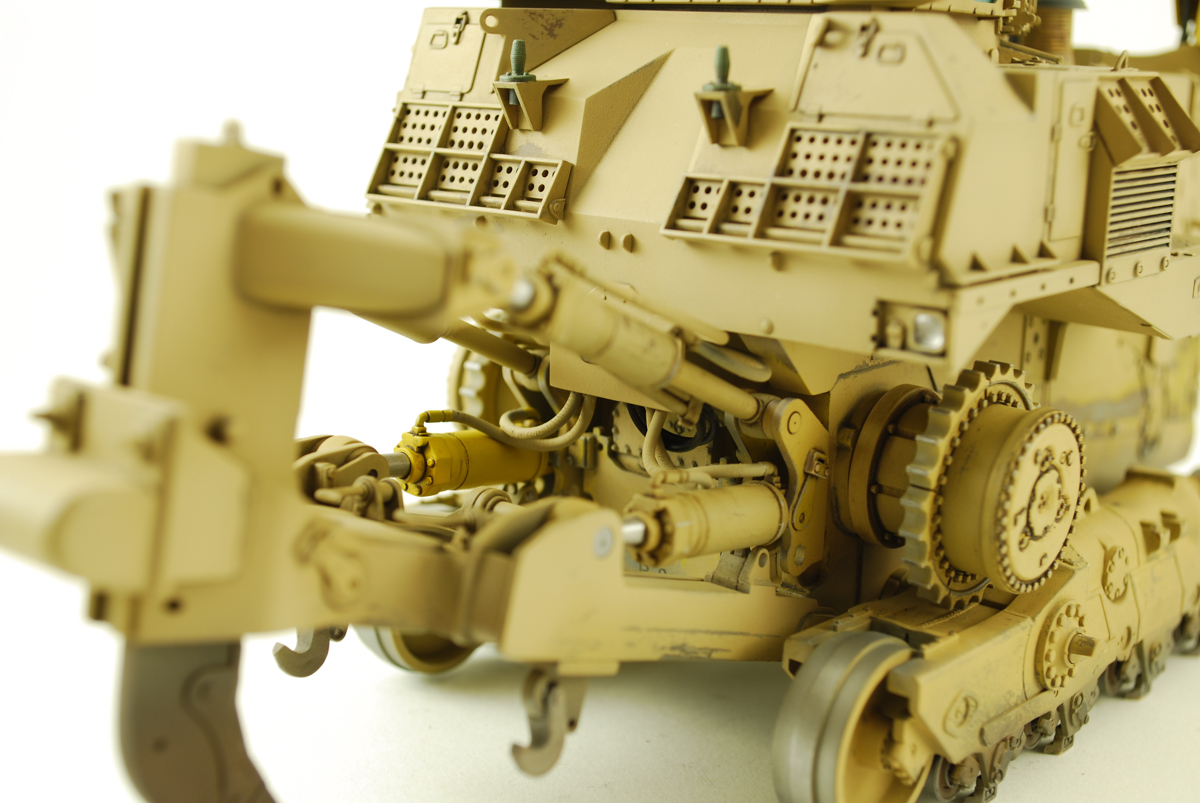
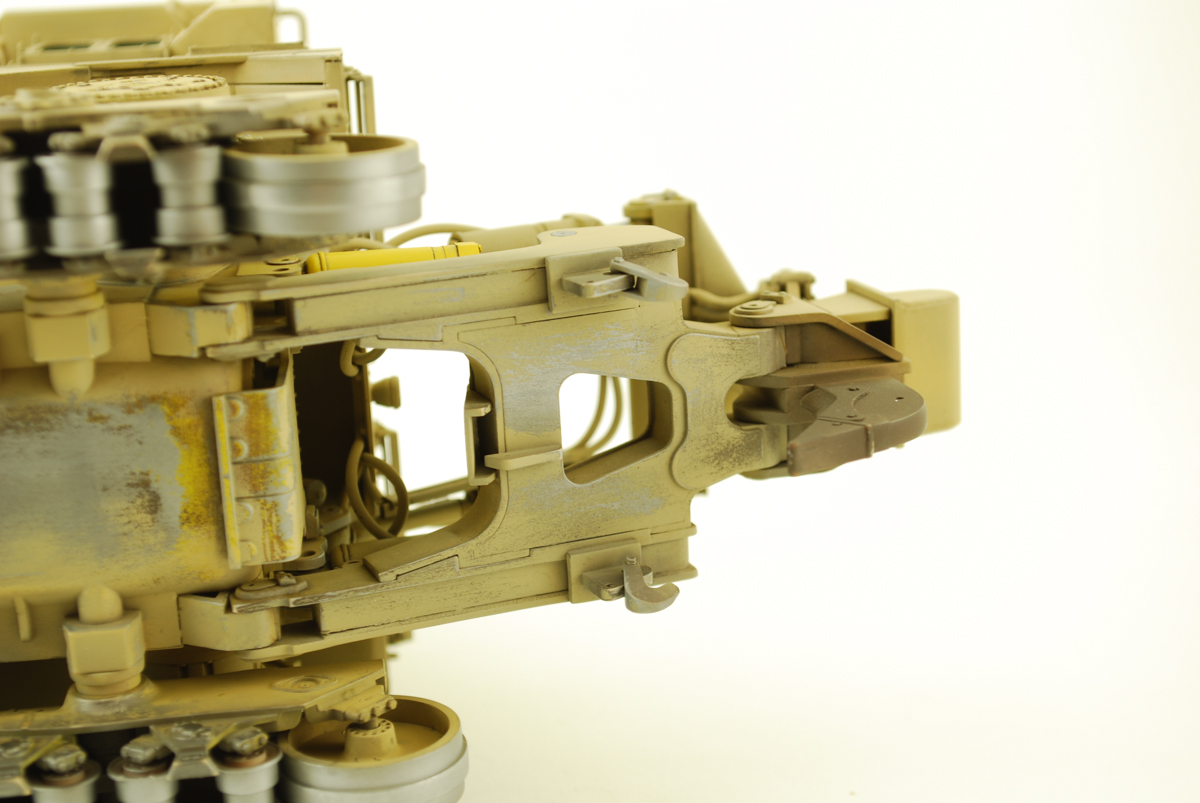
A mix of AK Interactive washes were applied were appropriate to the sub-assemblies. Heavier more dirty streaking will be applied to the hydraulic arms later.
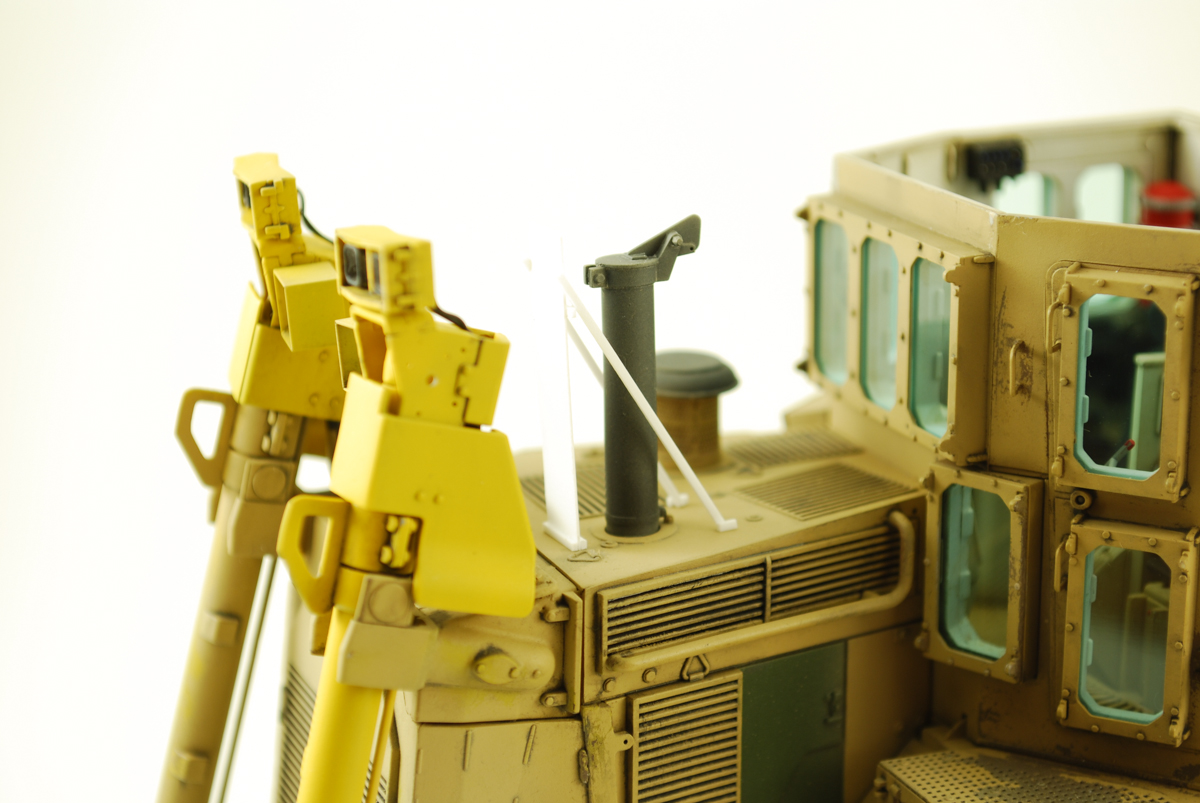
With most of the sub assembles now painted, weathered and combined with the main hull. My attention moved to the exhaust stack. I had seen some field armor creation that protected the exhaust stack from the front. With a few pieces of sheet plastic and some trail-in-error. I had scratch built a shield for the exhaust.
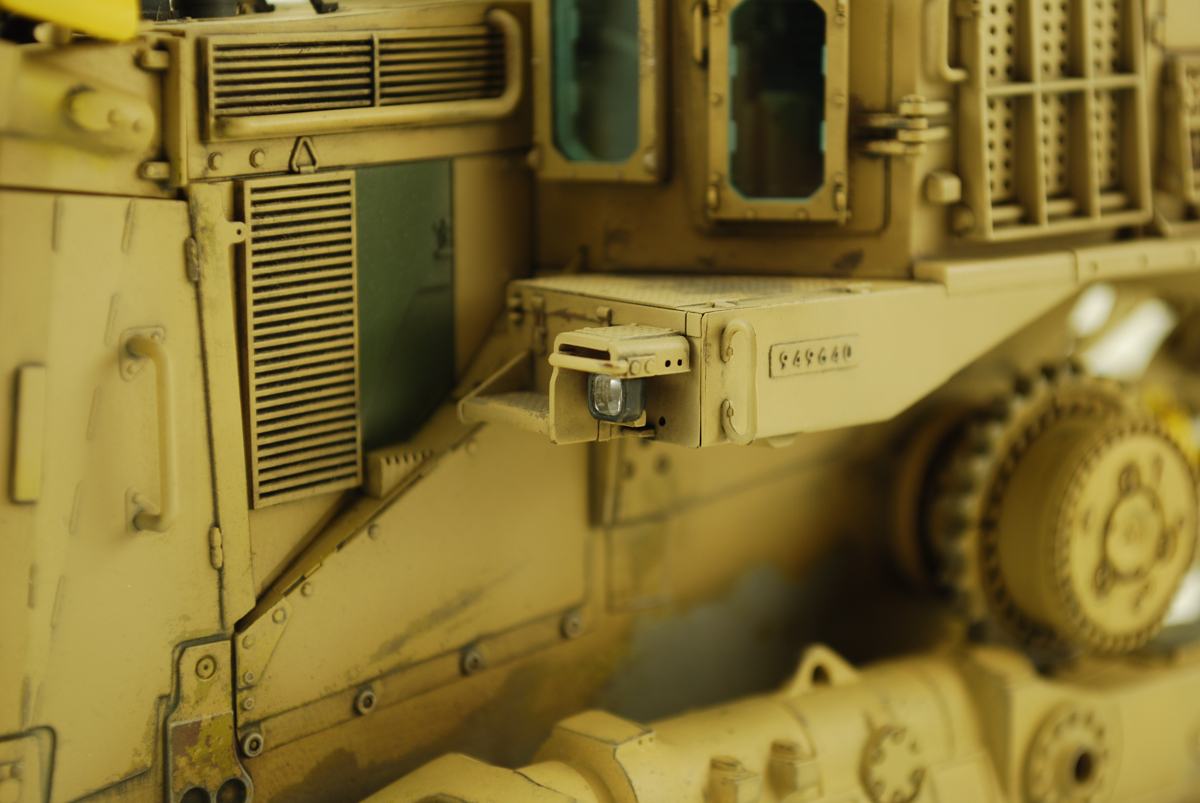
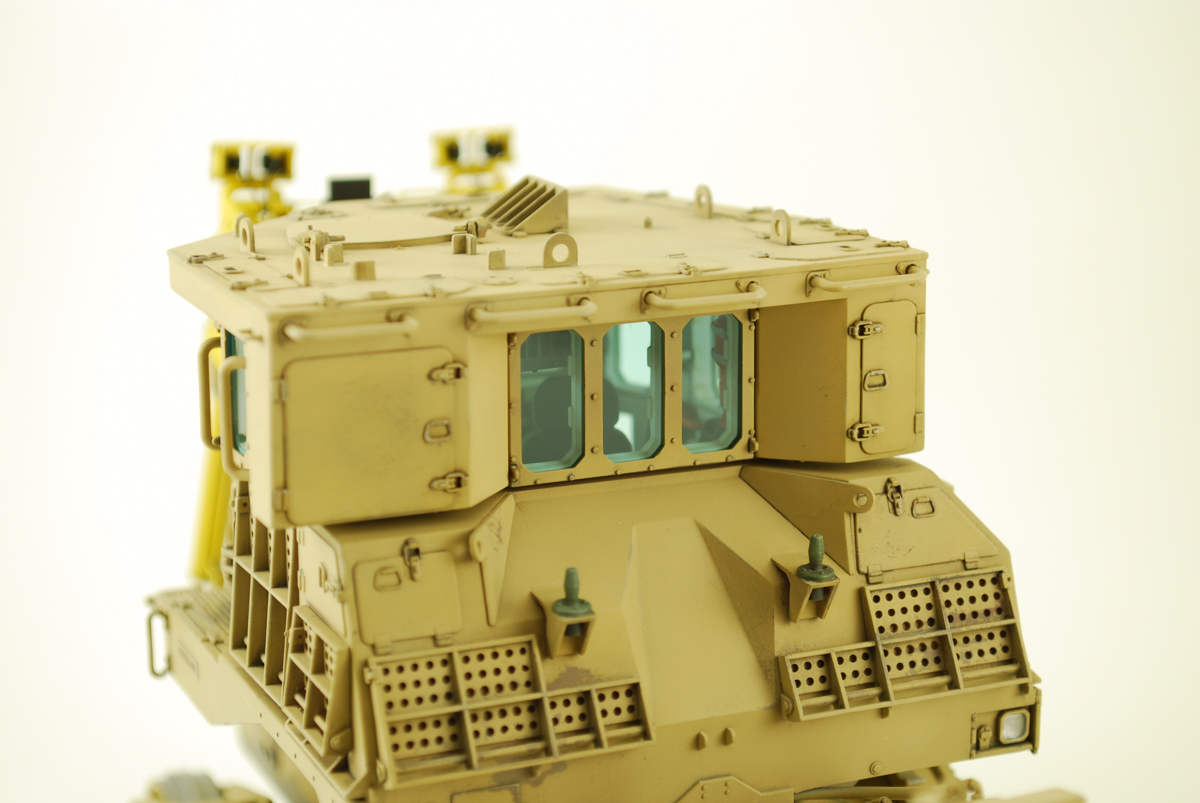
Now back to the cab and lights. I had used the clear glass panels with came with the kit for spray masks. The blue/green ballistic option was fitted and glued in place with Gator's Grip Acrylic glue. This stuff works great for clear plastic. Drys crystal clear and can be tinted.
Now my Dobi needed a name. I absolutely could not think of one....


