Saturday, June 14, 2014

P-51D Mustang


Not too long ago I had picked up the Tamiya 1/32 P-51D kit. Anyone who builds models know this kit is just about the best kit that there is for modeling wartime and or post time aircraft in any scale. While doing a bit of research I came across a image of a brand new P-51D off the assembly line. No markings other than national insignia and tail serial number. Besides, decals and I just don't get along together.

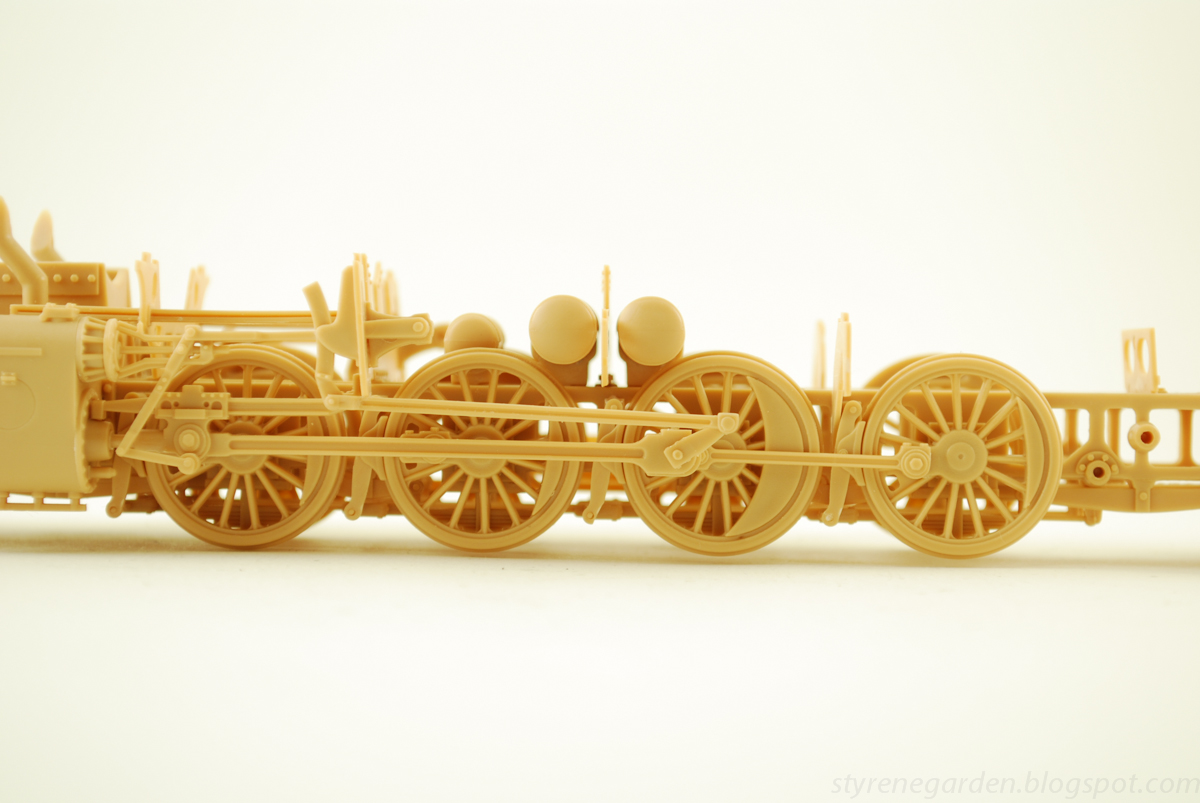
Instructions first call for starting with the engine, and what a engine it is. It's own little model in its own rights. Holes in various sizes are drilled in parts all over the engine in preparation for the wiring and plumbing. On the rights side of the engine I added lead wire to simulate the coolant and oil return lines. I'm not entirely sure if they go were there supposed to go, but they look nice. I had and still have a hell of a time getting superglue to stick to lead wires. I might need to change brands or look to alternative glues for attaching fine wire. I left the top of the air covers off for ease of painting and drilled holes for the priming and ignition system. I also scratched a few ignition and exhaust harness for added detail as well. A good portion of the engine will be hidden by engine mount and cowlings. I plan on displaying with the cowls off and on.

The firewall and engine oil tank was improved by adding a few bits n' pieces. A oil dipstick and cap was added alongside the return pipe (to be added later) and some miscellaneous piping.

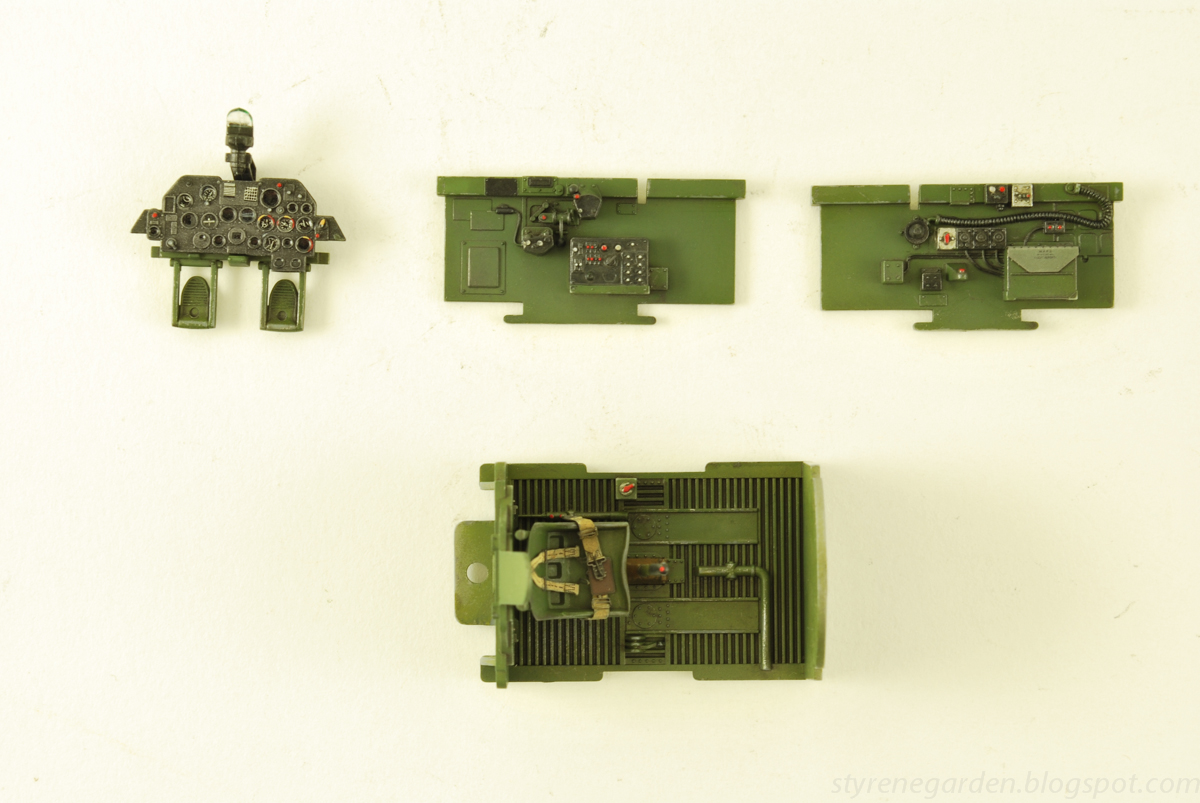
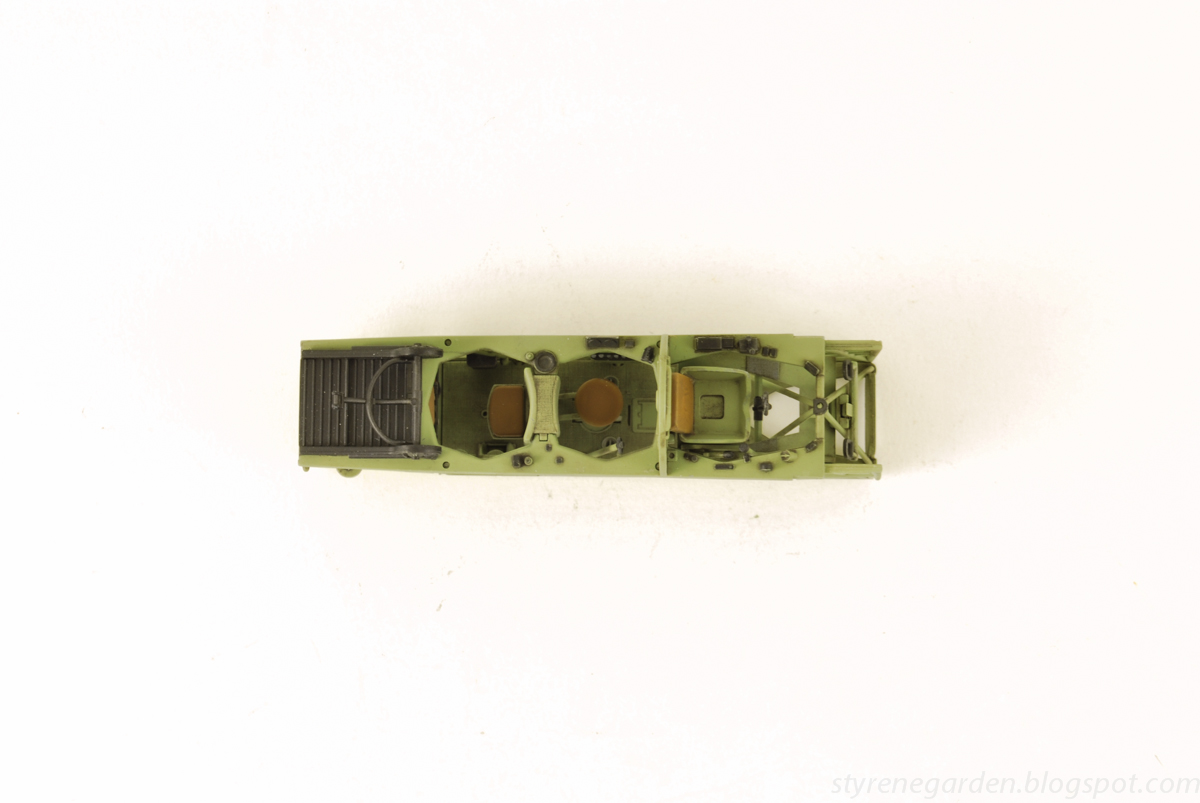
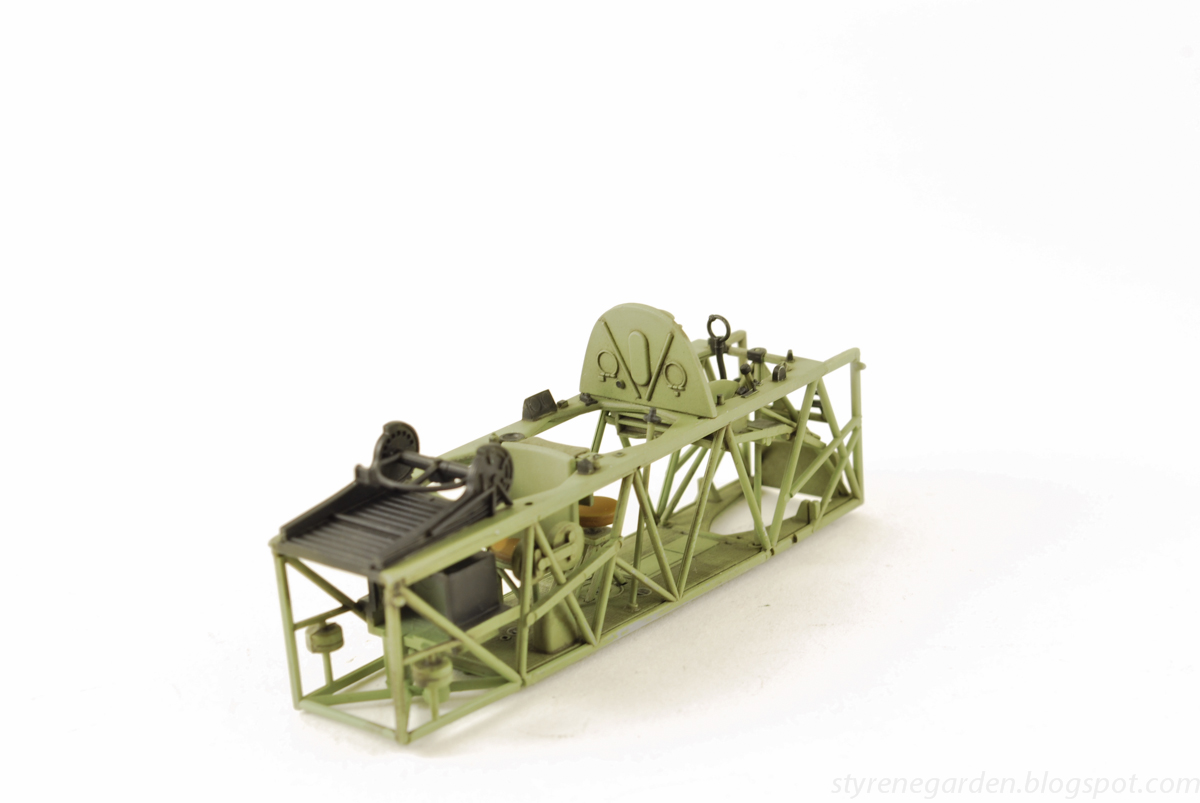
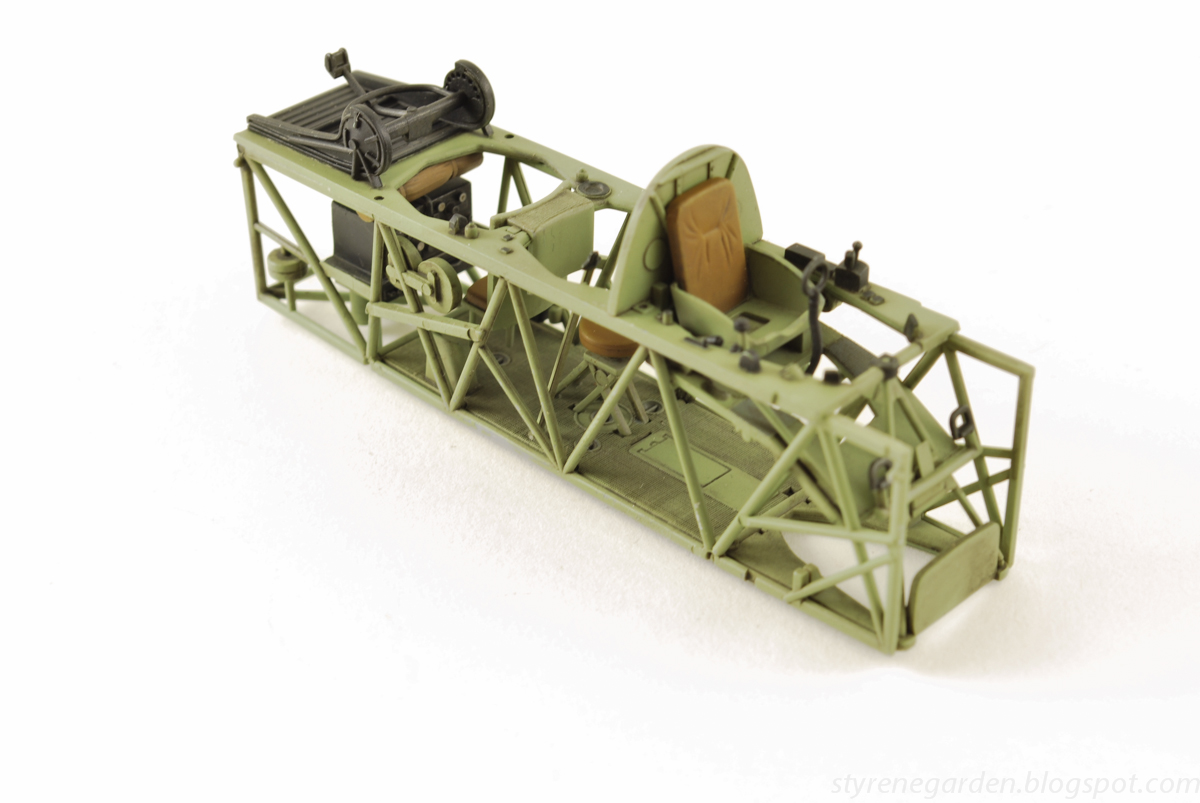
My attention then turned to the cockpit. I decided to purchase the BarracudaCals Mustang Cockpit Upgrade set along with the Mustang Cockpit Stencils and Placards decal set. Both very good quality and price. I found that the SCR-522-A radio box wire harness provided is a bit too thick and modified it for use behind the armored seat back-plate, and added a new lead wire lines to the forward of the box. Holes were drilled on the rear battery for some wire to be added later as well. Both a welcome addition to my Mustangs' cockpit.

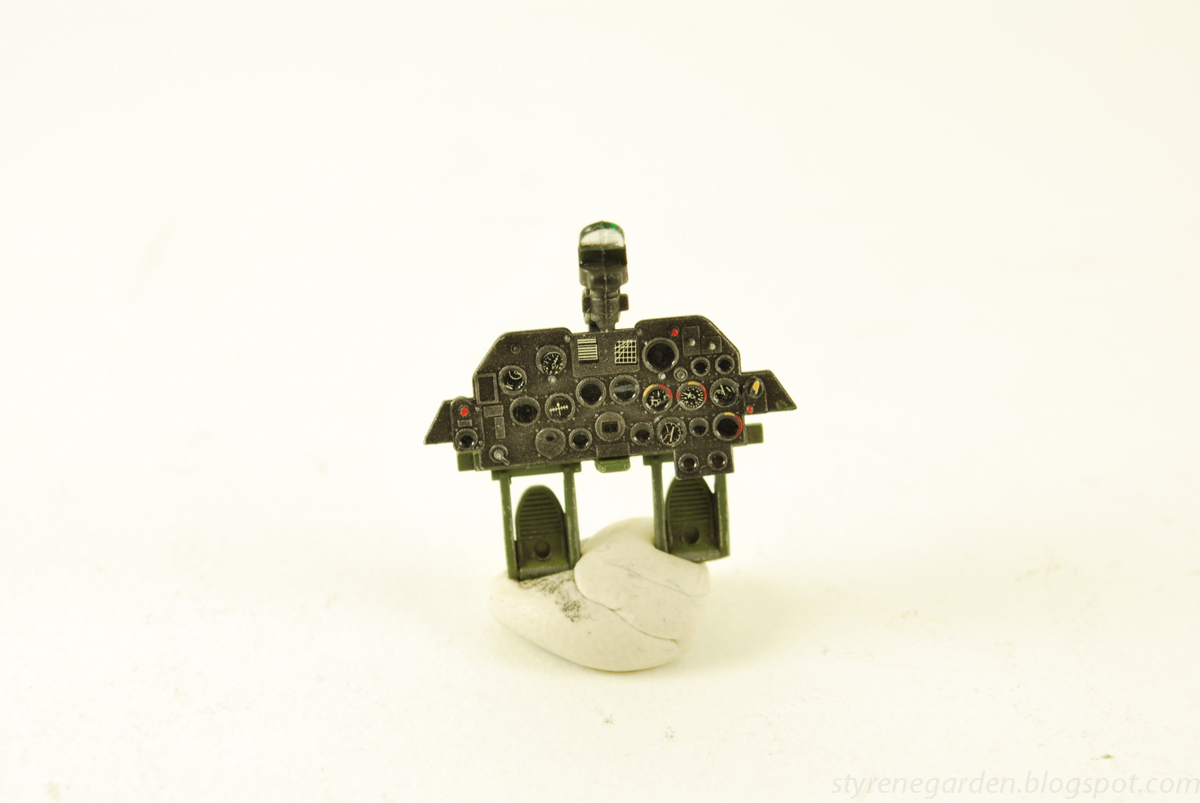
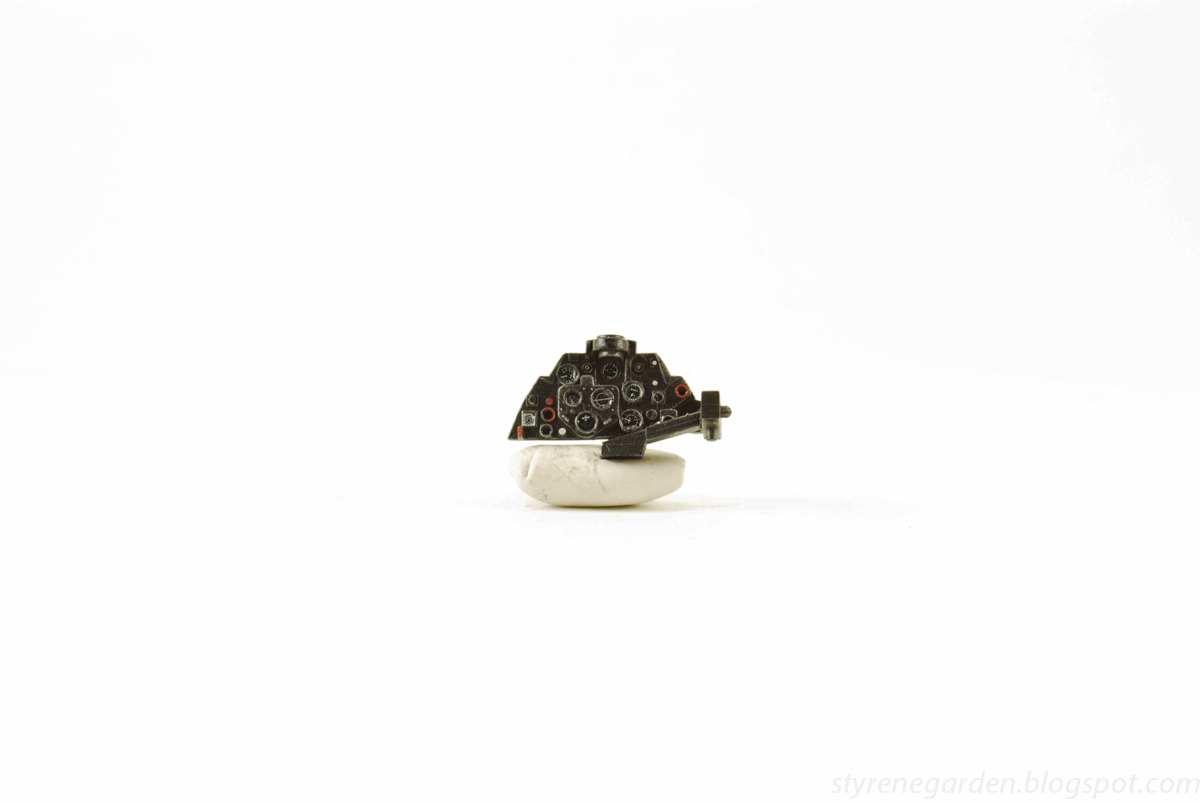
With that resin cockpit upgrade set from BarracudaCals, an accurate K-14 Gun sight with its special mounting bracket was added to the glare shield. I'll cut a sheet of clear plastic for the glass. I had wanted to use the throttle that came with the set but unfortunately my thick fingers and a no. 11 knife did not agree. So I used the kit throttle witch is good and added mixture and RPM levers from stock PE and rod styrene.

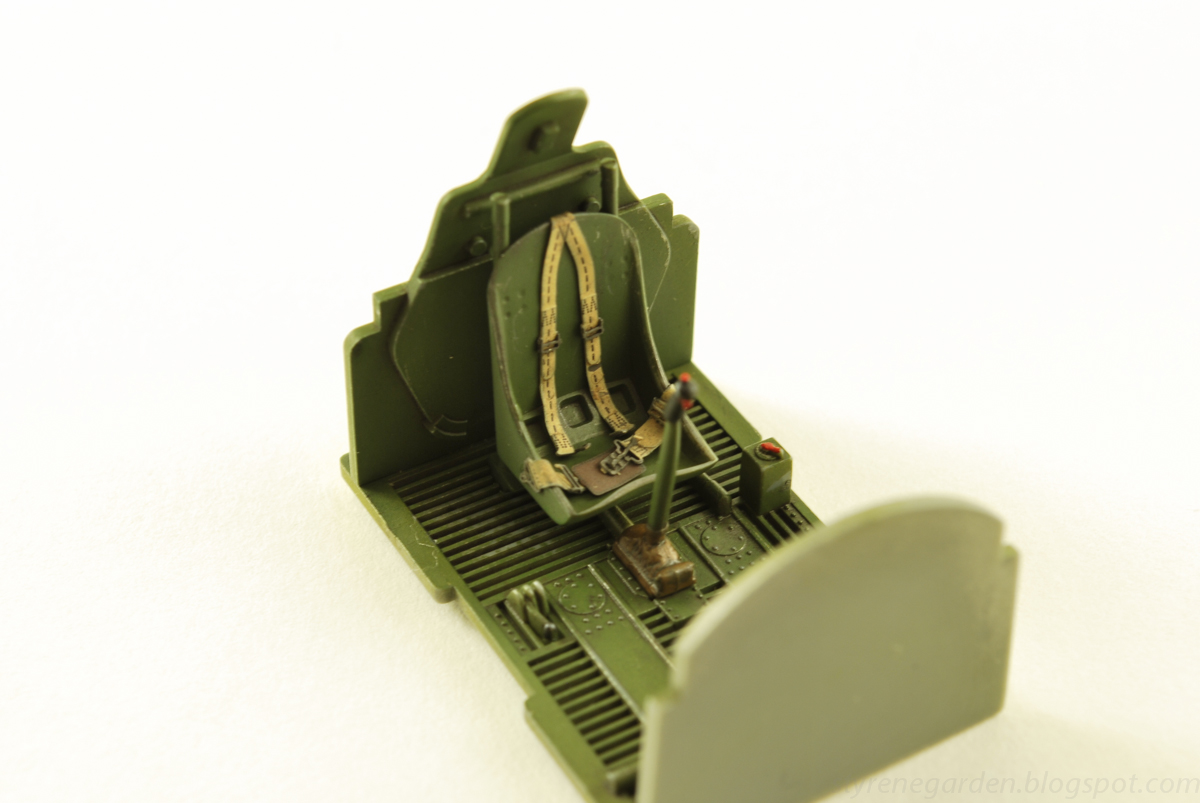
For the seat, Tamiya gives two options. I chose the late version with side rails. I'll be adding a set of HGW fabric seat belts later on. I'm going to add a seat liferaft, as my refrences to are limited.

Not much was added to the sidewalls, however I did decide to add a bit of wiring to the right for the boxes in such to made them look busy. Not 100% correct but nice to look at. I decided to not have a figure inside so I needed a flexible oxygen hose. Lead wire wrapped with lead wire and a few bits of styrene rod. All will be attached separately for ease of handling.

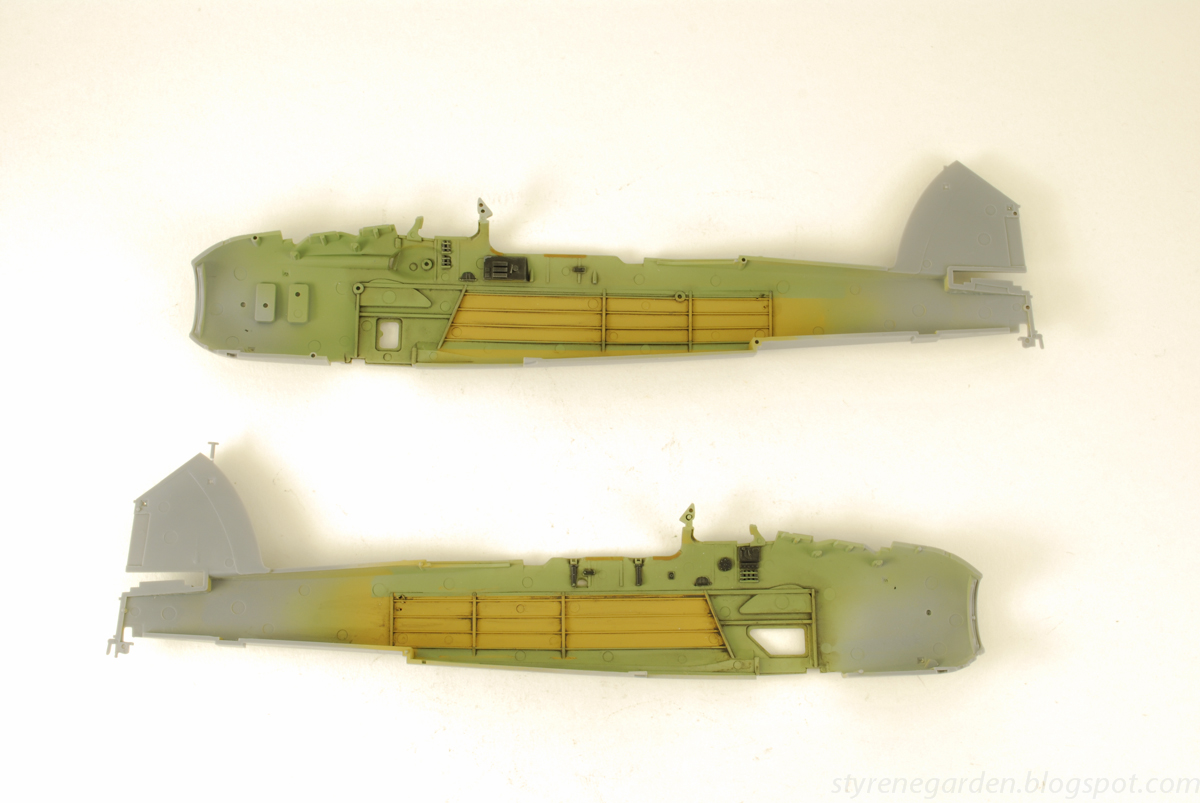
Next will be to add some primer to these parts and start painting the engine, accessories and wood floor.


Saturday, April 26, 2014

FrogTape vs. TamiyaTape

As a modeler I am always looking for a cheaper better way to do something. With airbrushing having a good quality tape that leave NO residue is vital to a great job. When Tamiya released there modeling tape a decade ago, It was the best on the market. At time expensive depending on what shop you buy from. A few years ago I came across a tape called Shurtape CP60. A tape made for delicate surfaces (ie. wallpaper, Faux finishes, ...) At the time only available in my area though Sherwin Williams for a great price. Much lover than Tamiyas' offering.

I recently ran out of my CP60, drove to Sherwin Williams and found out they dont carry "Shurtape CP60". The counter rep said I may have better luck at Wal-Mart. Drove to Wal-Mart and stood in front of the paint tape section for about 5 minutes. I opened up a product in a nice hard plastic box called "FrogTape Delicate Surface Tape" It's a direct replacement for Tamiyas' Tape and a much lower price. The only downside is that it doesn't come in smaller widths than 1". At $5.50 for a roll, its a great buy and works great.


Thunderbolt Part II

The Thunderbolt is ready for primer and paint. The major & sub assemblies are completed and airbrushed with Gunze Mr. Surfacer 1200. I cannot stress enough the value of a good, smooth & level primer base. I thin to a very high ratio of thinner (lacquer) to primer, just about the consistency to skim milk.

Spot checking with 2400/4000/12000 grit sanding sticks, all looks good for the upcoming paint layers. My attention turned to the wheel wheels, with a cote of Tamiya XK-4 yellow green. With XF-4 still in my airbrush I added some yellow to the mix for the bands on the 500 lb. bombs. After the yellow band airbrushed I cut a thin piece of FrogTape Delicate Surface tape to cover the yellow.

Then I airbrush Tamiya olive Drab with a bit of Flat green in the mix for the OD paint on the bombs.


Sunday, April 13, 2014

Tamiya 1/48 P-47D Thunderbolt

In May 1941, as the war raged in Europe, a single-engine fighter of more than 4t made its first flight. This fighter was the XP-47B, prototype of the Republic P-47 Thunderbolt of which a total of 15683 units will be built. Thanks to war experience, this aircraft was equipped with a 2000hp radial R-2800 engine, a supercharger and eight 12,7mm machine-guns. The XP-47B was to reach 633km/h and in January 1942, just after the USA went to war, the production of P-47B began. It was followed by the P-47C that incorporated various improvements and, from April 1943, by the P-47D, the most built version. The P-47D was equipped with an R-2800-59 engine, which can develop up to 2300hp with combat emergency water injection system engaged. The ducts that were passing on the sides and below the cockpit to connect the supercharger placed behind the pilot's seat gave to this plane its massive aspect. Many sub-types of the P-47D, designated D-1 to D-40, were produced but the first versions were called "Razorback" because of their sharp edge dorsal fin. The D-25 sub-type, which was introduced around June 1944, was fitted with an electrically actuated bubble canopy in order to improve pilot visibility and increased capacity fuel tanks. This decision resulted in a completely remodeled plane shape. All subsequent sub-types were also fitted with the bubble canopy and became a characteristic feature of late production Thunderbolts. The P-47 "Bubbletop" proved to be an excellent, well-balanced fighter-bomber.

I decided to clean out my model room and I found this kit half started undernight some of my more recent projects. I first started with a cote of Modelmasters metalizer alluminum for the overcoat of intreior bronze green. I couldn't find the right color so I opted for Gunze H340 Field Green (semi-gloss). I wish more manufactures (cough...Tamiya) would produce semi-glass paint strait out of the bottle. So much easier to work with.

The only photoetch are the seatbelts stolen from annother jug project gone wrong and the side map-case cover.

Chipped with a toothpick and stiff bush the details were picked out with Vallejo paint and given a  wash of various grey/brown enamel washes.

The instrument panel dial decals were punched out and a drop of future clear floor wax used to replicate the glass. 


German Dampflokomotive BR86 - Hobbyboss - 1/72

I saw this little gem in a hobby shop as just had to get it. After all who doesn't like trains? Airbrushed with Vallejo paints and the real wheels were undercoated with Model Masters metalizer for the metal effect. A few bits broke off while my fingers handled it bit all in all a nice kit. I still have to assemble the track base and find some suitable vegetation and mini 1/72 rocks.

For me there was only two fit issues. The wheels need not to be glued to the chassis. The fit is quite tight. Furthermore the engineers cab is slightly angled to the rear, so that the rear hopper side doors quite don't meet.


Fairey Swordfish Mk. I Floatplane - 1/48 Tamiya

The Fairey Swordfish was a torpedo bomber biplane designed by the Fairey Aviation Company and used by the Fleet Air Arm of the Royal Navy during the Second World War. Originating in the 1930s, the Swordfish, nicknamed "Stringbag", was an outdated design by the start of the war in 1939, but remained in front-line service until VE Day, outliving several types intended to replace it. It was initially operated primarily as a fleet attack aircraft; during its later years it was used as an anti-submarine and training craft.

The Swordfish achieved some spectacular successes, notably the sinking of one and damaging two battleships of the Regia Marina (the Italian Navy) in the Battle of Taranto and the famous crippling of the Bismarck.

The Tamiya rendering is nearly 14 years old today. I was never really into 1/48 scale aircraft, more of a 1/32 scale man myself. There are no real issues so far with this kit. Do do have to make a decision on either you want it show in wings folded or extended. I opted for the later. This is a large aircraft in real life as well as on the bench.


One thing That I wanted to do is build this kit straight out of the box. Then I remembered Tamiya sold the rigging of the wings separately. Most of it was flat wire. I choose to not buy and use flat styrene strip, a good replacement. For the fixed forward-firing .303 in (7.7 mm) Vickers machine gun in engine cowling I cut it from the mount and drilled a pin and hole for easier painting. The interior was painted per the instructions with details picked out with Vallejo paints and AK interactive washes.


The upper wings are made up of three sections with support braces attached. I oped to glue all three together for ease of painting. Still not sure if I will due a painted aluminum finish or a green/grey scheme.

The floats were assembled per the instructions plus a few bits of scrap styrene covering the holes on the side. In preparation for a water base I drilled a few holes in the bottom to attach to the base later.

Next primer and some paint.


Wednesday, January 22, 2014

Miniart 1/35 - U.S. WWII Motorcycle WLA


I've been putting off finishing this little gem for some time now. For some reason this model has been fighting me at every step. Mostly due to my large fingers and the floor. After about a year of sitting in the stash I have finally finished my WLA. I might add a few things on the back, I'm just not sure yet. I do plan of fitting it on the back of a CCKW tied to the rails.

I started off with a base cote of Tamiya Olive drab. With highlights in Vallejo green colored paints. As this being airbrushed nearly a year ago, I have forgotten what paints I exactly used.


The larger saddlebags were painted a tan color for the forcible oil wash of raw umber and burnt sienna. The seat what painted in a similar tan color, lightened with white. For the engine I used Model Masters Metalizer Exhaust mixed with Magnesium. A pin wash of various AK Interactive brown and dark colored washes were used. I had decided to use some dry transfers for the stars on the fuel tank. A layer of Testors Dull-cote seal everything nicely. 

The final dist layer was created with airbrushed AK dust wash and stumped with spirits and a medium pointed brush. Seal with dull-cote again and finished. For now....