Showing posts with label hairspray. Show all posts

Sunday, May 03, 2015

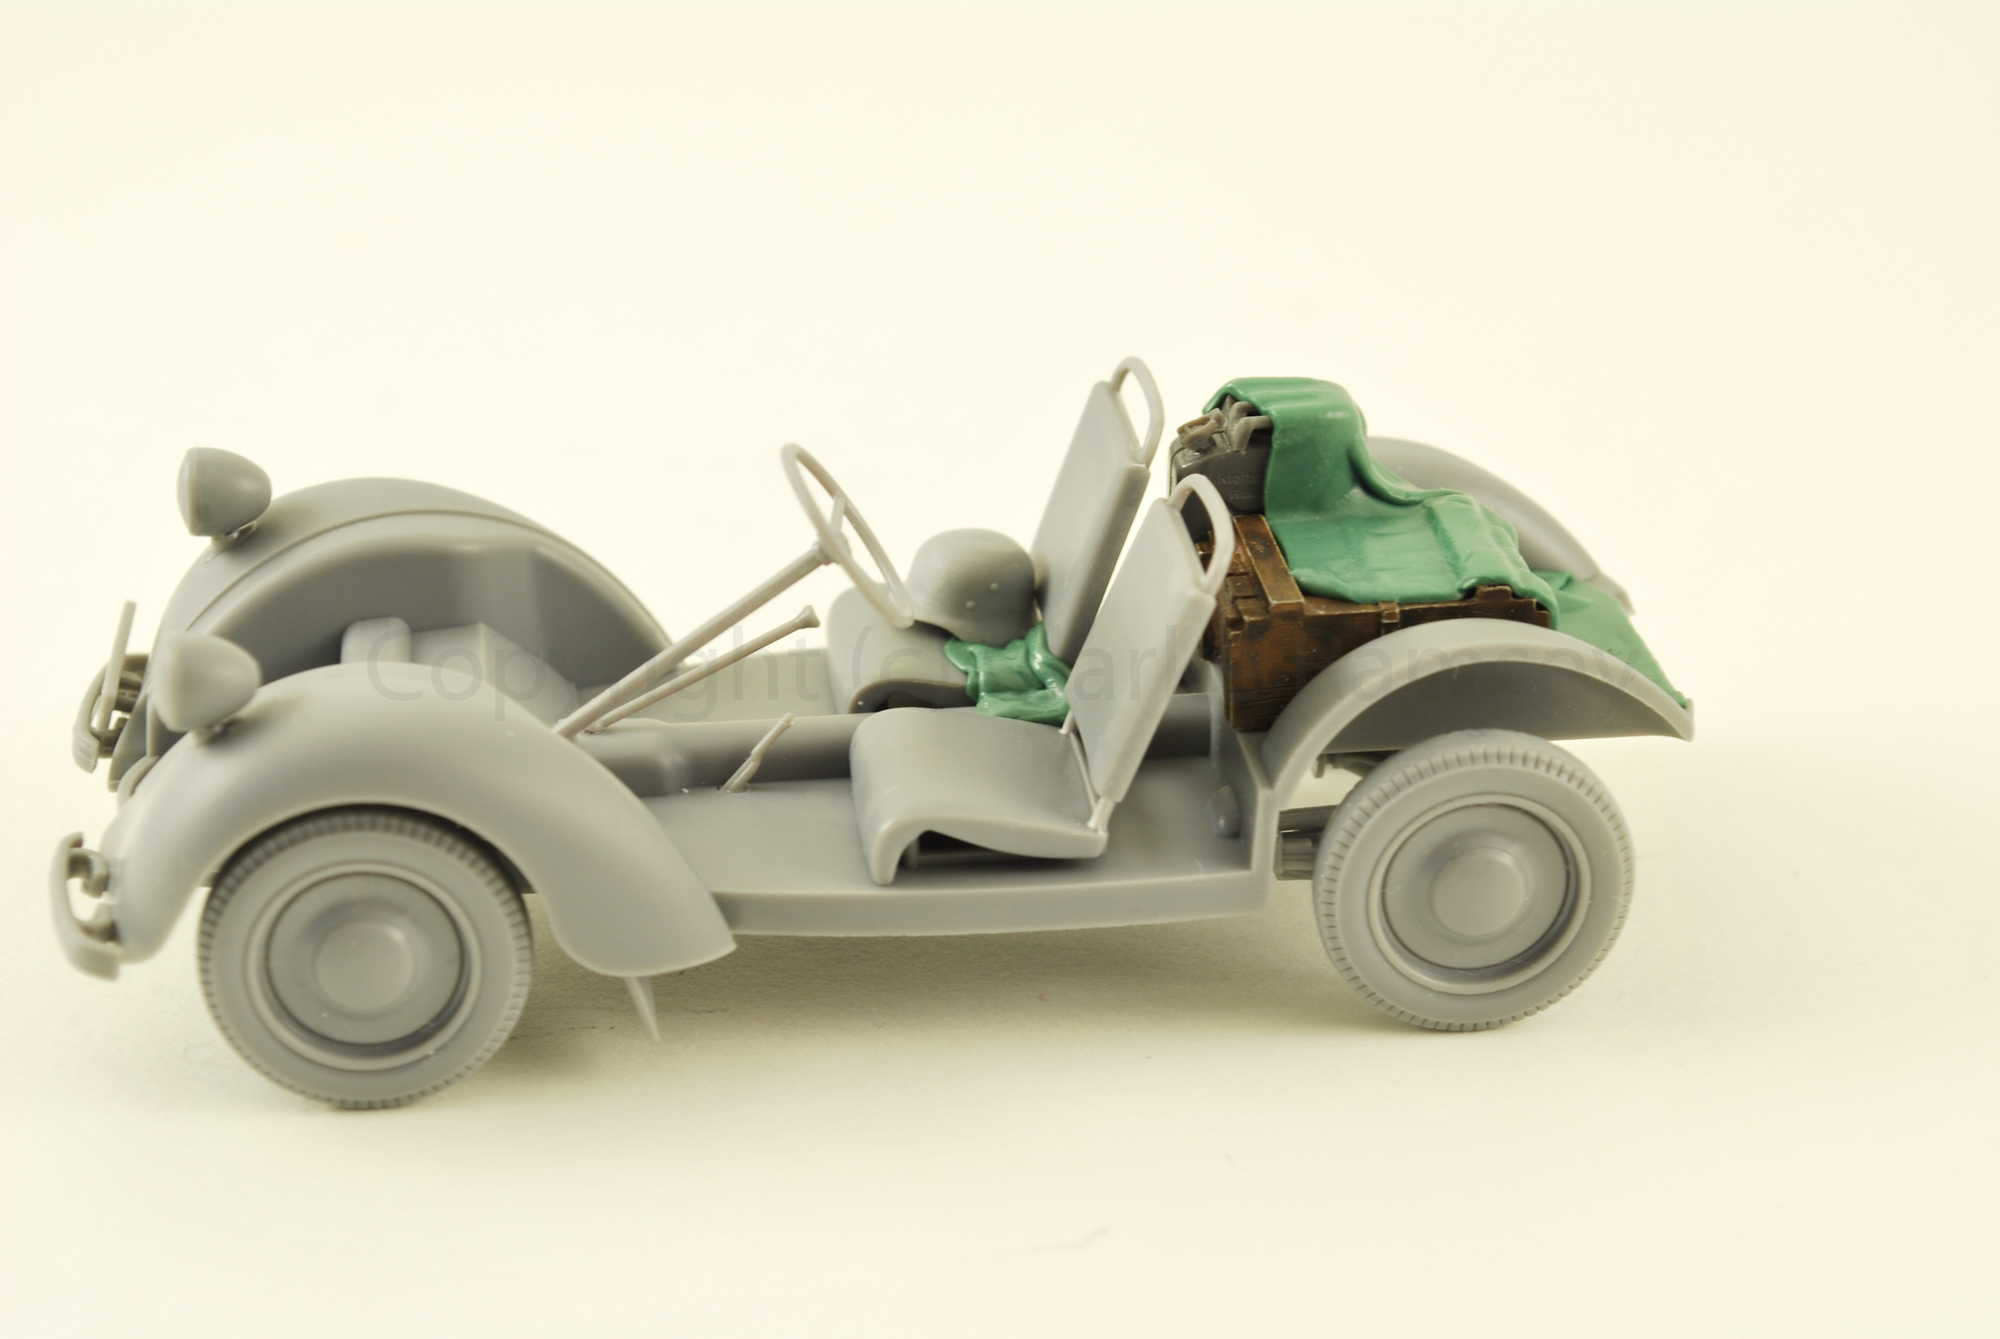
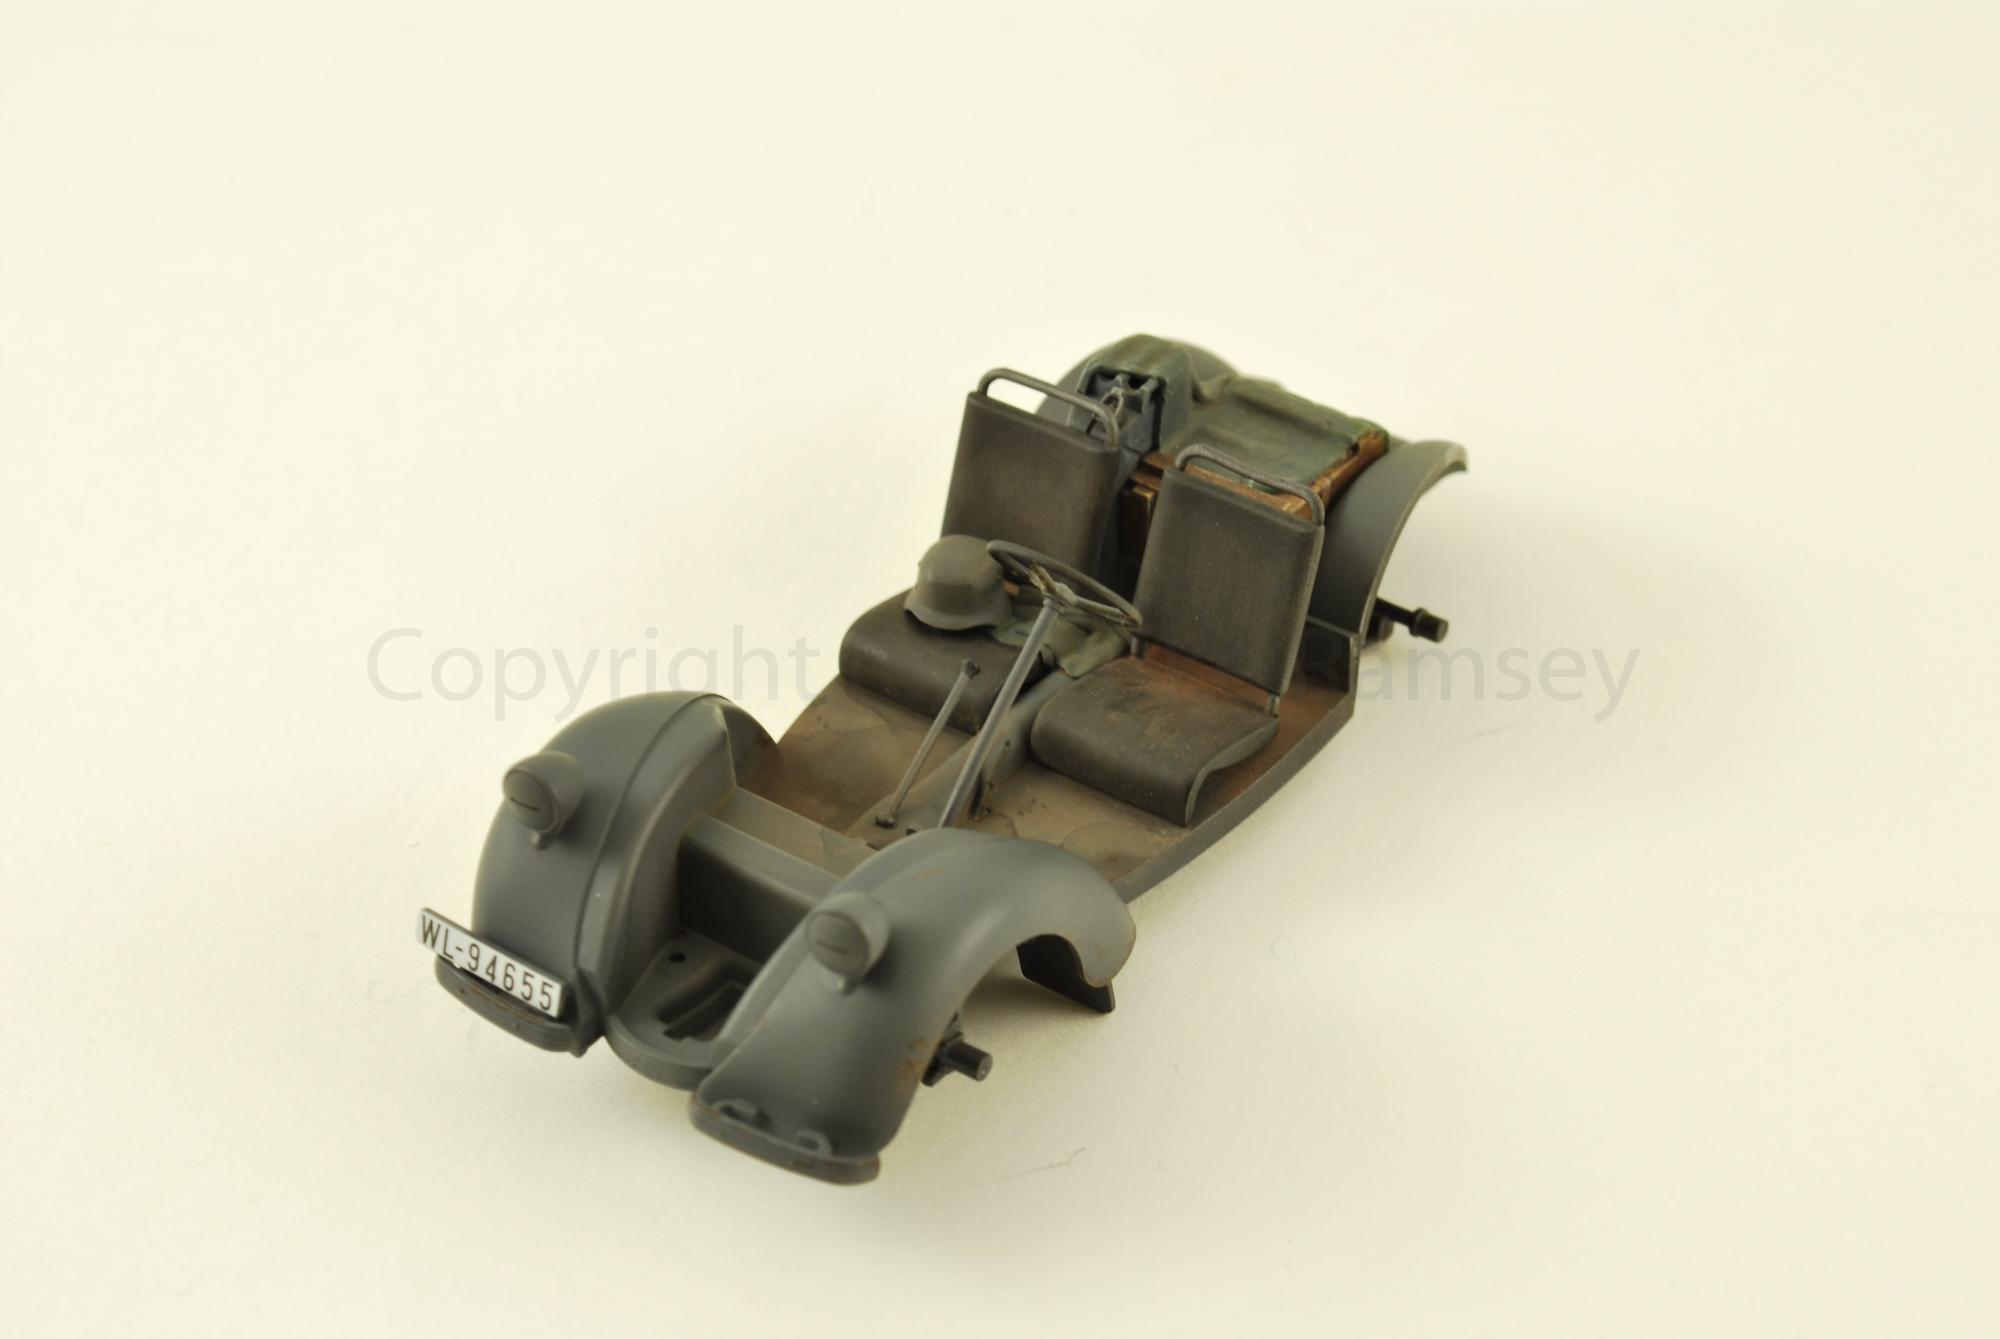
Sicma 5 German Stafff Car

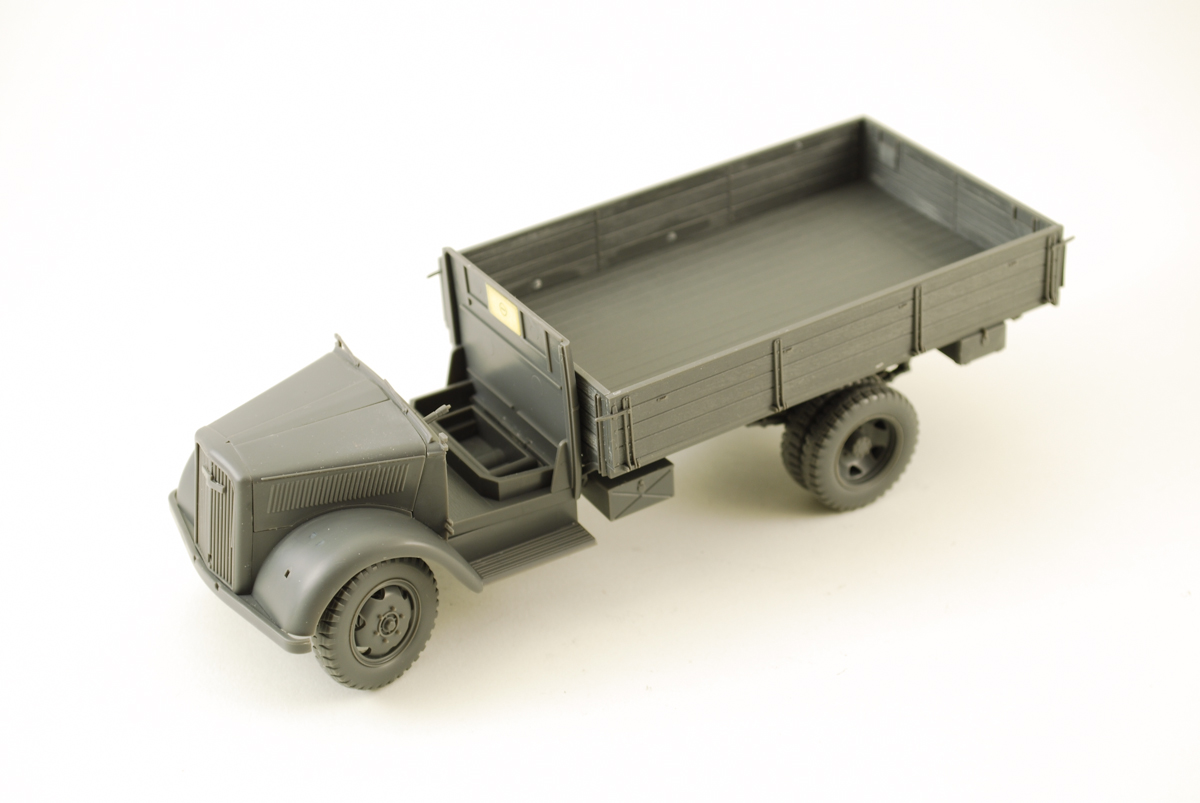
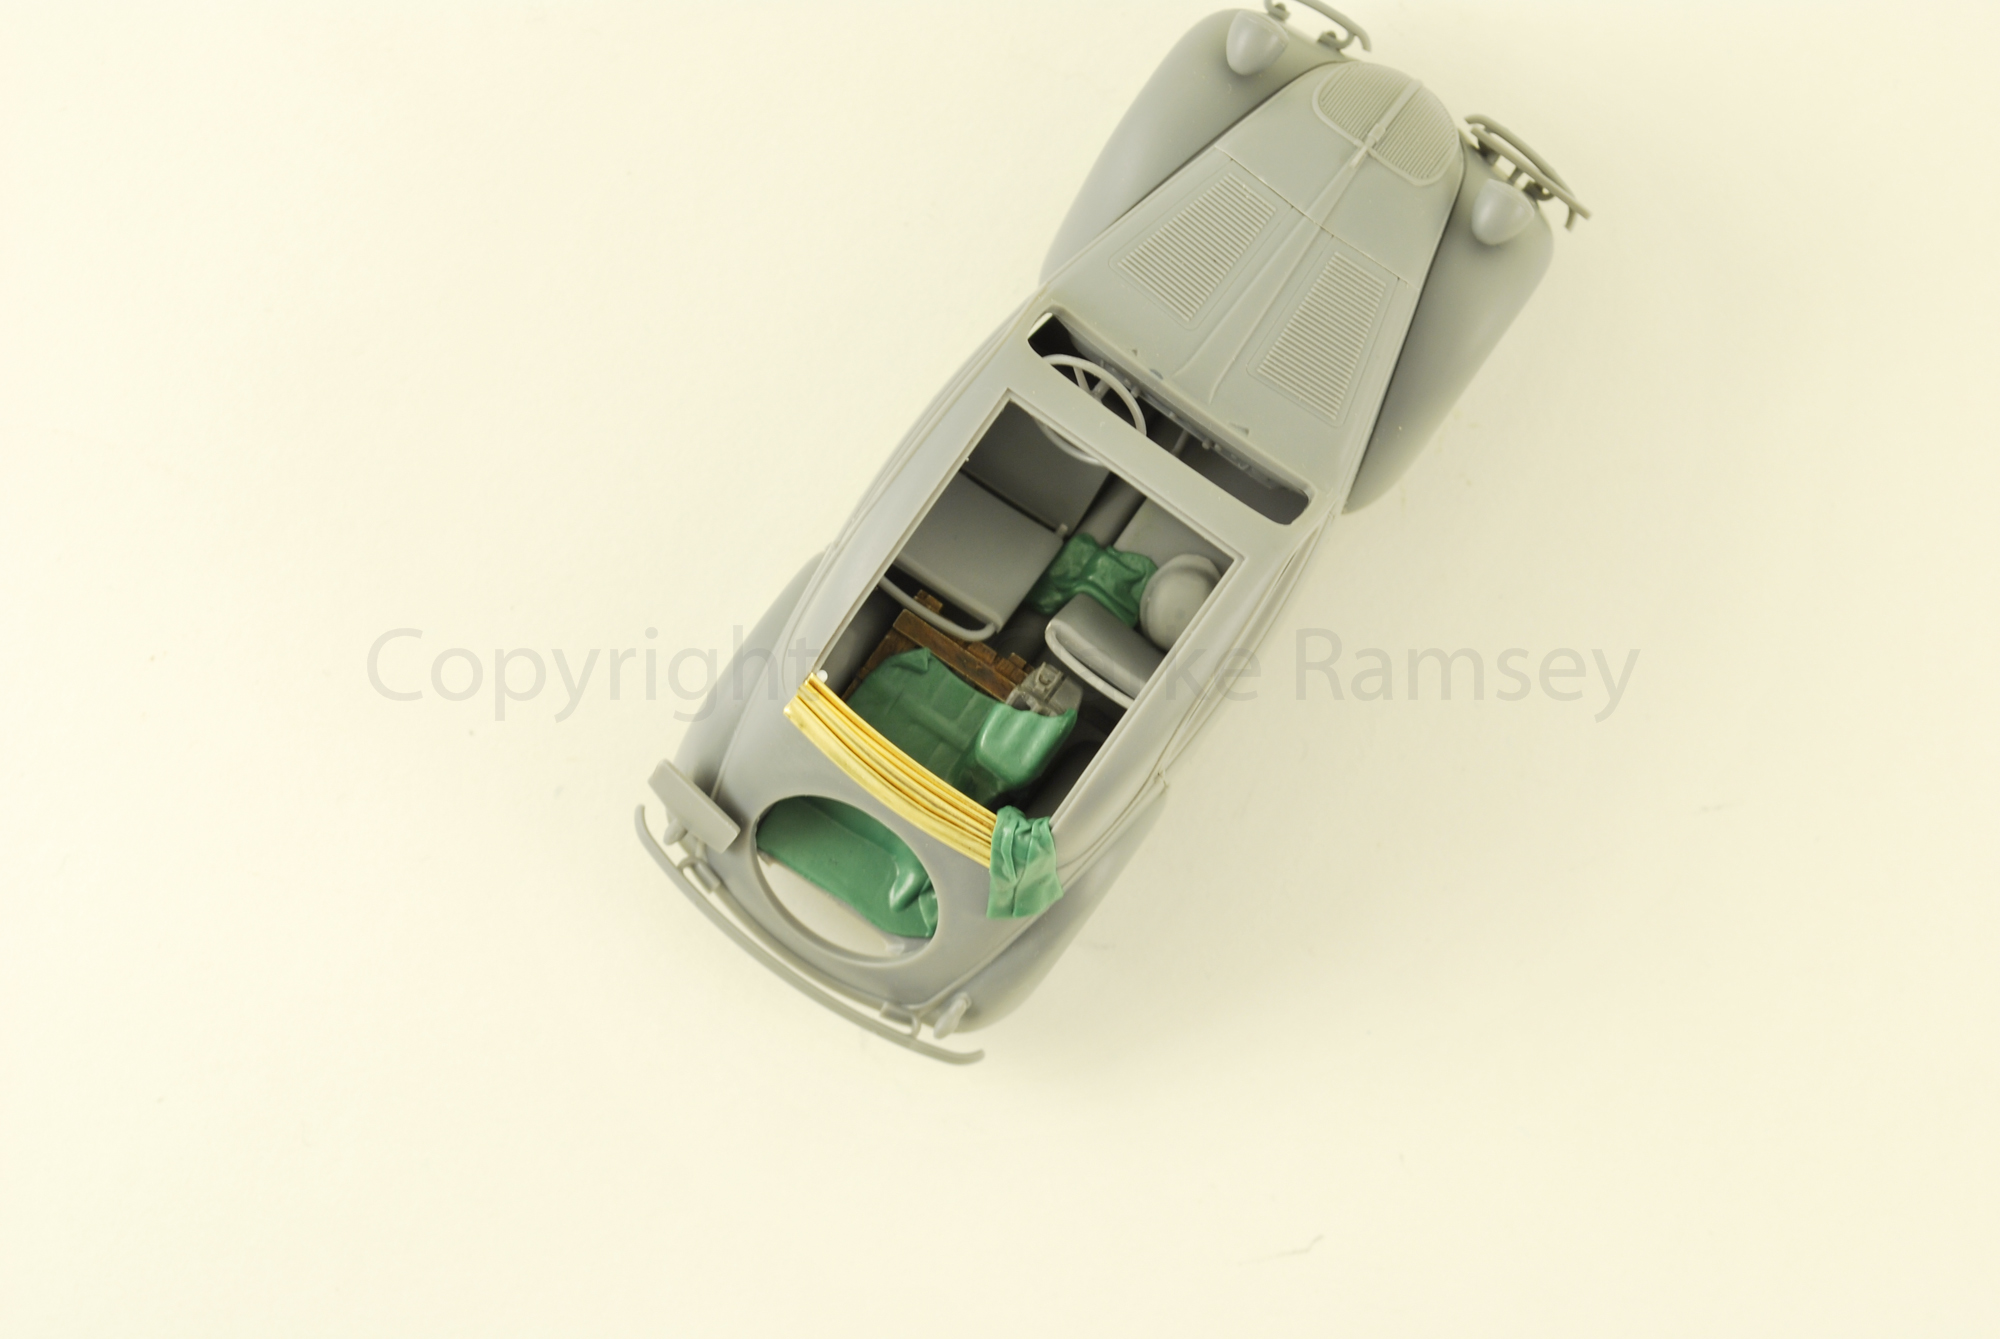
A very nice small kit. Great detail Great molding no worries. I added some stuff to put in the back and some rags/tarps made from 'Green Stuff'. My first time using the two part epoxy putty. It has a good working time and when rolled thin look a bit more realistic for these applications. For the top I decided to use sheet bras folded and shaped to look like a retracted cover. In hindsight I should have used Green Stuff.

Photo-set: https://www.flickr.com/photos/cramsey/sets/72157651919794250


Sunday, April 13, 2014

Tamiya 1/48 P-47D Thunderbolt

In May 1941, as the war raged in Europe, a single-engine fighter of more than 4t made its first flight. This fighter was the XP-47B, prototype of the Republic P-47 Thunderbolt of which a total of 15683 units will be built. Thanks to war experience, this aircraft was equipped with a 2000hp radial R-2800 engine, a supercharger and eight 12,7mm machine-guns. The XP-47B was to reach 633km/h and in January 1942, just after the USA went to war, the production of P-47B began. It was followed by the P-47C that incorporated various improvements and, from April 1943, by the P-47D, the most built version. The P-47D was equipped with an R-2800-59 engine, which can develop up to 2300hp with combat emergency water injection system engaged. The ducts that were passing on the sides and below the cockpit to connect the supercharger placed behind the pilot's seat gave to this plane its massive aspect. Many sub-types of the P-47D, designated D-1 to D-40, were produced but the first versions were called "Razorback" because of their sharp edge dorsal fin. The D-25 sub-type, which was introduced around June 1944, was fitted with an electrically actuated bubble canopy in order to improve pilot visibility and increased capacity fuel tanks. This decision resulted in a completely remodeled plane shape. All subsequent sub-types were also fitted with the bubble canopy and became a characteristic feature of late production Thunderbolts. The P-47 "Bubbletop" proved to be an excellent, well-balanced fighter-bomber.

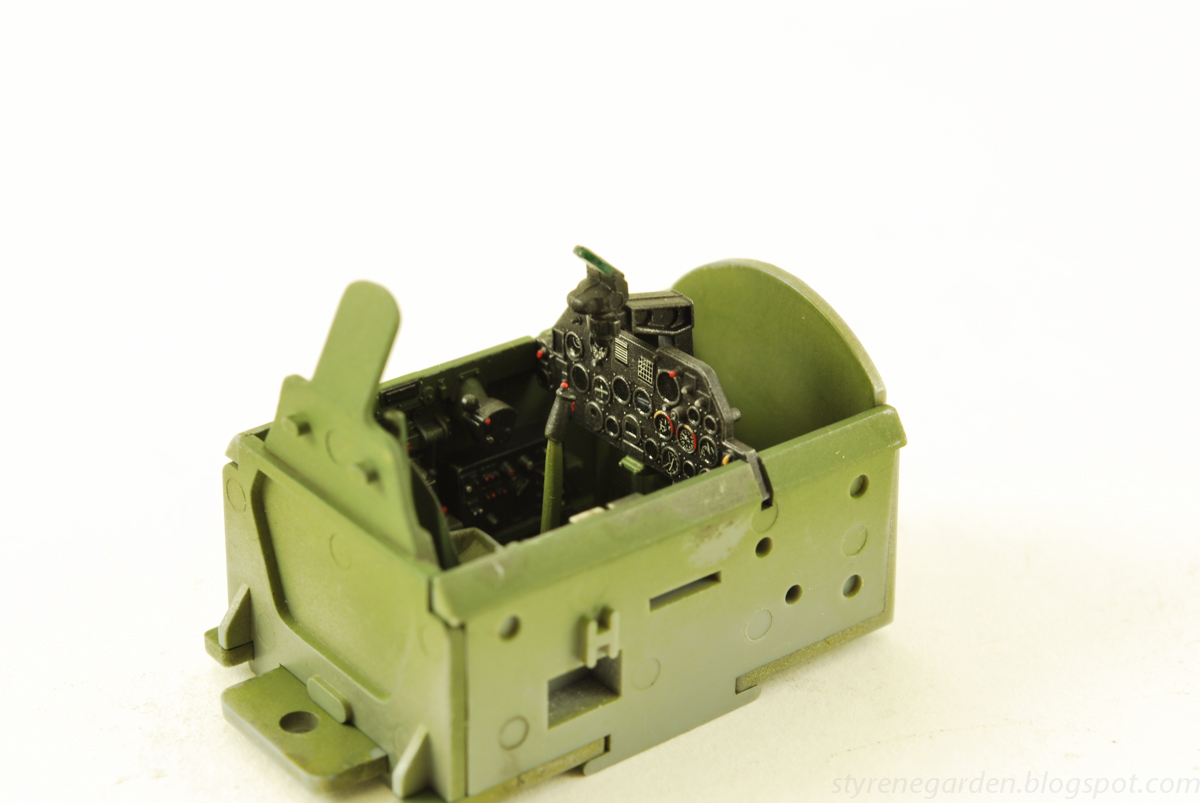
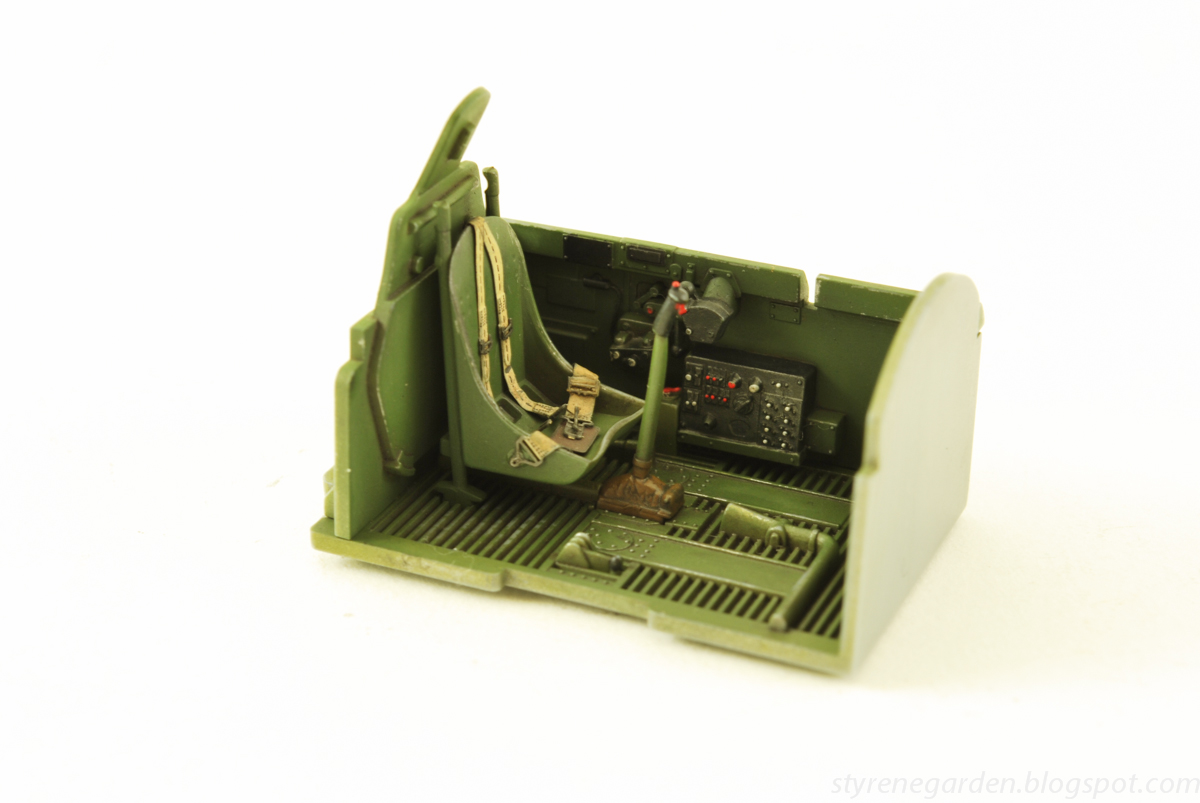
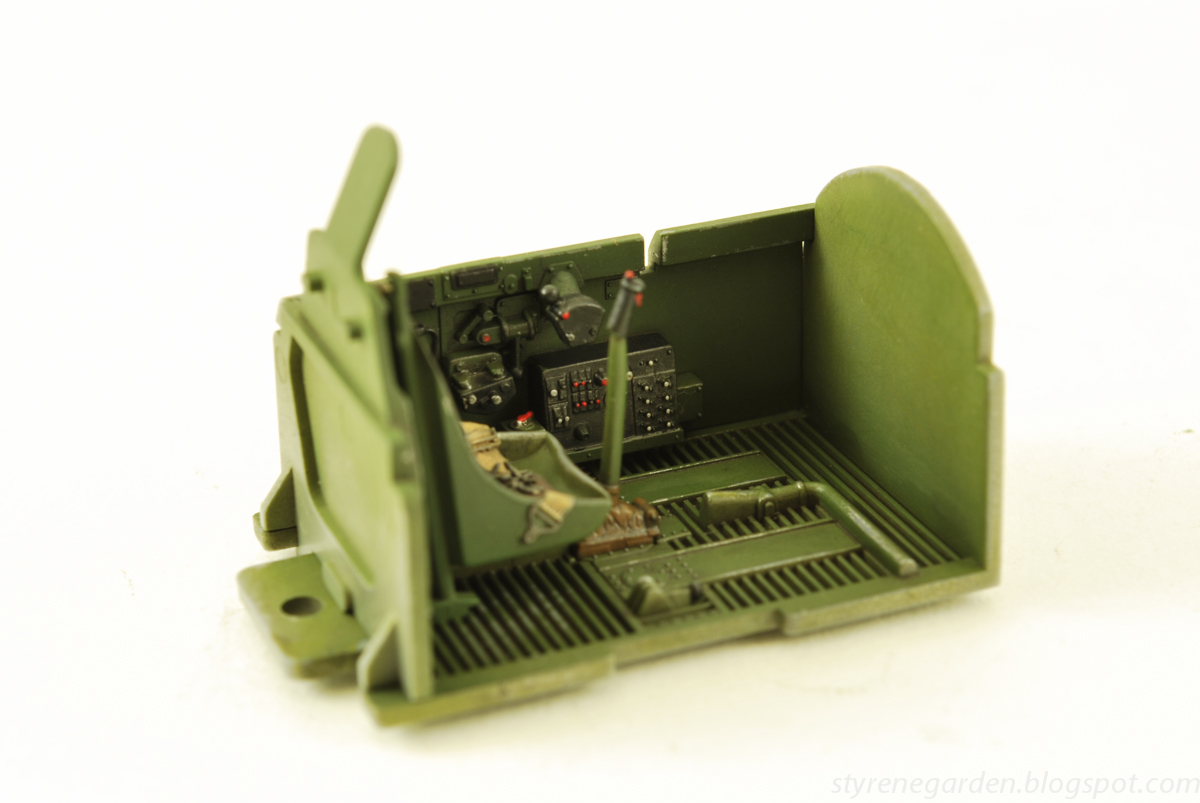
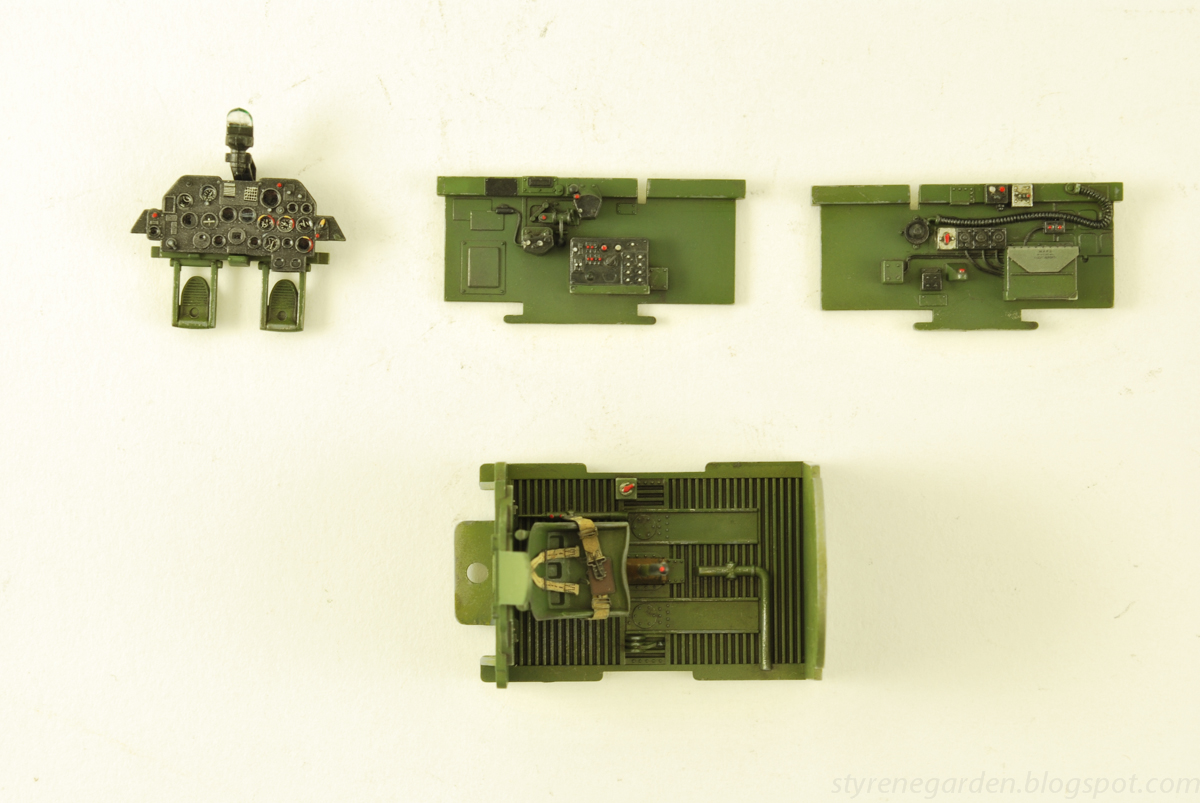
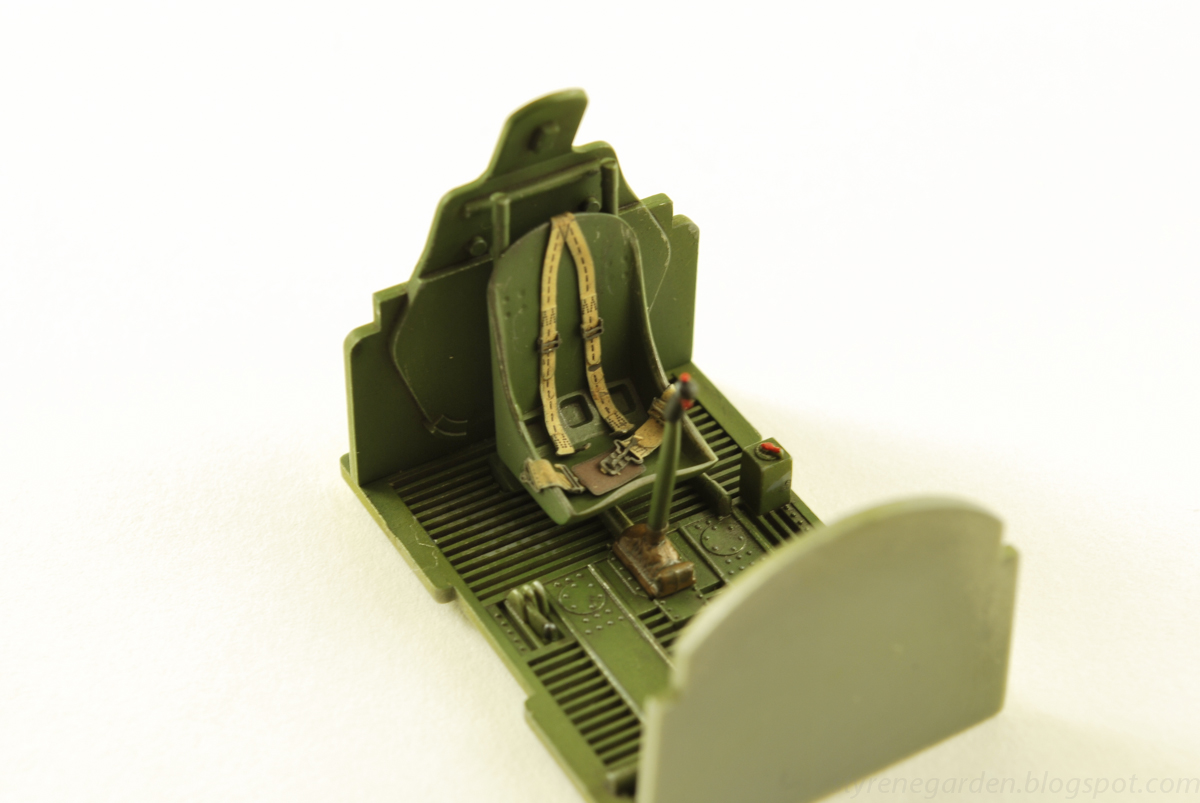
I decided to clean out my model room and I found this kit half started undernight some of my more recent projects. I first started with a cote of Modelmasters metalizer alluminum for the overcoat of intreior bronze green. I couldn't find the right color so I opted for Gunze H340 Field Green (semi-gloss). I wish more manufactures (cough...Tamiya) would produce semi-glass paint strait out of the bottle. So much easier to work with.

The only photoetch are the seatbelts stolen from annother jug project gone wrong and the side map-case cover.

Chipped with a toothpick and stiff bush the details were picked out with Vallejo paint and given a  wash of various grey/brown enamel washes.

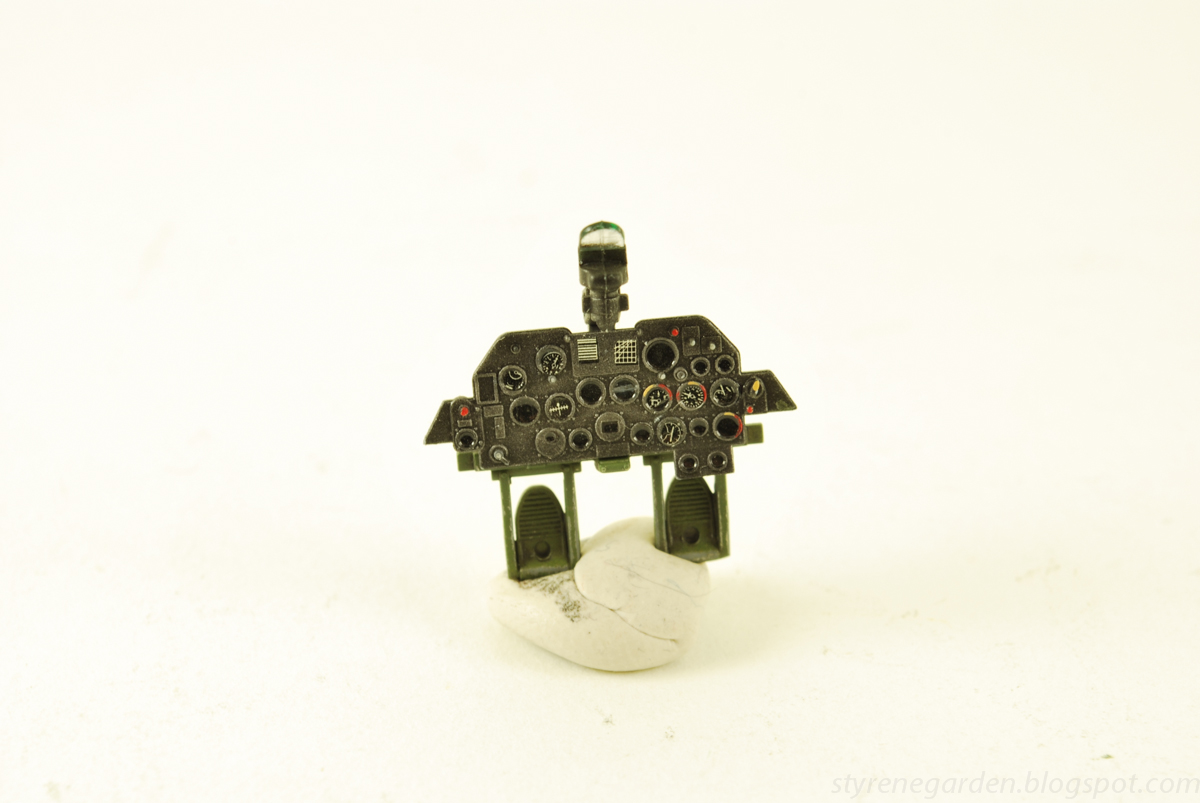
The instrument panel dial decals were punched out and a drop of future clear floor wax used to replicate the glass. 


Friday, January 10, 2014

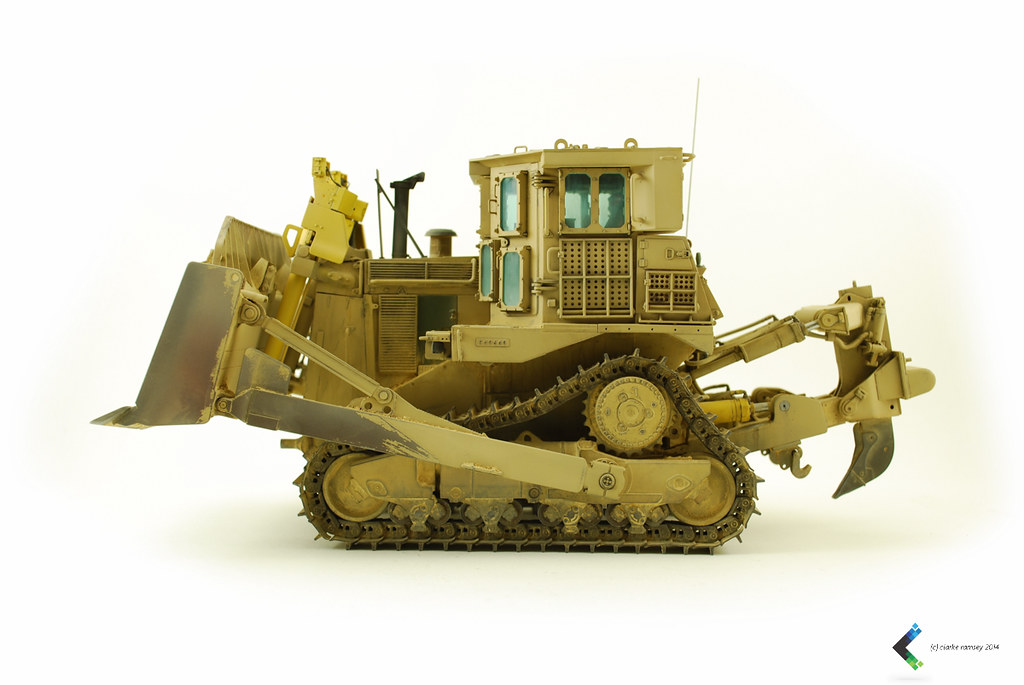
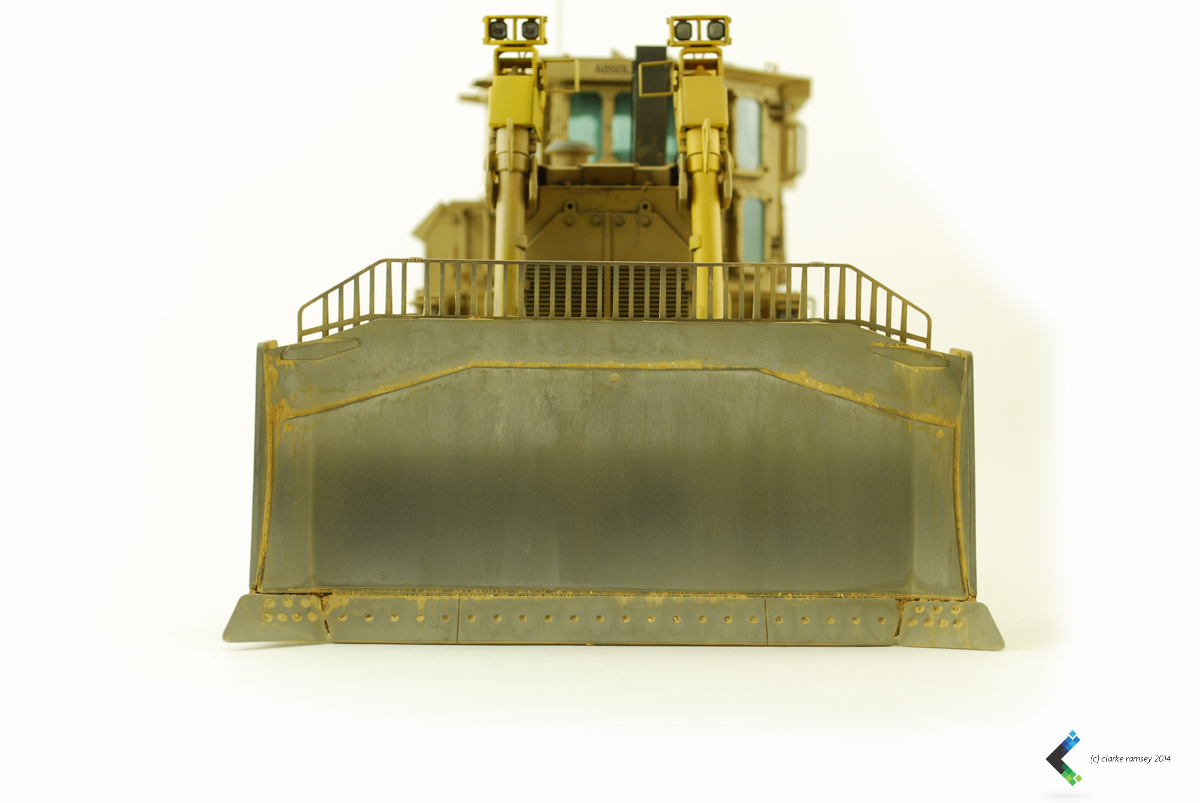
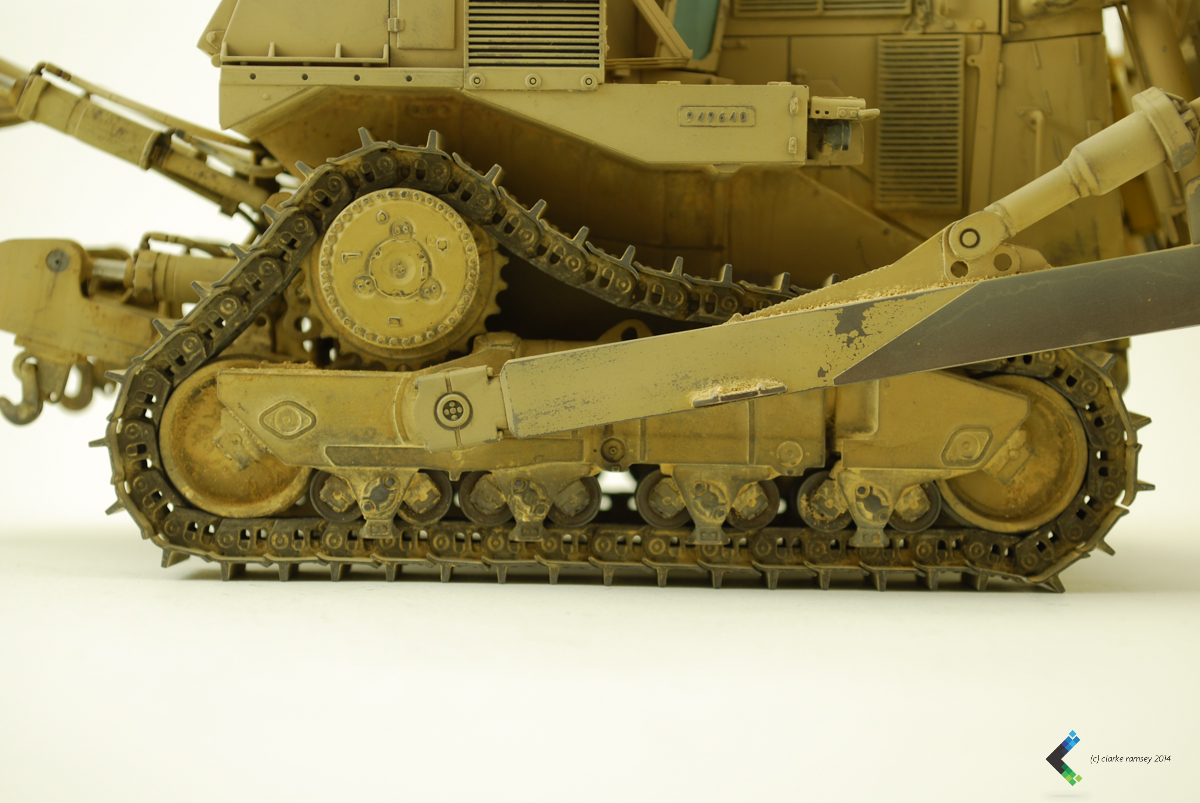
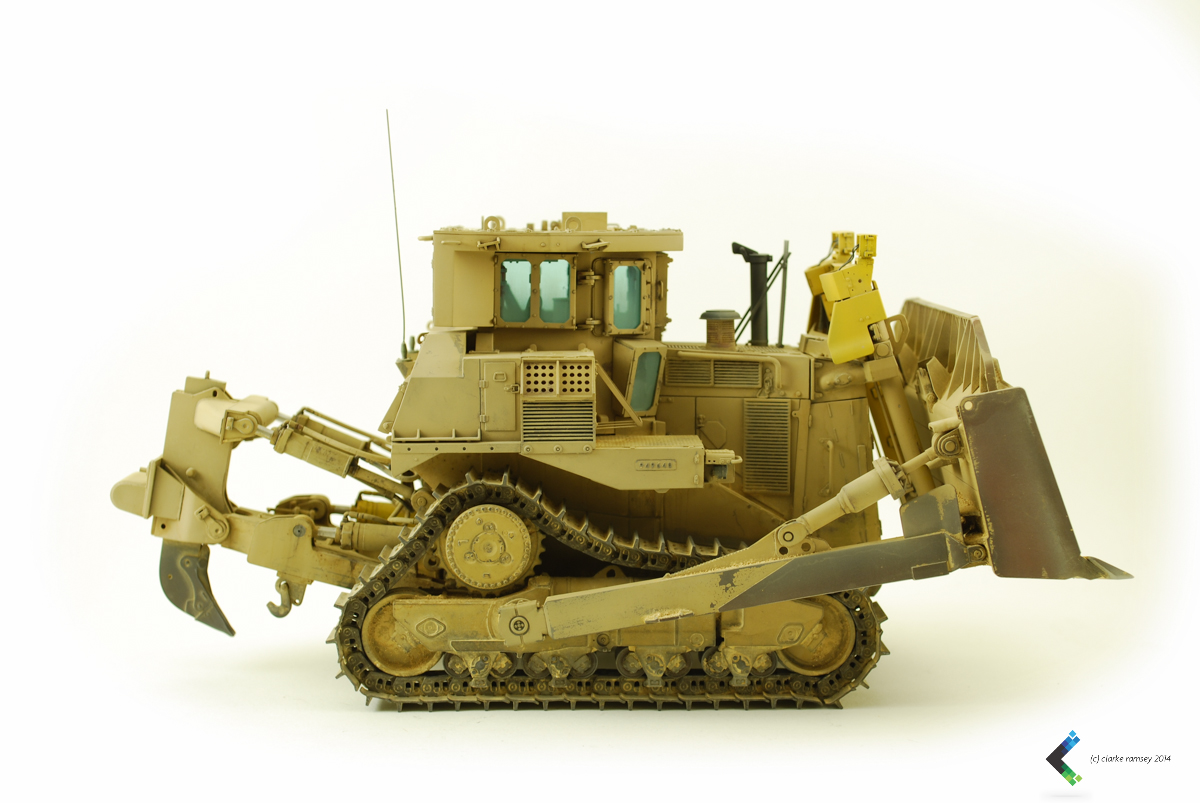
Absolute is Absolutly finished...


After a few months of work my Meng D9R Armored Bulldozer nicknamed Absolute is finally finished and ready to be mounted to my HET. This was and is a great project that I enjoyed every second of.


Check out my D9 gallery on Flickr.

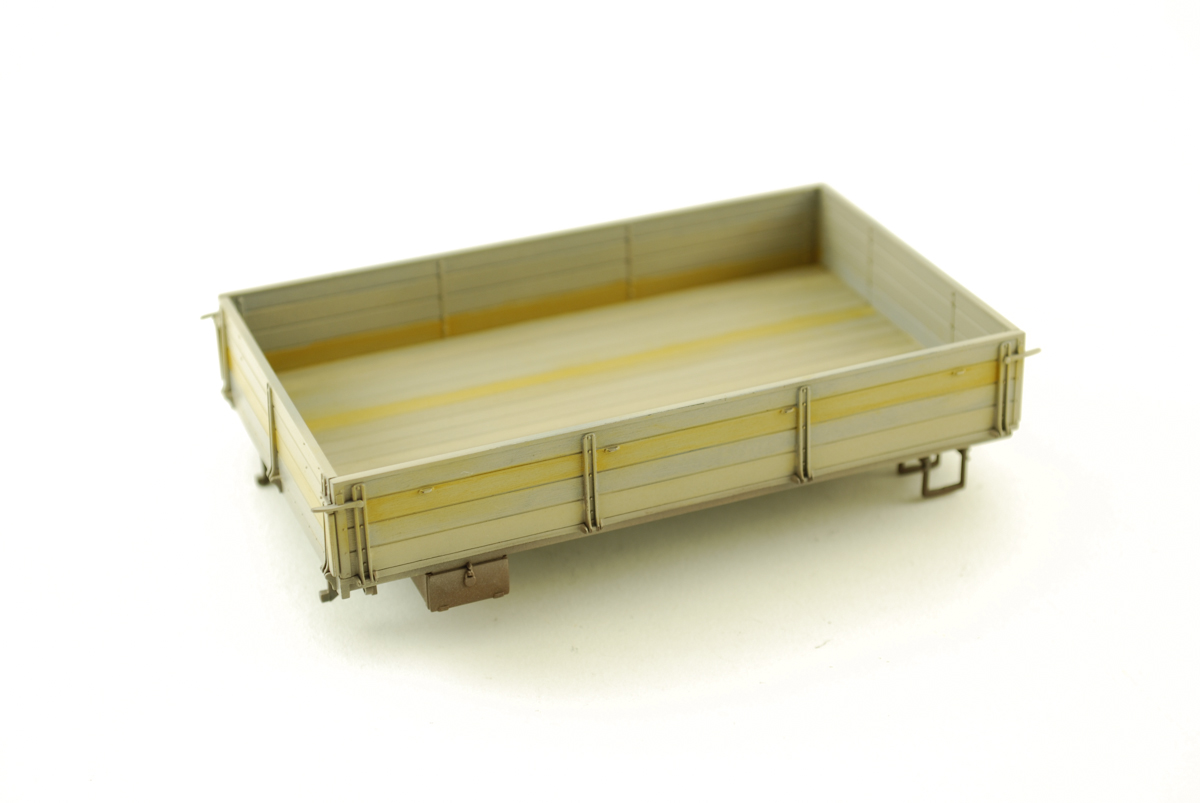
Just a little wood.

Progress continues on the Opel. The load box is coming together nicely. I started with my standard primer of Mr Surfacer 1200 with a base coat of Gunze H321 Light Brown with a light over spray of a dirty light/medium gray mix of Tamiya gray. This gave me the look of medium aged wood with some fresh wood peeking through. I then highlighted out some planks with various brown /yellow oil paints. After all of this dried for 24 hours I sealed it all with Alclad acrylic clear gloss.

 
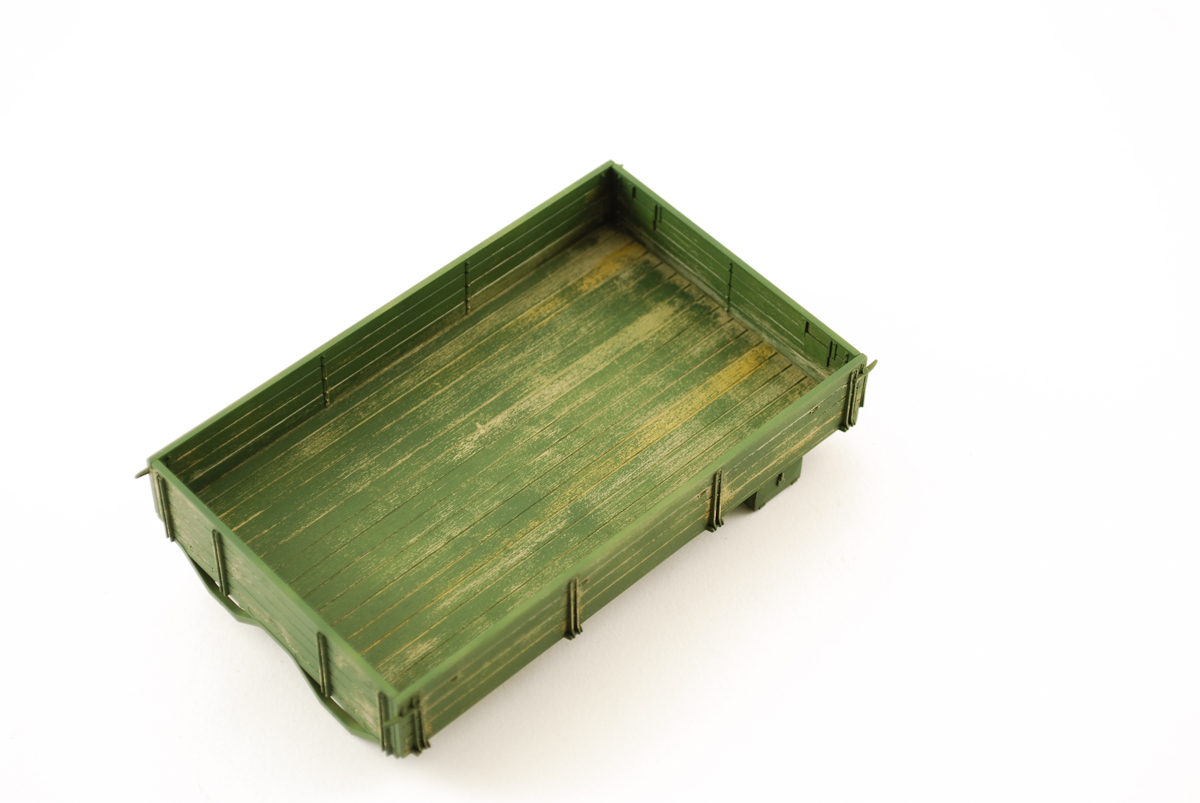
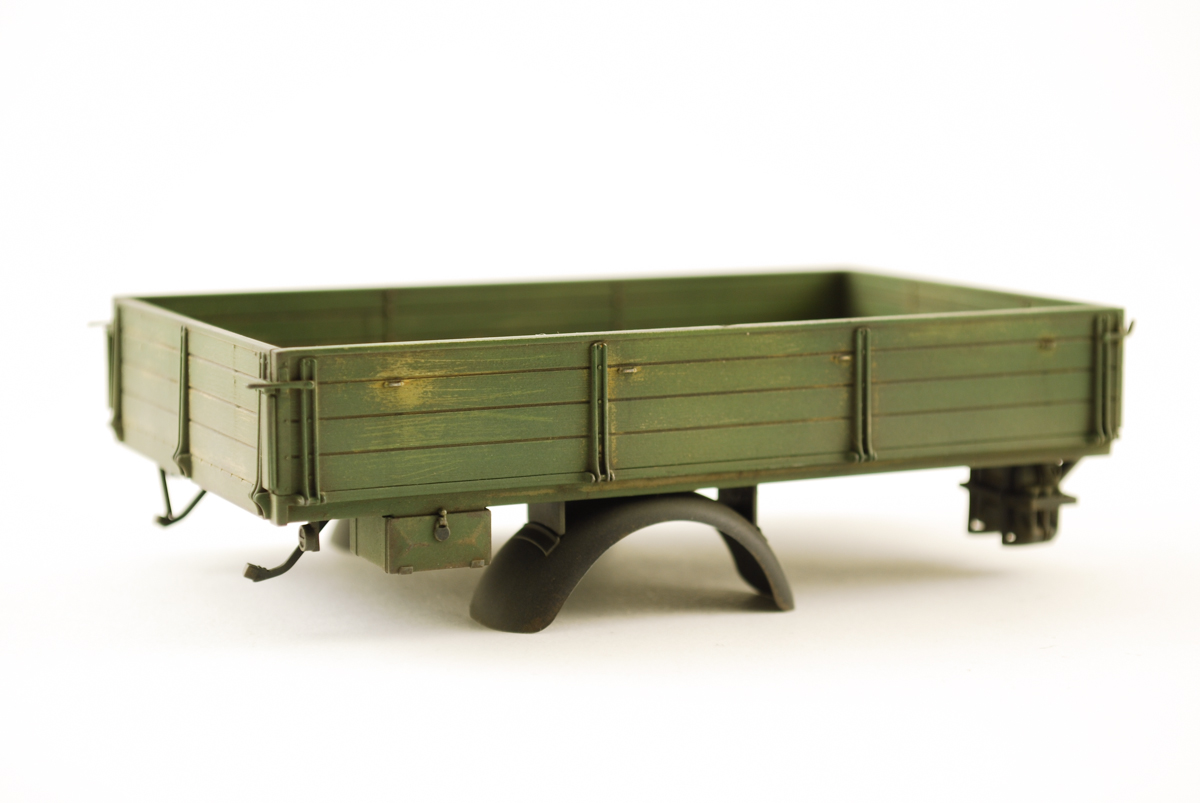
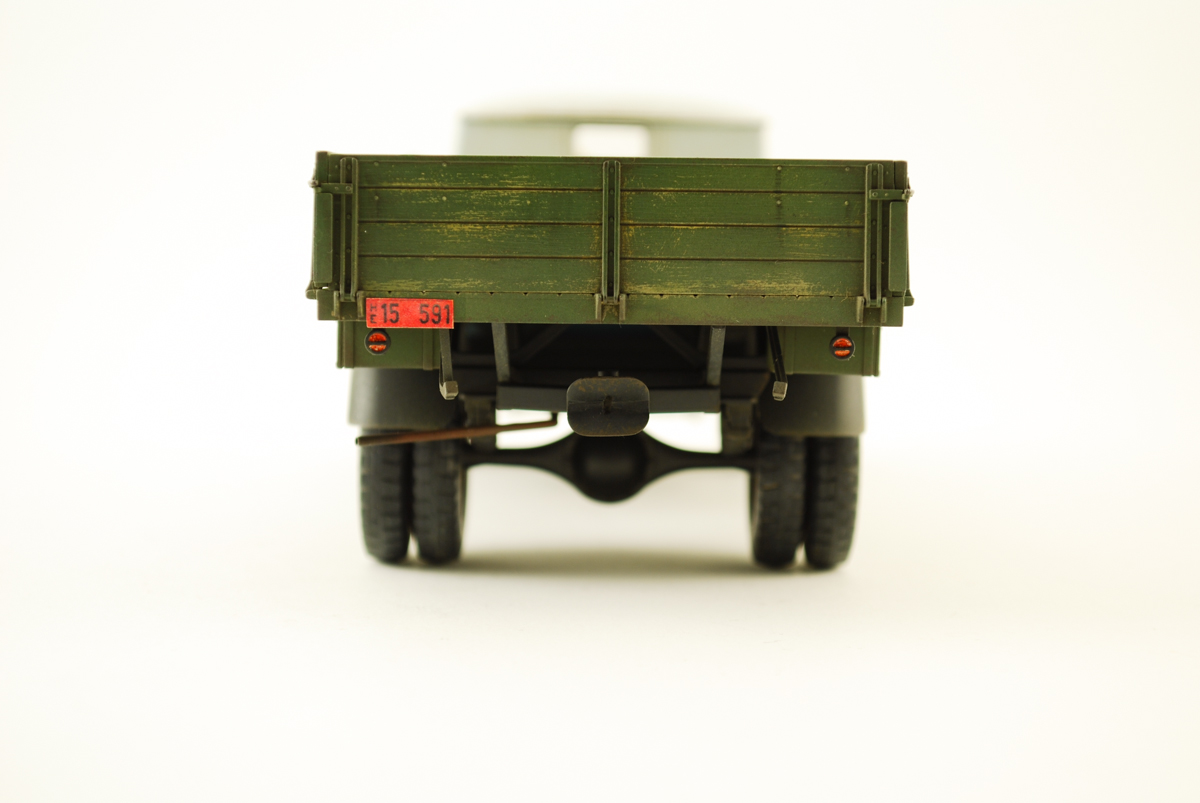
Being this truck would be a refurbished post war truck I needed to paint the bed some type of color. First a very light spray of hairspray for the chipping layer. After with my Iwata HP-BCS airbrush I thinned down some Tamiya Flat Green with lacquer thinner (1:2) from my big box home improvement store. More economical than buying the Tamiya equivalent. Lacquer thinner gives the paint a much better surface finish. I spay the first of three coats of green on very lightly. This will ensure that chipping with be very light and easy.


Chipping was done with some room temp water with a few stiff brushes and a toothpick. After I got the look that I wanted a light coat of Testors dull-cote to seal the chips. 

A wash mix of AK Interactive browns was applied and then sealed with Testors clear flat.

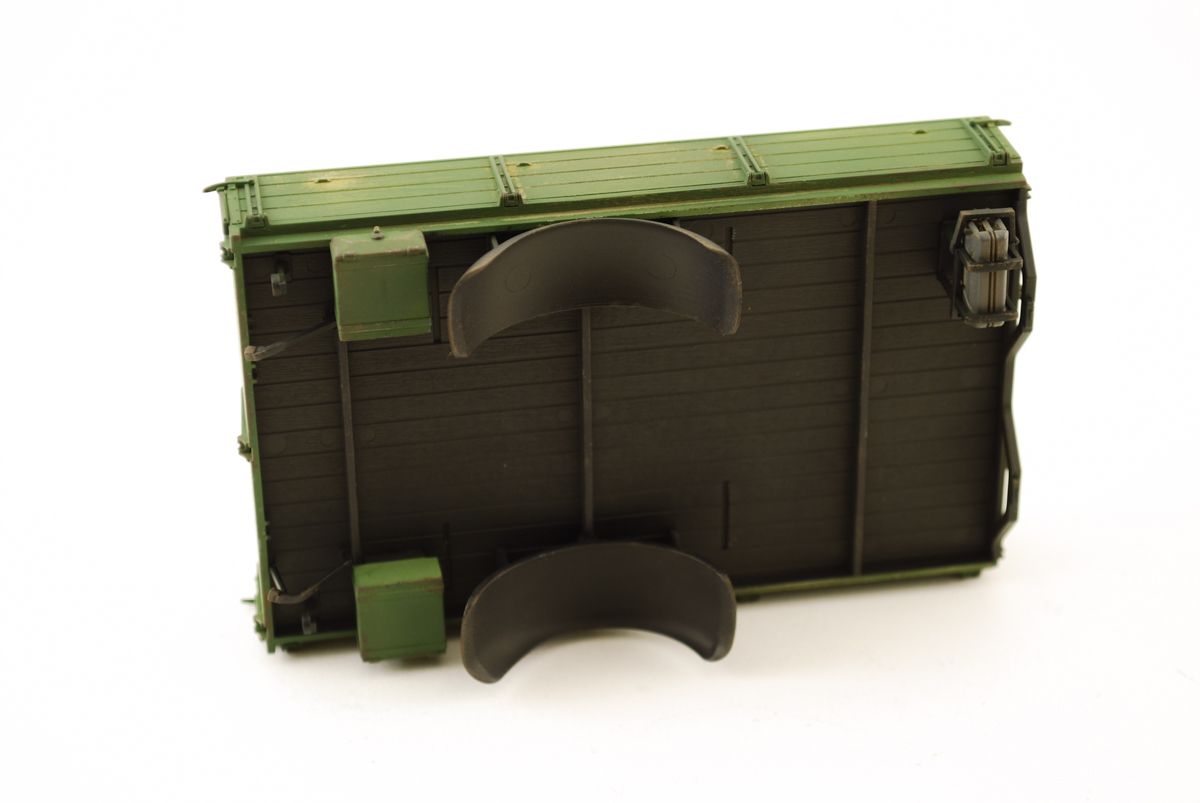
Attention was then given to the underside of the bed. The rear fenders were left off till painted. A Vallejo Black and German grey mix was airbrushed underside. Chipping was done with Vallejo as the rest of the model.


With the details painted and attached to the bed I airbrushed the first layer of underside dust. Humbrol 72 and lacquer thinner. After a few ours of drying I had attached the load box to the rear chassis.

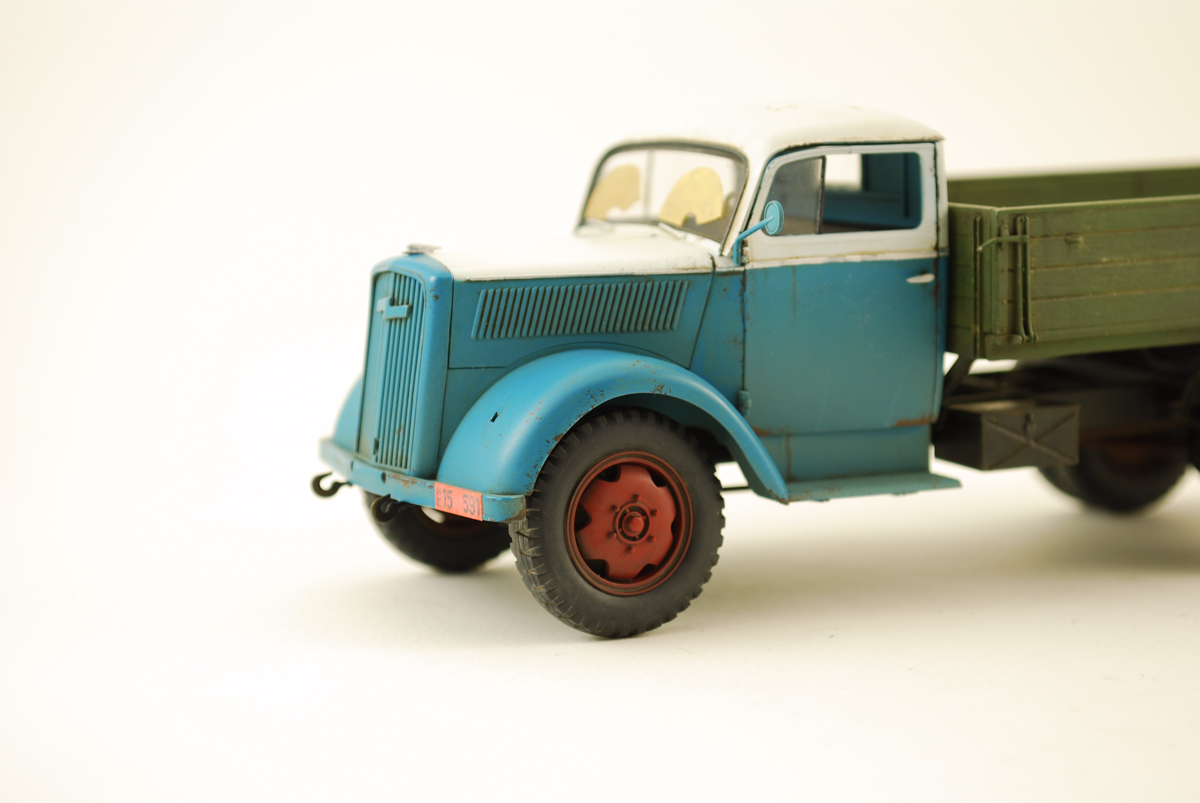
The cab need a bit more detail. Some chrome was applied to the hood and doors. A good 12/0 brush and some Testors chrome did the trick.


I had realized I damaged the top of the doors somehow while initially building. So this just would not look quite right. There is a bit of a gap at the top of each. Let just say they got damaged while cleaning up after the war. The drivers window was cut and removed to simulate it in it's lowered state. Some windshield wiper mask applied for the last dust layer to be applied, were created and saved from my last Opel build.

As this being a civilian truck it need some license plates. After a quick internet search I found a few via Google Images. Printed and standard white paper and sealed with future. I'm not sure if they are period correct, but they look good to me.


A bit more to do with this project . Dust, pigments and a bit of mud to be applied. Still not sure that the load will be. Suggestions always welcome.

Monday, January 06, 2014

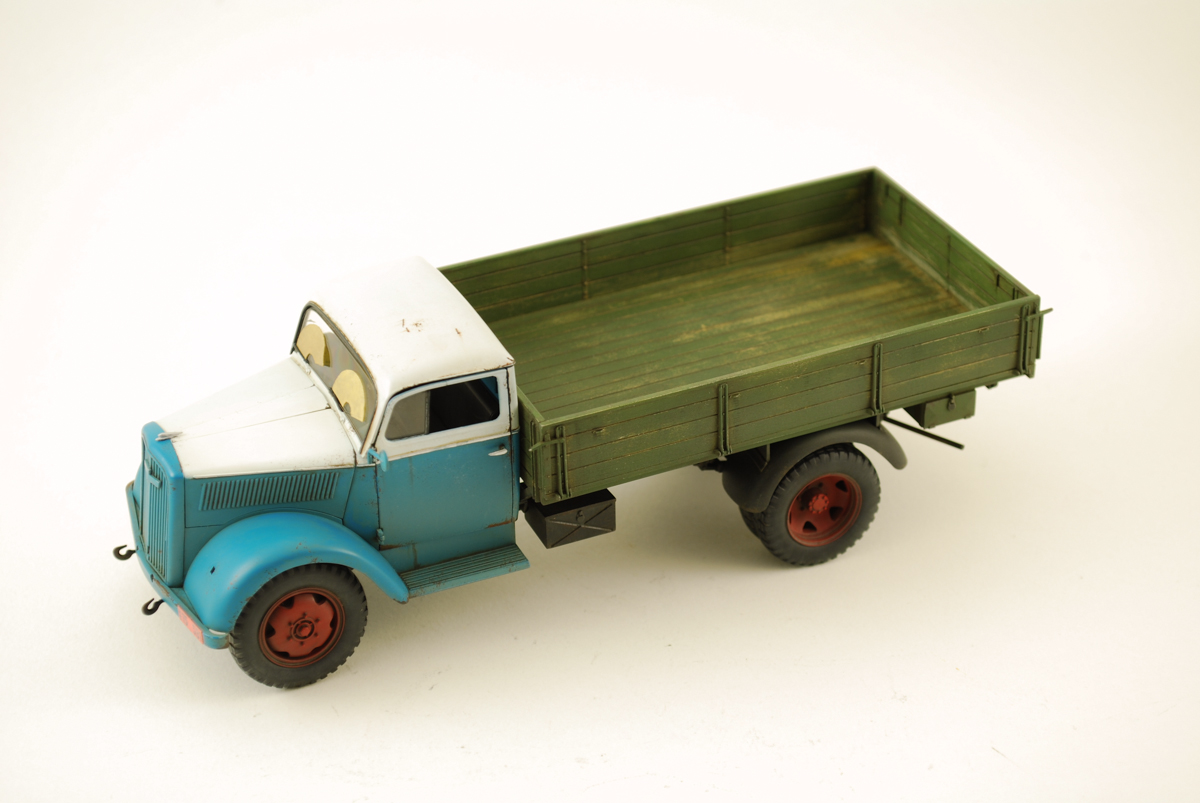
Civilian Opel Blitz

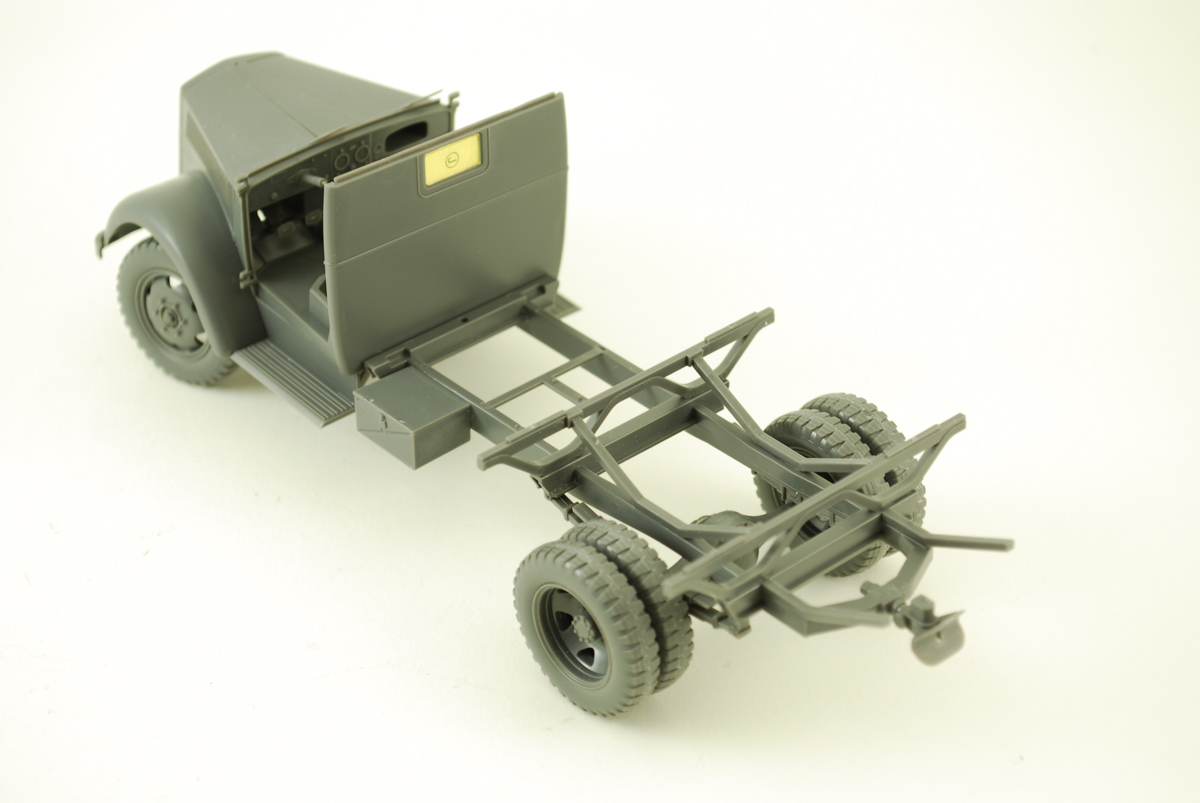
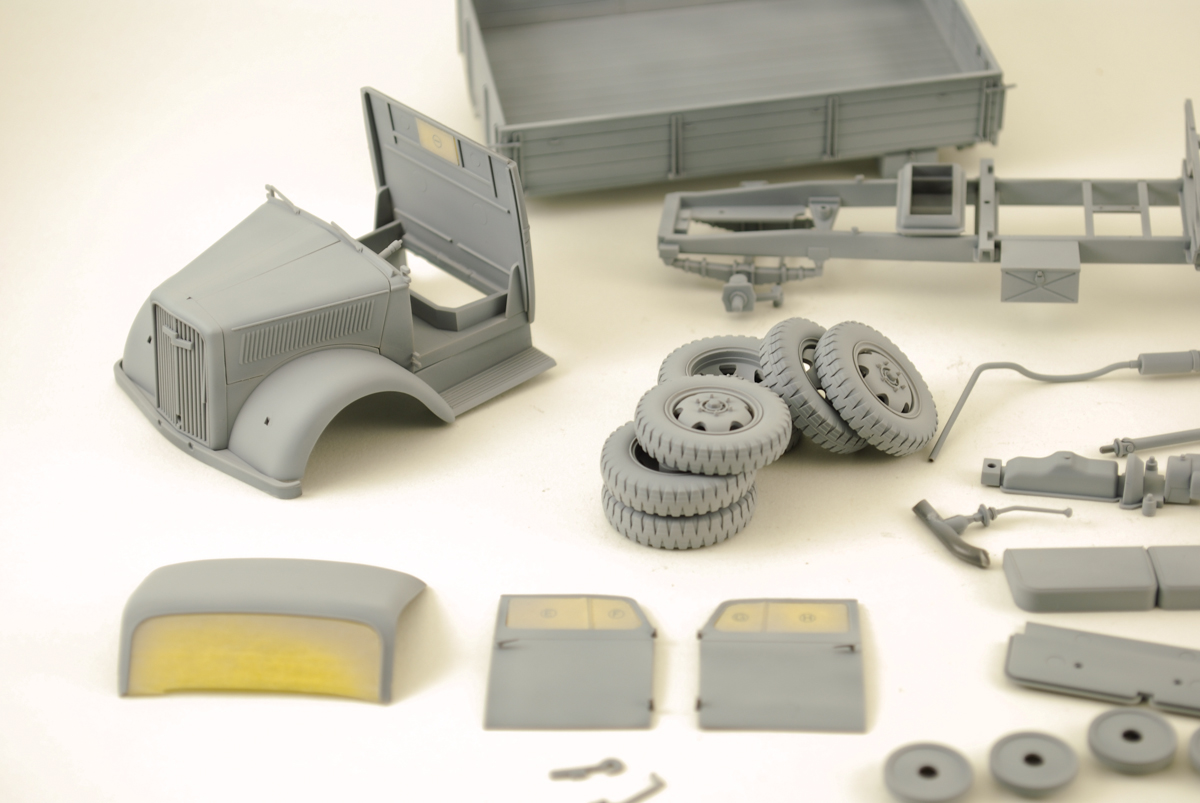
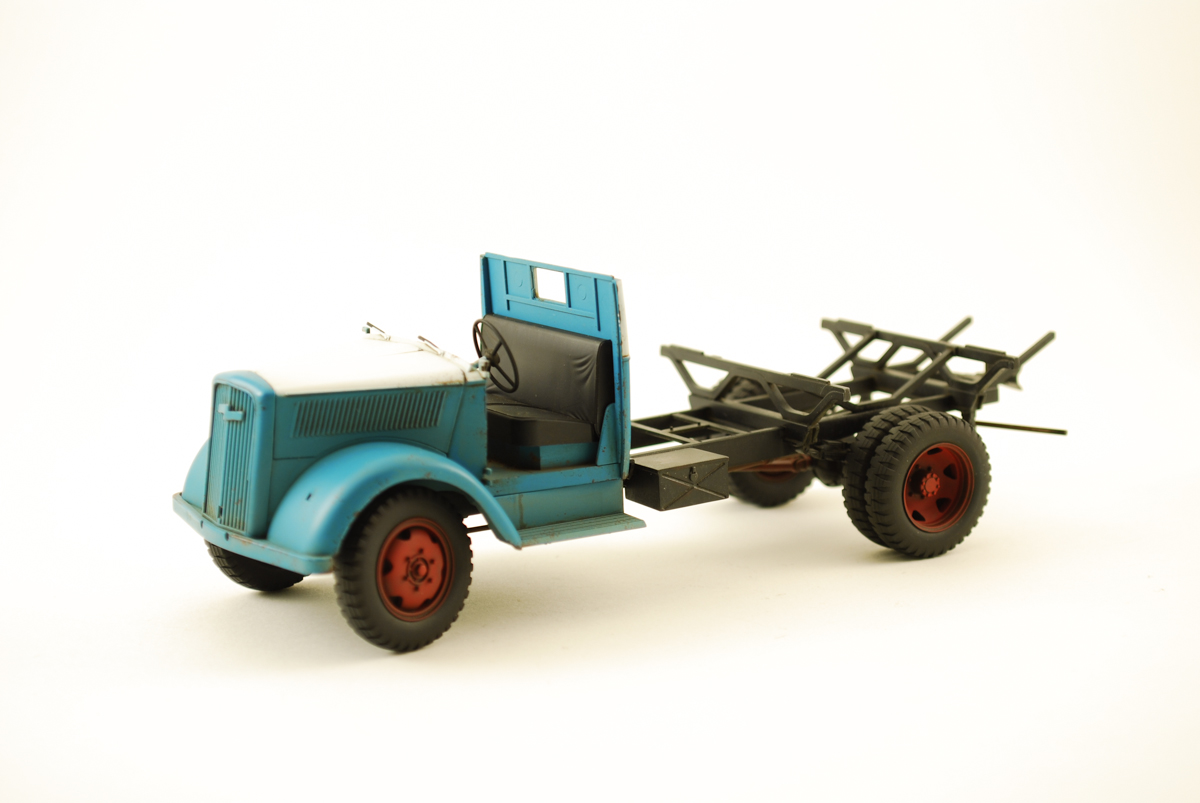
While cleaning out my office a few months ago I came across a Tamiya Opel Blitz truck. I decided to take it from the "stash area" to the "bench area". With the holidays these past weeks I've made some progress. This is my first time building the Tamiya kit and it goes together with one major issue.

When I reopened the box there was a little note I had left myself. " Headlights Missing, used on other kit. Find replacements..." So with that, this will be a Civilian Opel Blitz - without headlights.

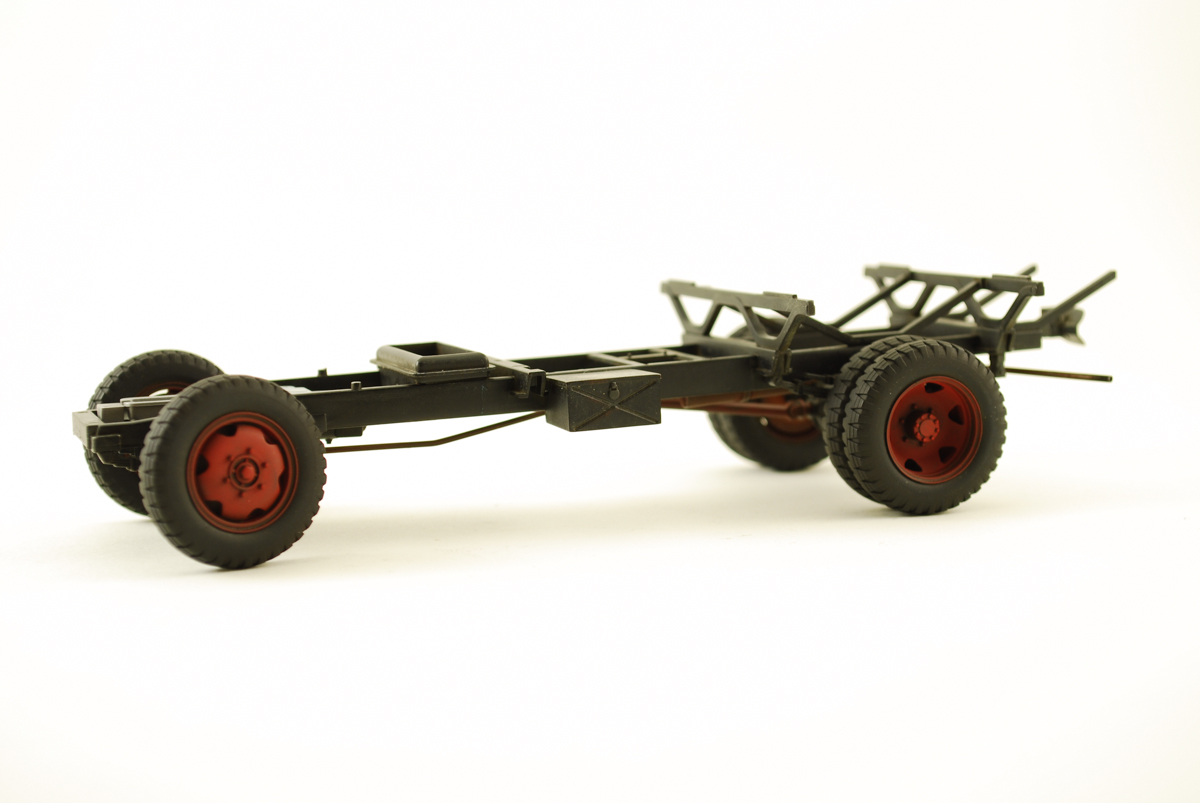
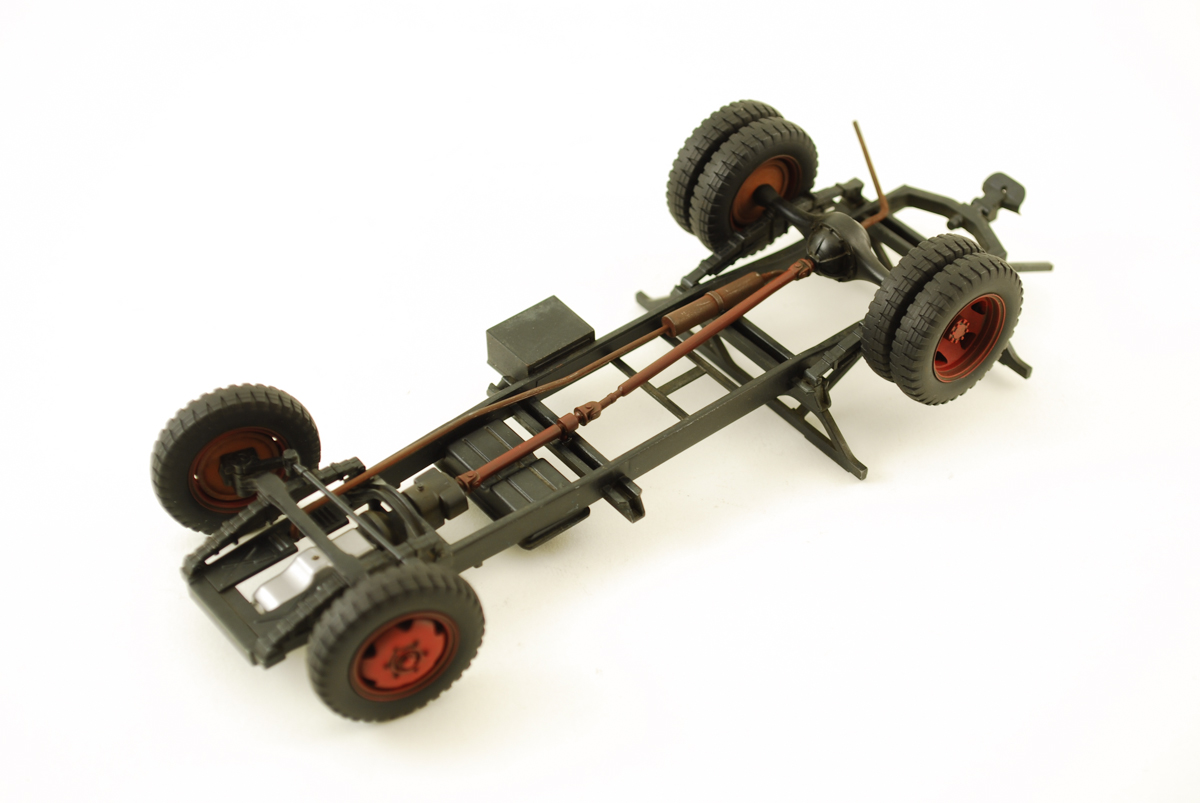
When I decided to go civilian, I had to decide on colors. A odd teal color mix with a white roof with Vallejo colors was applied to the cab. Red wheel hubs (Gunze), and a black chassis also using Vallejo once again. Some light chipping and rust effects were applied on the cab with Vallejo 70822/70862 & a 12/0 brush.

AK Interactive washes applied to details with a very light coat of Humbrol 72  airbrushed for the first layer of dust.


Full set of images...
http://flic.kr/s/aHsjQdL4RA

Thursday, October 03, 2013

A Rusty, Silvery Hull...

Painting has begun on the hull/running gear of the D9R. Having everything modular and not all glued up helps with the painting. After searching the web for some dirty shots of a D9 I came across these two D9s' getting transported somewhere in Iraq. Somehow my aim is to try to replicate this.


In order for me to replicate this a technique call hairspray chipping will be used. Eventually you use the hairspray as a standoff layer to reveal the underlying layer of paint. First off I started with a very light layer of Mr. Surfacer 1200 primer, followed by a brew of Tamiya paints in rust tones.Then to replicate the worn/polished layer from the sand on the hull I used Model Master Metalizer Aluminum. All pints were thinned with lacquer thinner to a consistency of 2% milk.


More to build, more to follow...