Styrene Garden
Reflections in Scale
Saturday, July 15, 2017
Sunday, July 03, 2016
I'm Still Alive
Bonjour à tous! I know what you're all wondering or, more than likely, not wondering:
"Hey Clarke! Are you still modeling?"
Well, the answer is that yes, I am still alive and modeling. Unfortunately, I just haven't been very productive on the internet. At all. Since the new year.
The good news is that I'm getting back into the swing of things and I hope to be finished with all of my ten builds within the next century or so. Good news. I've found my mojo that was missing for the P-51 and Corsair. I'll be posting more on the subjects when I can! I'm also working on my website that will replace this blog.
Here's a sneak preview of the Corsair...
Thanks for your patience,
Clarke
Sunday, May 03, 2015
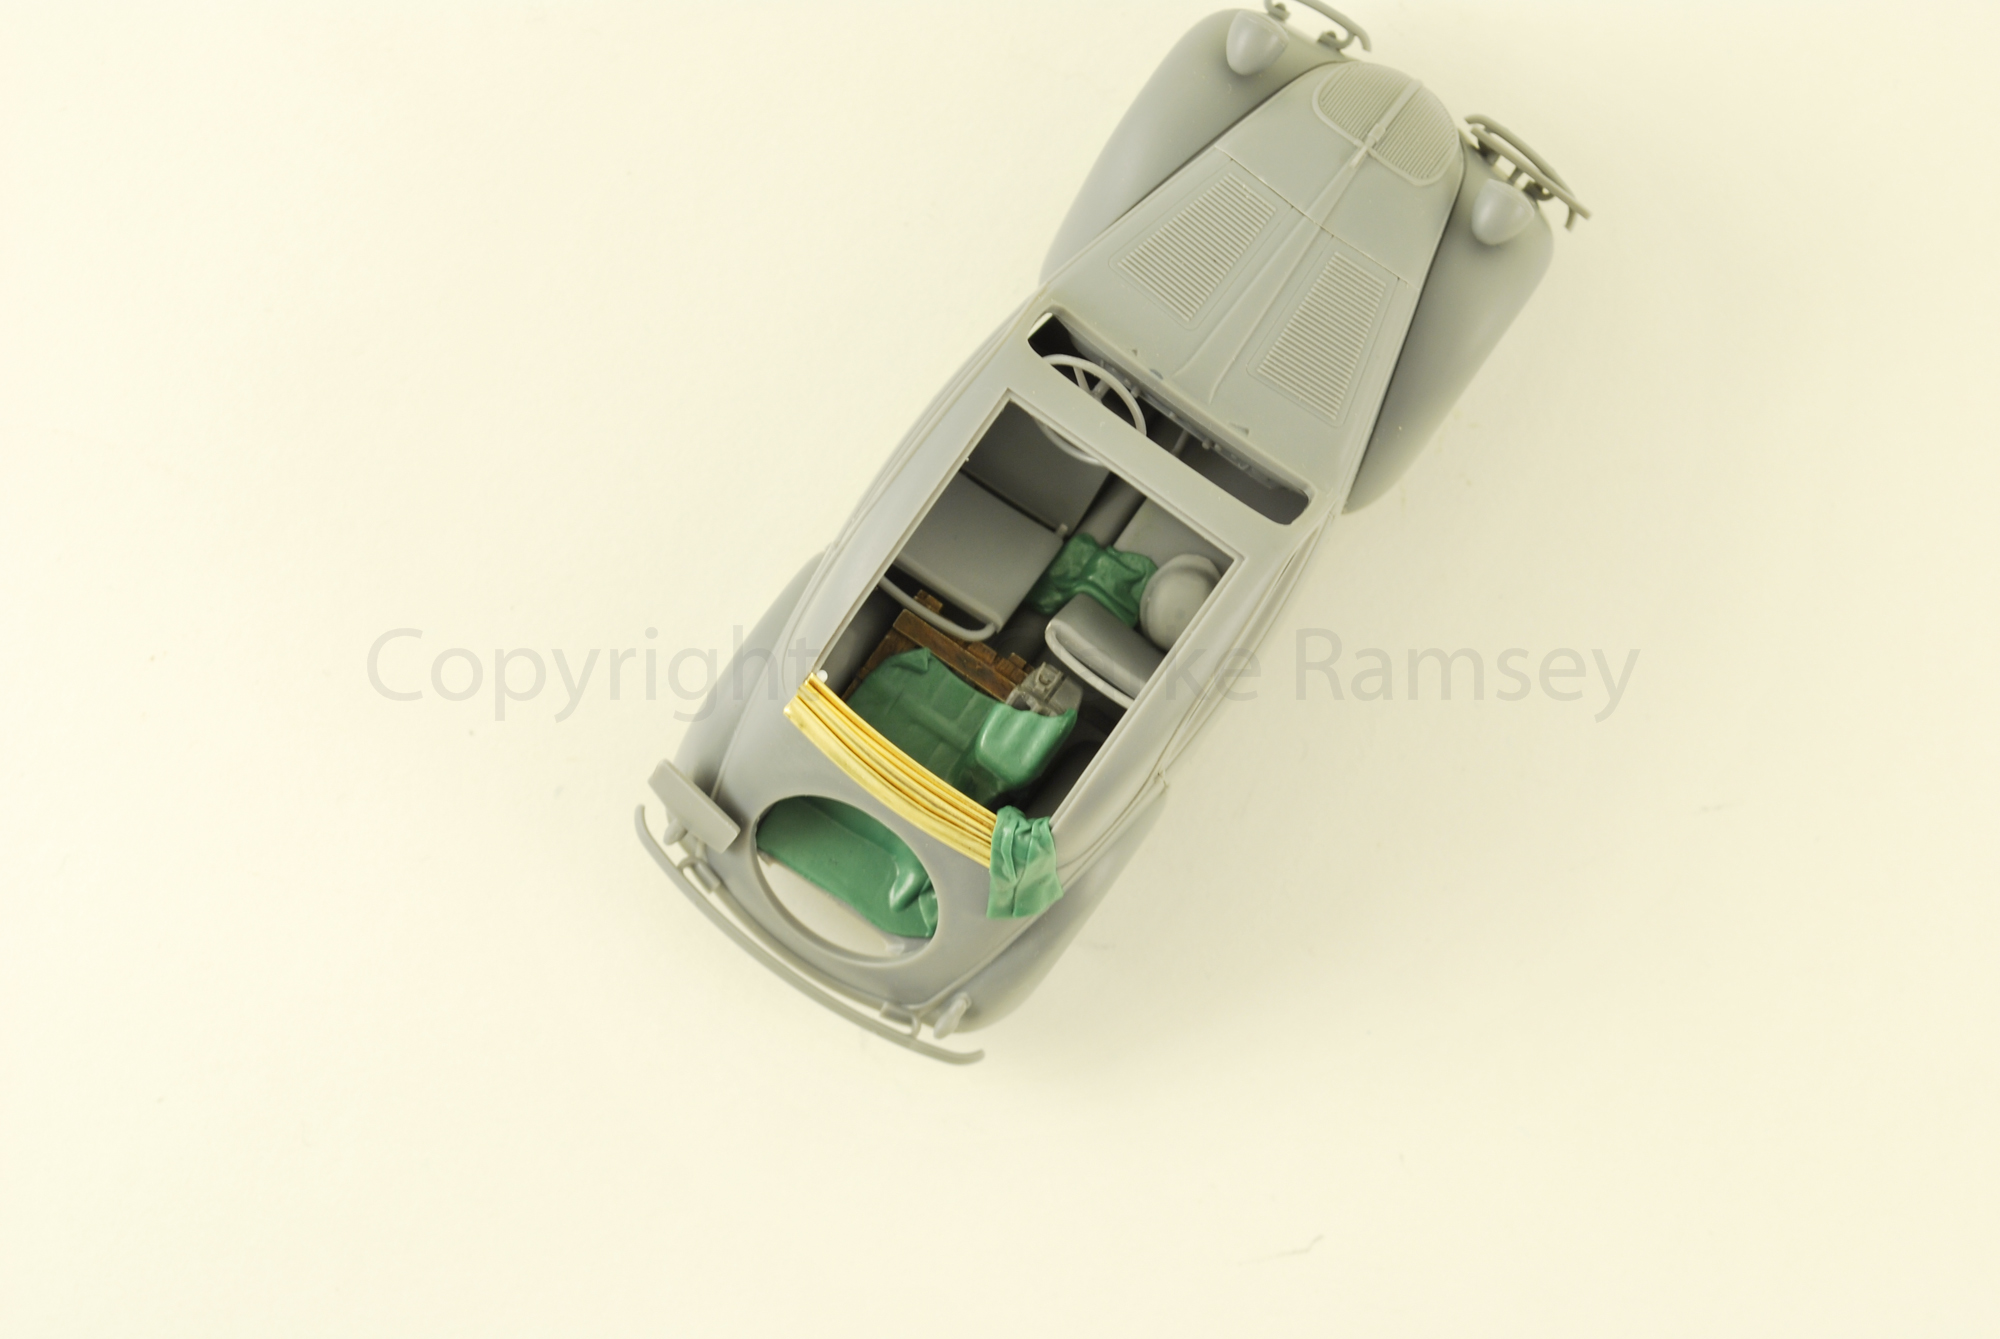
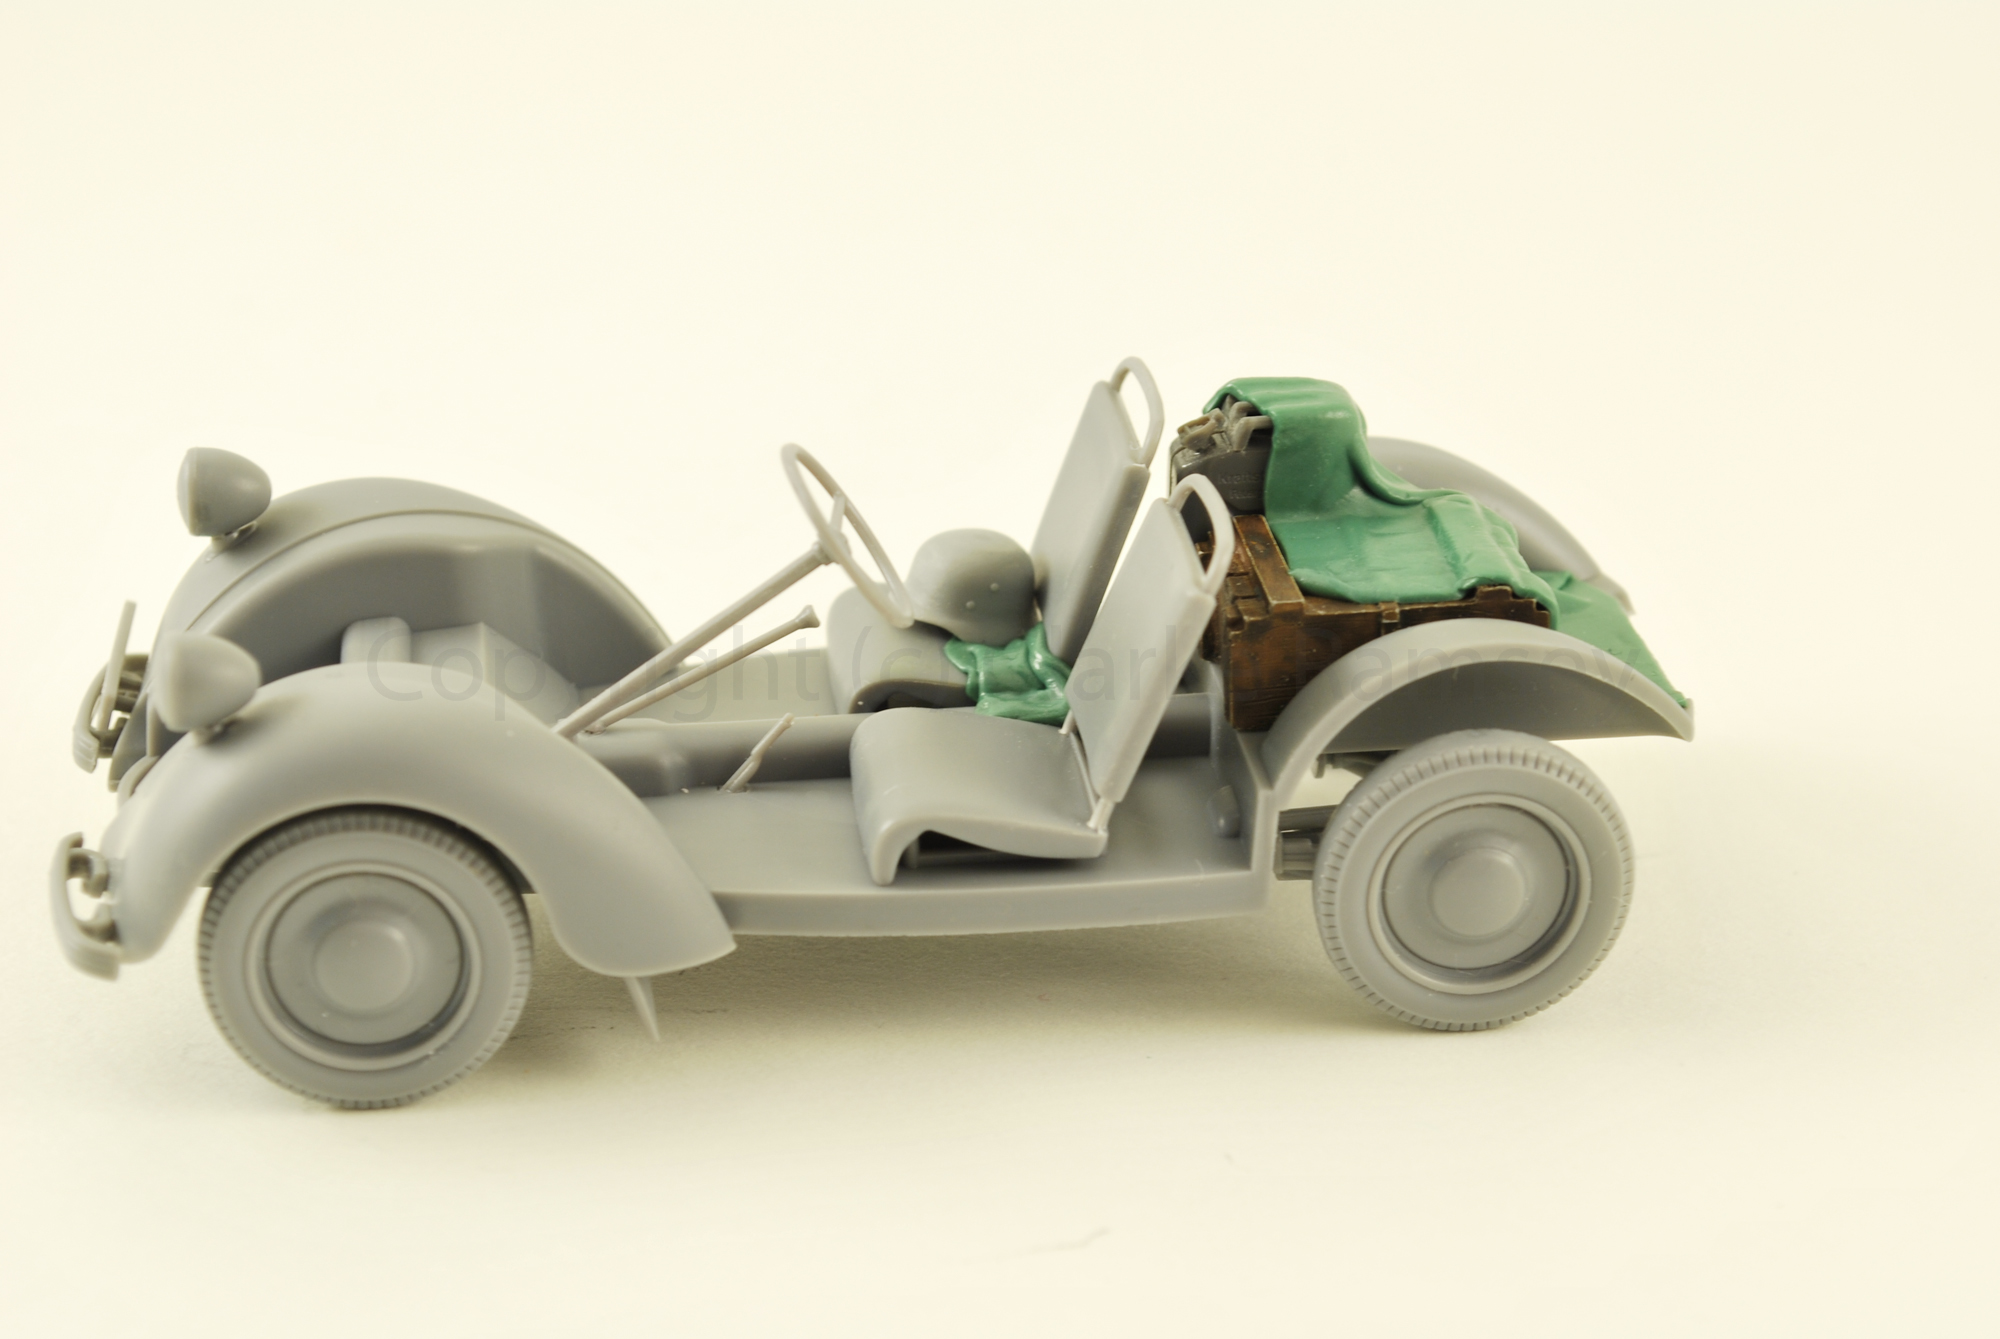
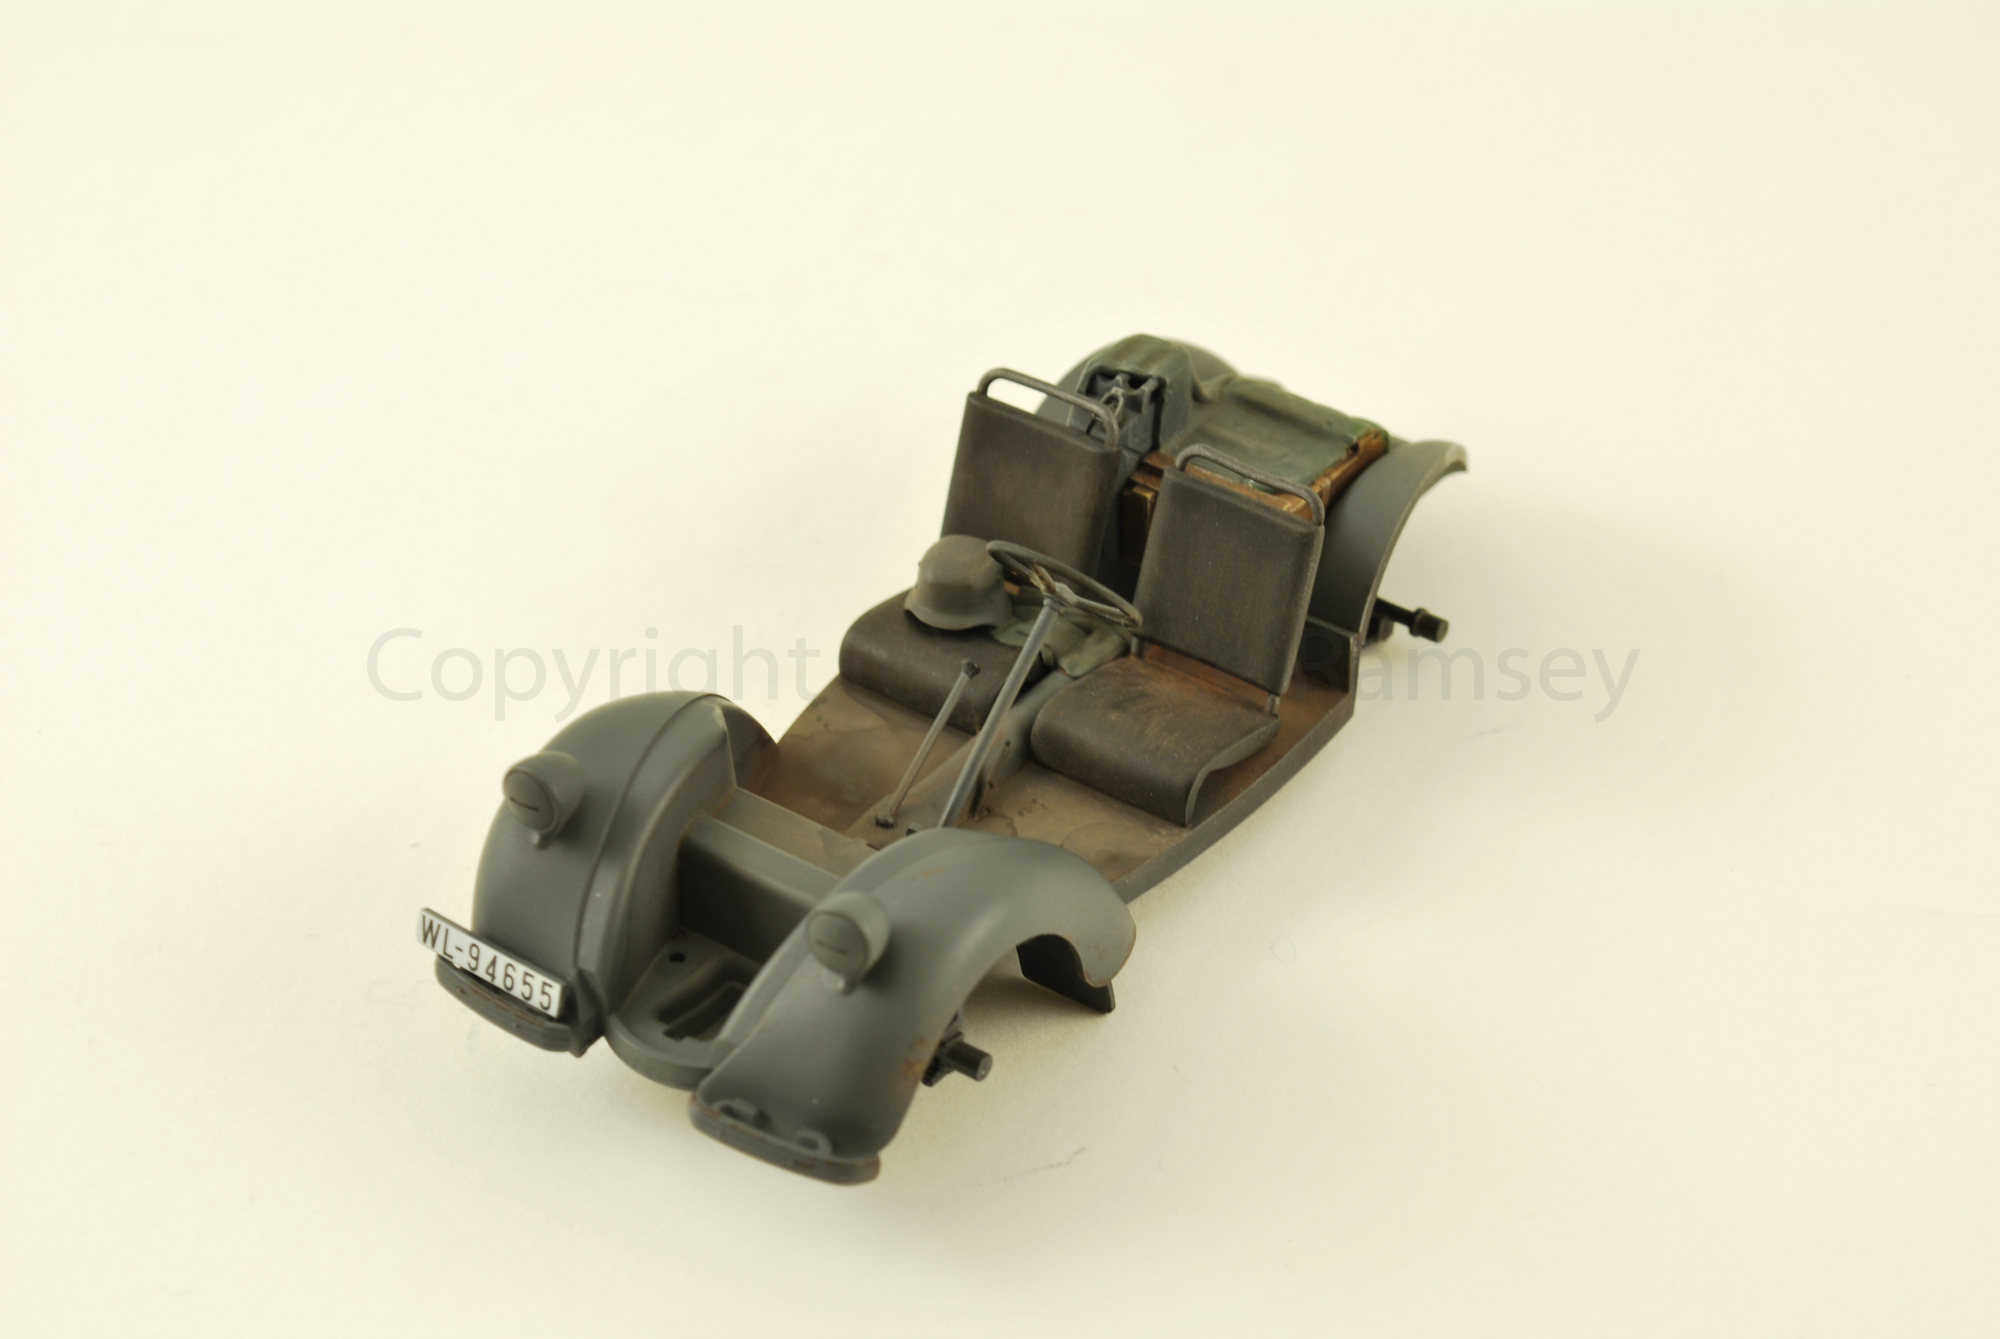
Sicma 5 German Stafff Car
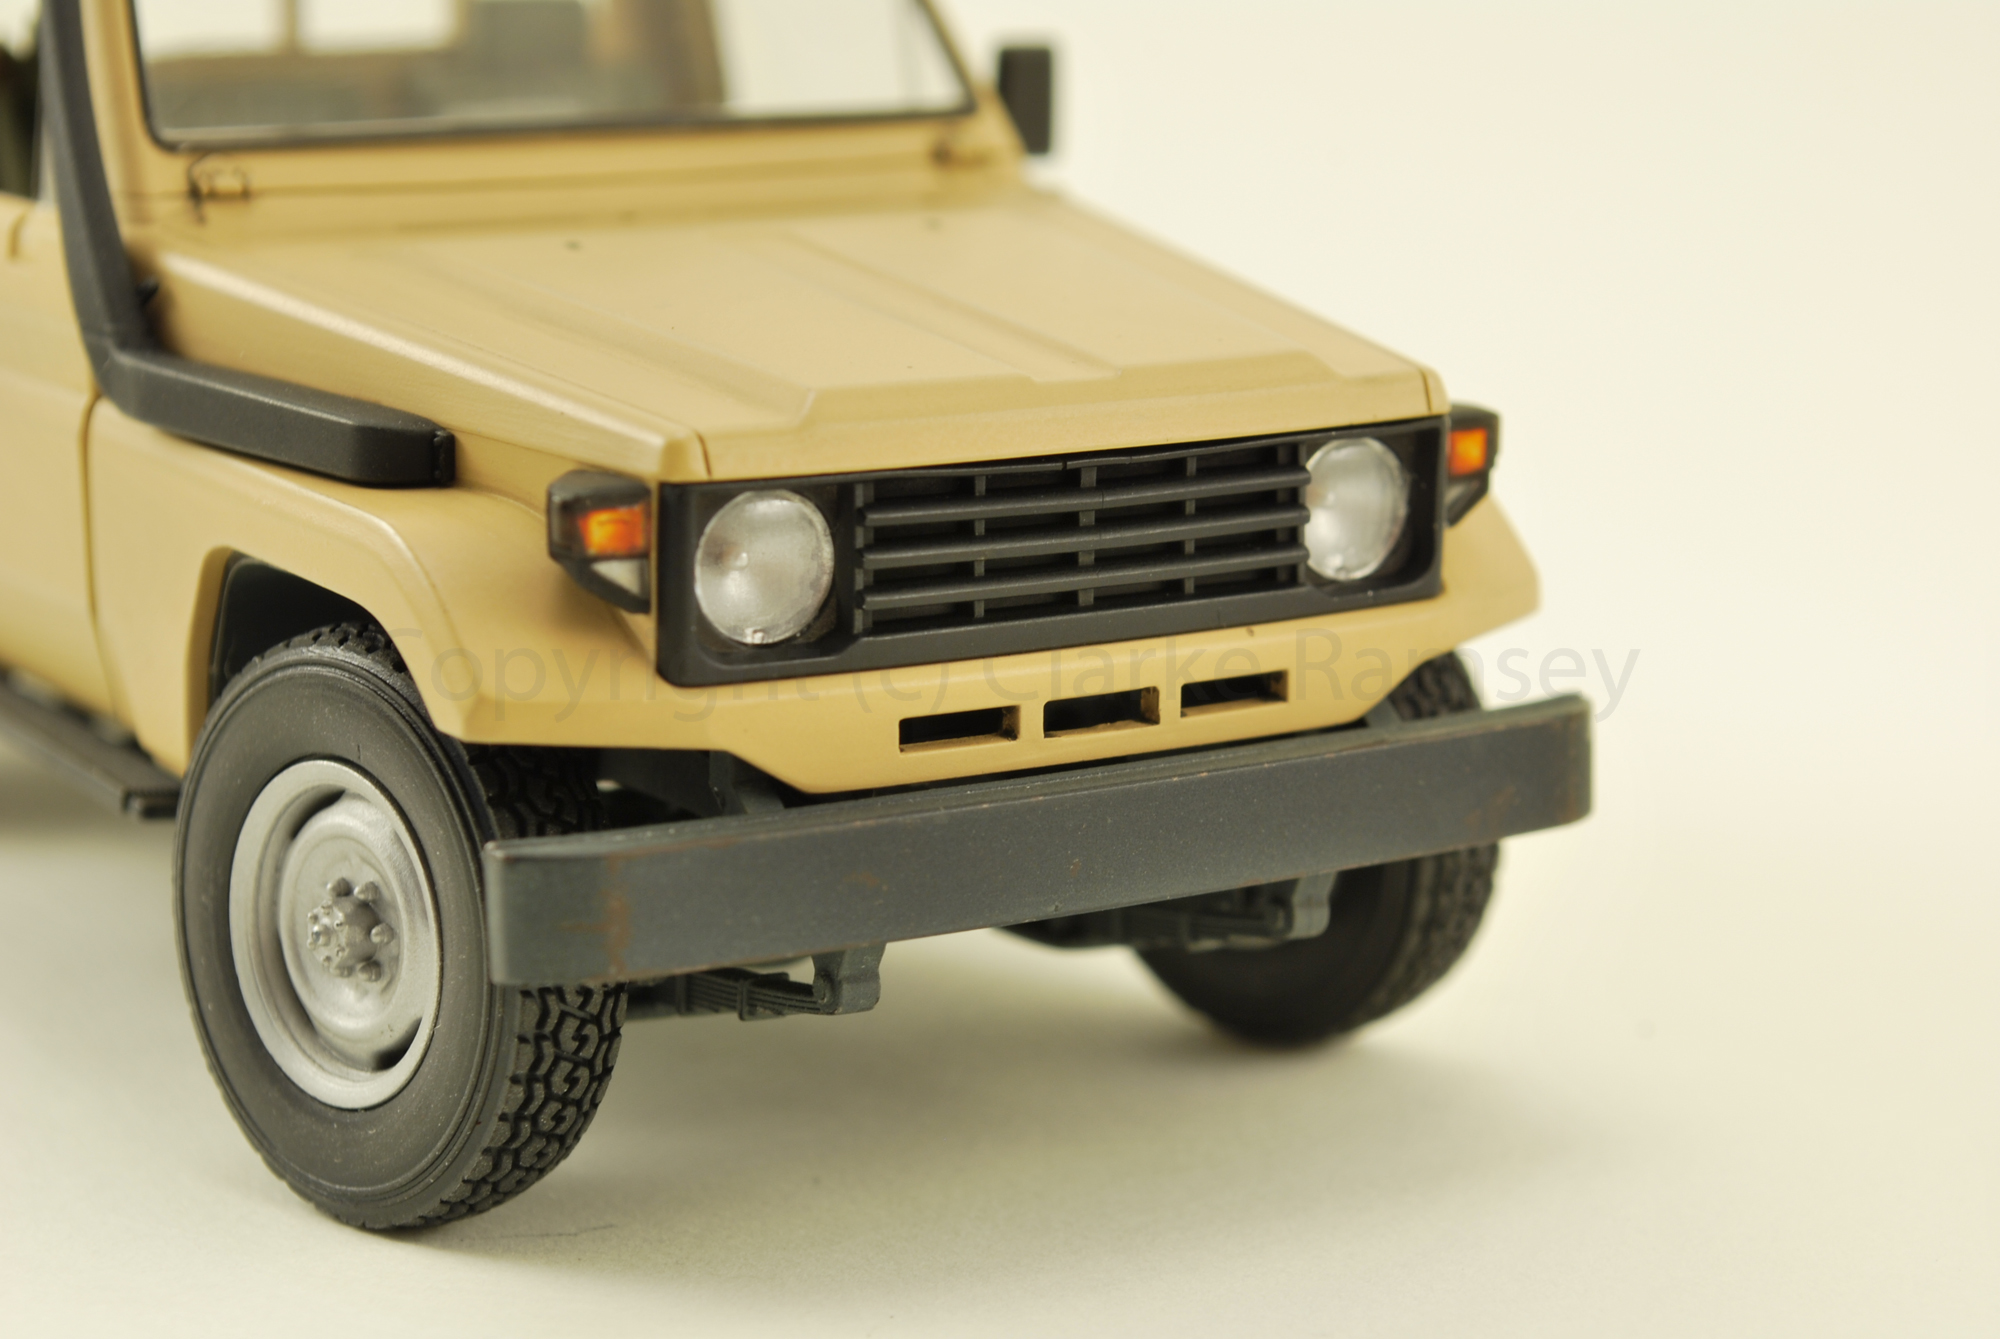
A very nice small kit. Great detail Great molding no worries. I added some stuff to put in the back and some rags/tarps made from 'Green Stuff'. My first time using the two part epoxy putty. It has a good working time and when rolled thin look a bit more realistic for these applications. For the top I decided to use sheet bras folded and shaped to look like a retracted cover. In hindsight I should have used Green Stuff.
Photo-set: https://www.flickr.com/photos/cramsey/sets/72157651919794250
Photo-set: https://www.flickr.com/photos/cramsey/sets/72157651919794250
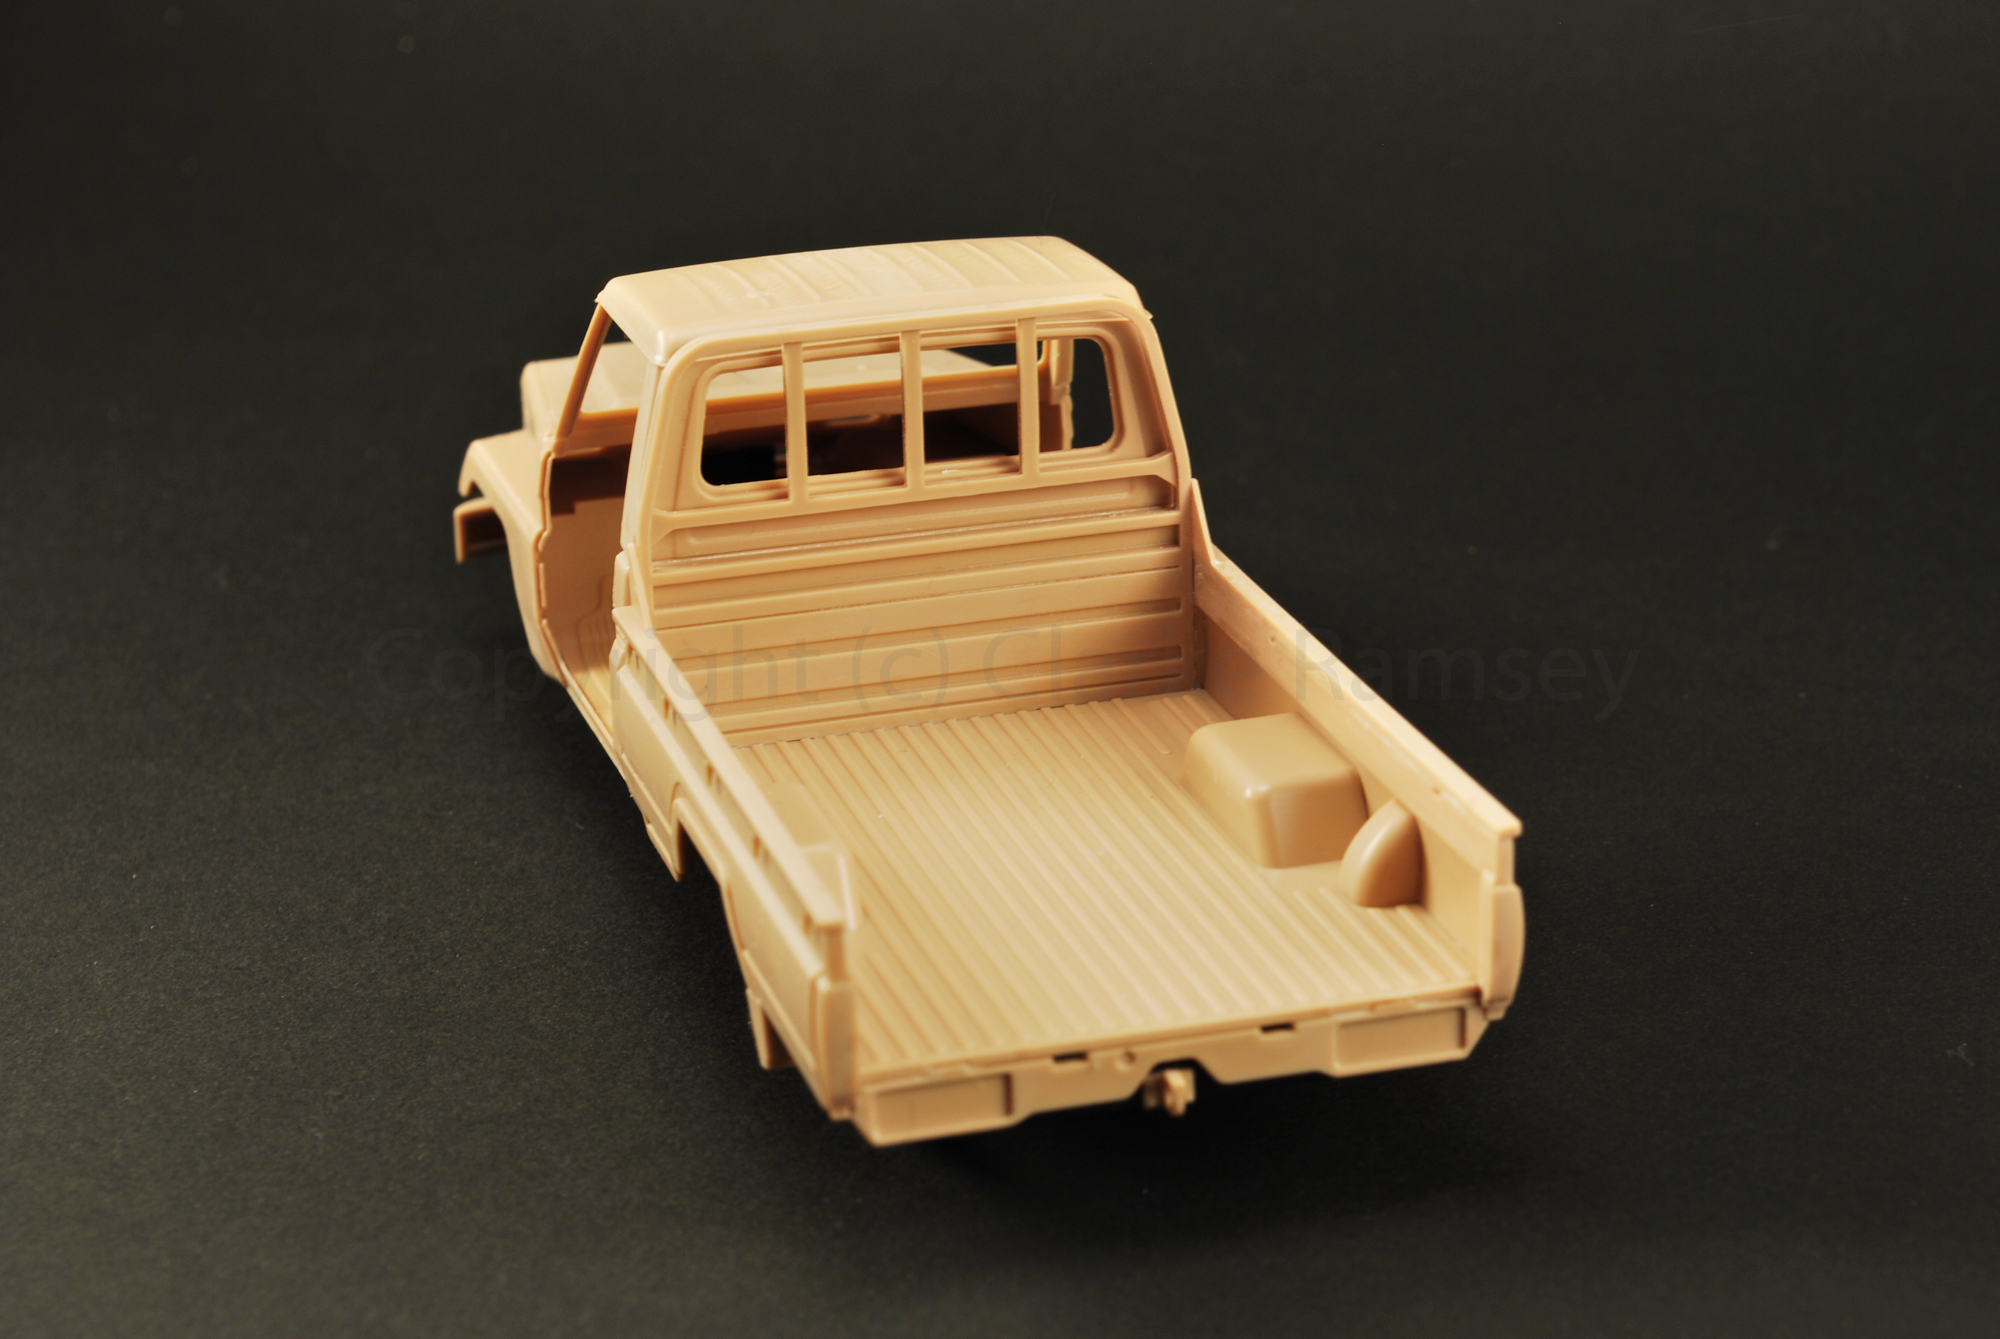
Meng Pick-up Truck #2
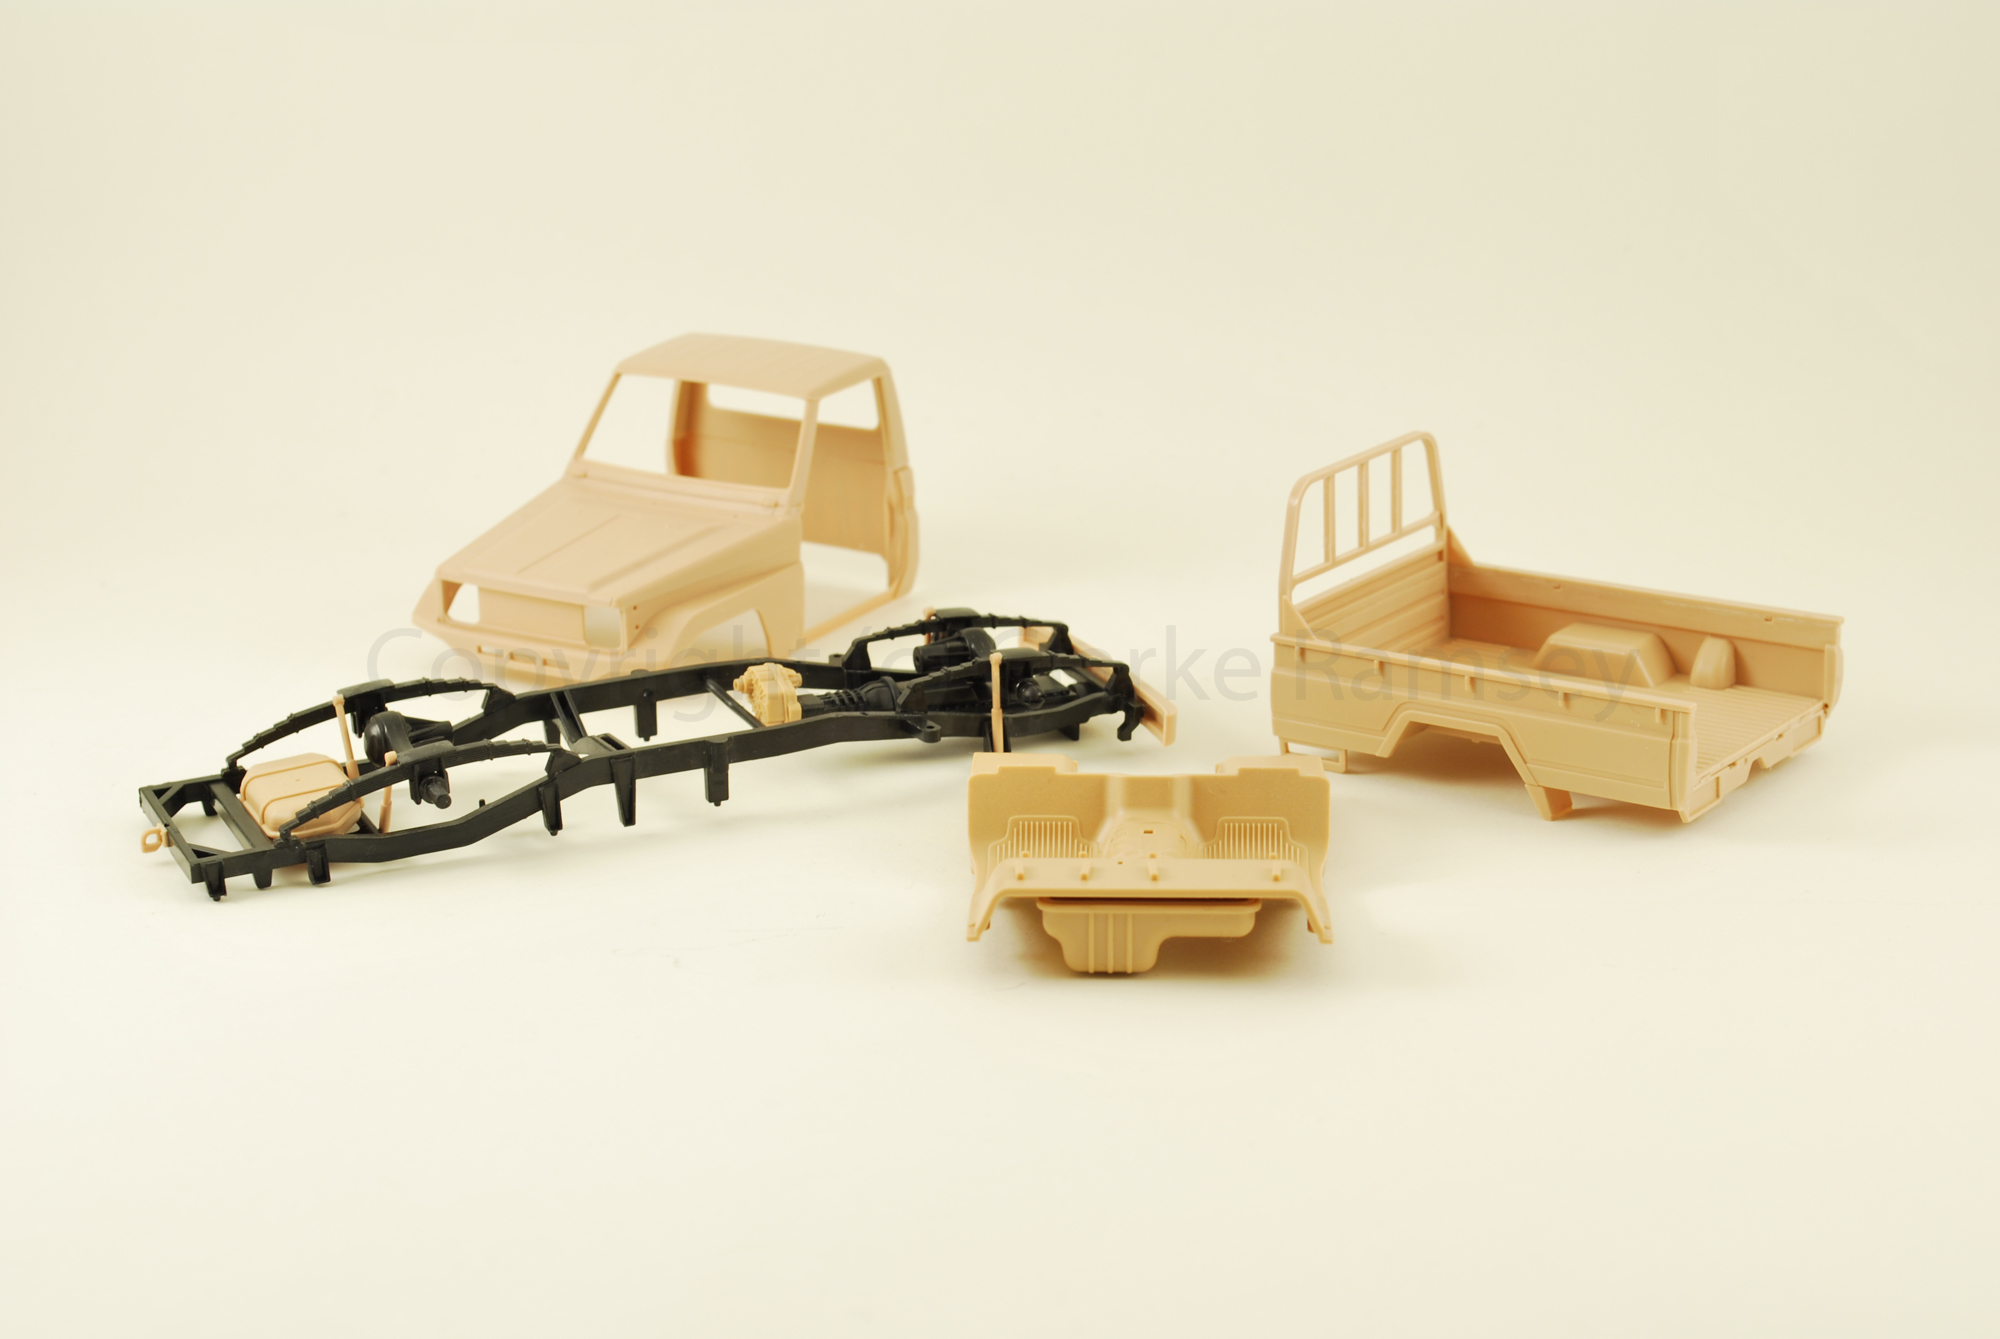
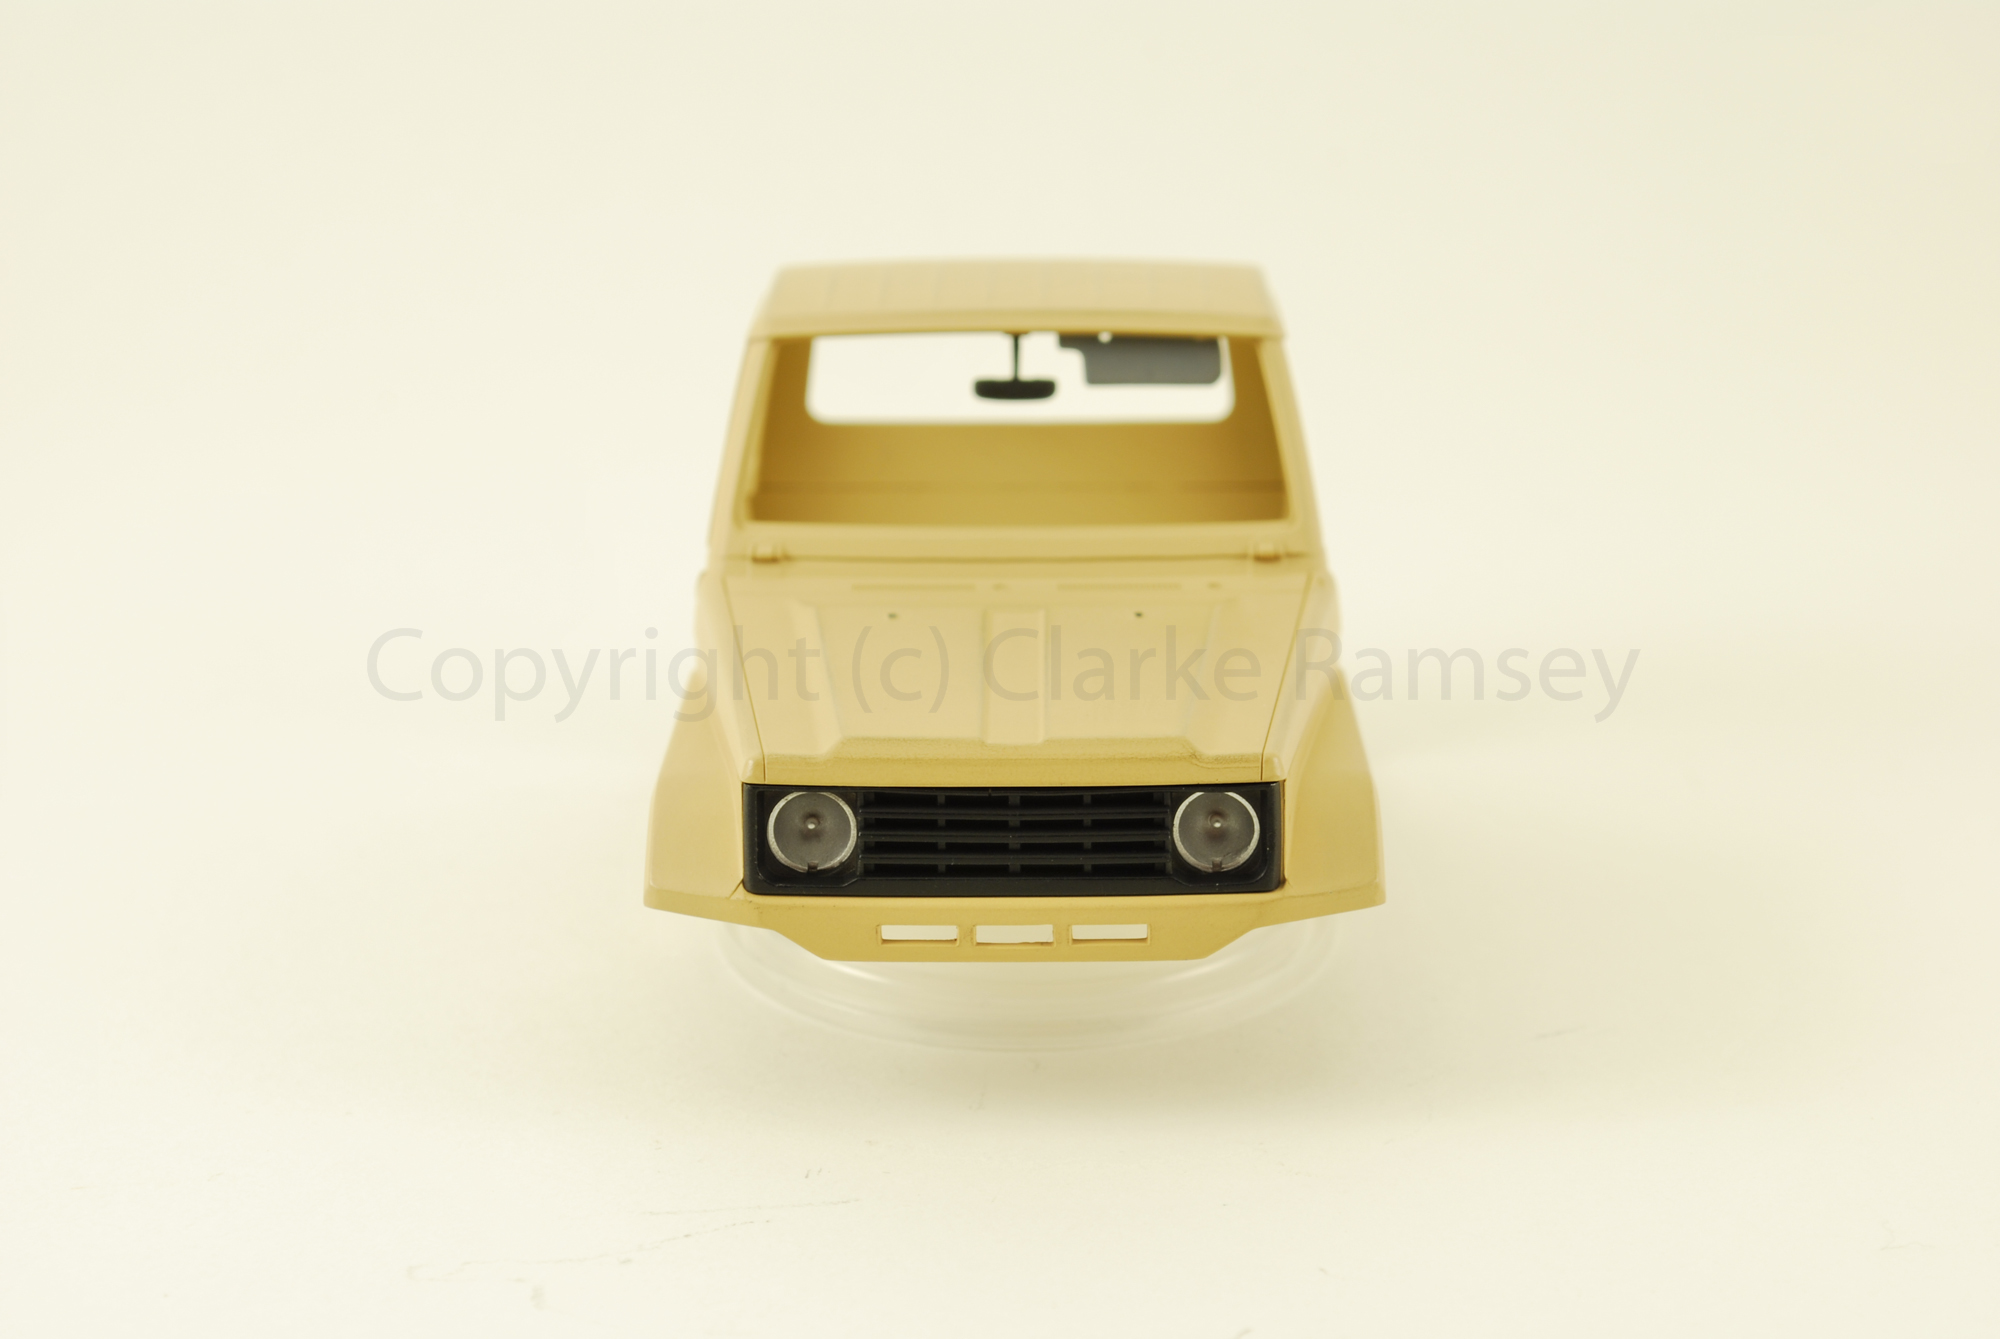
I started working on a 1/35th truck from Meng Models. Specifically their Pick-up Truck w/ ZPU-2 AA gun. As always great quality with Meng, the only fit issue I could find is the glass for the doors is a tad bit too big. Solved with a bit of sanding down. I then decided to leave one window rolled down and one rolled fully up. I might change the other soon, when fitting the drivers glass I broke the top of the door frame. I like how Meng decided to have the cab in two pieces. You can choose to have the truck depicted with the roof/doors off for a crude insurgent truck.
The cab of the truck has sun visors and a rear view mirror. Also positionable. Decals for the instruments and levers are all present. They even molded some pretty nice floor maps. I added some details like the RPG-7, bags and binoculars for added interest. Painted with Vallejo acrylics and pigments for the dirty look on the floorboard.
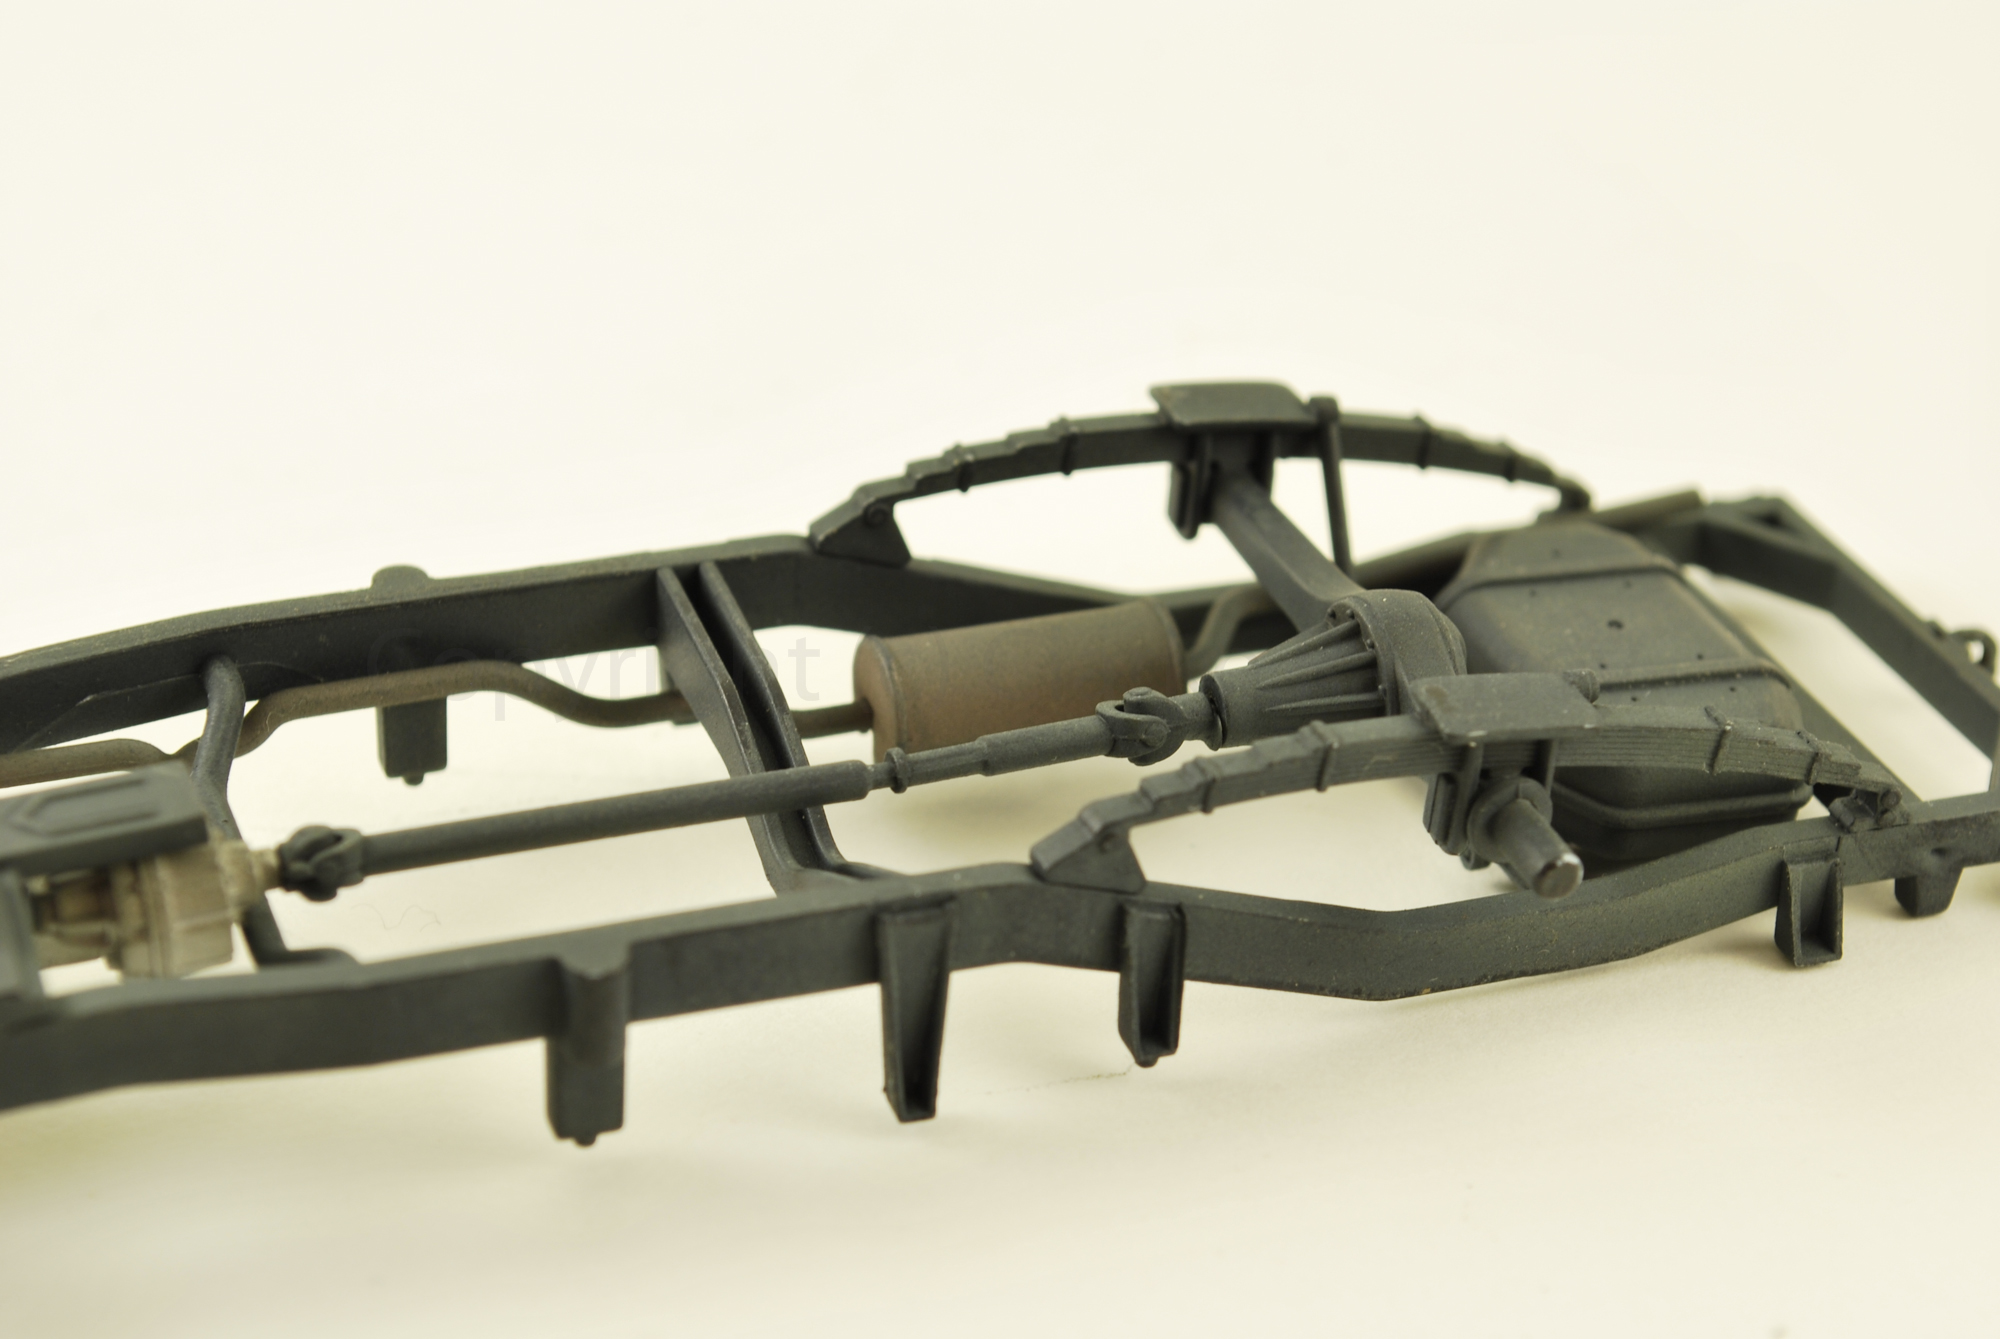
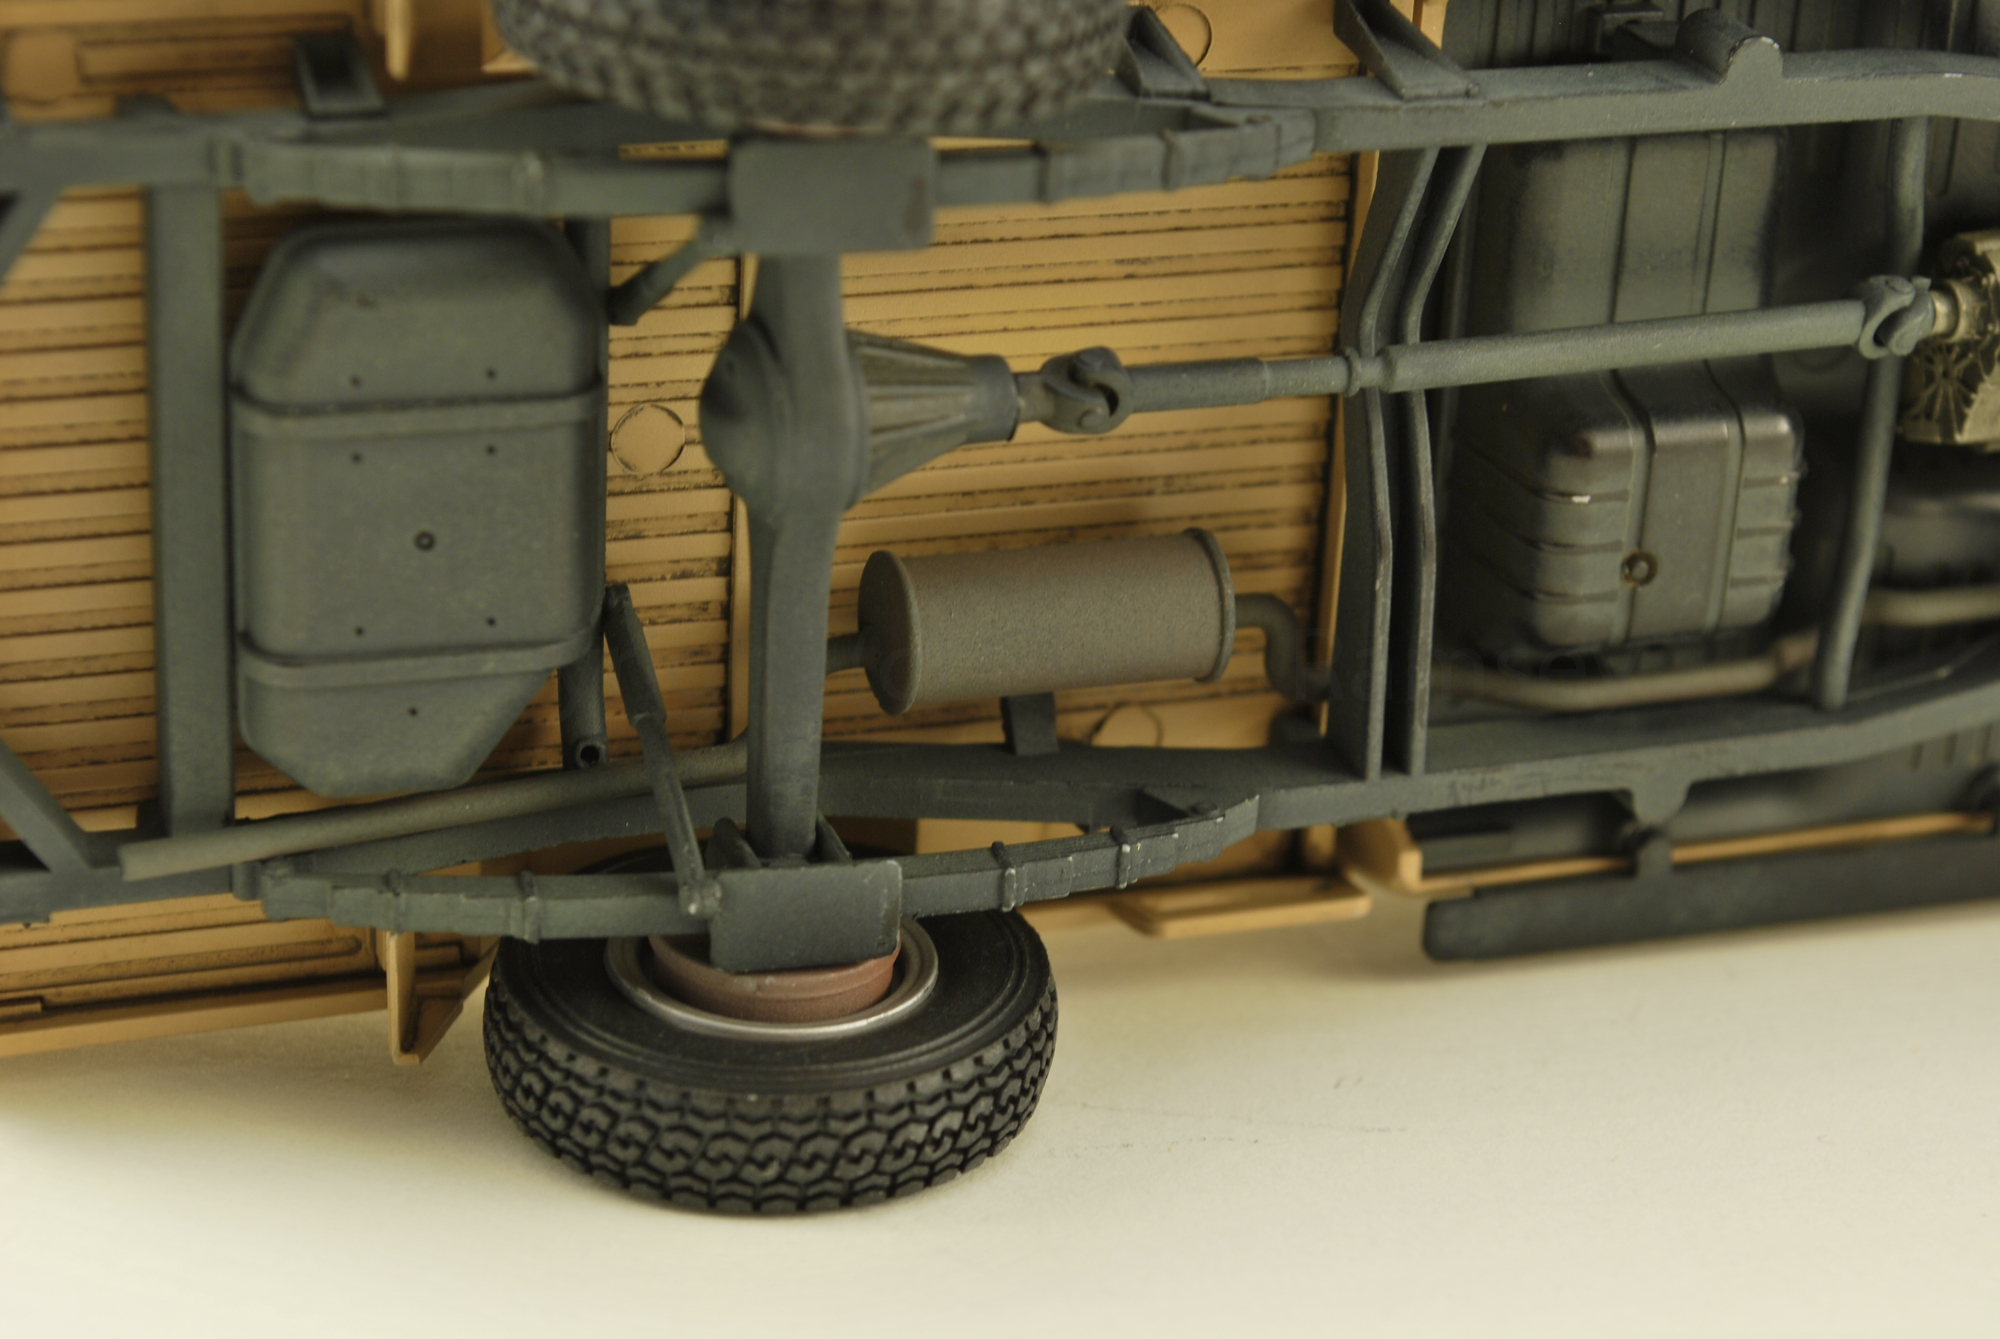
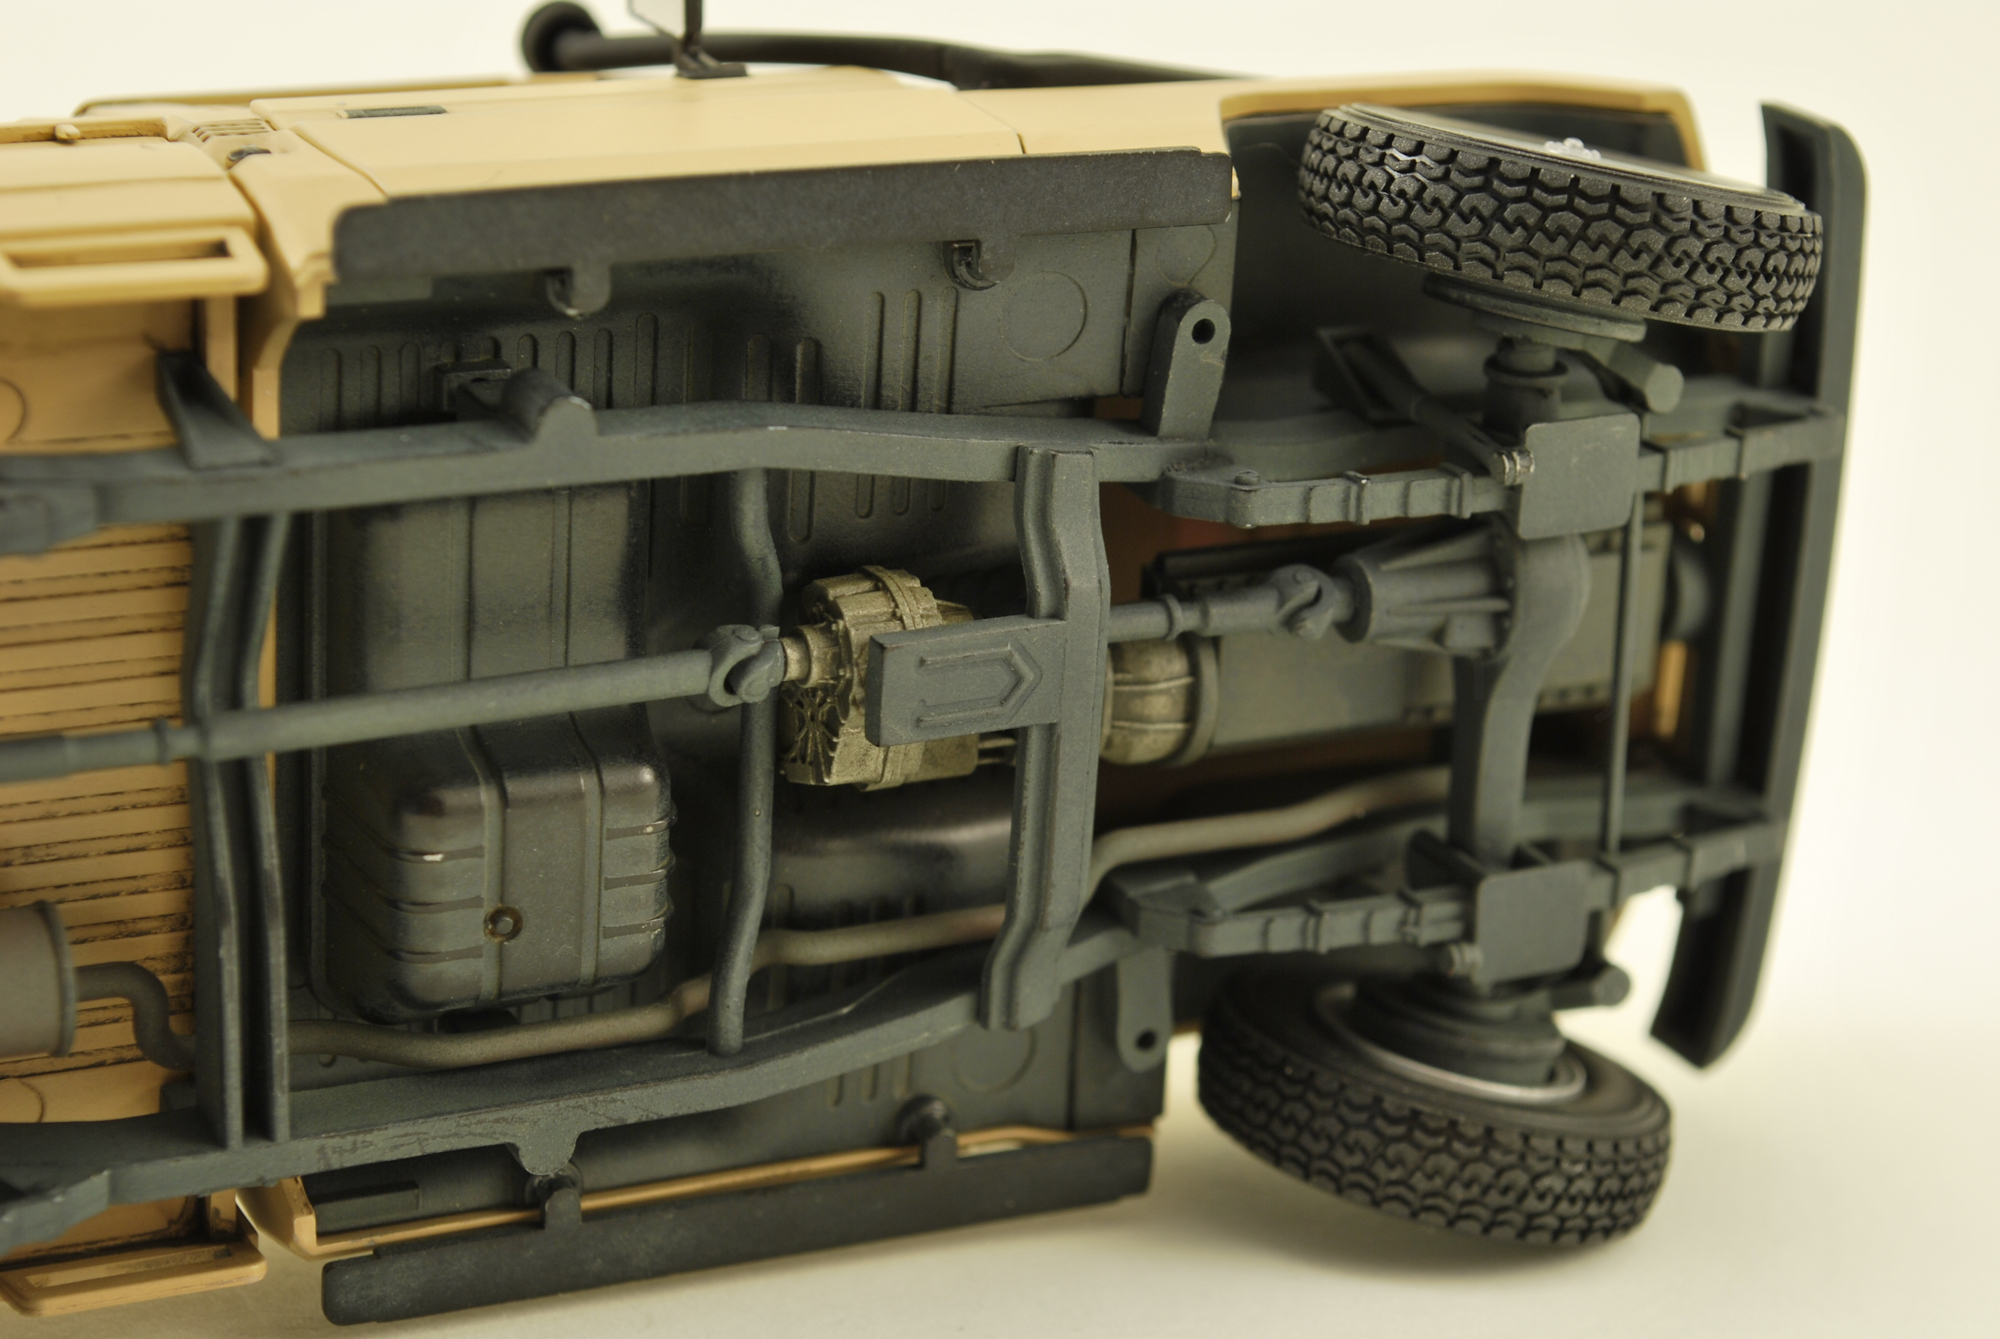
The tail gate can be position opened or closed as well as the side of the bed has molded tie downs for a load. The chassis consists of a front suspension that has full range of movement with engine detail modeled within. Painted with Tamiya's Semigloss Black and weathered with AK washes for a dist look, the chassis fits together nicely. One drawback is that Meng supplies a spare wheel to use as well, with no way to mount it in the bed of the truck. It would of been nice too see some type of PE bracket supplied.
Now I just have to find a scene to put this truck in and build the gun plus mount.
Link to photo set: https://www.flickr.com/photos/cramsey/sets/72157649998606844/
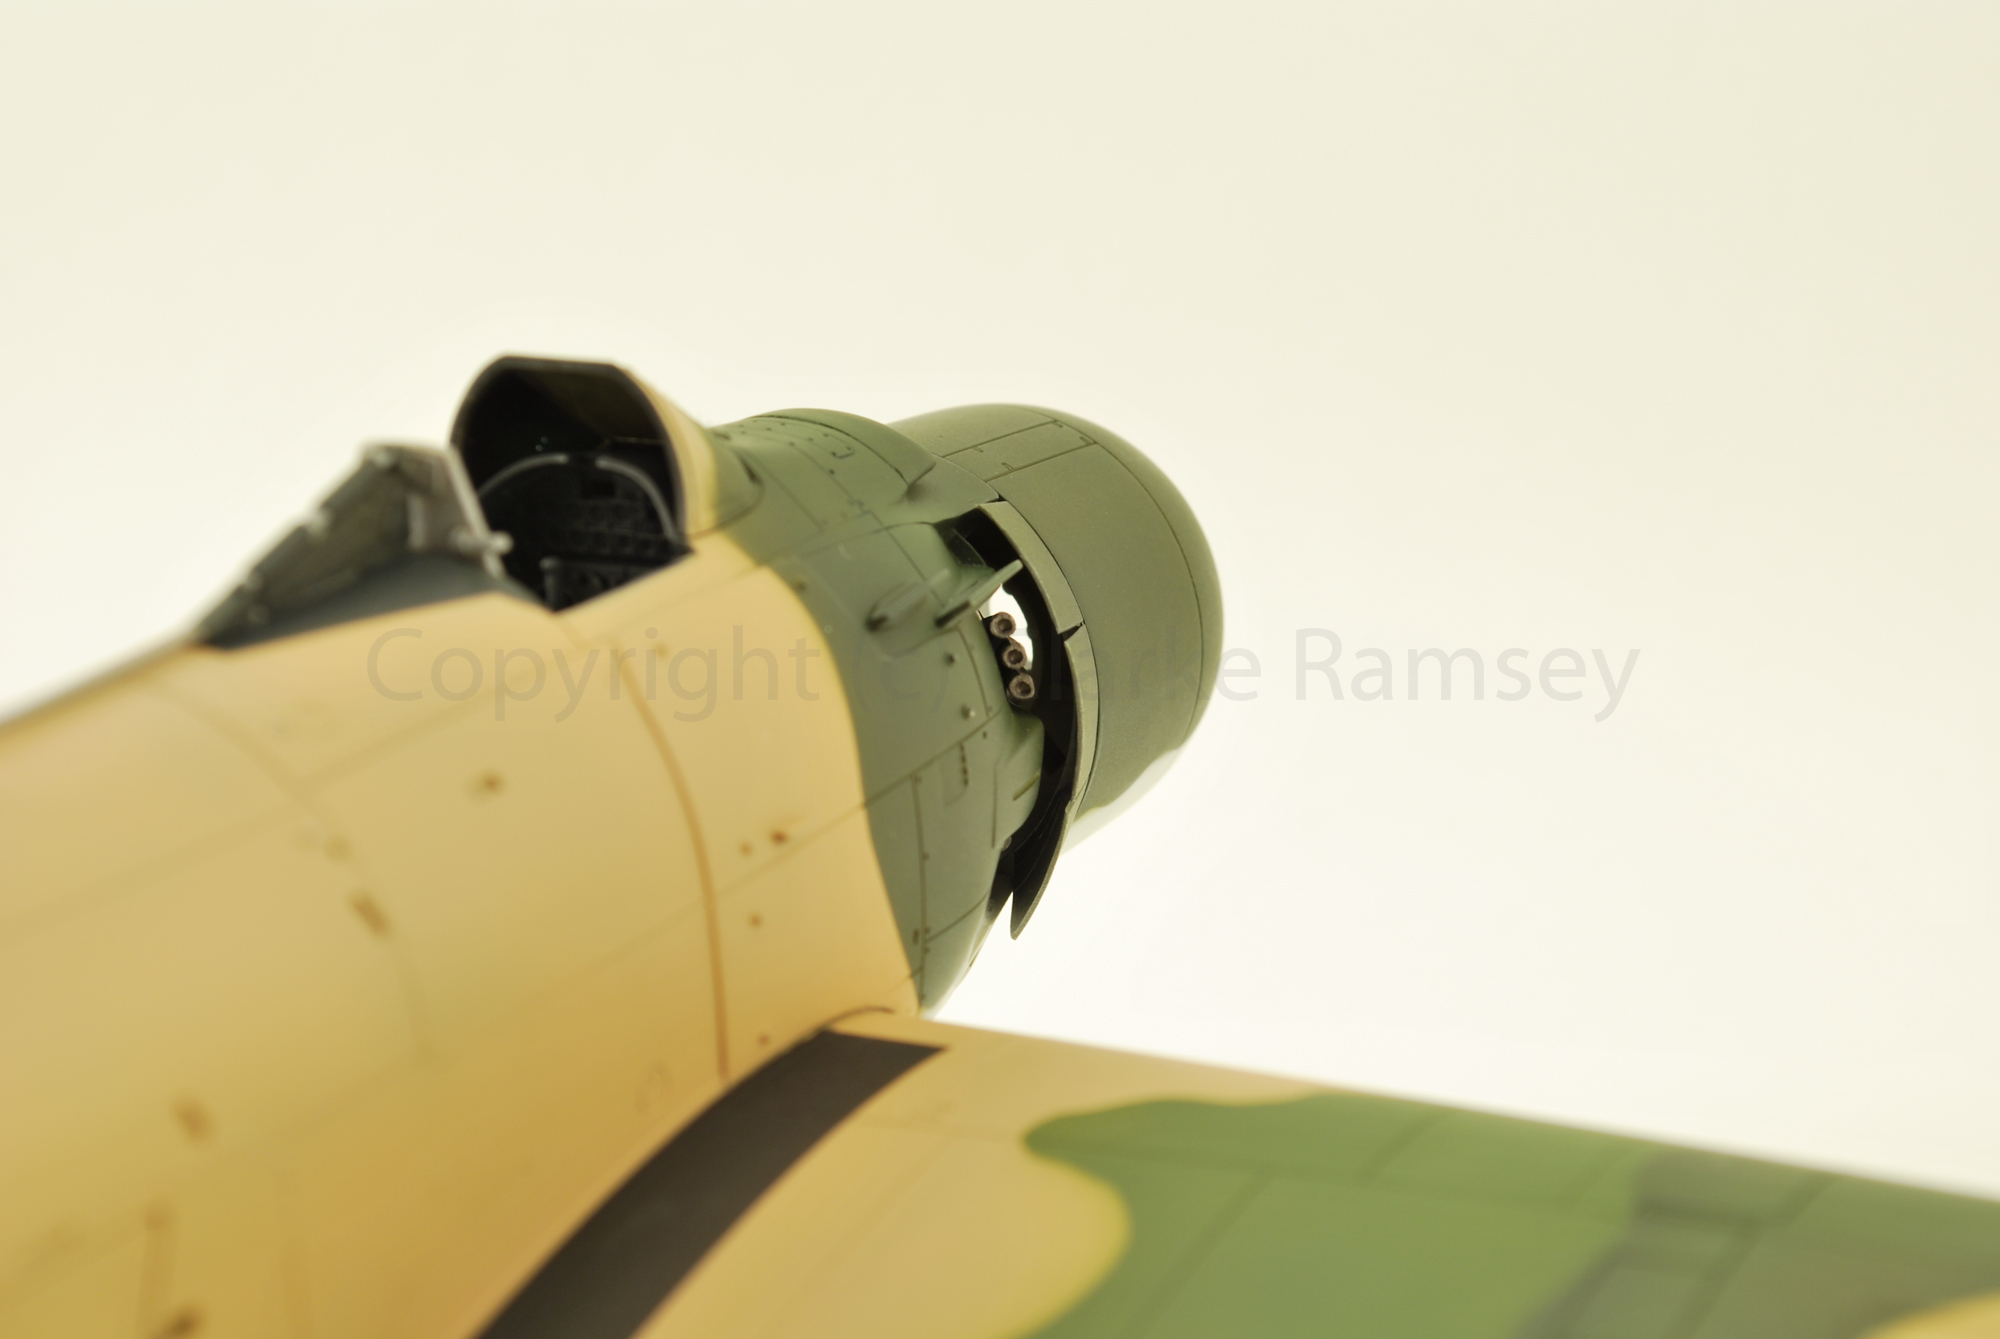
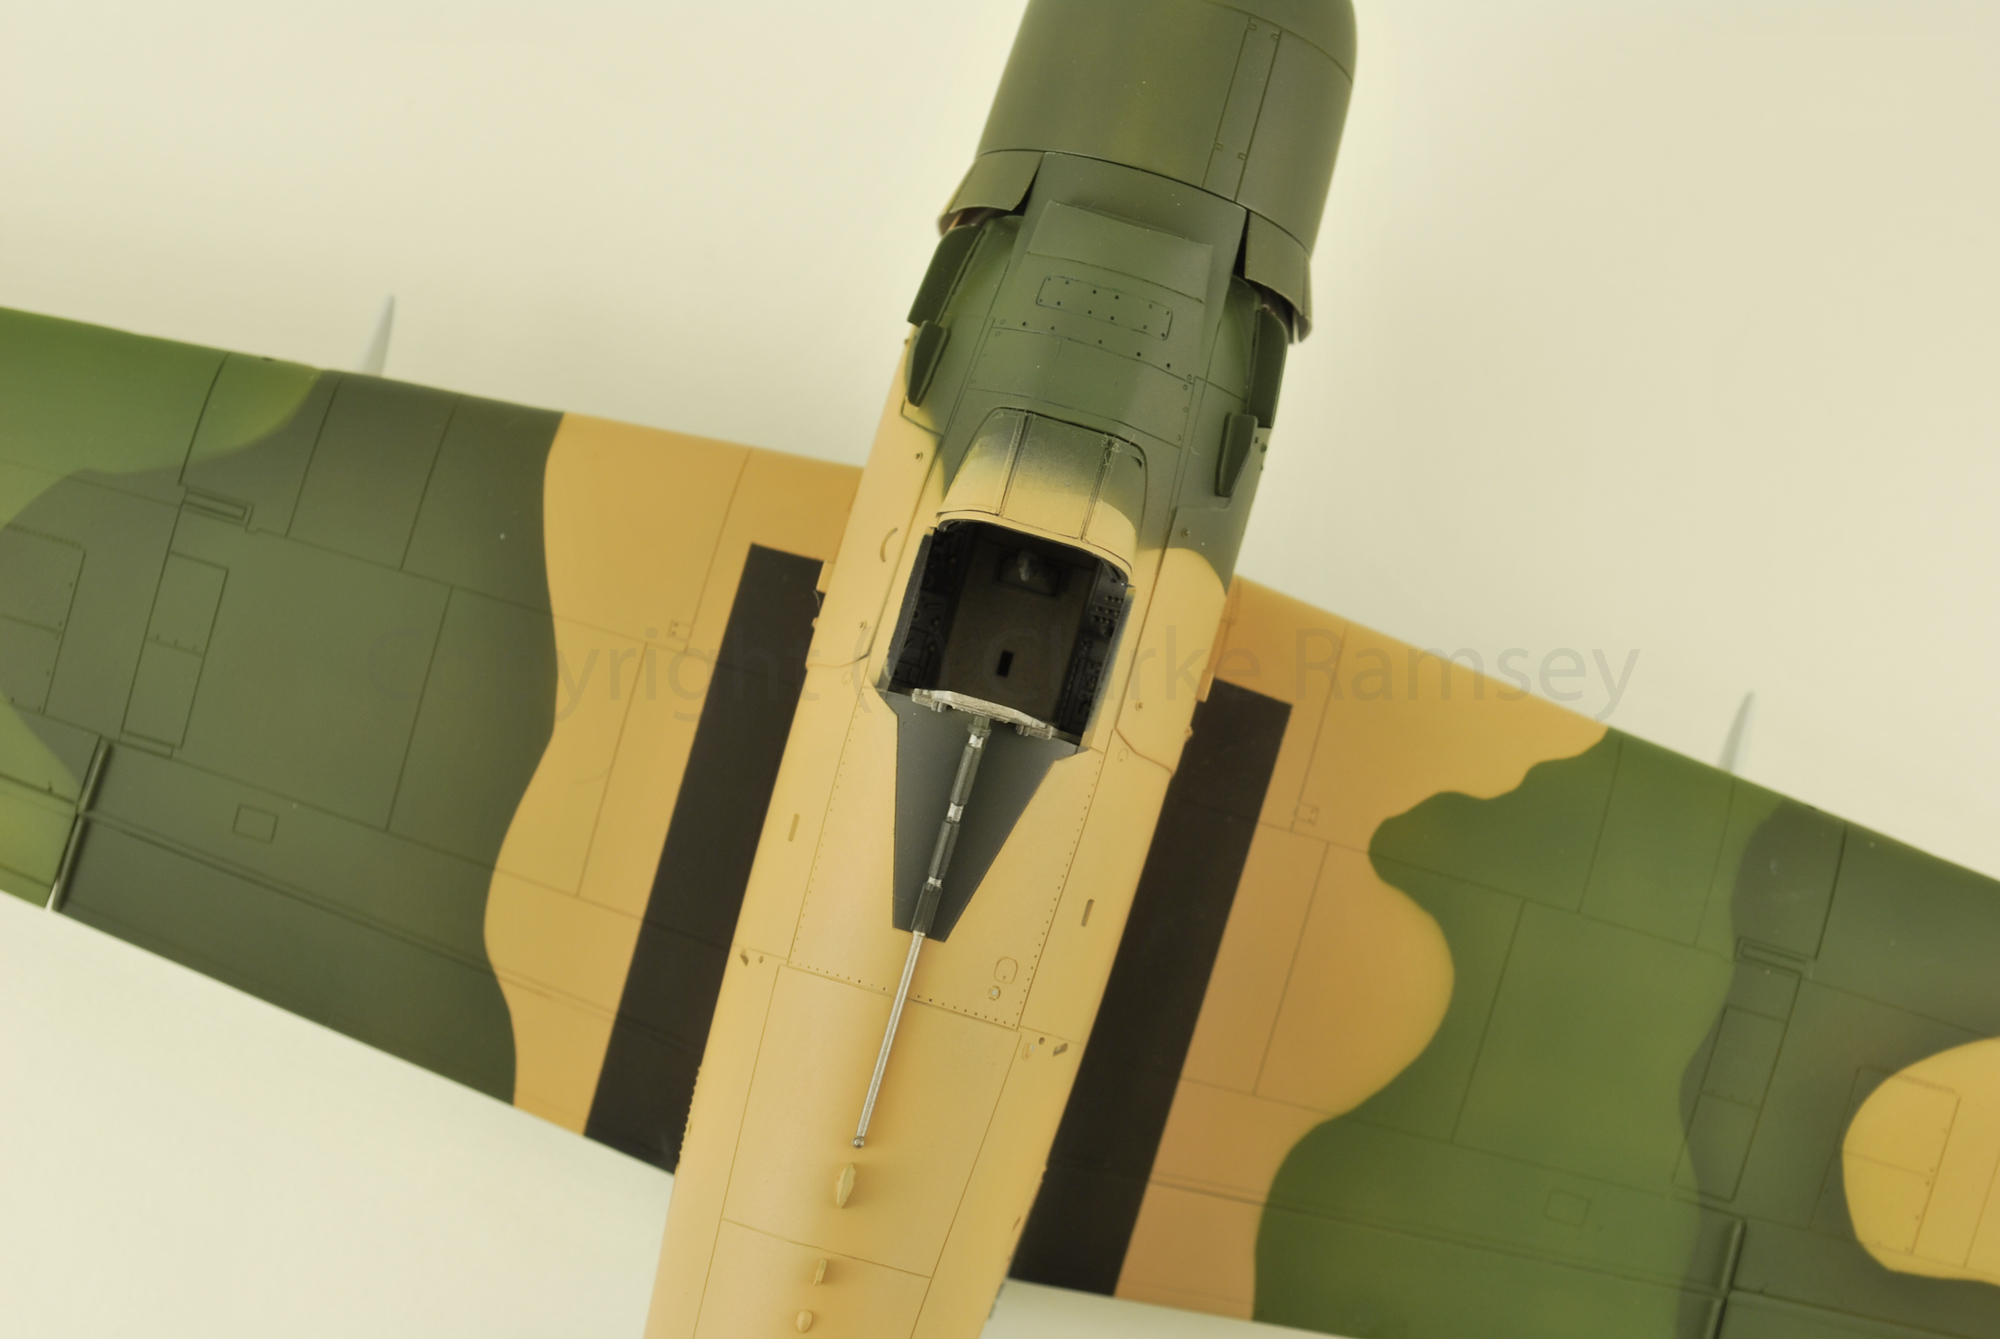
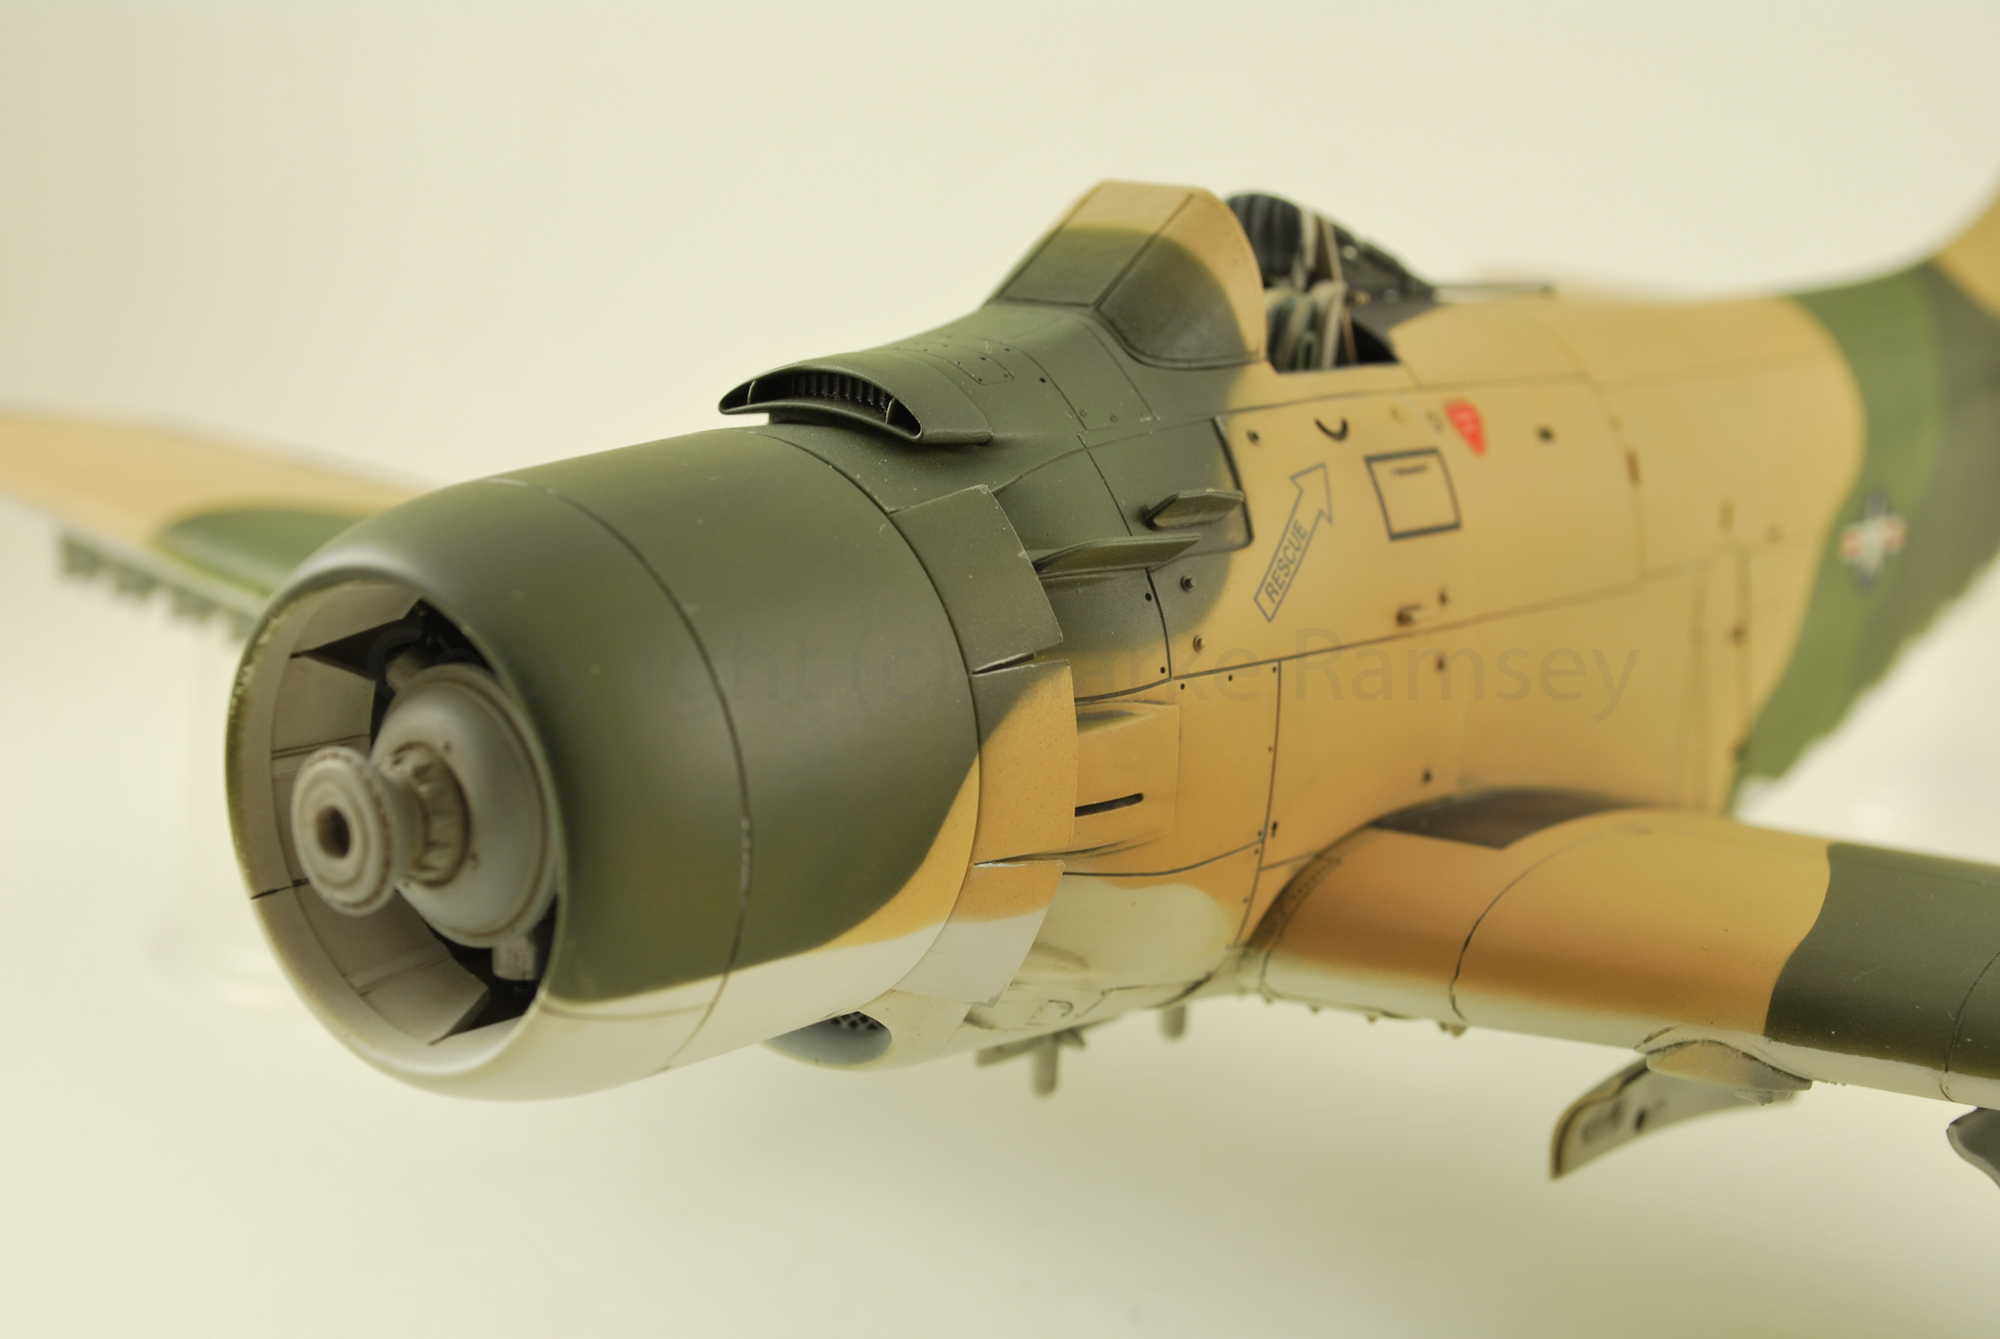
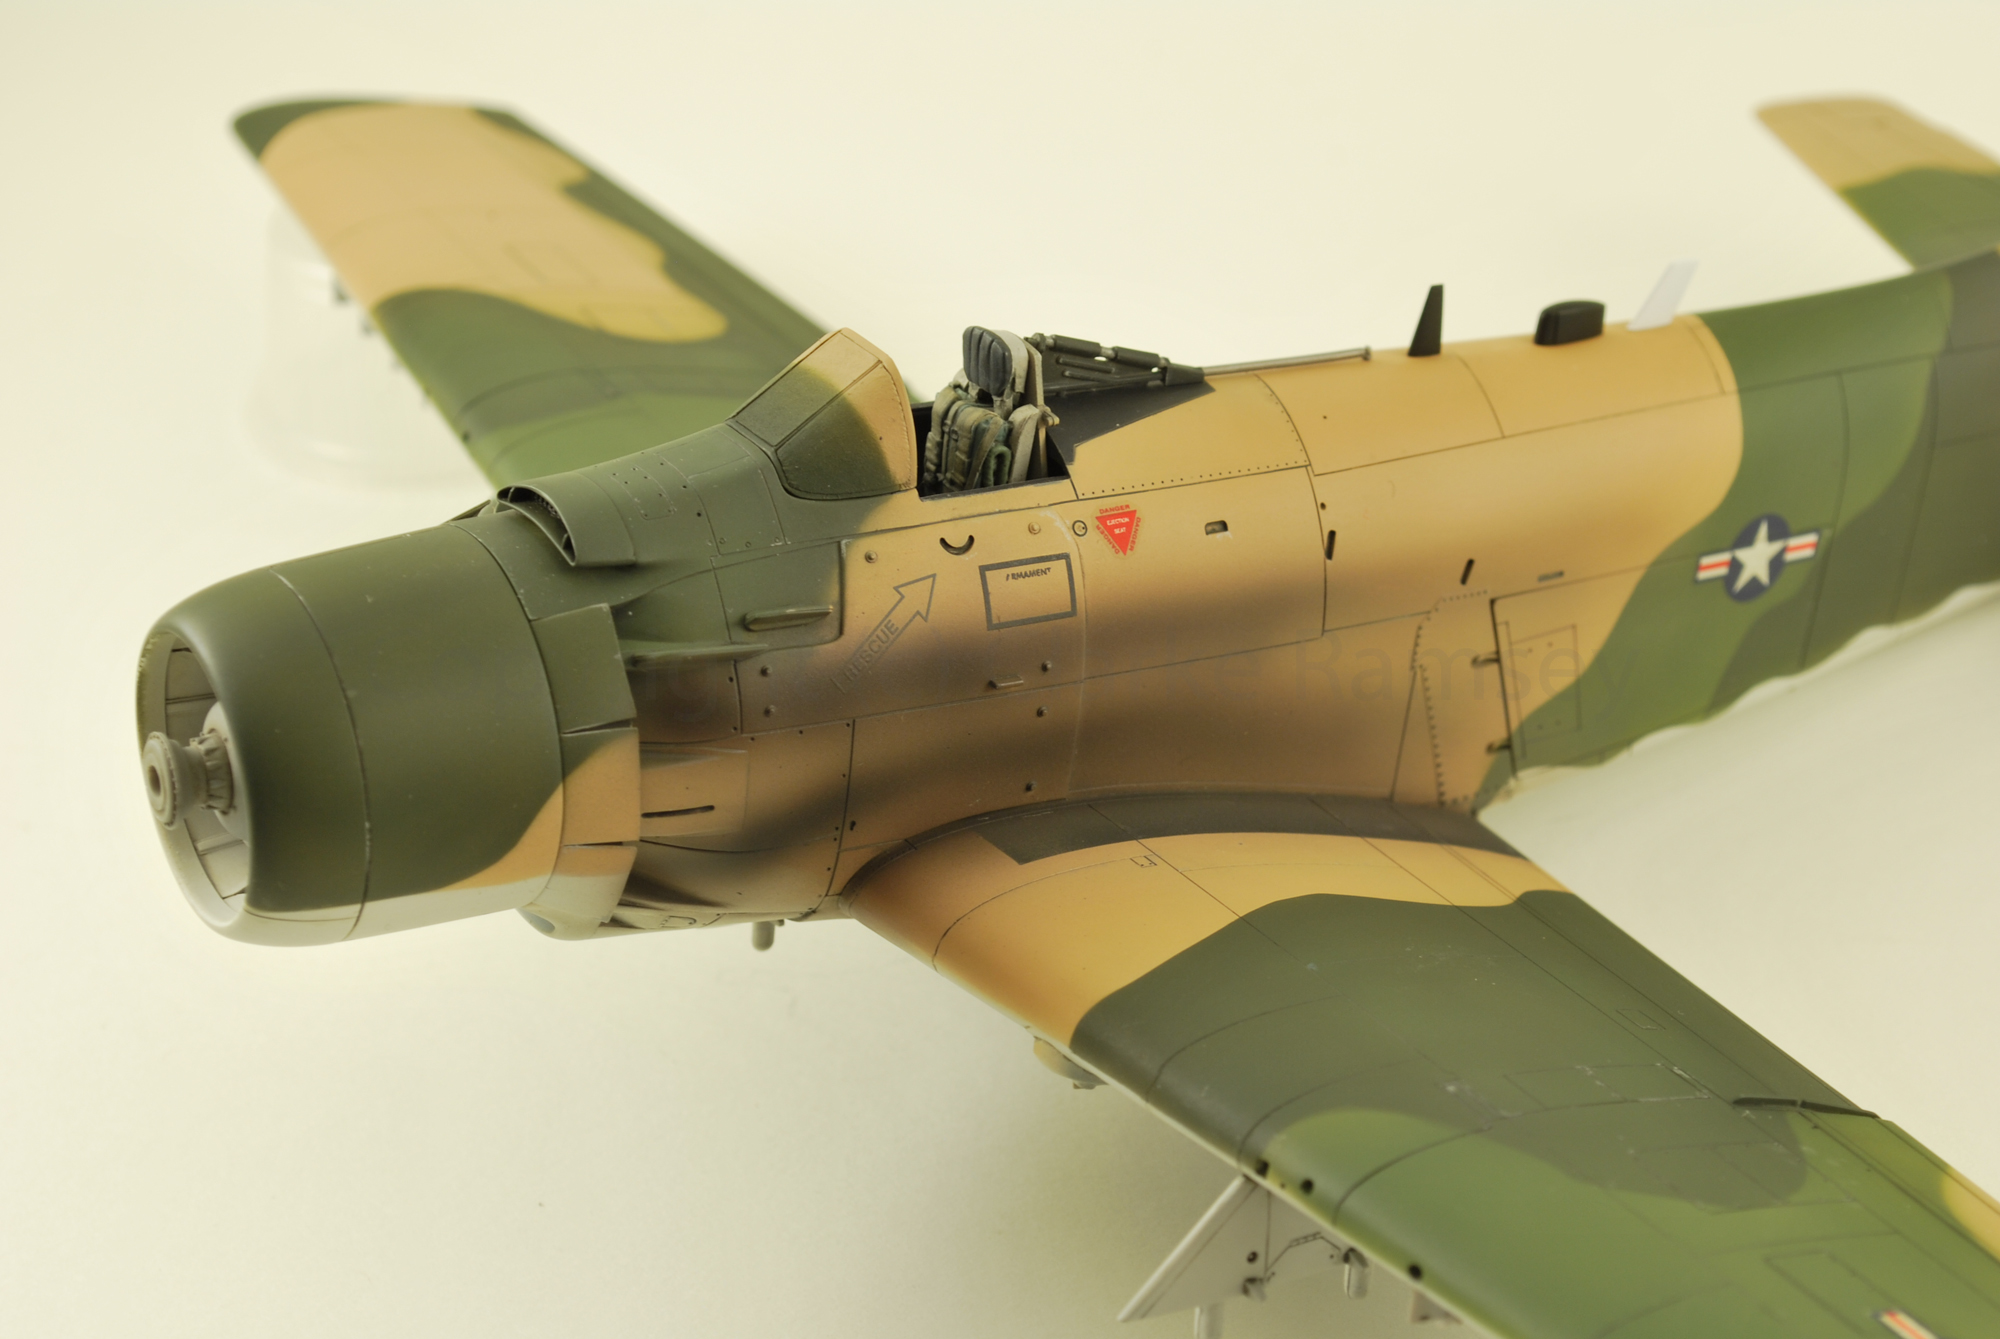
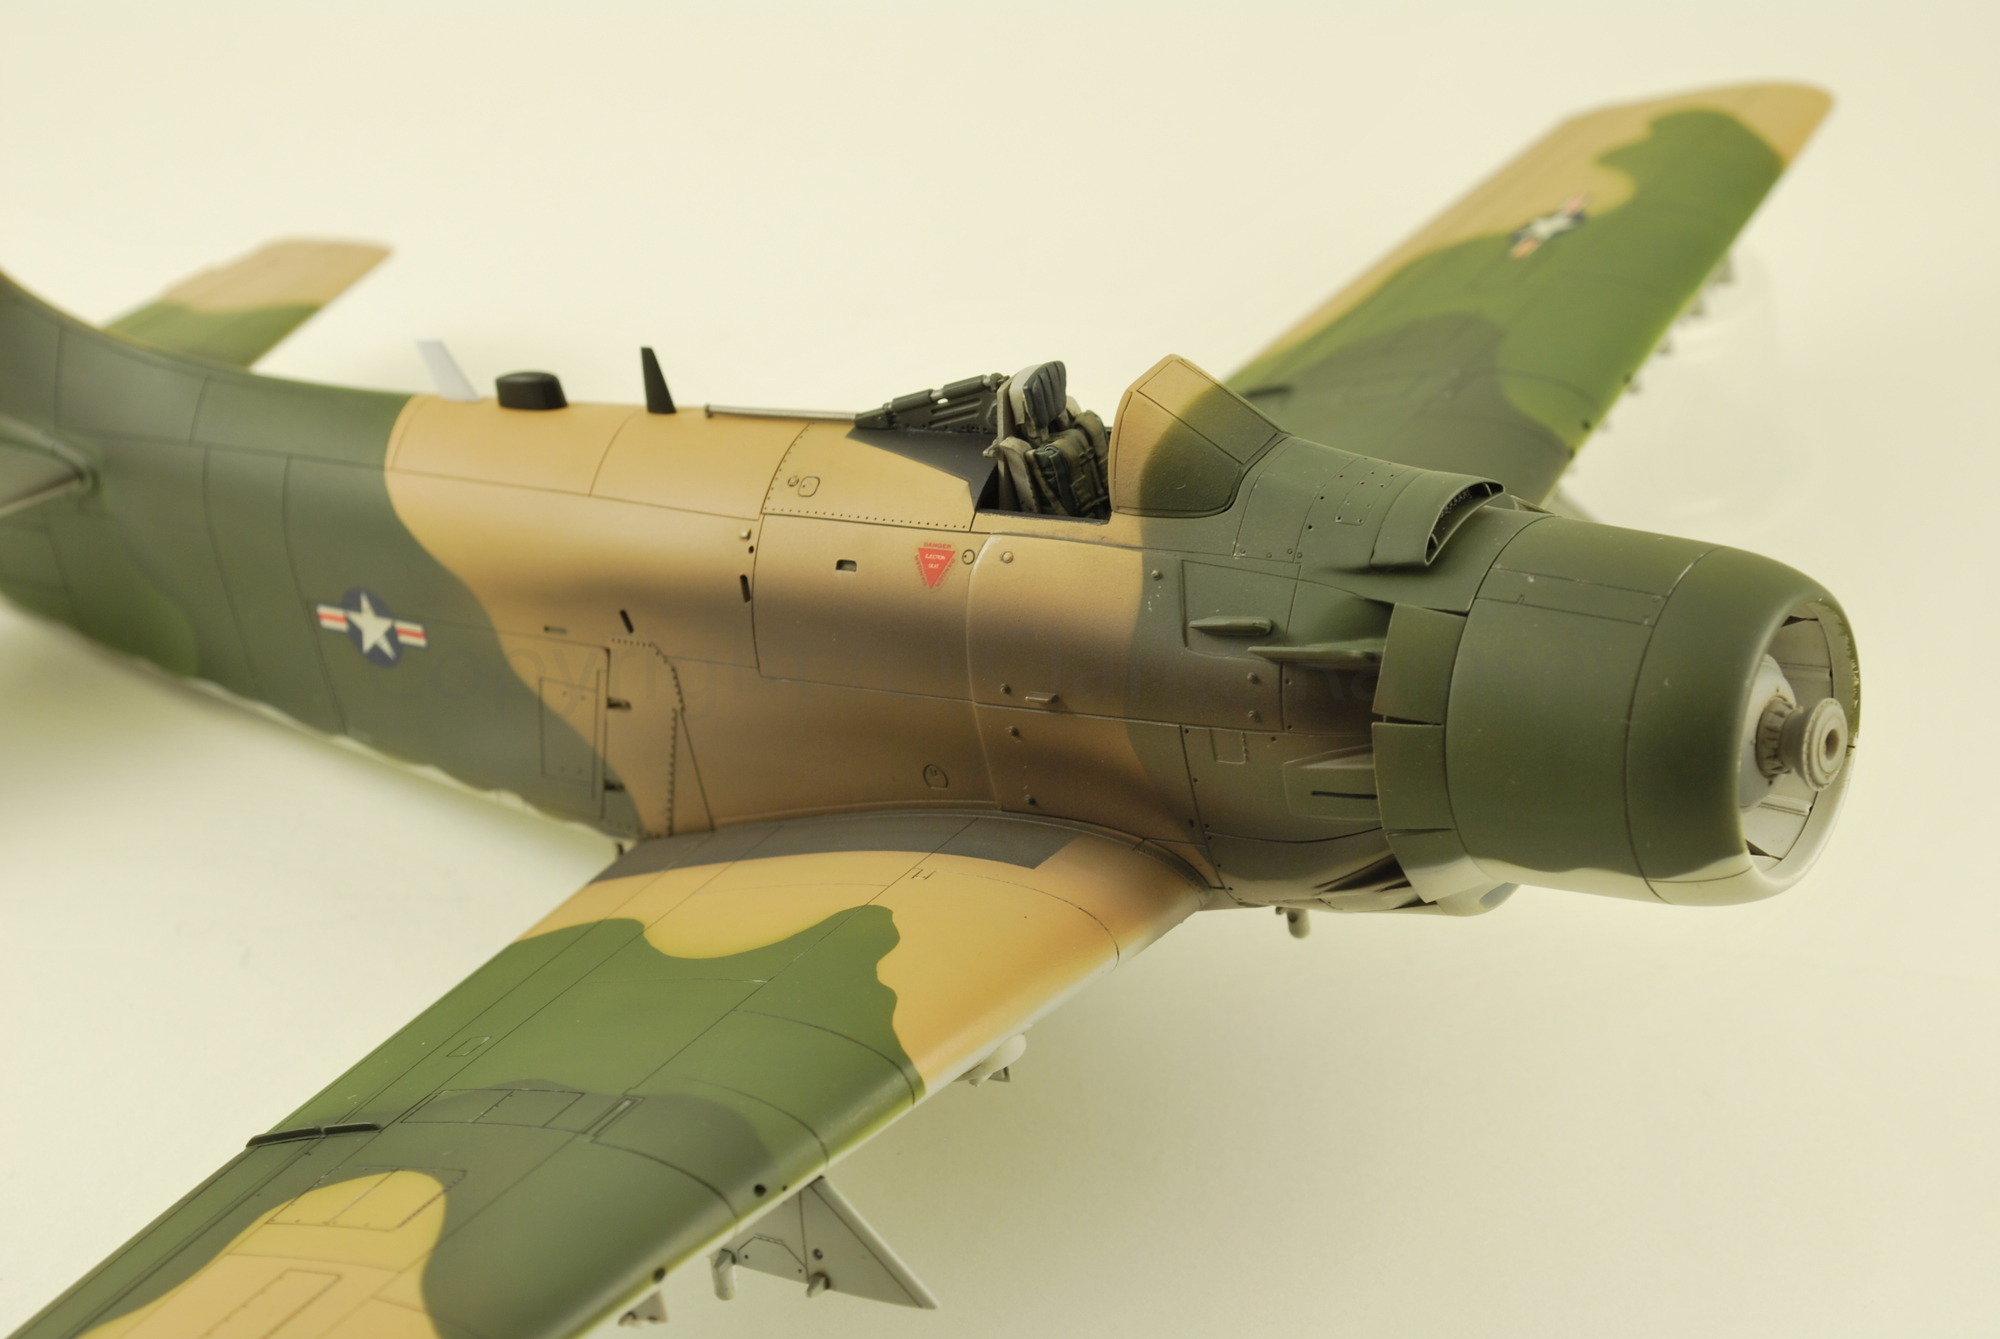
"Sandy" Tamiya A-1J Skyraider
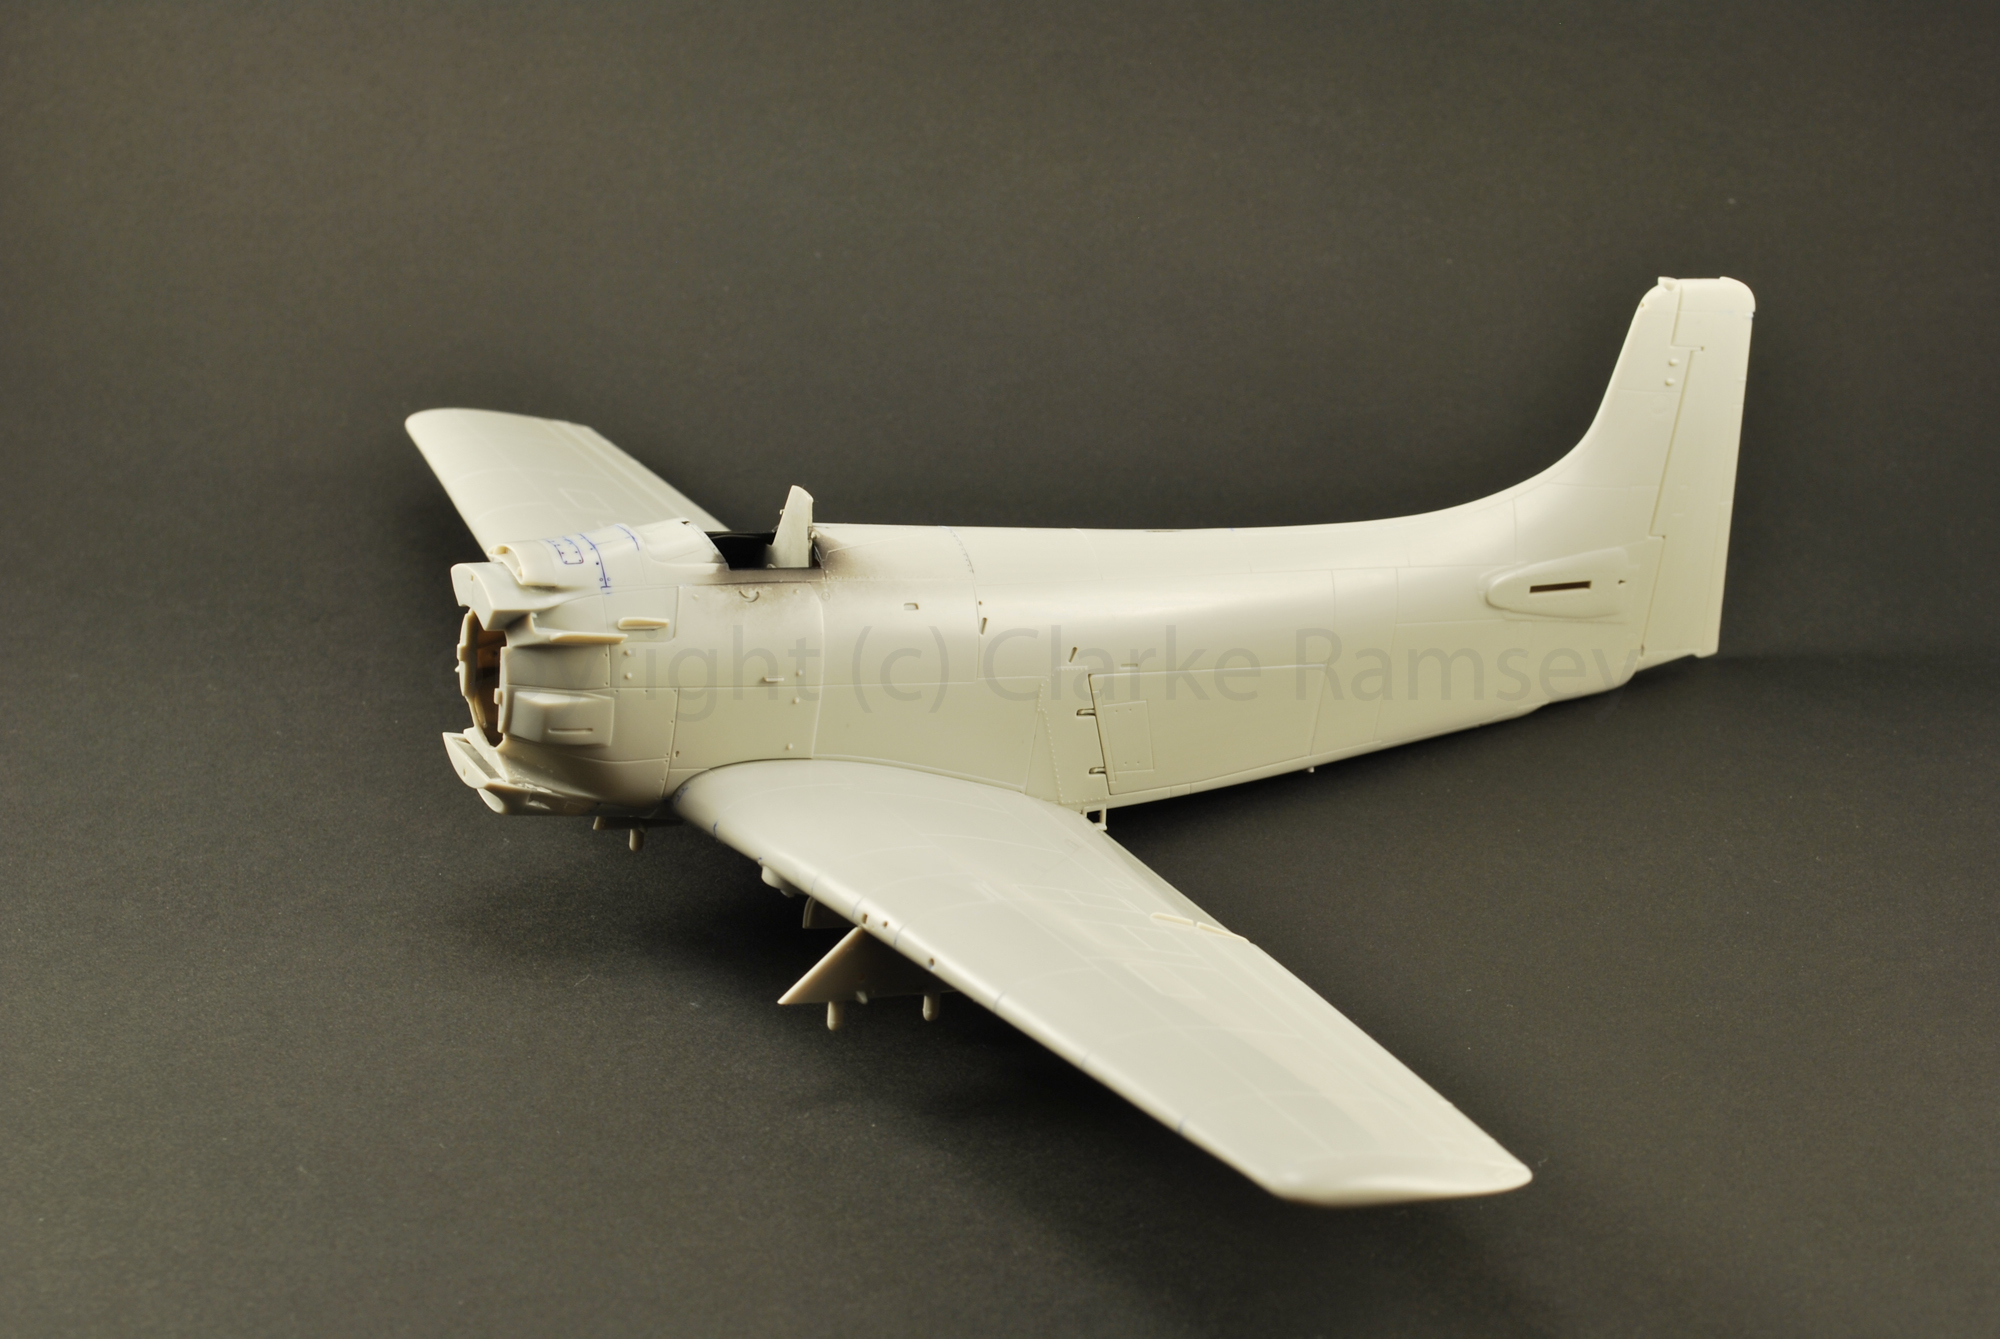
One of my favorite aircraft and models. This one has been sitting
half assembled for years. Lately I decided to finish it. I removed the
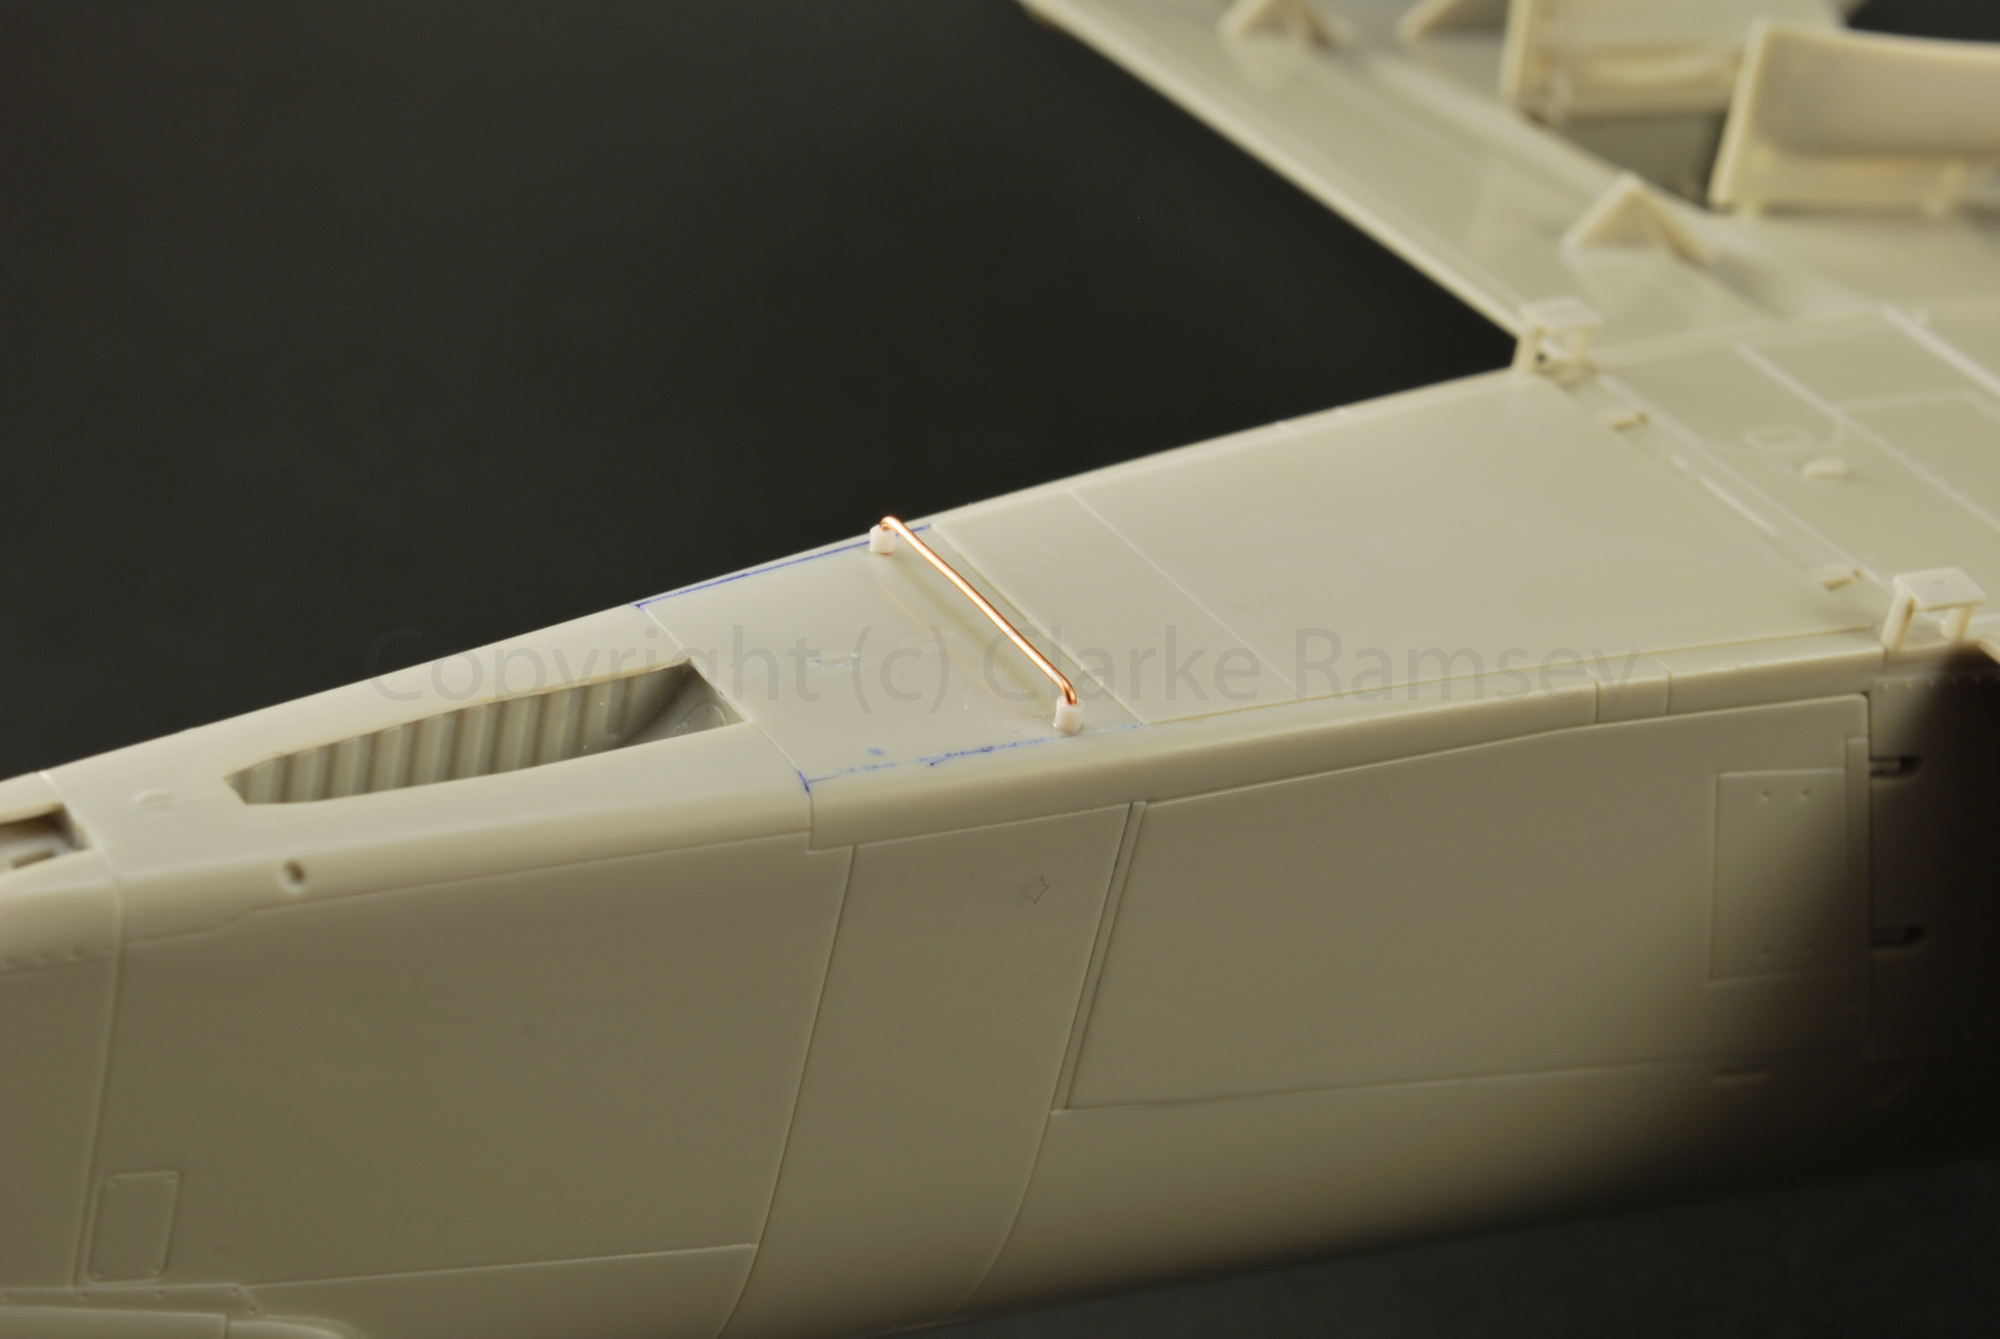
upper spine antennas to aid in getting a clean join along the top. I'll
replace those antenna with aftermarket replacements from Quick-boost. I
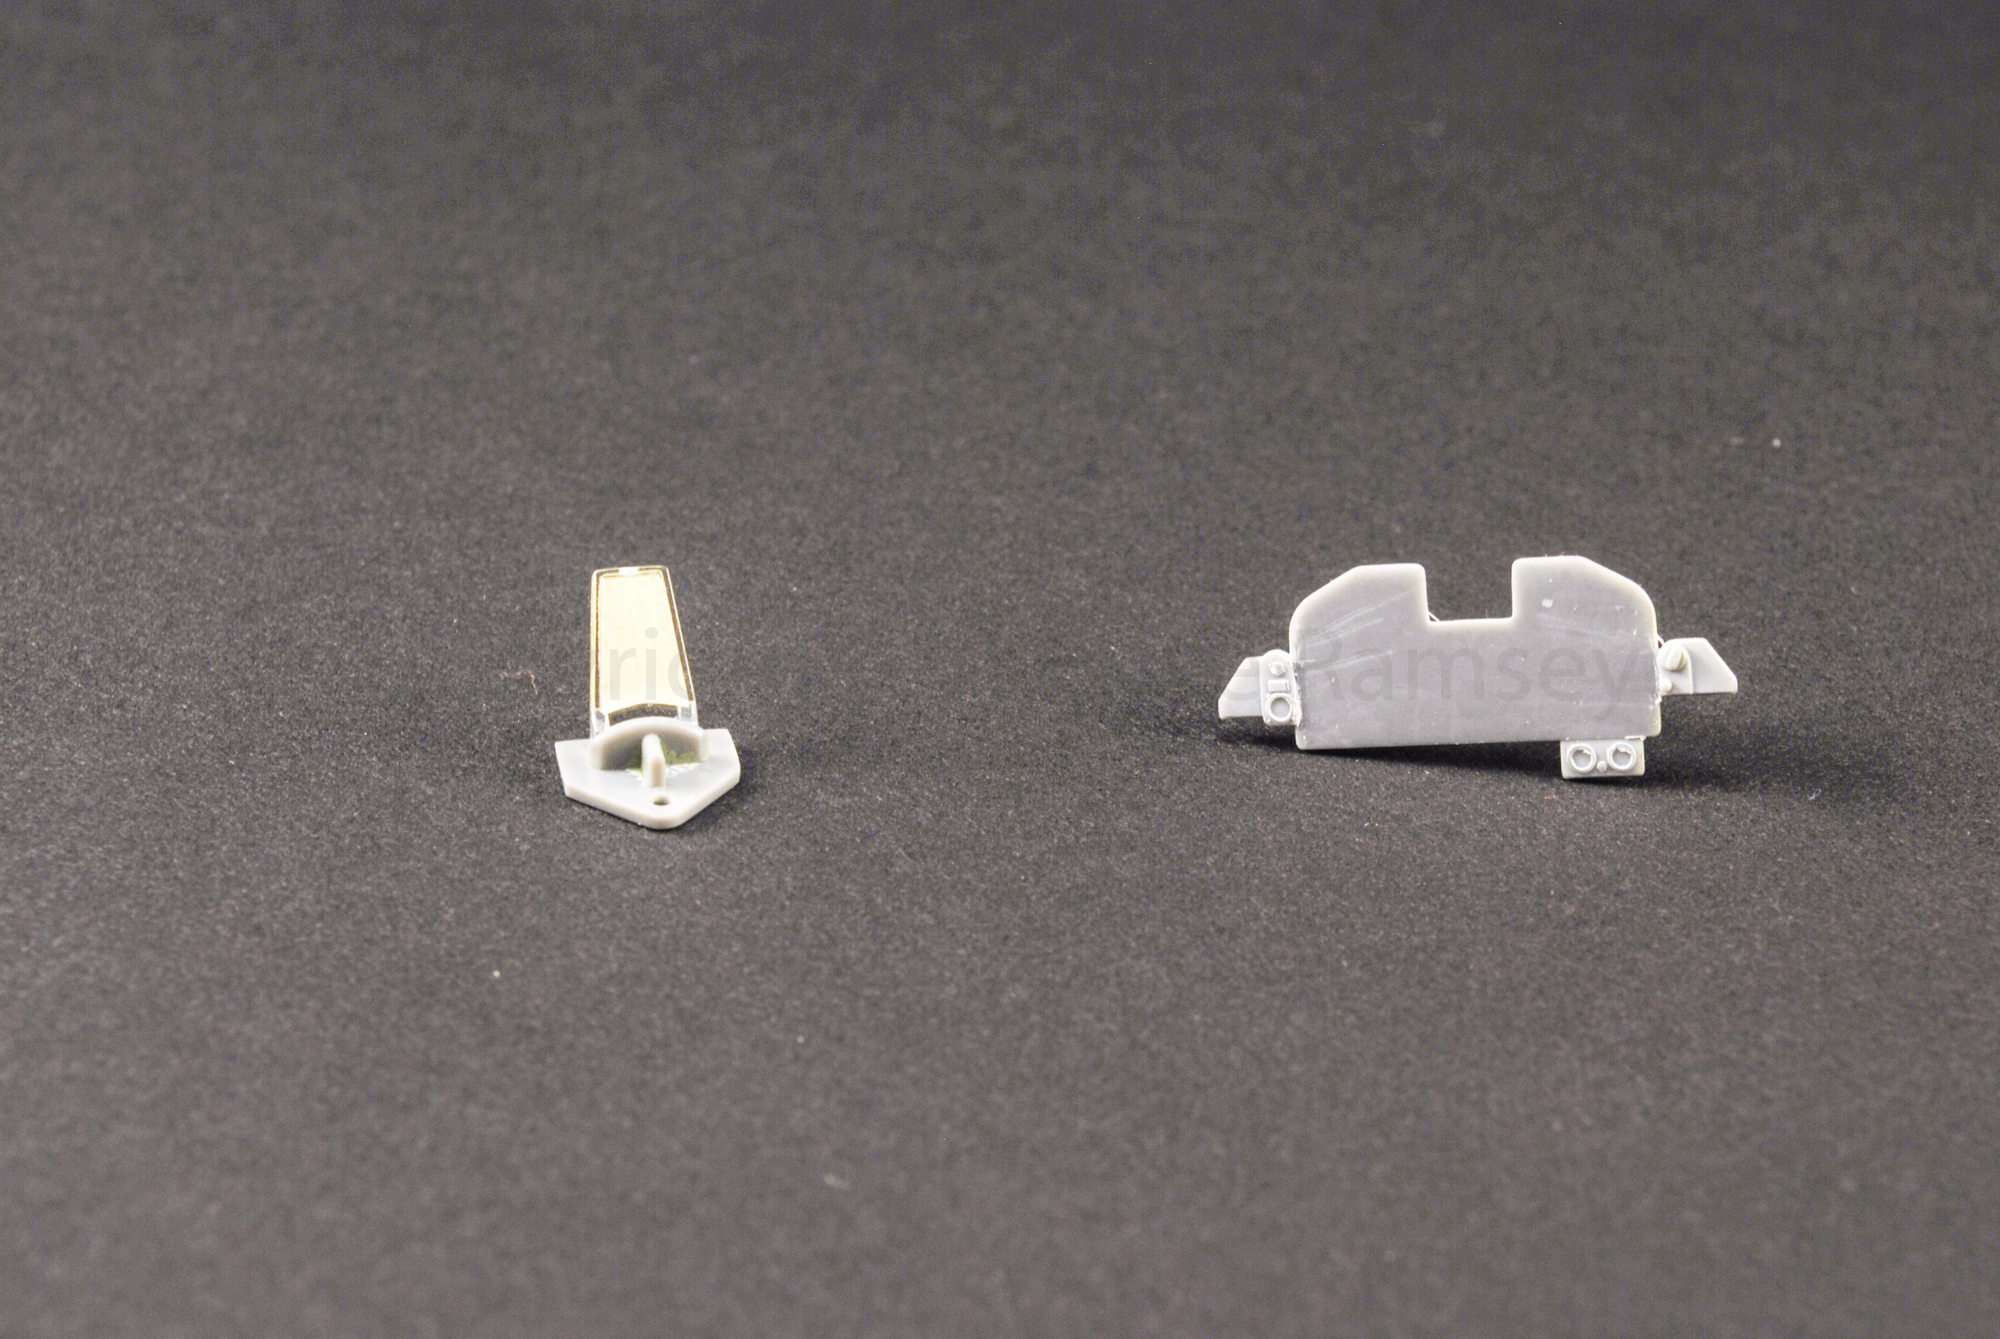
added a resin seat replacement from True Details. The fit is a bit
tight. Some chopping and heavy sanding is needed.
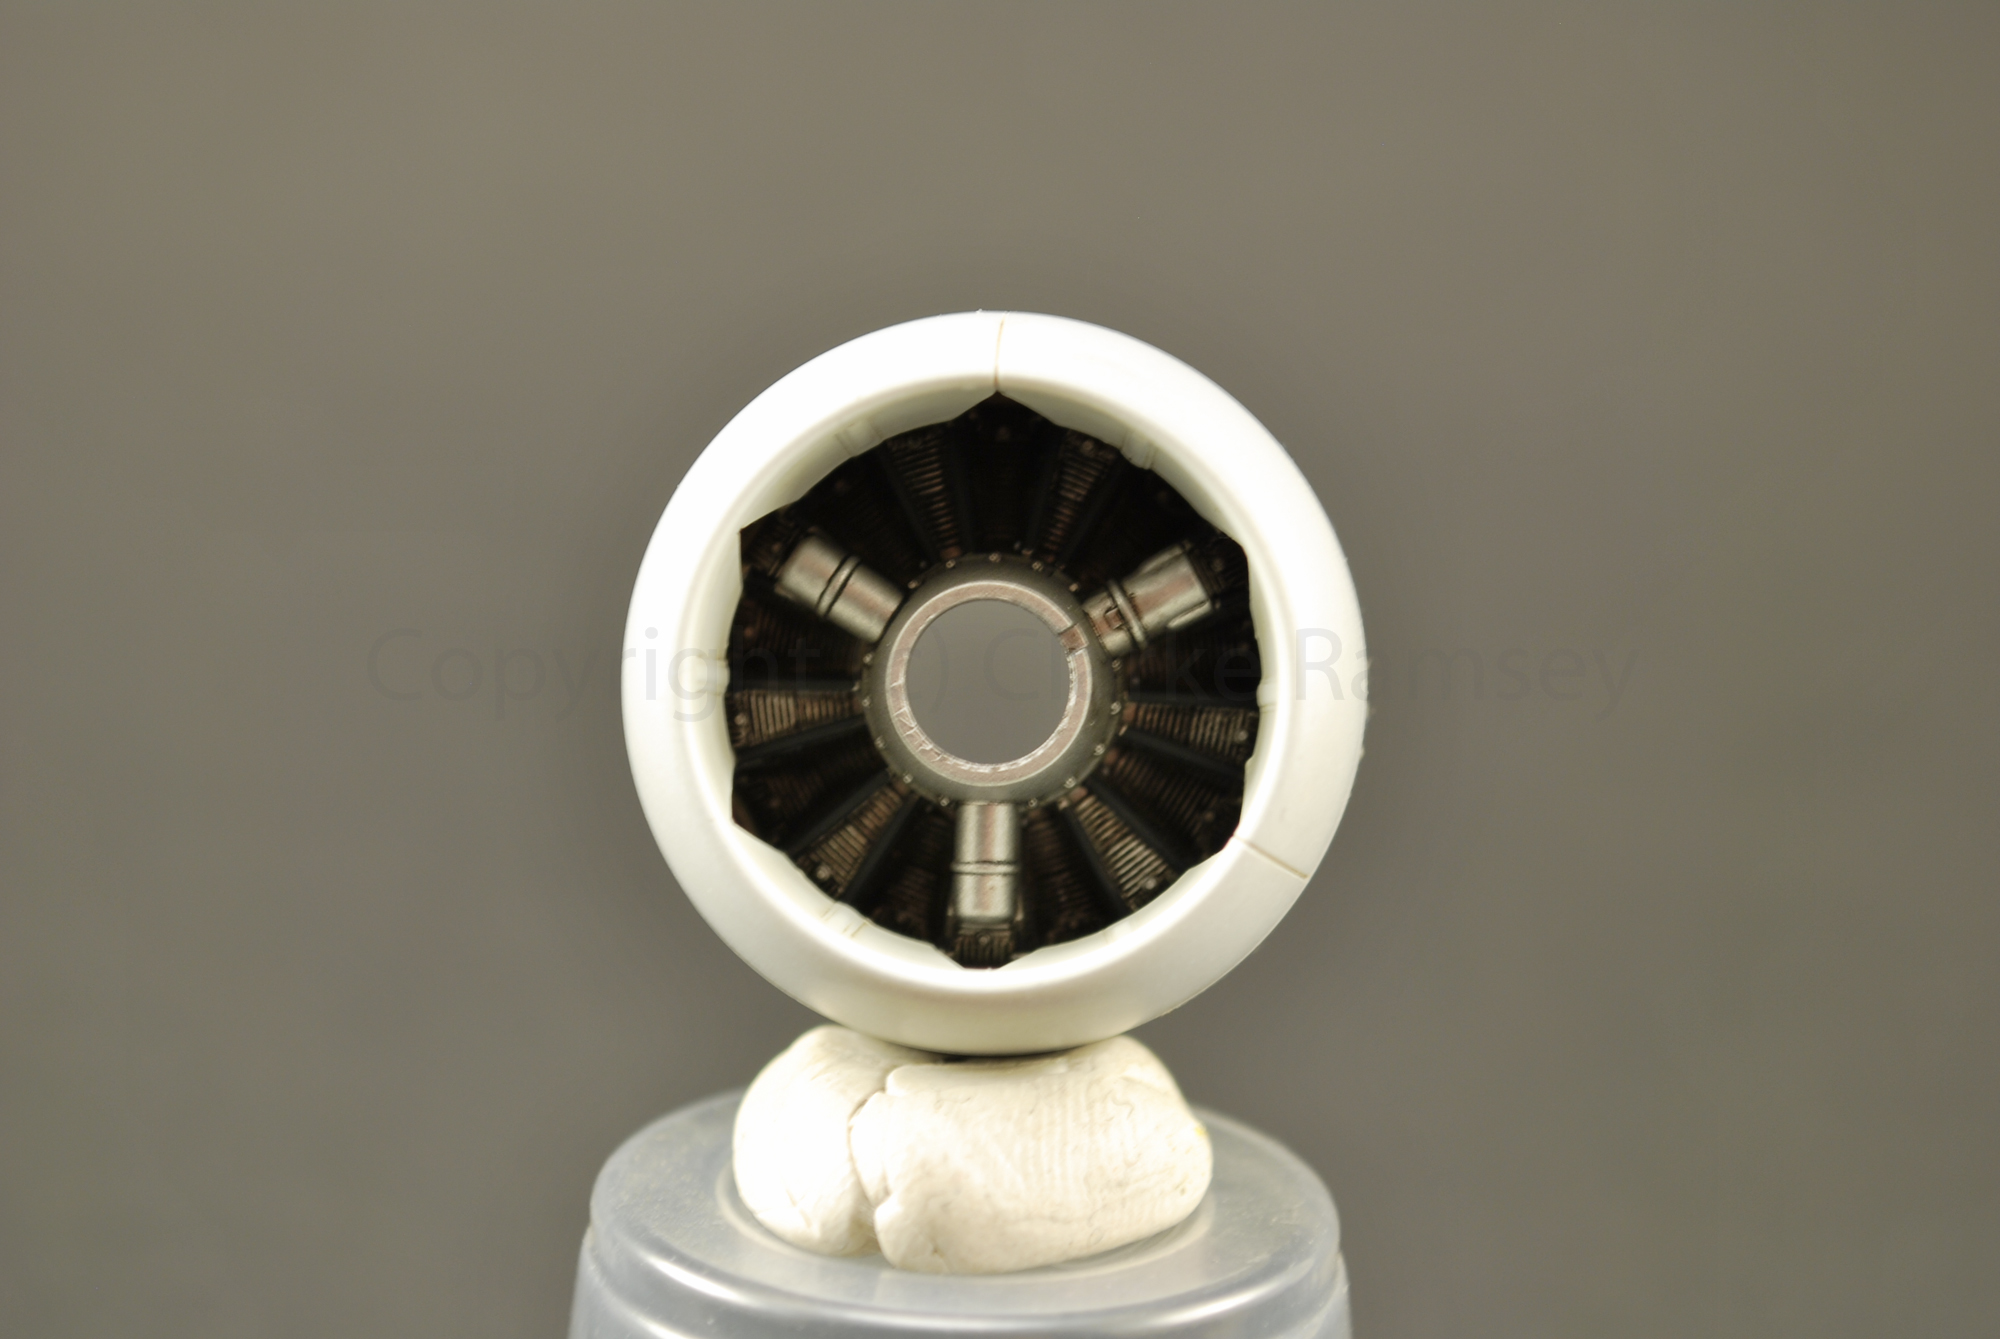
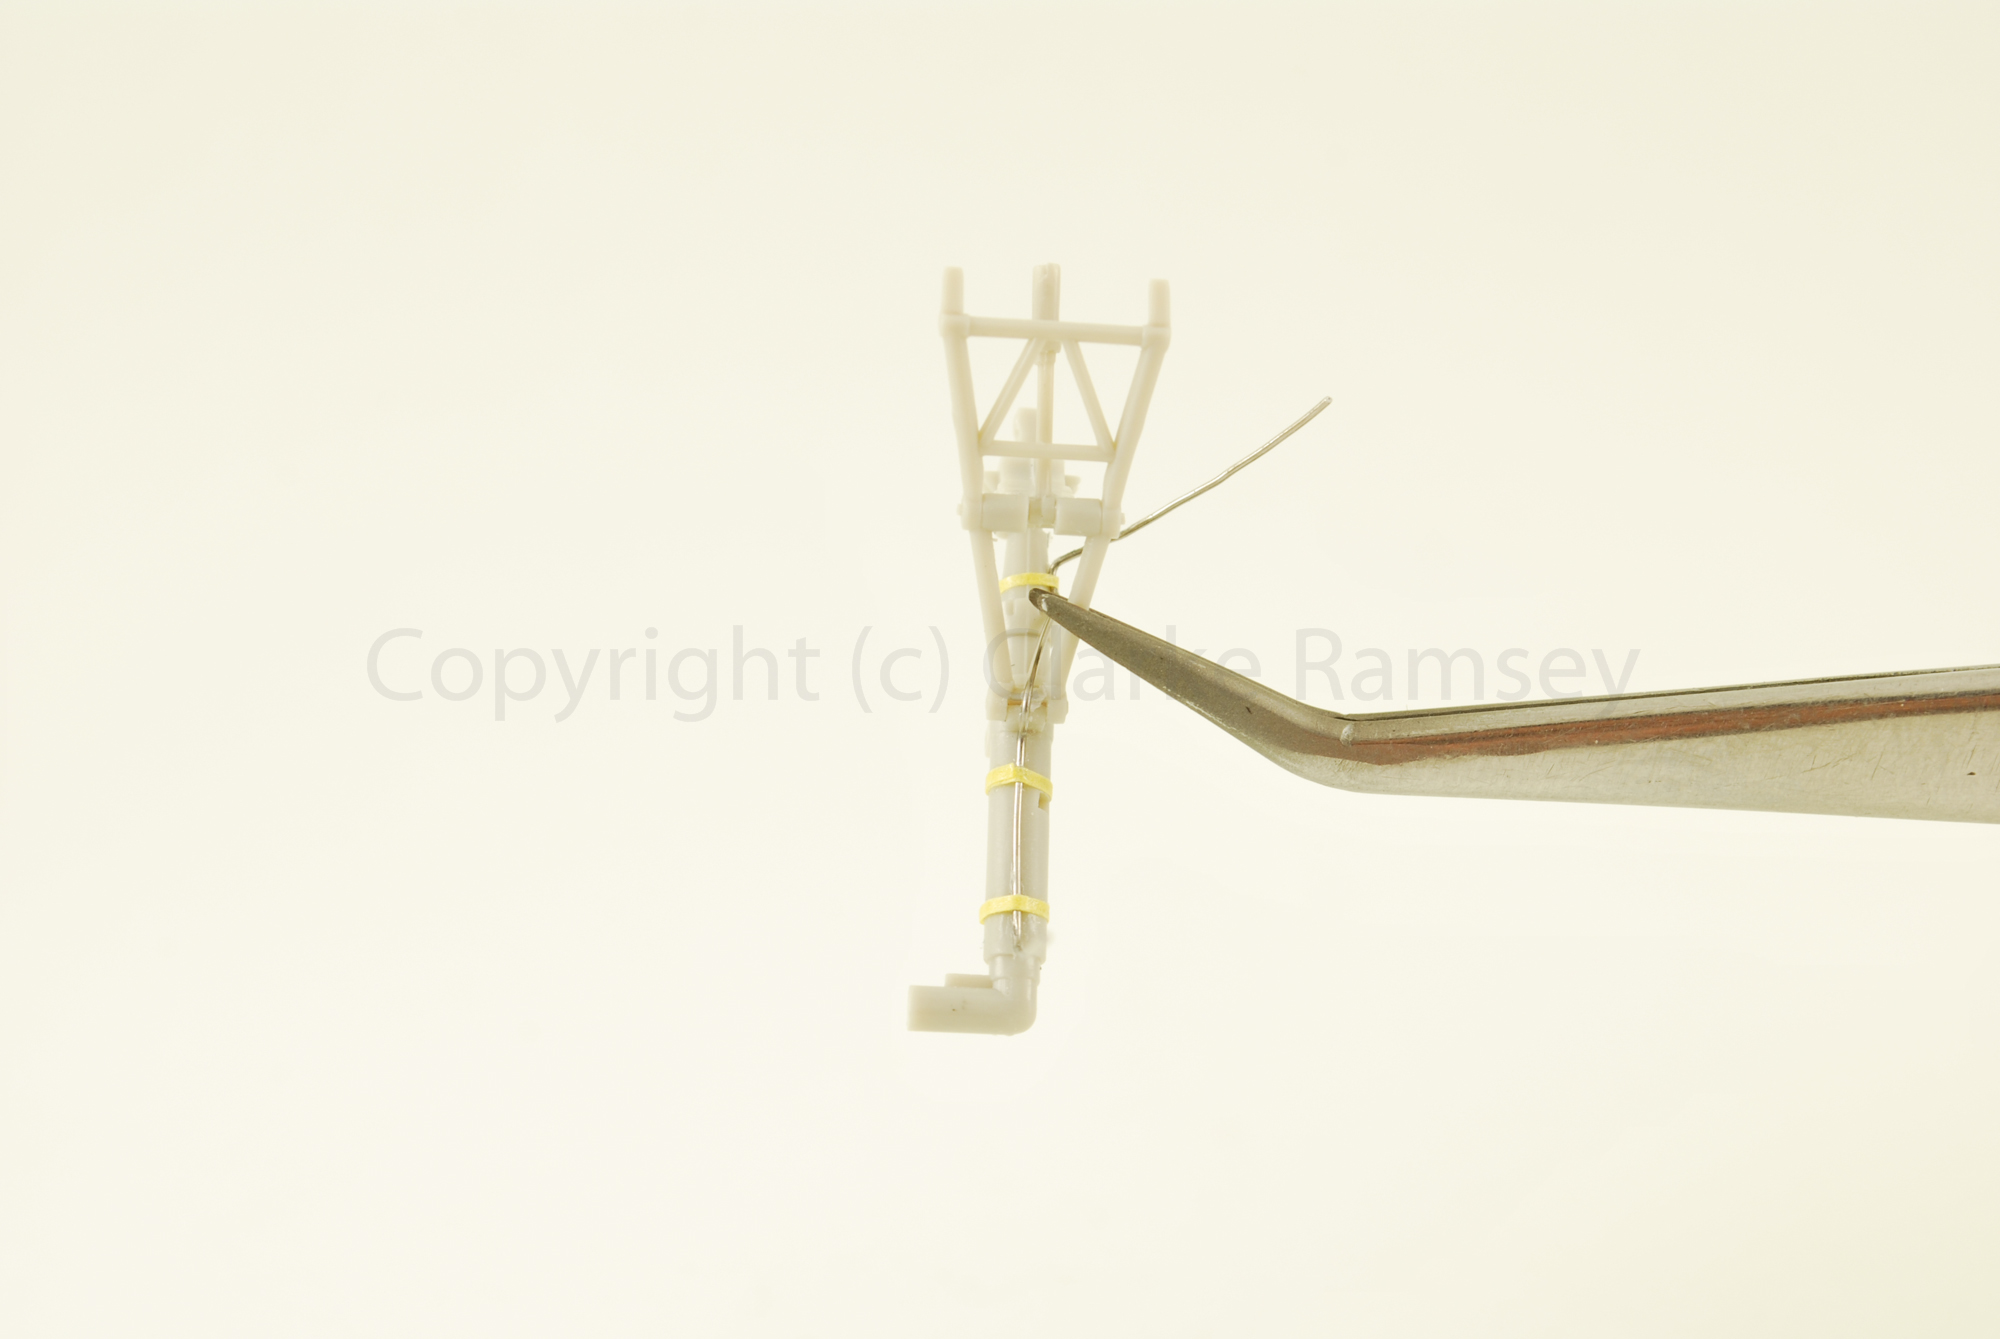
The engine was OOTB painted with Metalizers and Vallejo/Tamiya paints. The landing gear were modified and enhanced with hydraulic lines (lead wire) and tape.
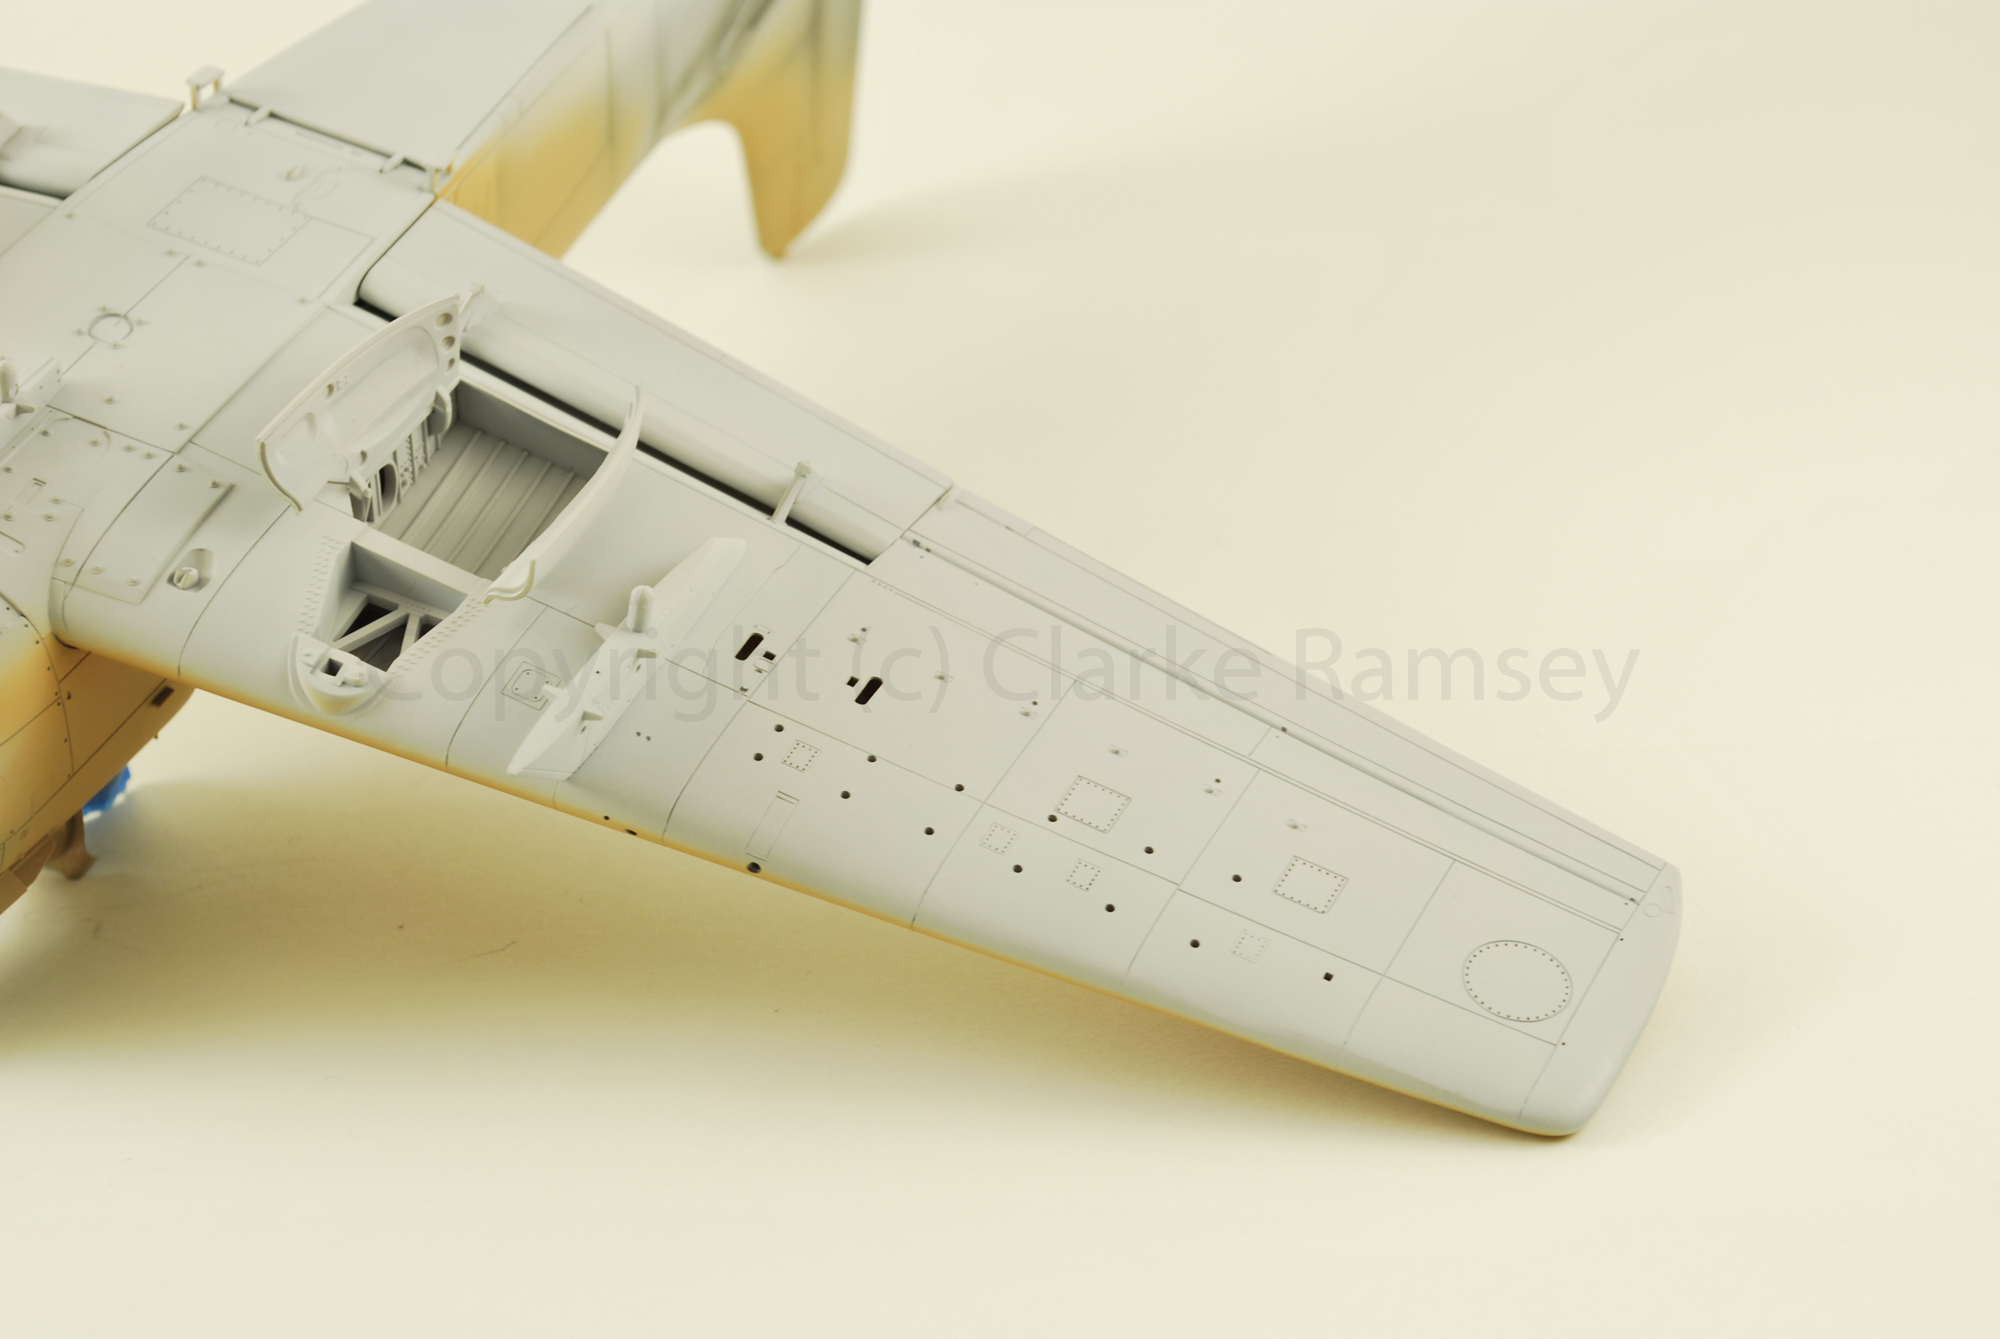
All details were left off for ease of painting. Note to self. Leave antennas off next time! I just about broke all of them while handing. New ones set aside for last minute attachment.
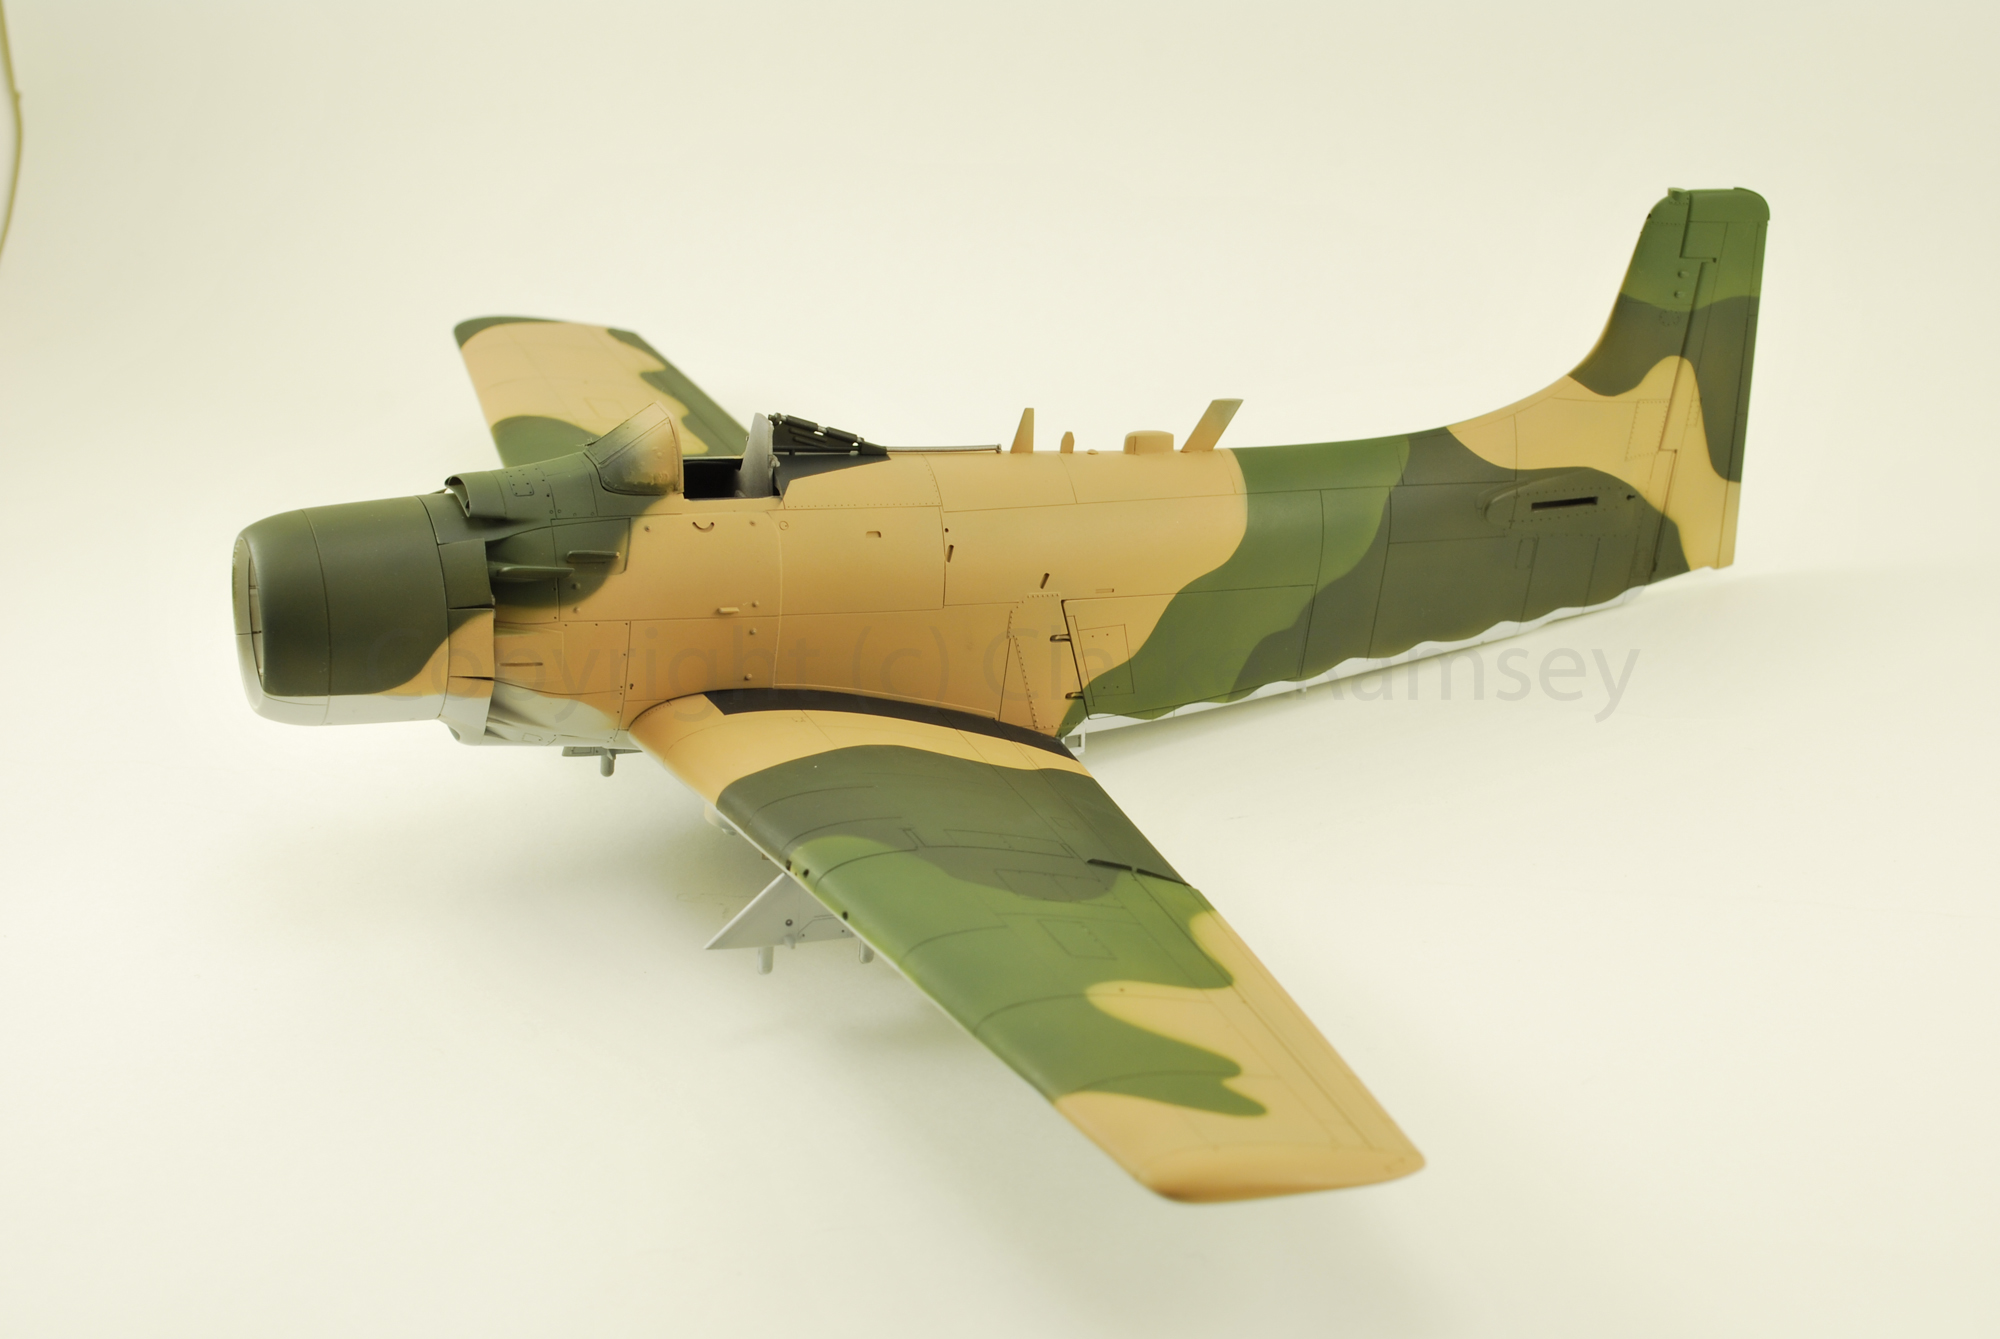
Mr Surfacer 1200 and painted with Tamiya paints. I used leveling thinner from Gunze for a smooth finish. I didn't want to overcoat the entire model with gloss. I can never get gloss to look right. For the camouflage pattern I used a custom vinyl mask for outlining the sections. Next weapons and weathering.
Full Photo-set: https://www.flickr.com/photos/cramsey/sets/72157652338996145/

Labels:
1/48,
a-1j,
airplane,
FrogTape,
oils,
olive drab,
pigments,
radial,
sandy skyraider,
Tamiya,
vallejo,
vietnam war,
wash
Sunday, November 23, 2014
Annother Thunderbolt!
Republic Aviation's P-47 Thunderbolt, also known as the "Jug", was
the largest, heaviest, and most expensive fighter aircraft in history to
be powered by a single reciprocating engine. It was one of the main
United States Army Air Forces (USAAF) fighters of World War II, and
served with other Allied air forces. The P-47 was very effective in air
combat but proved especially adept at ground attack. It had eight
.50-caliber machine guns, four per wing. When fully loaded the P-47
could weigh up to eight tons. A modern-day counterpart in that role, the
A-10 Thunderbolt II, takes its name from the P-47.
I
needed another break from the last P-47D. So another P-47D would cure
that empty space on the workbench. lol. Tamiya's Jug is just about one
of the best fitting kits in 1/48th. No fit issues so far. I started with
the power-plant, the Pratt & Whitney R-2800 painted in Alclad II
Aluminum with details painted with Vallejo paints as well a acrylic
wash. The ignition harness wires are .010 and .015 lead wire painted
black, lastly I fitted a Pratt & Whitney photo-etch logo on the
bottom of the case.
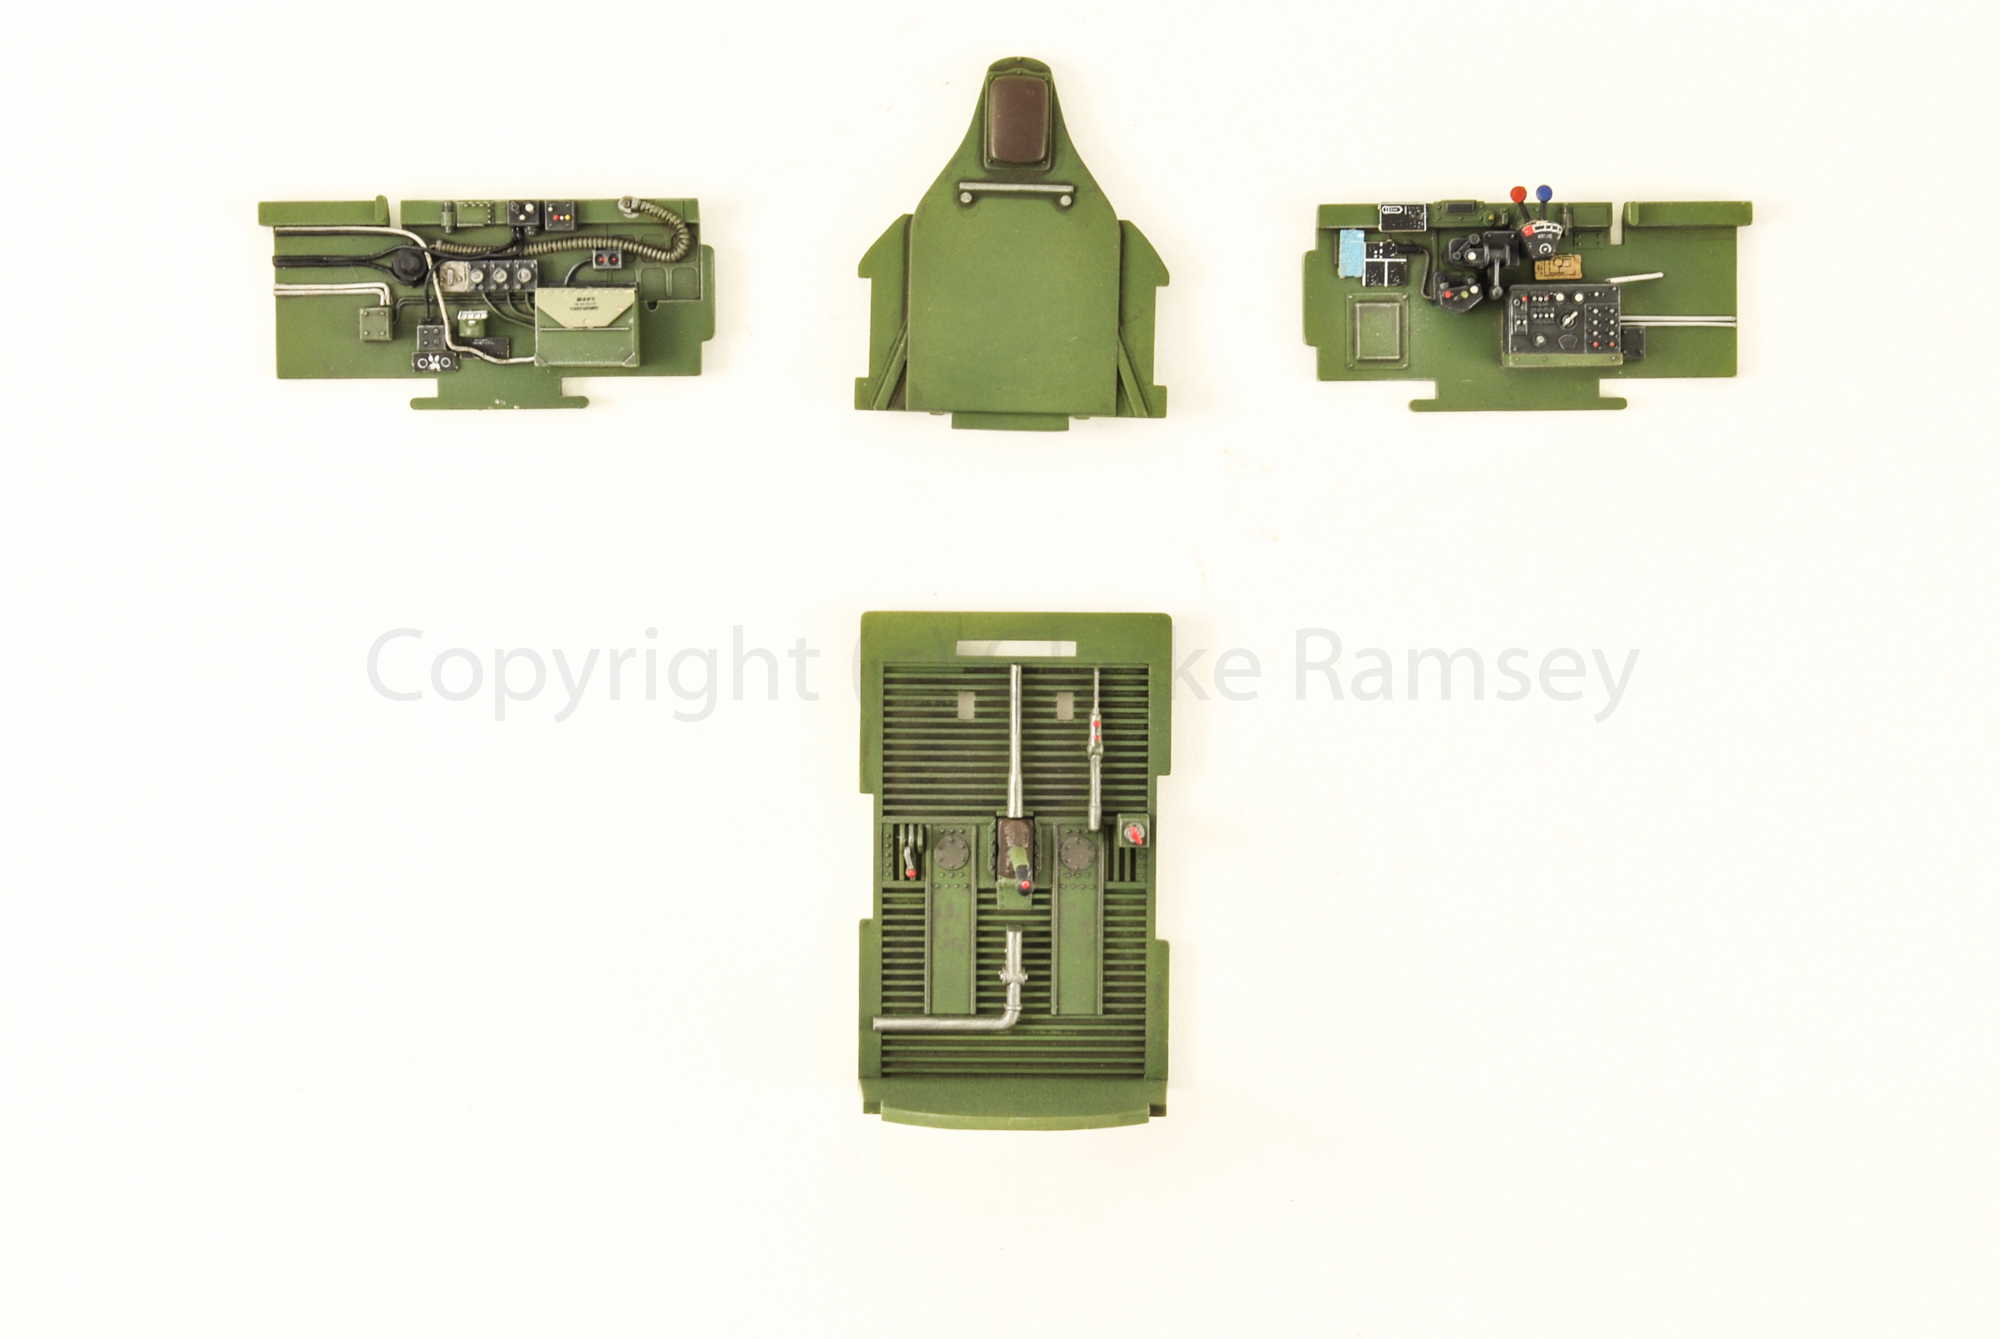
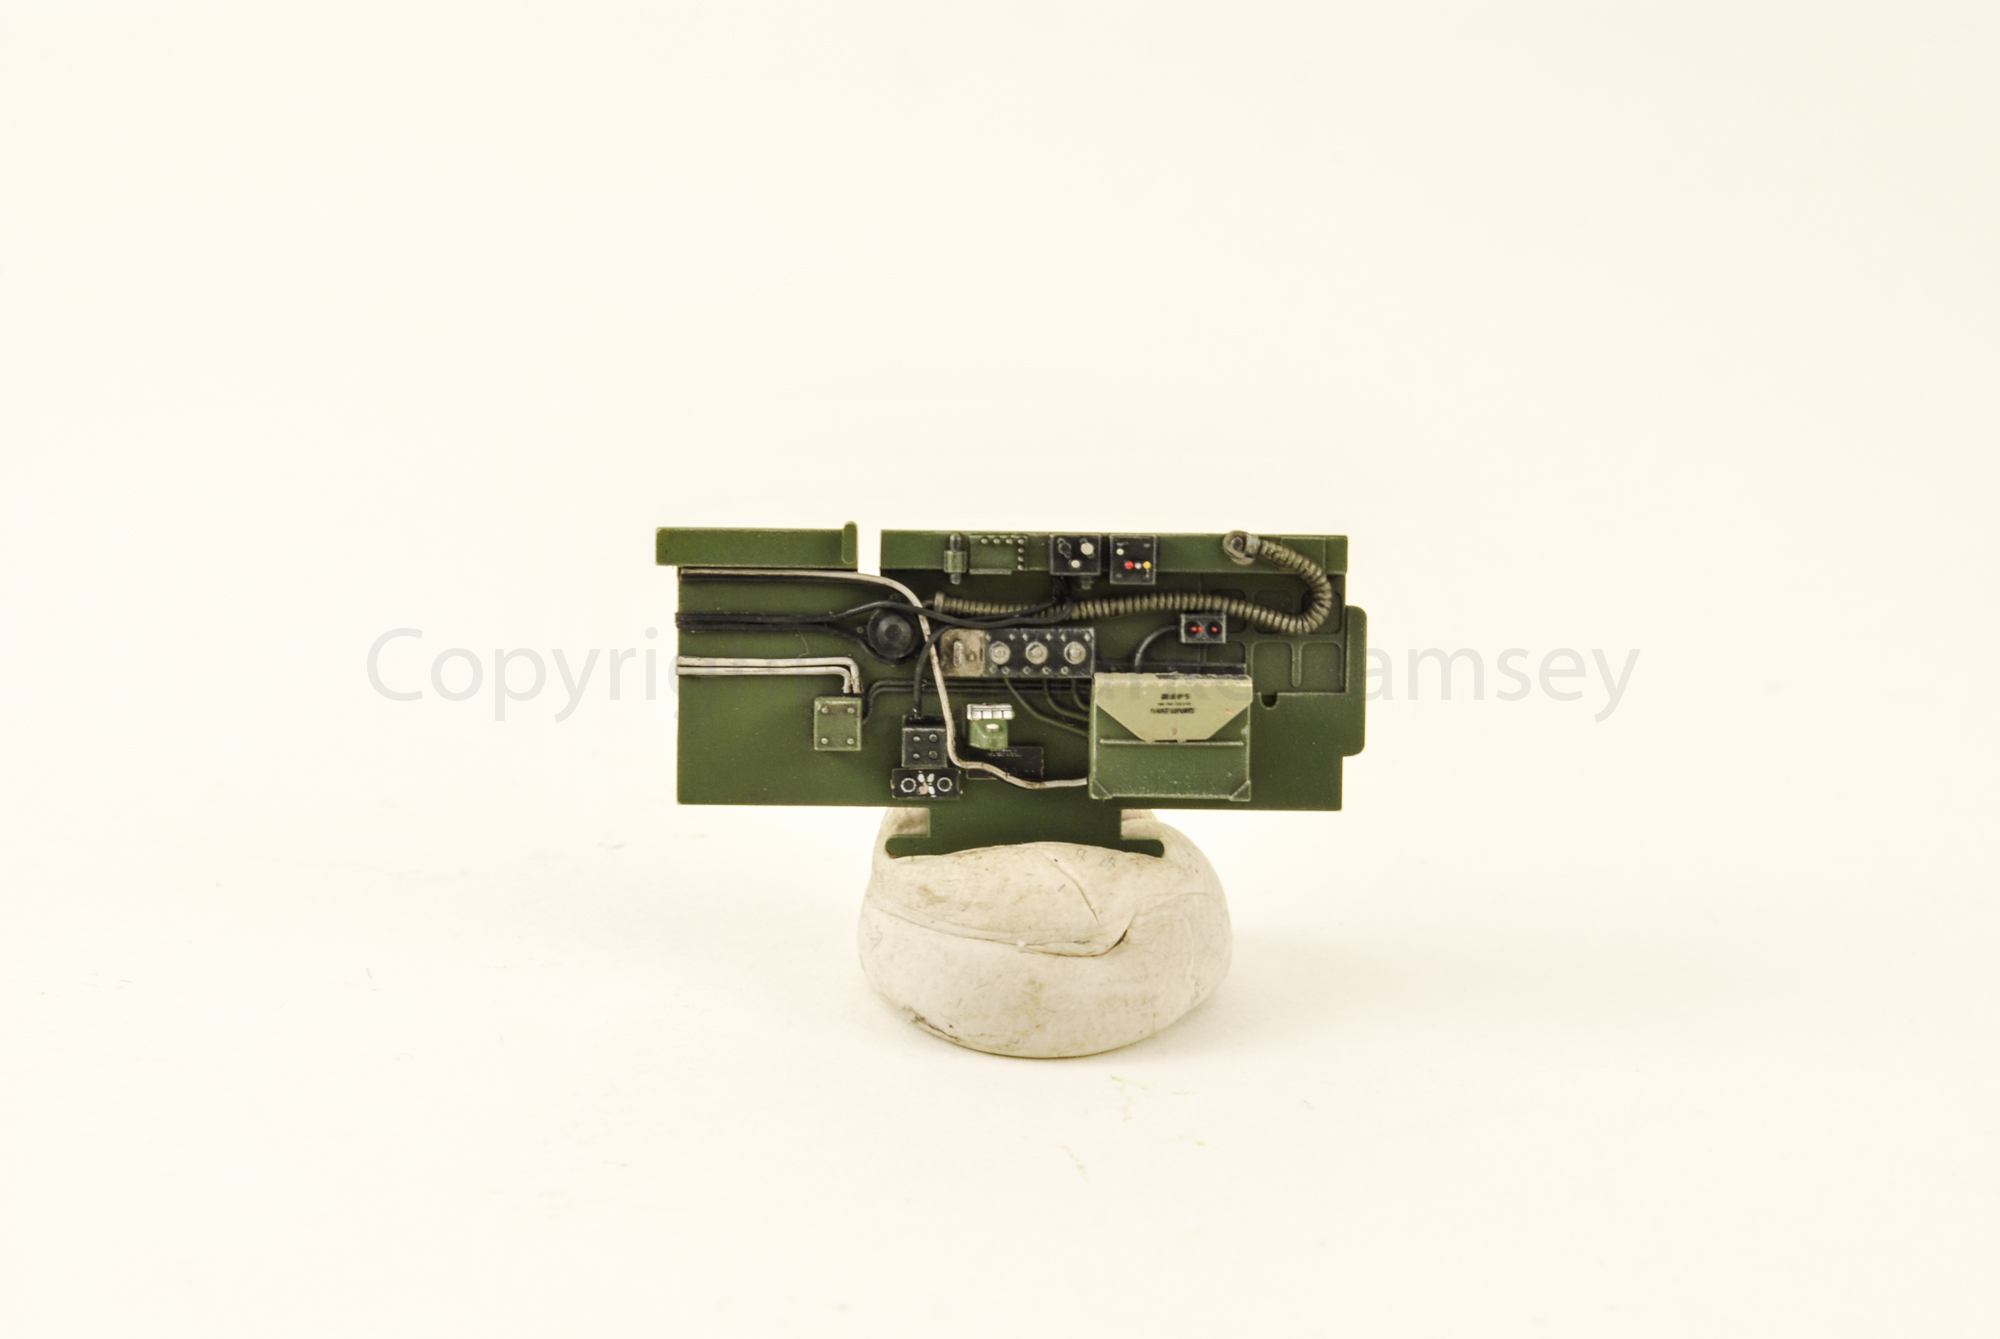
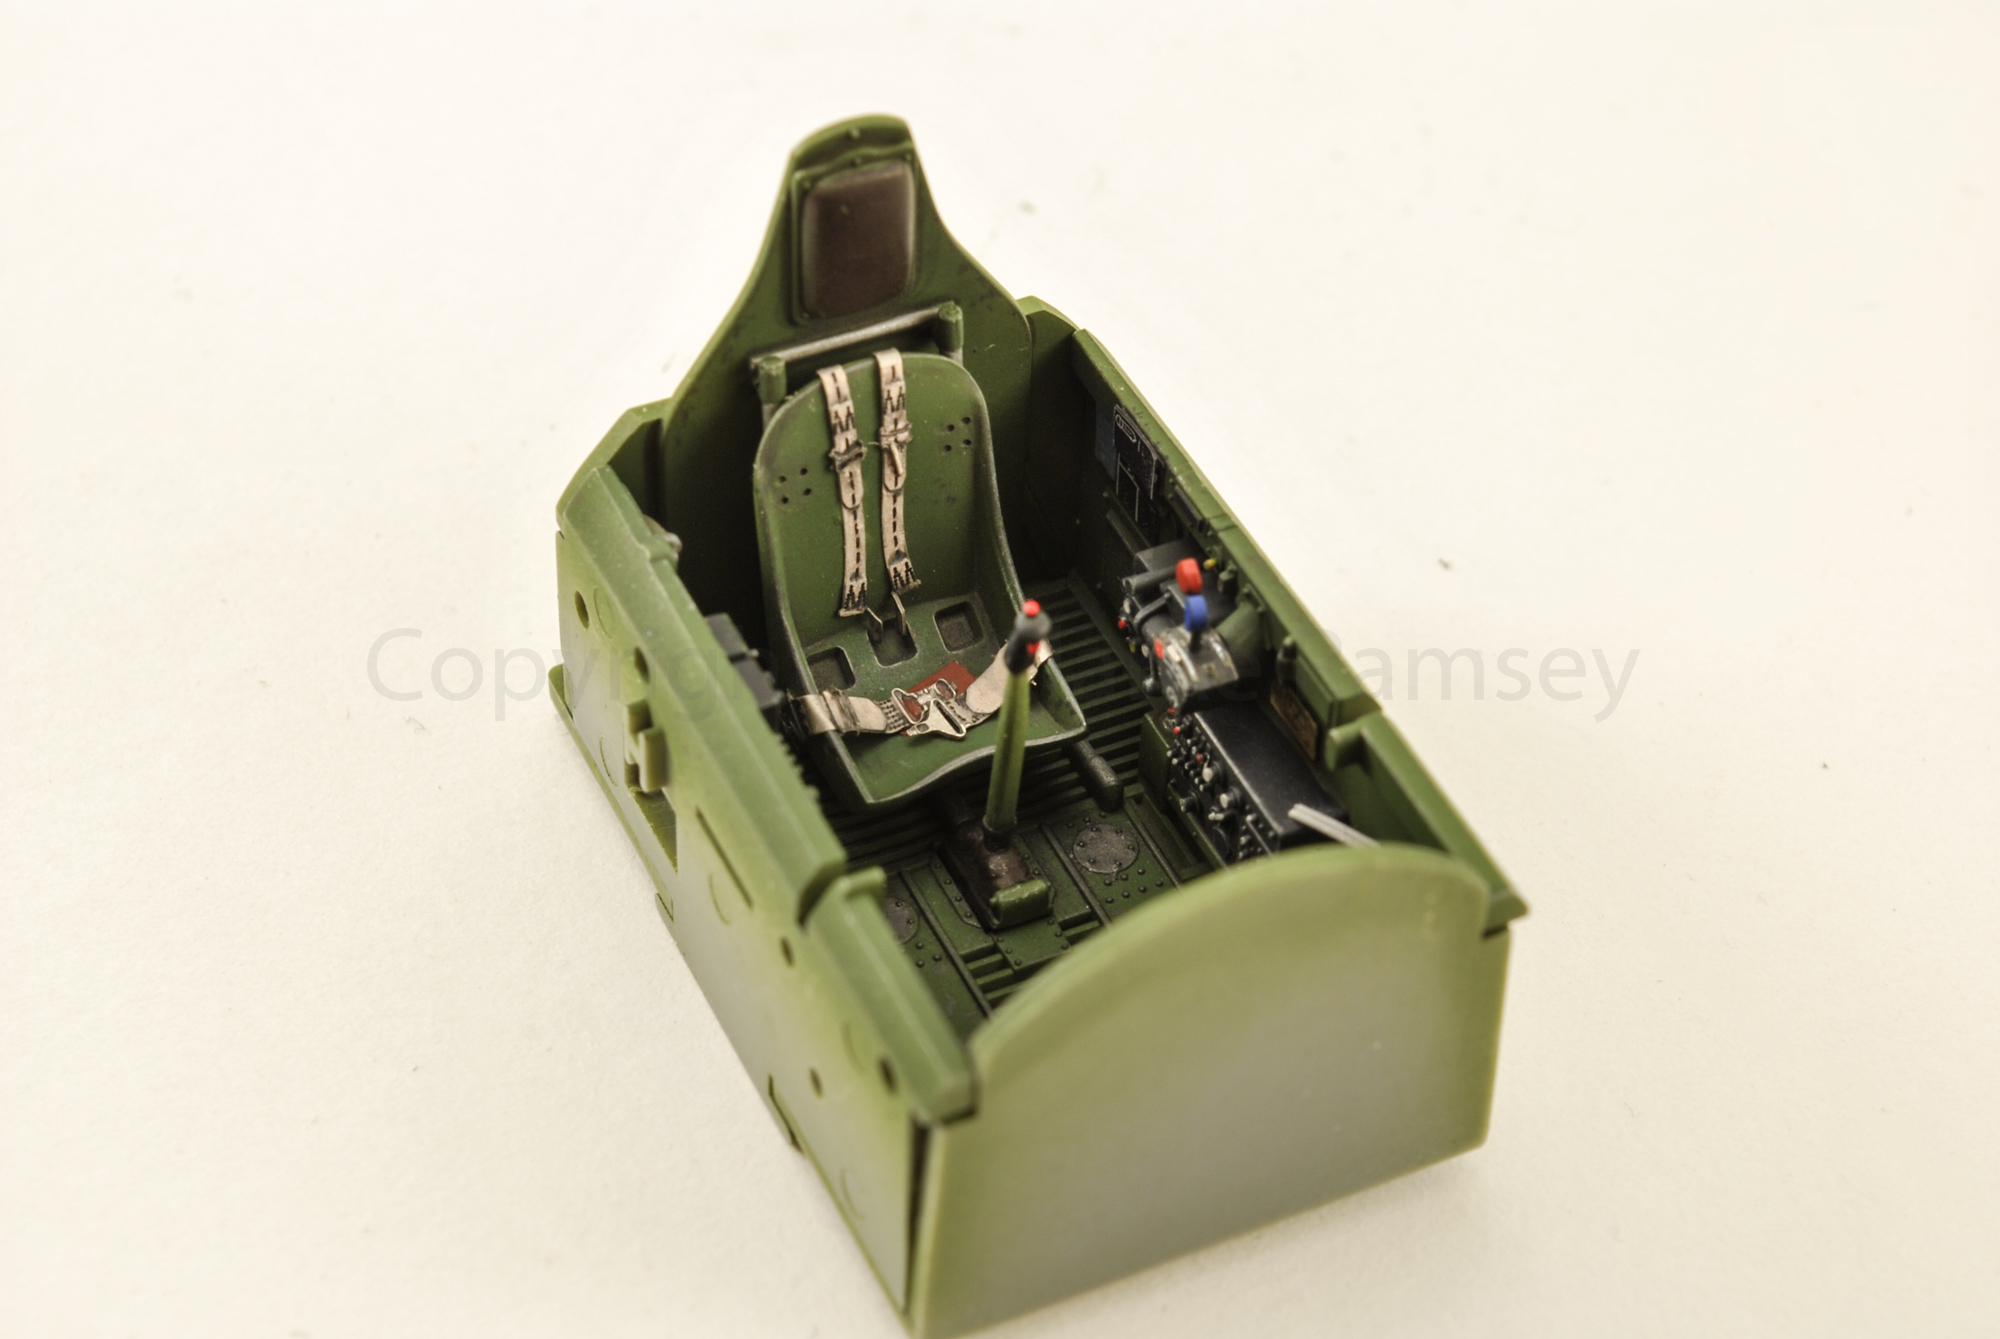
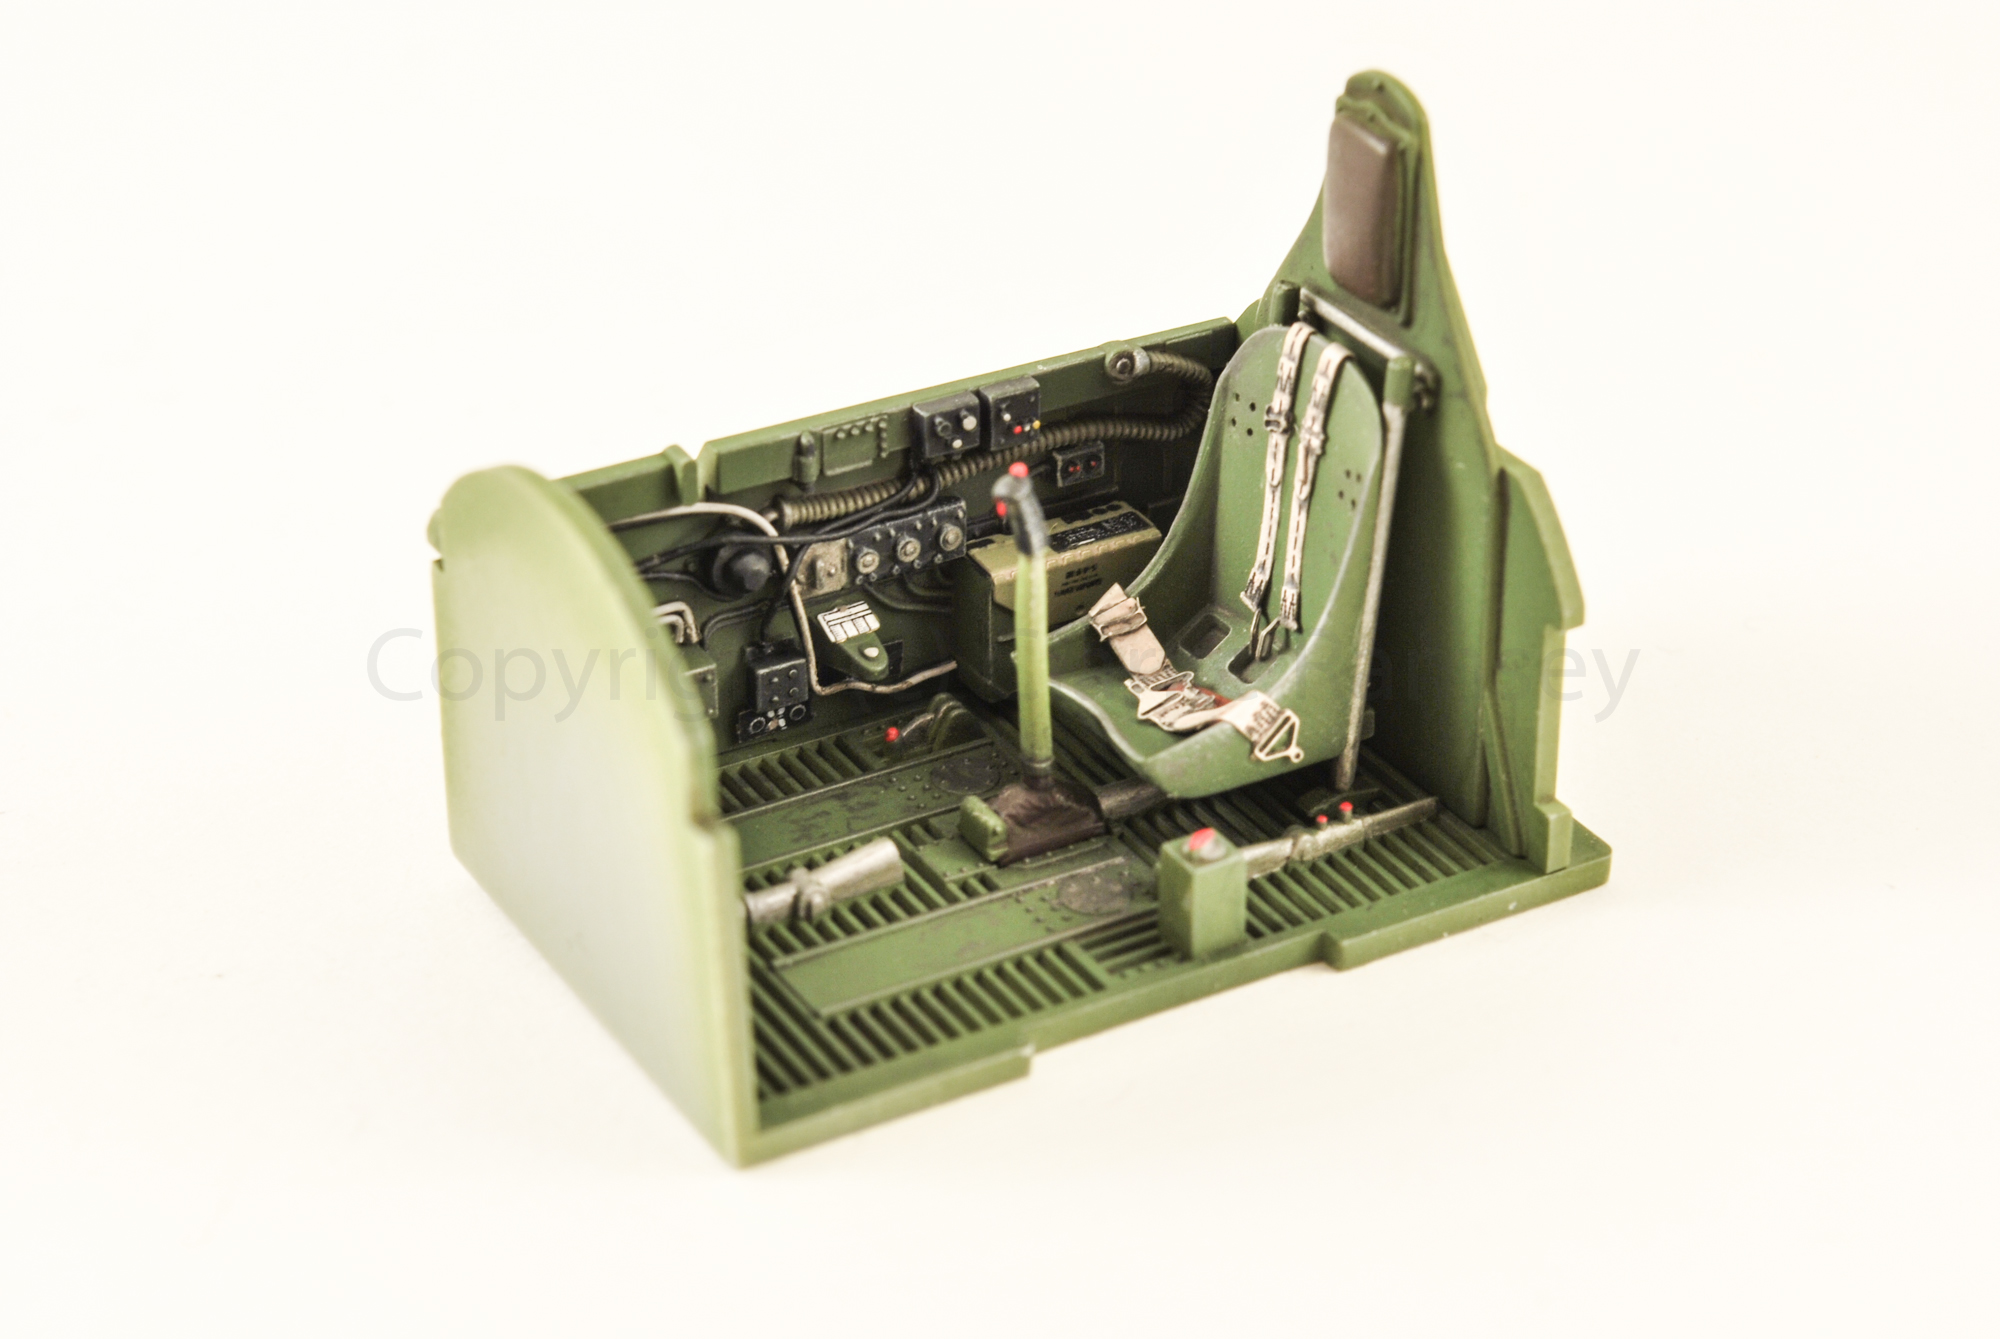
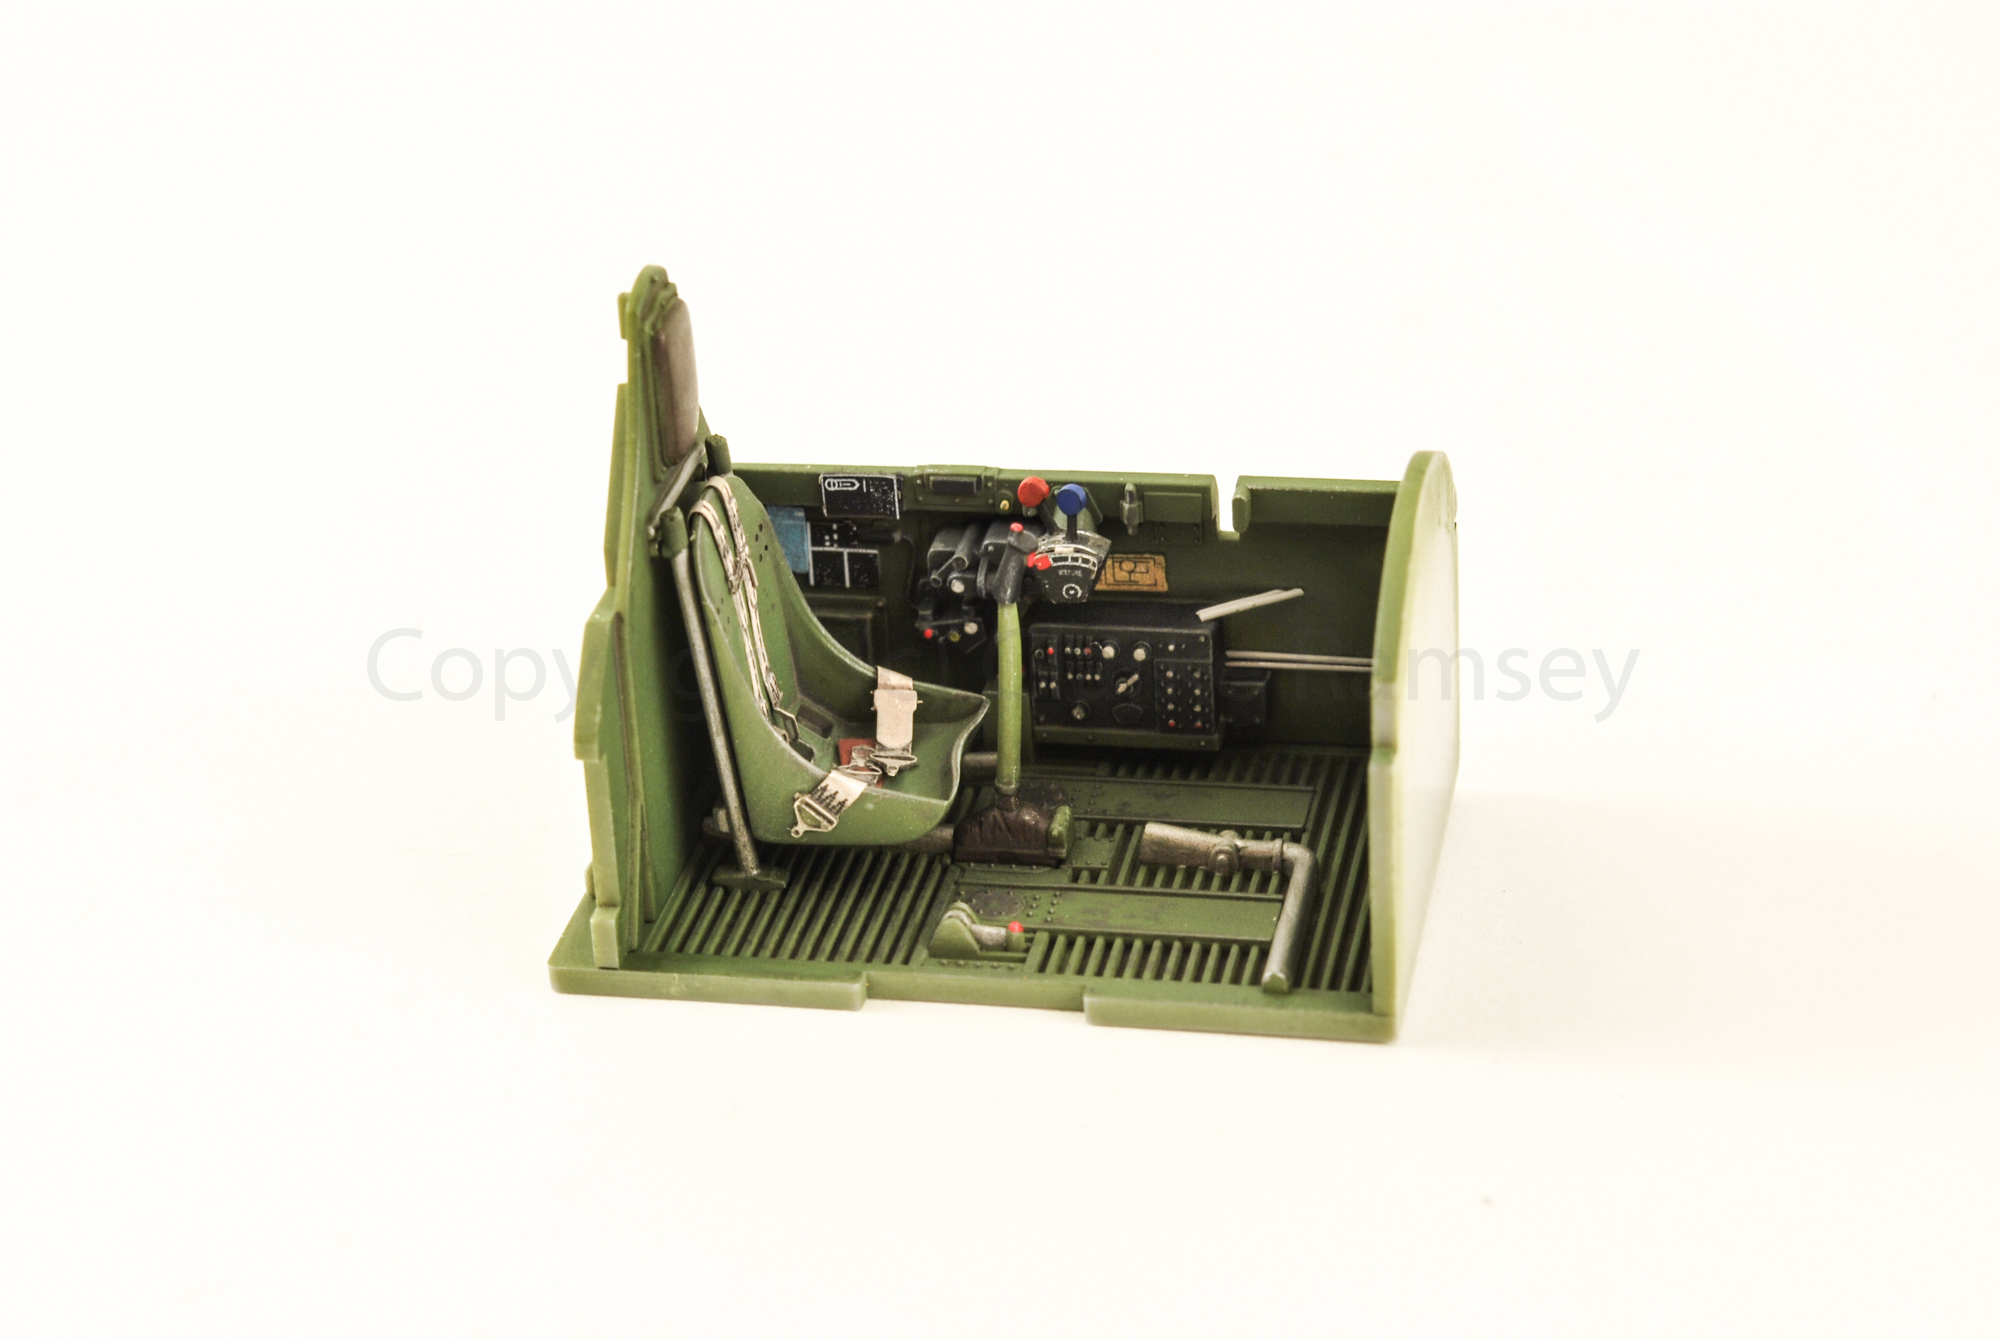
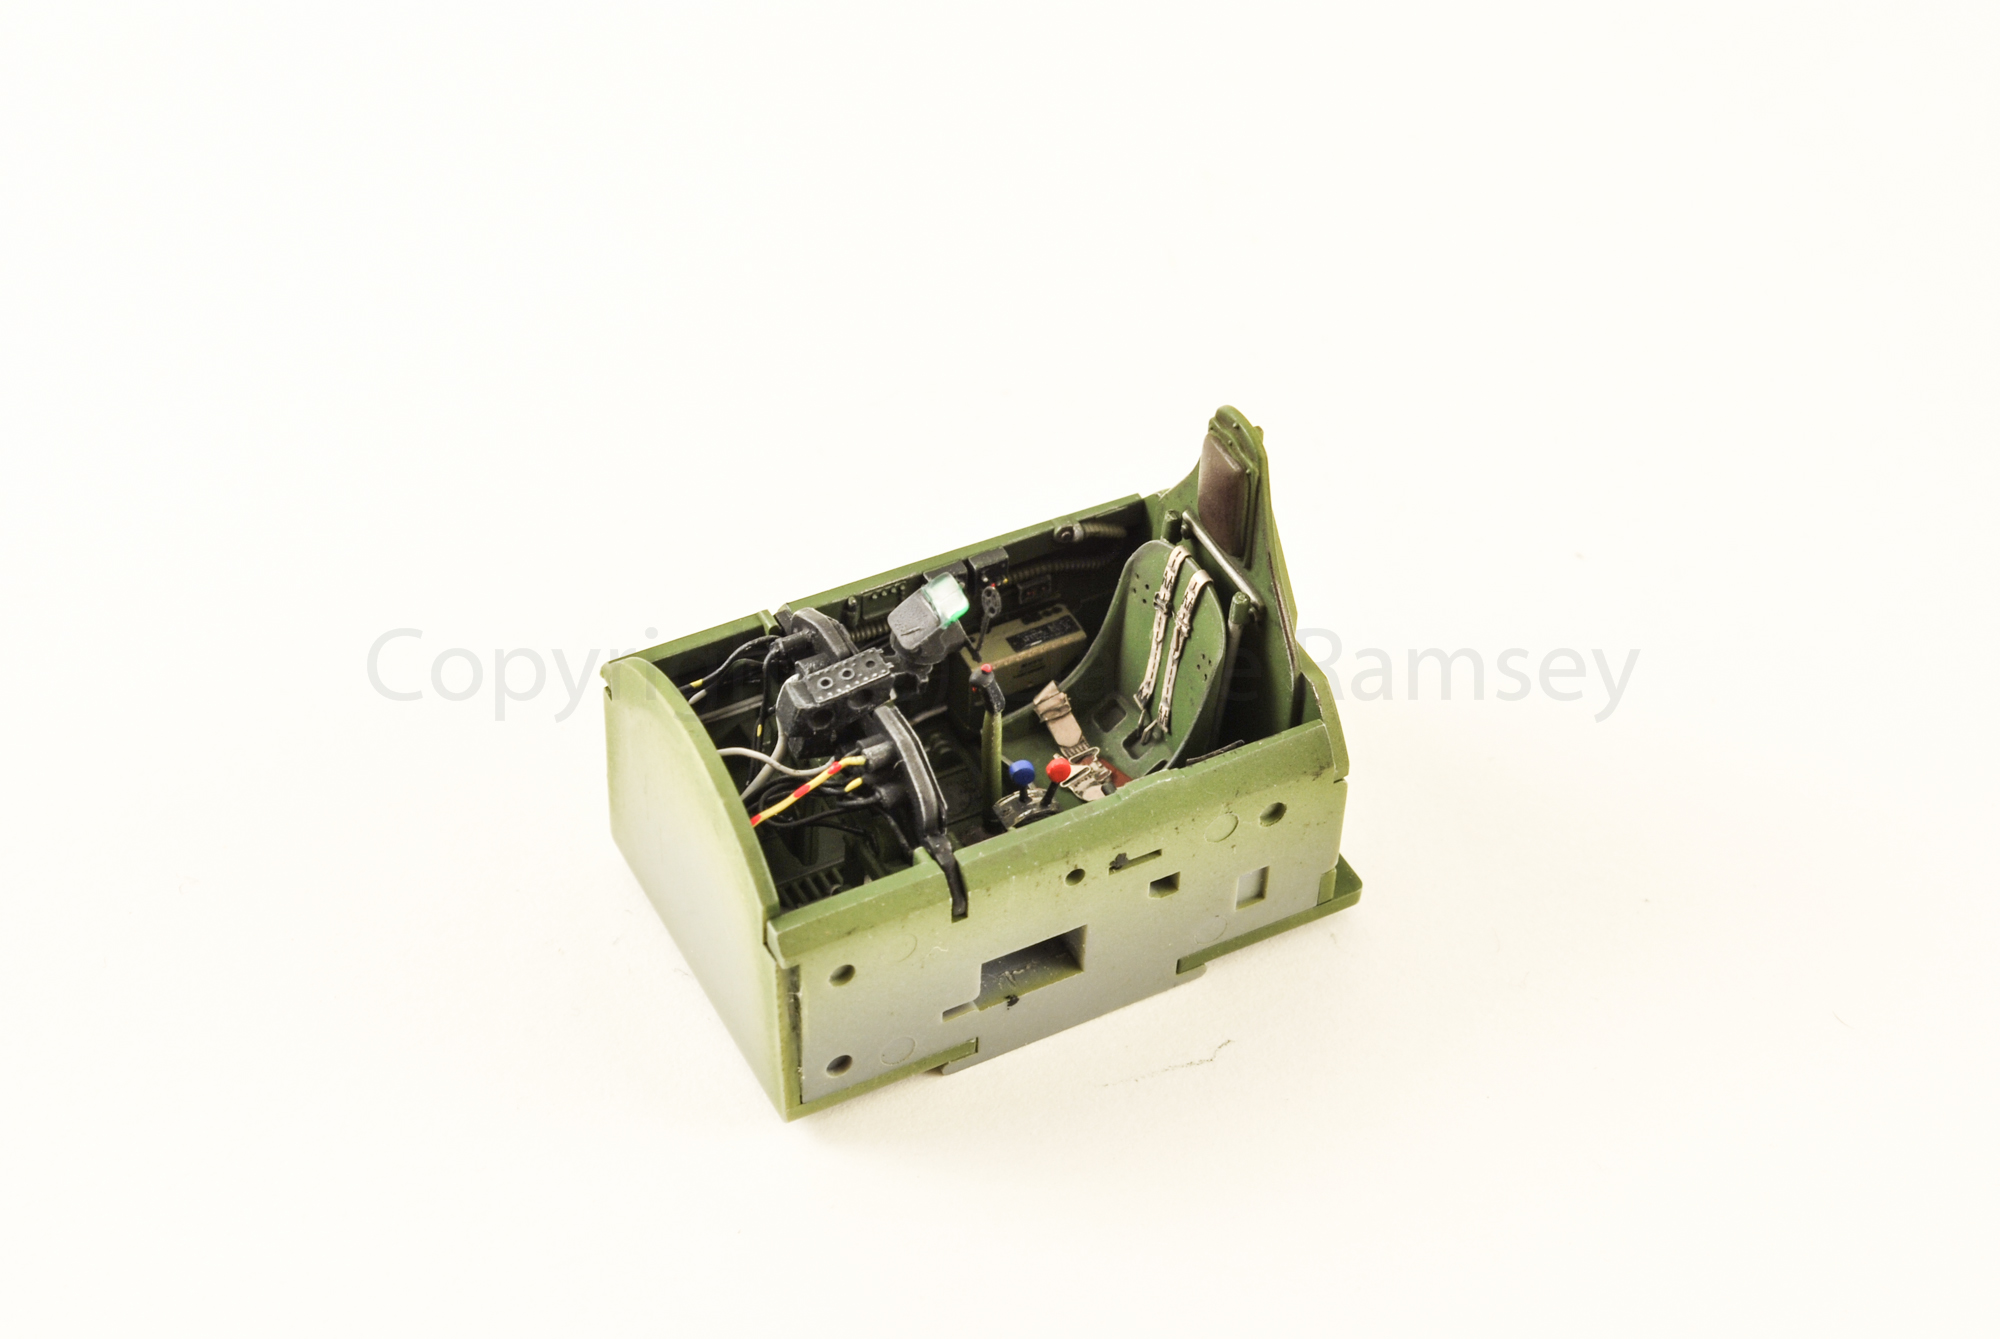
The cockpit was like any other
project, primed with Mr. Surfacer 1200 thinned with lacquer thinner and
leveling thinner for a smooth surface. Gunze field green was followed up
with Vallejo paints and bits n' pieces of Eduard photo etch from past
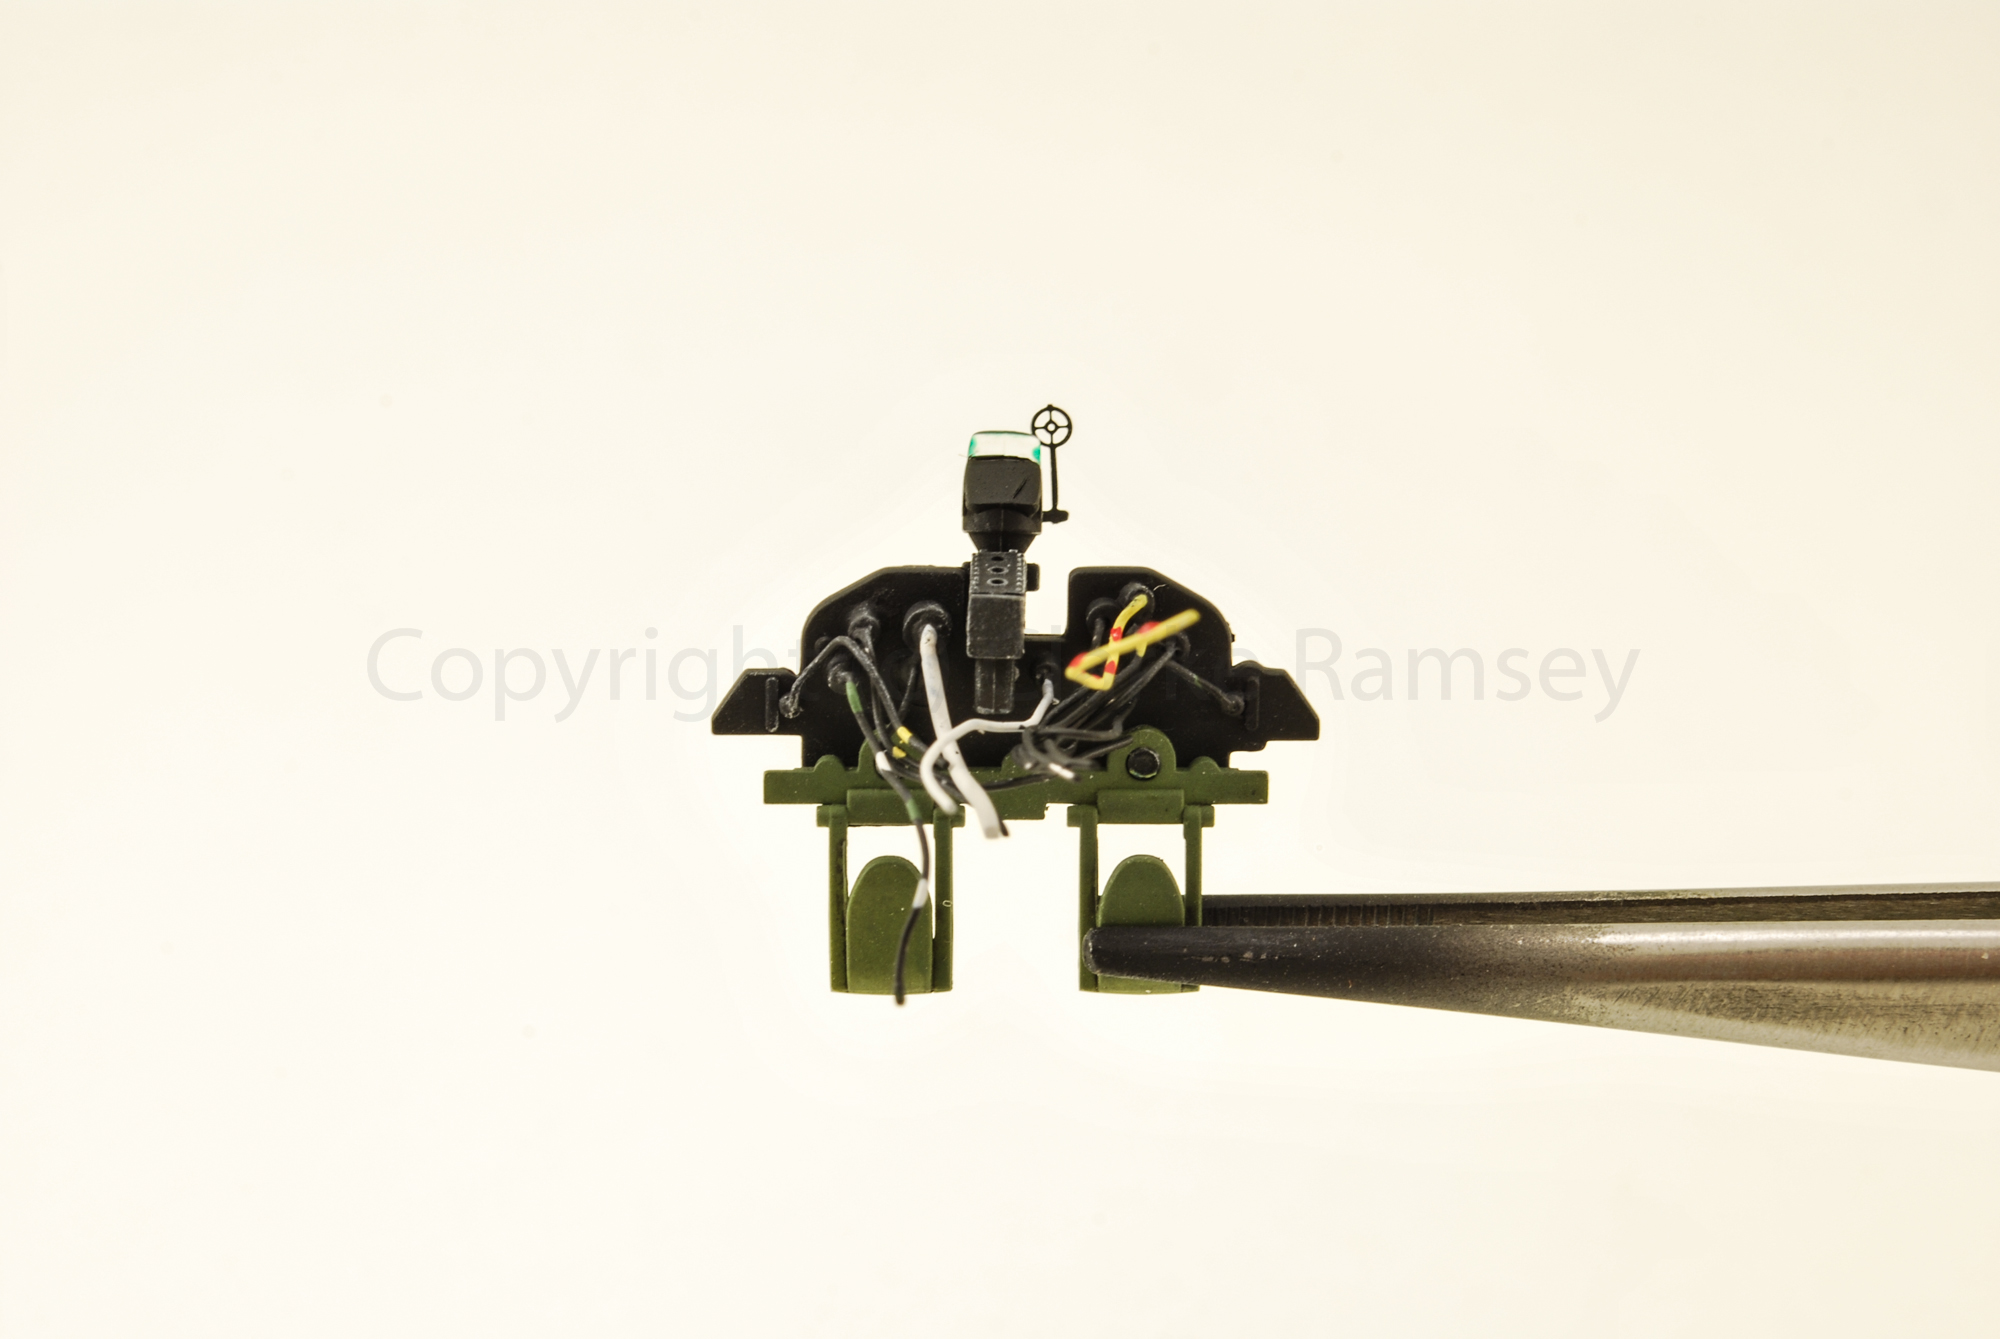
Jug projects. I decided to wire up the back of the instrument panel with
lead wire, not knowing it would be unseen by the glare-shield armored
panel. lol. two hours of drilling and screaming for something that will
never been seen. At least I know what's 'under the hood'.
The
kit come with several options for gun-sights; the Mark VII Illuminated
sight was enhanced with a Eduard sight and glass projector masked with
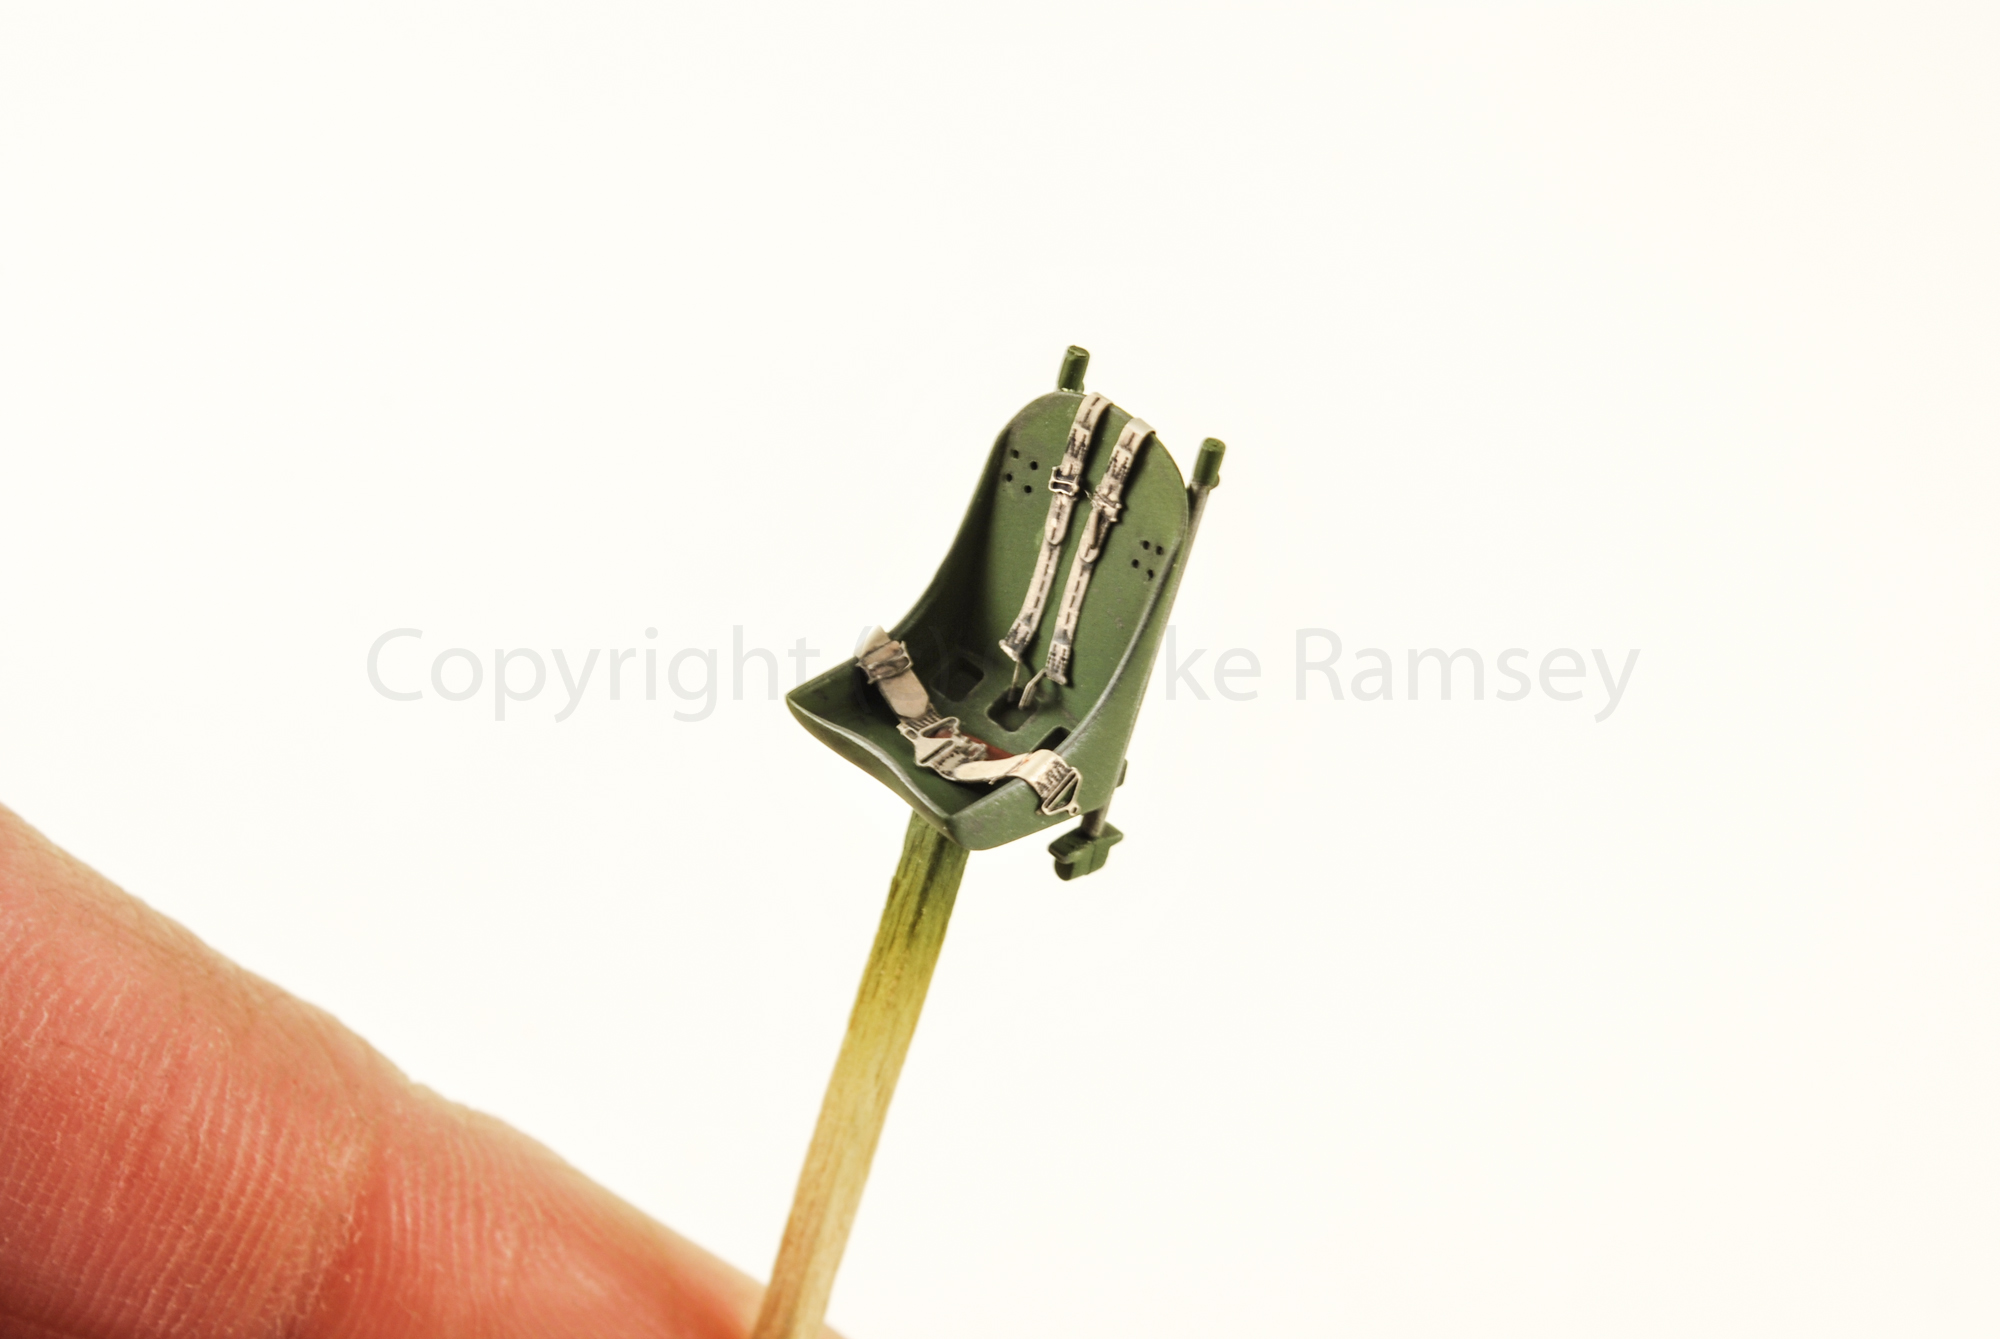
liquid tape for spraying. The pilots seat was further enhanced with
Eduard PE belts and given a pin wash of a mix of AK interactive enamel
wash.
Next, sleep, cockpit dry-fit and fuselage joining...

Full photo set available: https://www.flickr.com/photos/cramsey/sets/72157647108836104/
Subscribe to:
Comments (Atom)


